Download as PPSX, PPTX


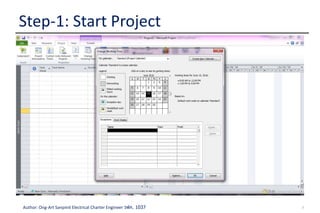
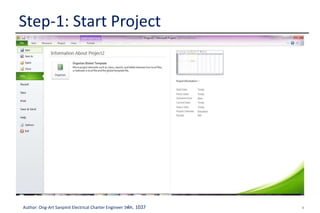
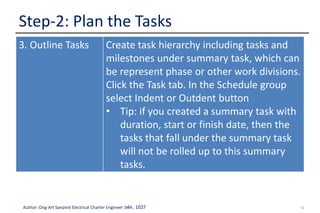
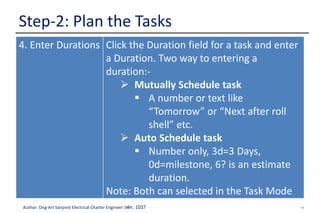
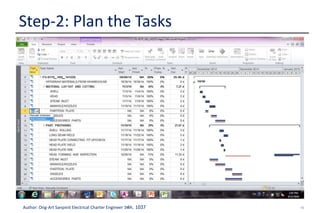
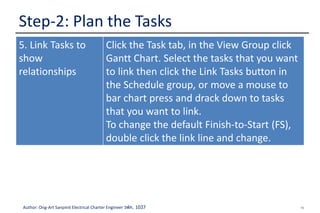

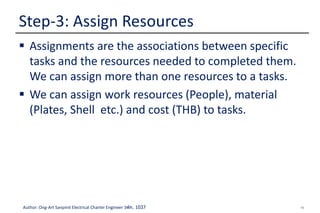
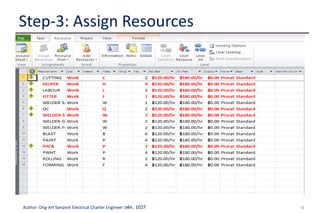
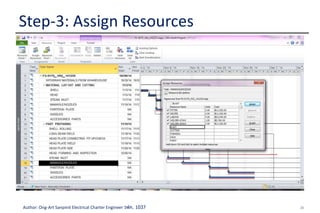
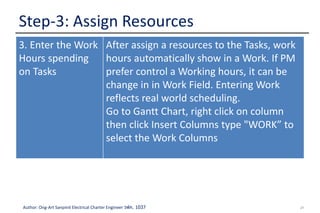
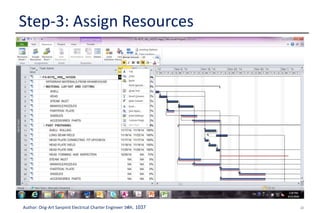
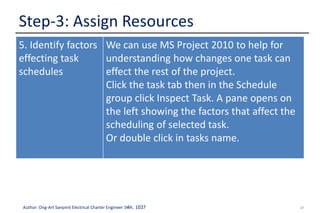
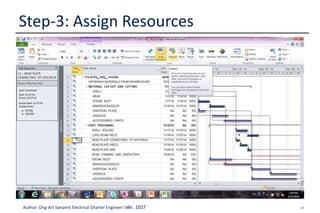
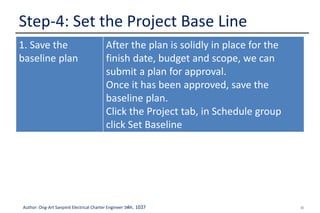
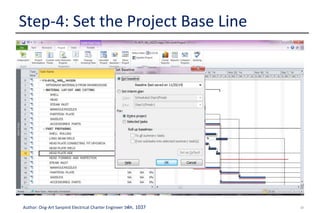

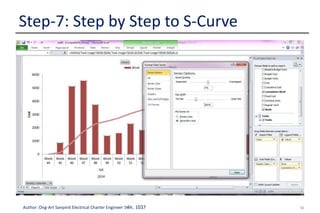
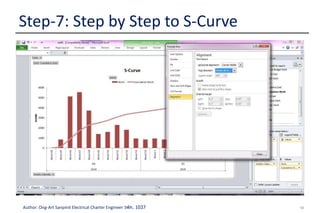
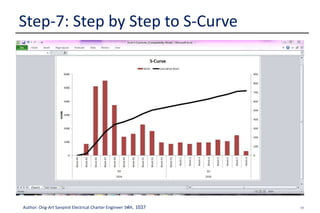


This document provides step-by-step guidance for using Microsoft Project to manage projects. It outlines the key steps as: 1) starting the project by creating a new file and defining project details; 2) planning tasks by entering, scheduling and linking tasks; 3) assigning resources to tasks; 4) setting a project baseline for comparison; 5) updating progress by tracking actual dates, durations and changes; and 6) forecasting information.


