Downloaded 364 times


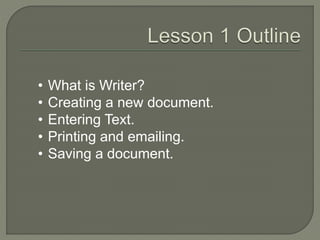

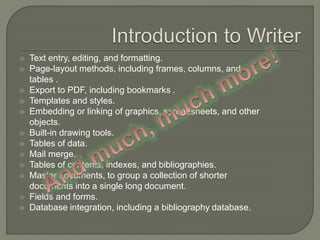


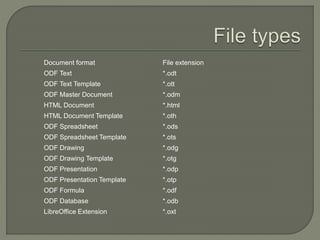

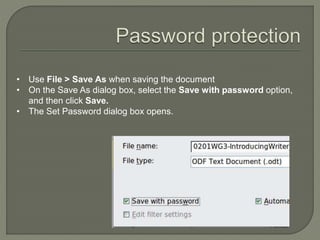
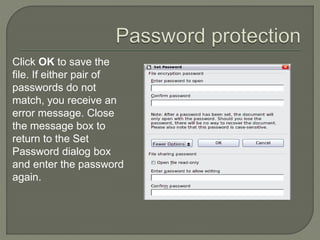

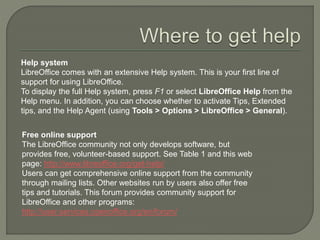

This document provides an overview of the key features and functions of LibreOffice Writer, including how to create, edit, format, and save documents. It describes how to insert and format text, add images and tables, check spelling, print and email documents. It also summarizes how to use styles, templates, and find/replace functions. Navigation and help tools are briefly outlined. File formats and password protection options for saving documents are also mentioned.