Downloaded 104 times


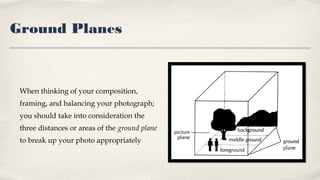
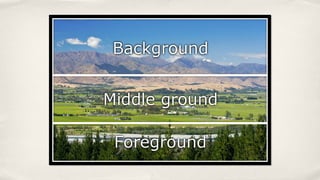

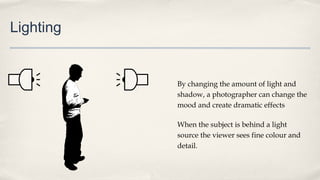
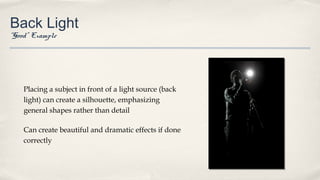


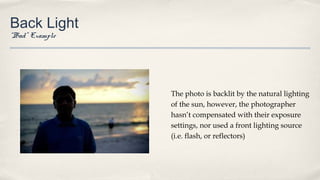


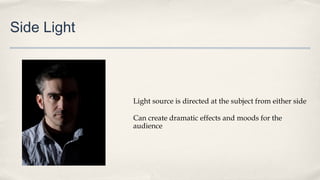

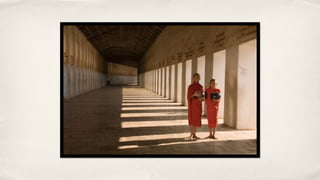
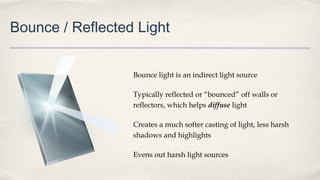
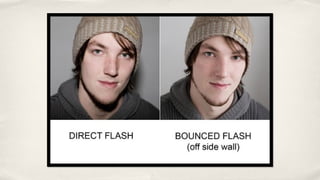
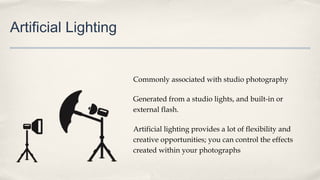

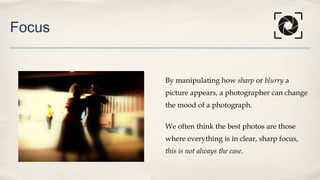
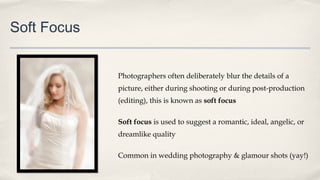


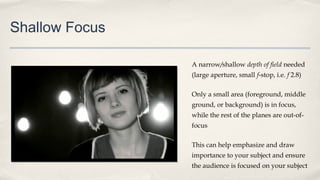


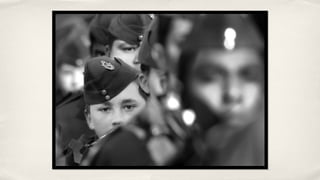
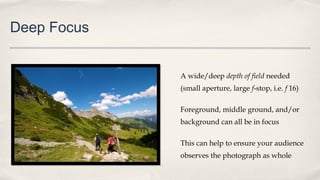


The document discusses key photography concepts including ground planes (foreground, middle ground, background), lighting types (backlight, front light, side light, bounce light, artificial light), and focus (shallow focus, deep focus). It provides examples of good and bad applications of these techniques and how they can be used to manipulate mood. The goals are to learn about these fundamentals and practice different compositional skills through taking photos.


