Downloaded 221 times


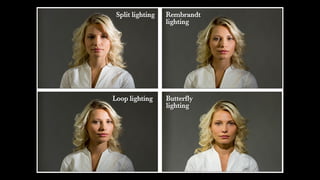
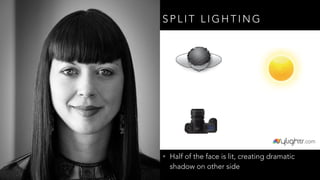
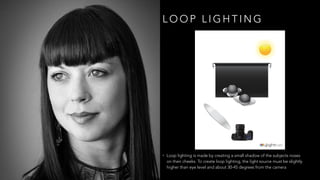
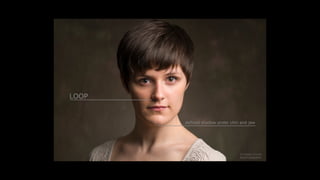
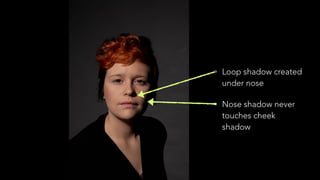


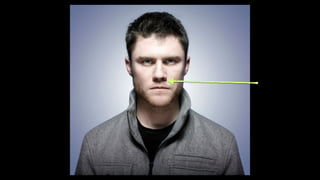
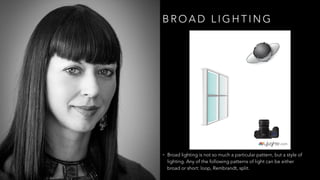


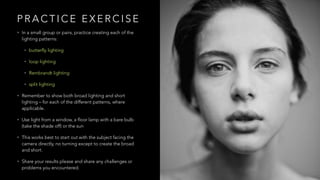

This document provides tips for taking better portrait photographs. It discusses using a large aperture to blur the background and focusing on the subject. While most portraits are taken at eye level, changing the angle can provide a creative perspective. Playing with eye contact, such as having the subject look off-camera or at something in the frame, can make portraits more candid and interesting. The document also covers lighting portraits using soft, diffused front lighting and experimenting with lighting directions and multiple light sources. It describes lighting patterns such as split lighting, loop lighting, Rembrandt lighting, and butterfly lighting.


