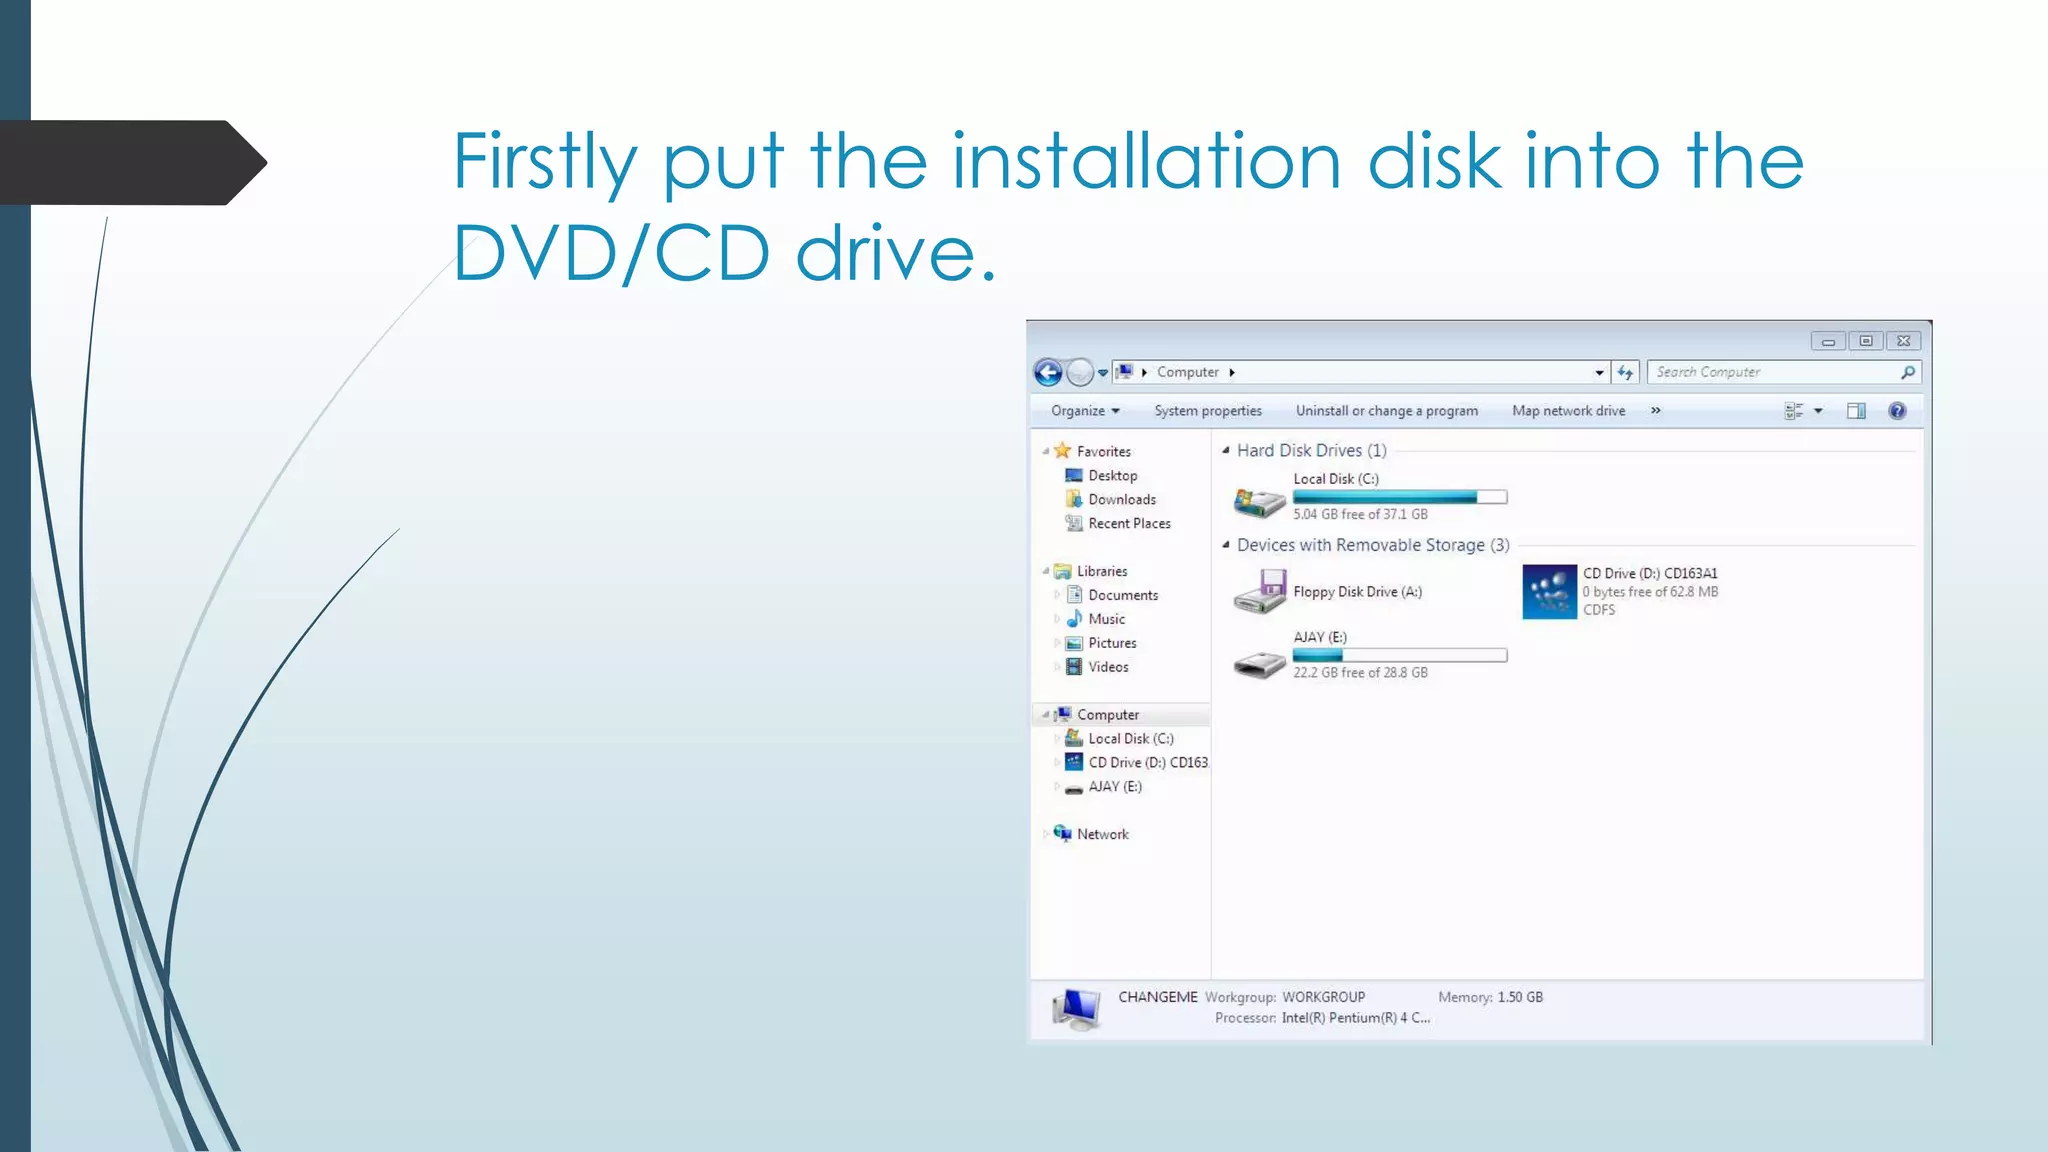
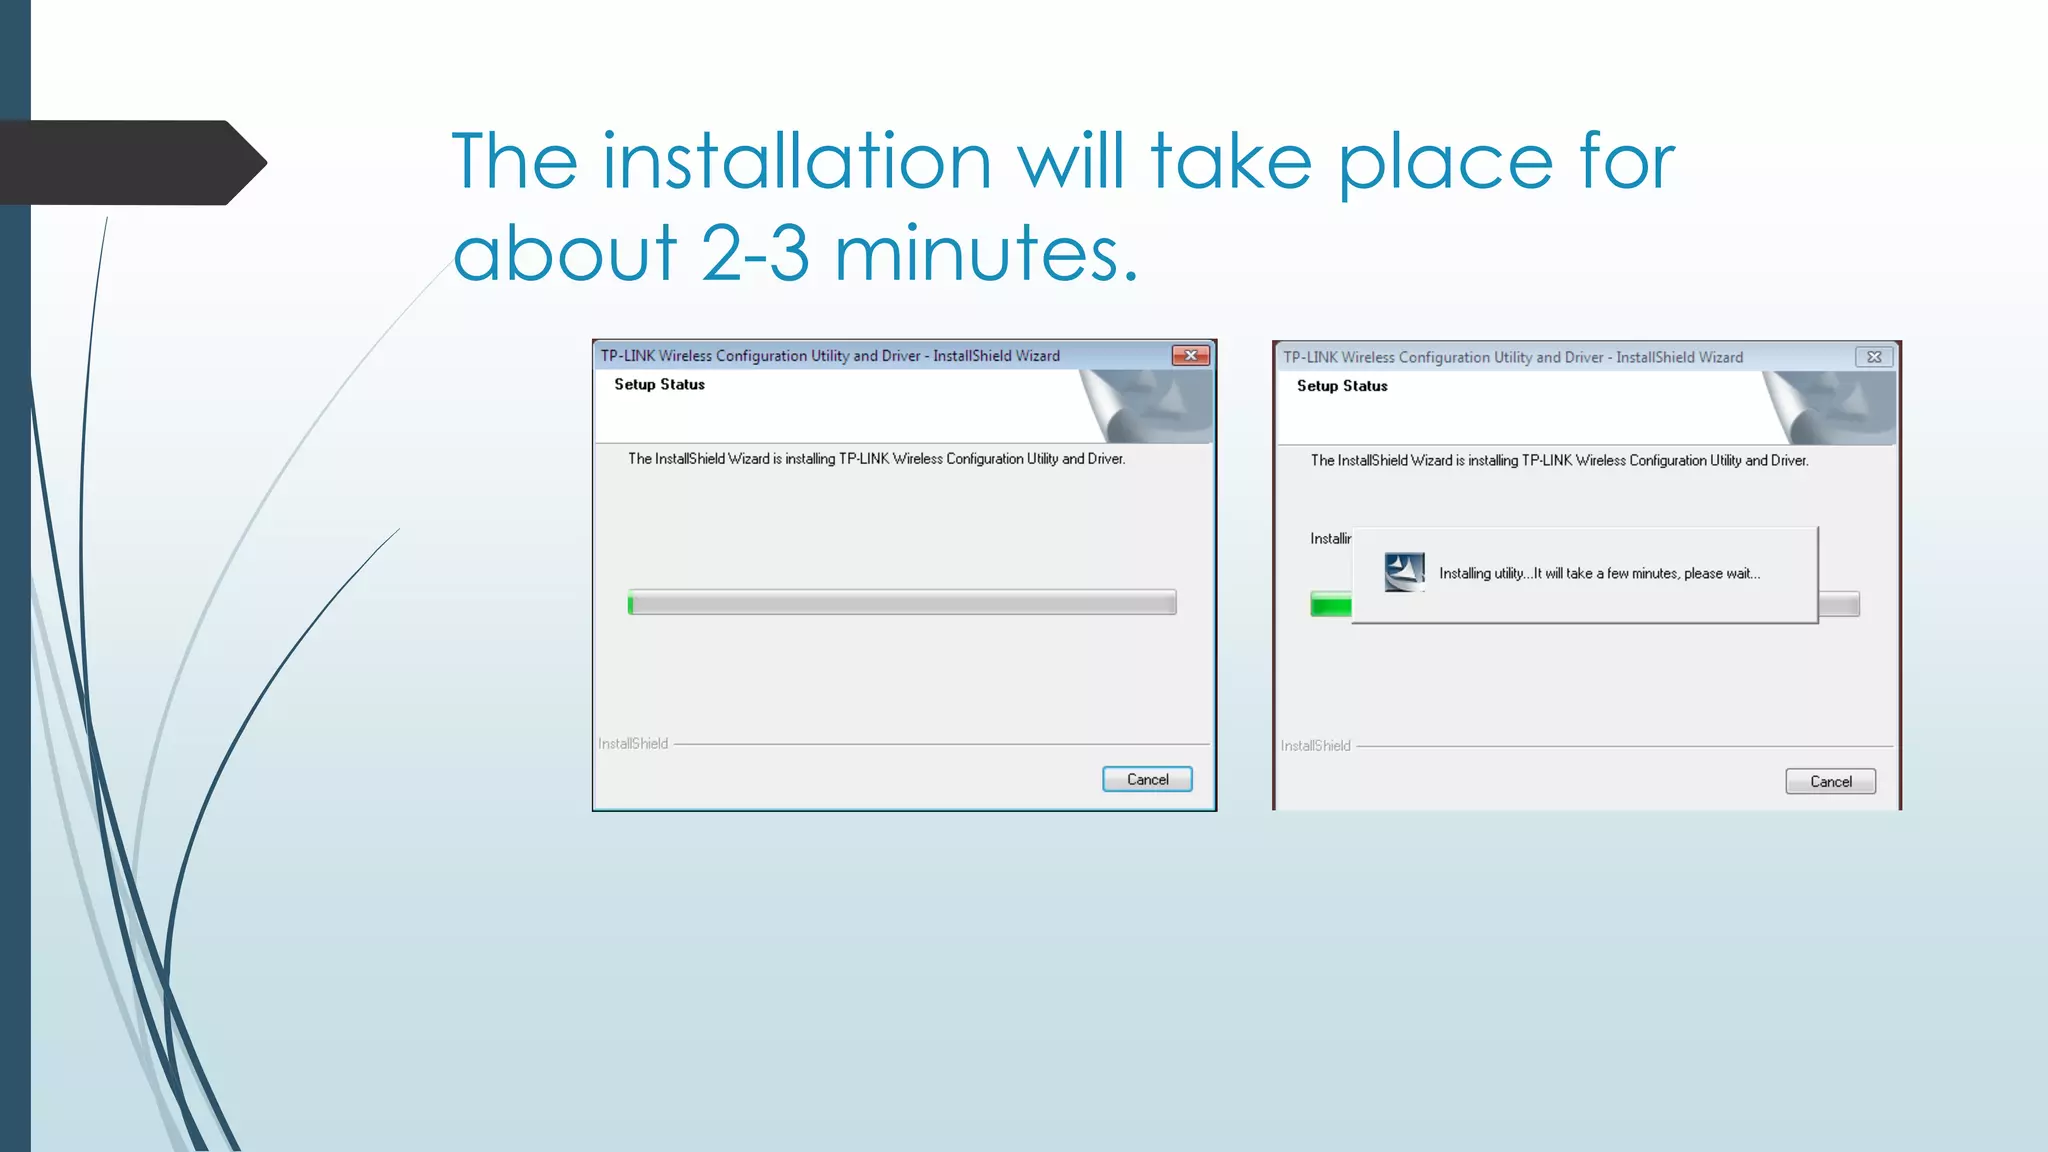
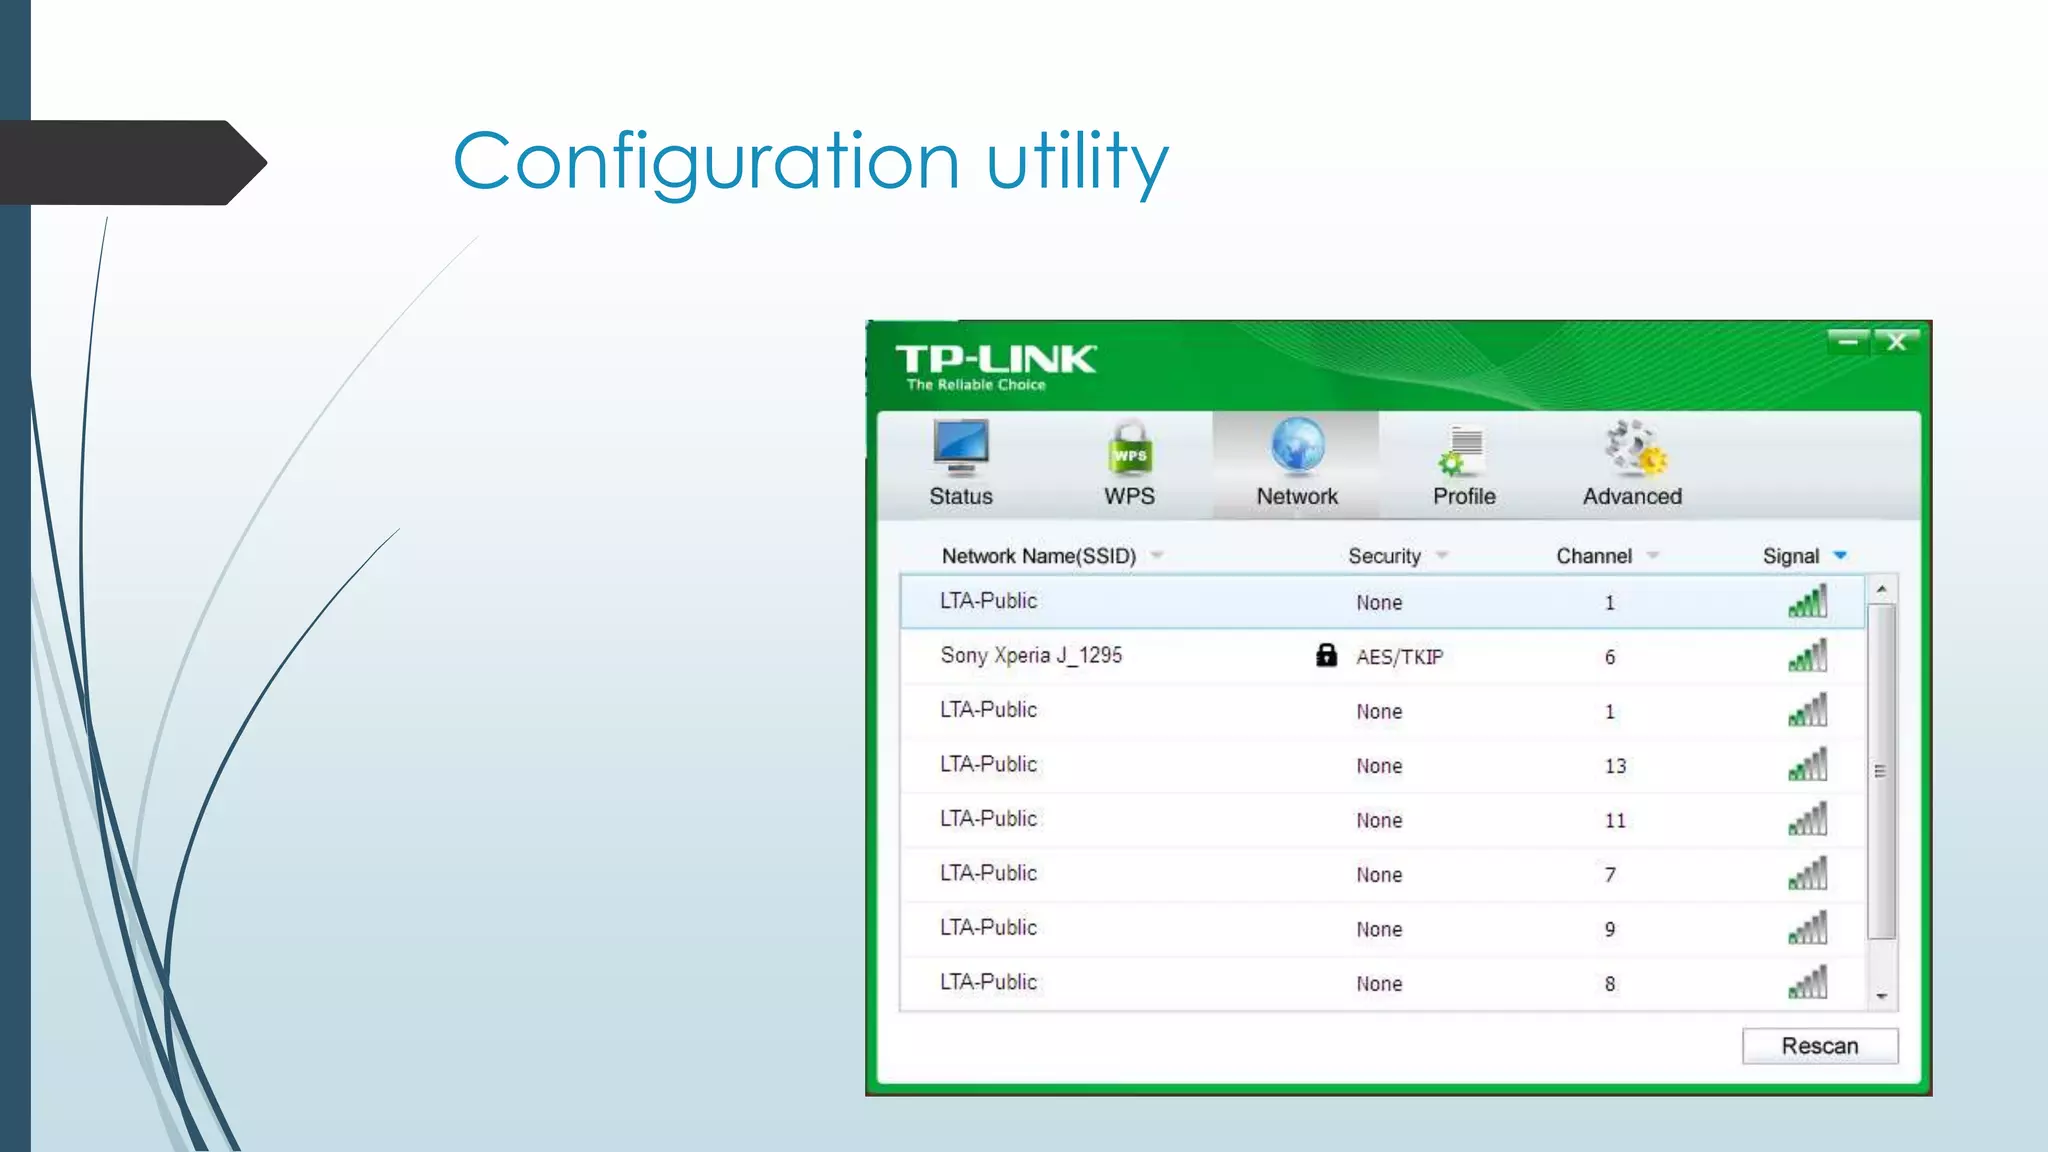
Installation of
Wireless NIC
Ajay Jassi
Installing wireless NIC
component
1. Firstly take out the wireless NIC from the packaging.
2. Secondly unclip the supporter lever for the expansion
slots.
3. Then allocate the wireless NIC and apply little pressure
to secure it in position.

4. Now push back down the supporter lever for security.
5. Finally screw on the antenna to the wireless NIC
adapter.
After component installation
 After the component part is inserted and secured into the
motherboard, it will need to be configured on the
computer system.
 An software program will need to be installed, for the
wireless NIC to operate and connect to an internet
connection wirelessly.

 Its important that the software is a stable version and is
made for the wireless NIC brand and model. If a
unverified software is used it may not function probably
and may change the configuration settings of an current
connection.
 The model number of the wireless NIC should be printed
on the component and on the original box/packaging.
Installing Wireless
NIC software
Firstly put the installation disk
into the DVD/CD drive.
Open up the disk to view
files and click on the setup.
Once the setup is installed
click on the specific model.
Configure to install the driver
and software by clicking next.
Now it will give a option to
download the driver or the
driver with the utility software.
It will allow to change the file
location, but is recommended
to keep it in the C drive with the
OS.
The installation will take
place for about 2-3 minutes.
Once the setup is complete, just
click finish and the utility will
popup ready to connect.
Configuration utility
Now connect Wi-Fi network
to computer.
If you go to device
manager, under the tab network
adapters you will see that the
device was detected.
The configuration utility will also
be in the notification bar, for
easier access.

Installation and configuration of Wireless NIC

  • 1.
  • 2.
    Installing wireless NIC component 1.Firstly take out the wireless NIC from the packaging. 2. Secondly unclip the supporter lever for the expansion slots. 3. Then allocate the wireless NIC and apply little pressure to secure it in position. 4. Now push back down the supporter lever for security. 5. Finally screw on the antenna to the wireless NIC adapter.
  • 4.
    After component installation After the component part is inserted and secured into the motherboard, it will need to be configured on the computer system.  An software program will need to be installed, for the wireless NIC to operate and connect to an internet connection wirelessly.  Its important that the software is a stable version and is made for the wireless NIC brand and model. If a unverified software is used it may not function probably and may change the configuration settings of an current connection.  The model number of the wireless NIC should be printed on the component and on the original box/packaging.
  • 5.
  • 6.
    Firstly put theinstallation disk into the DVD/CD drive.
  • 7.
    Open up thedisk to view files and click on the setup.
  • 8.
    Once the setupis installed click on the specific model.
  • 9.
    Configure to installthe driver and software by clicking next.
  • 10.
    Now it willgive a option to download the driver or the driver with the utility software.
  • 11.
    It will allowto change the file location, but is recommended to keep it in the C drive with the OS.
  • 12.
    The installation willtake place for about 2-3 minutes.
  • 13.
    Once the setupis complete, just click finish and the utility will popup ready to connect.
  • 14.
  • 15.
    Now connect Wi-Finetwork to computer.
  • 16.
    If you goto device manager, under the tab network adapters you will see that the device was detected.
  • 17.
    The configuration utilitywill also be in the notification bar, for easier access.