Download to read offline


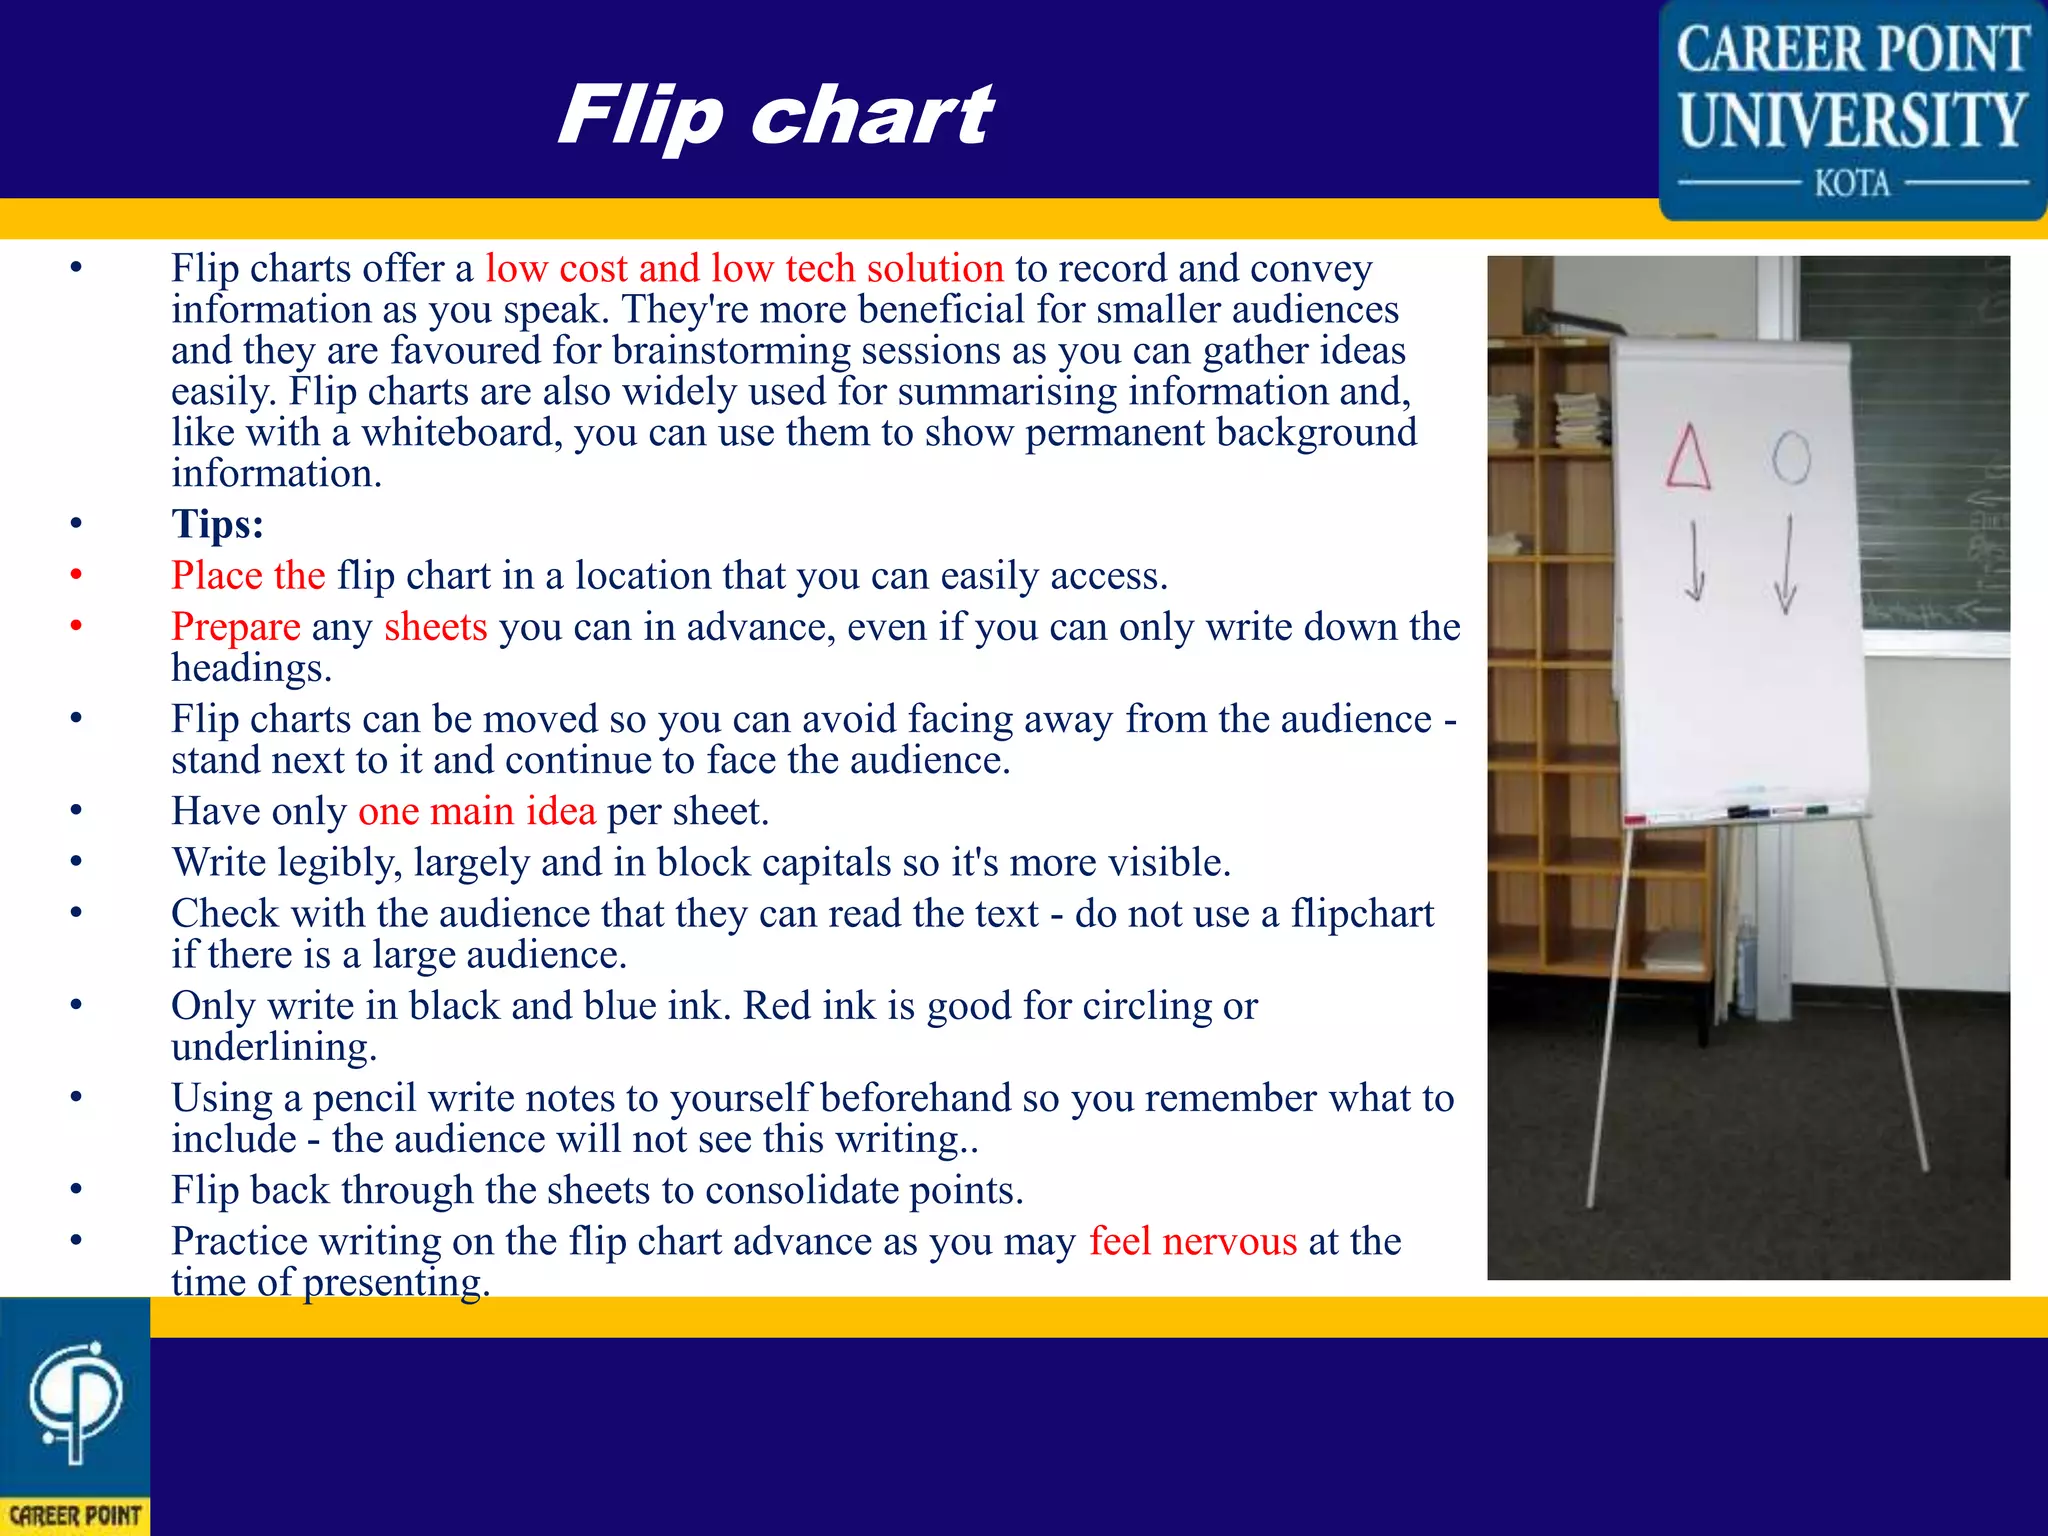
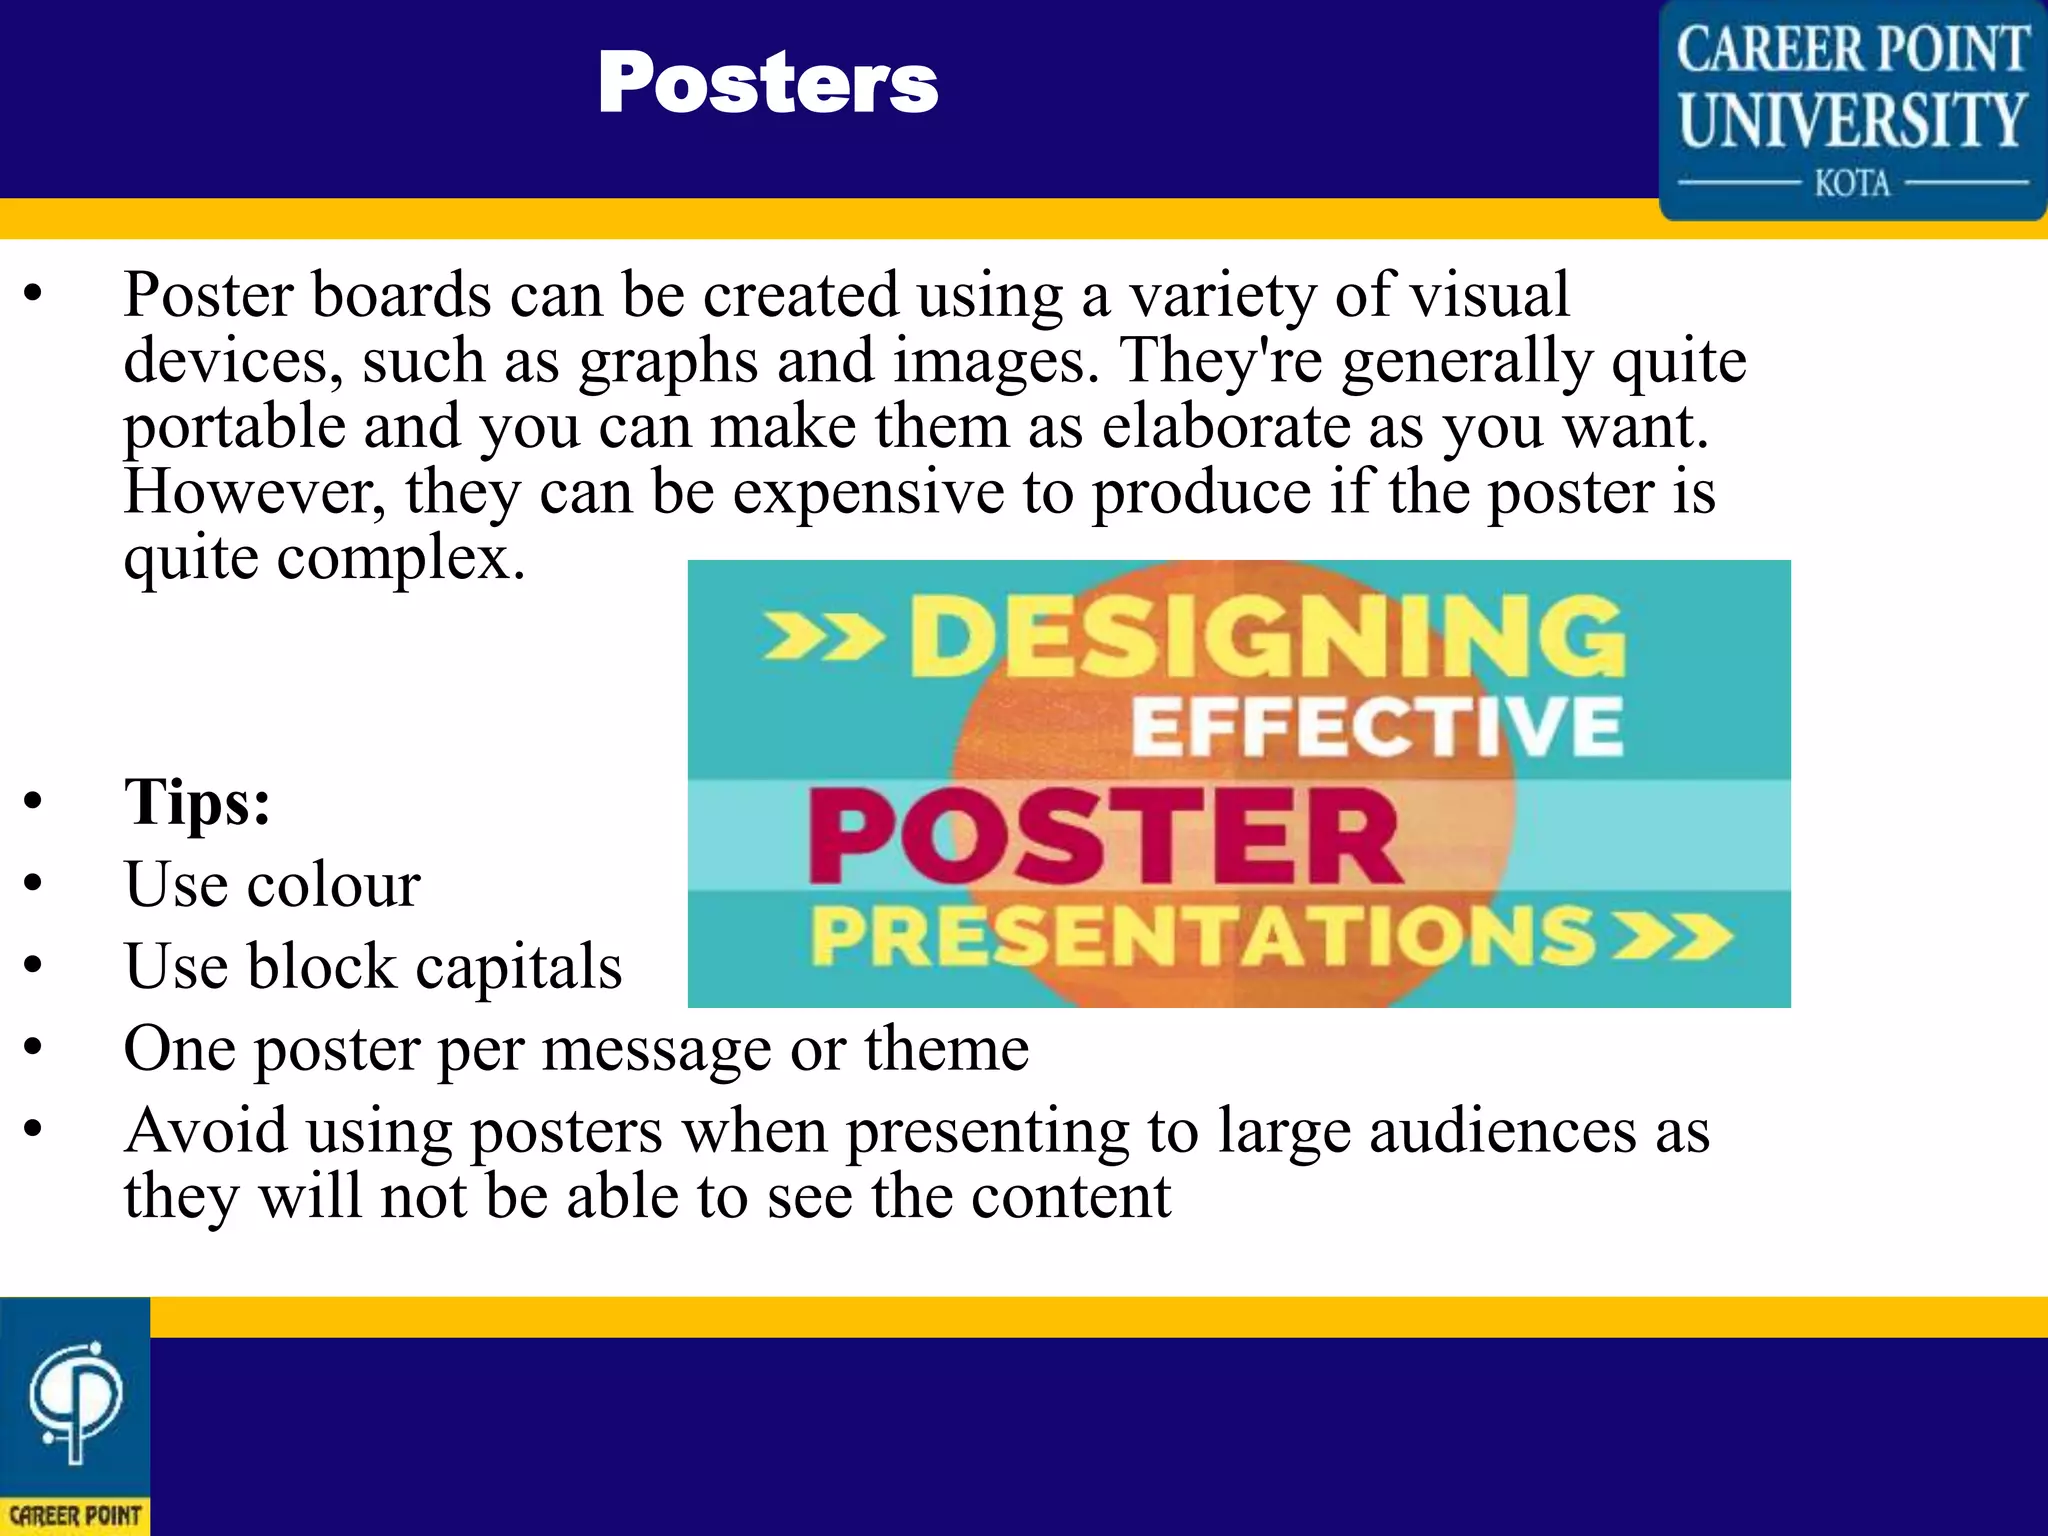
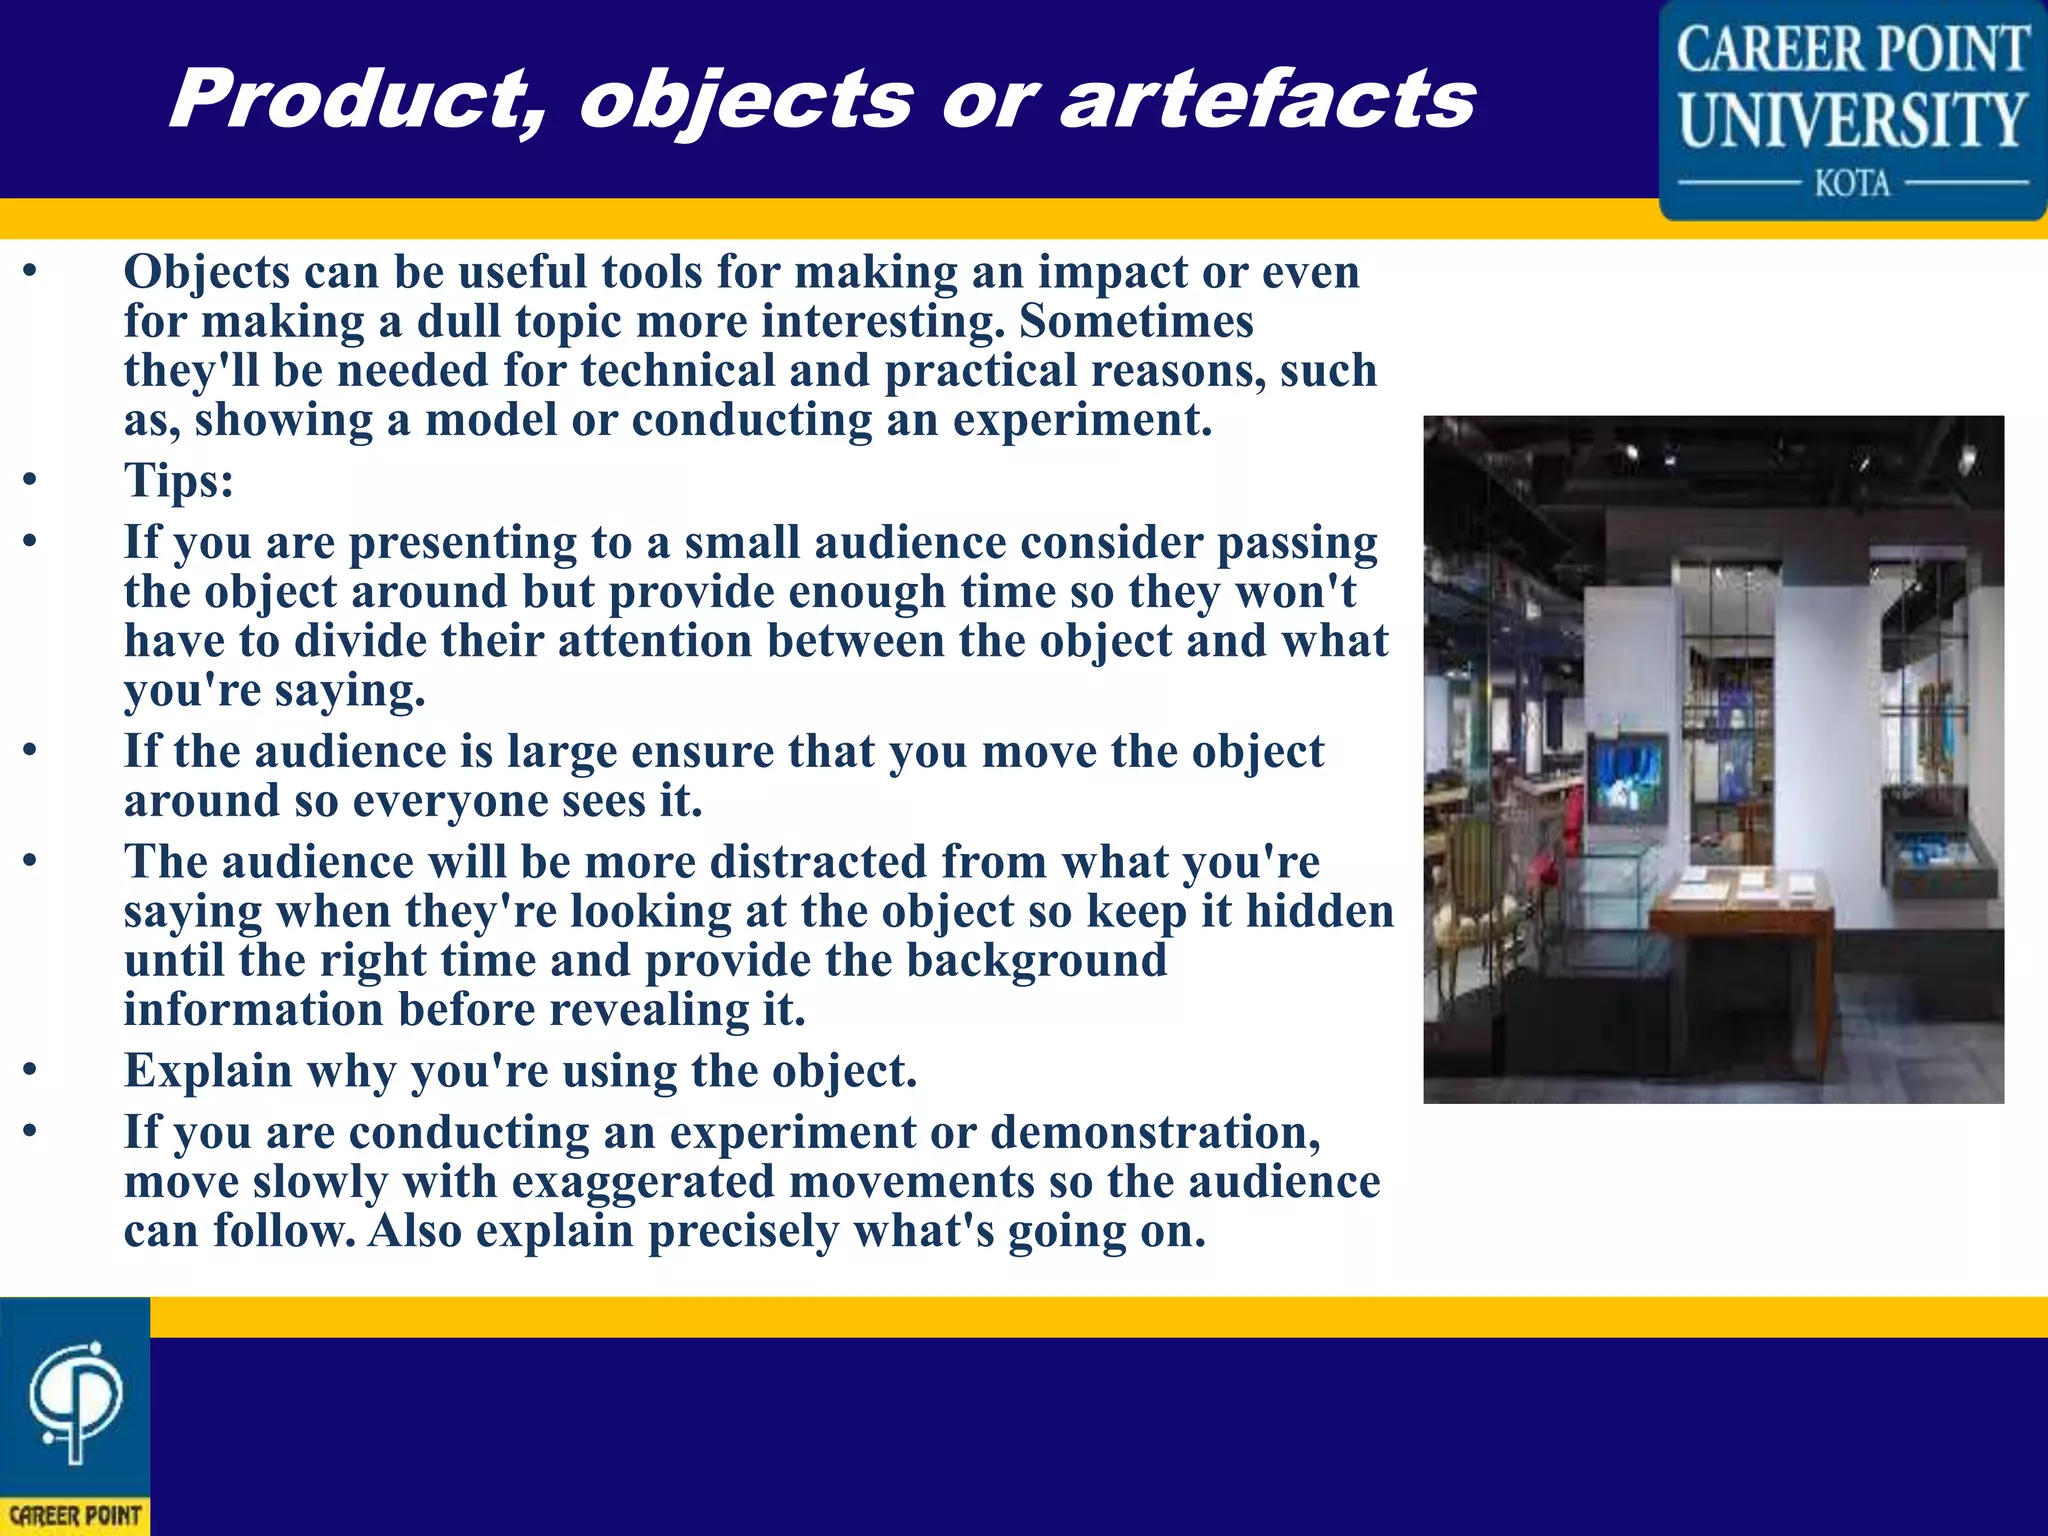


This document discusses various types of visual aids that can be used for presentations, including PowerPoint, whiteboards, video clips, flip charts, and posters. It provides tips for using each type of visual aid effectively and ensuring the presentation remains clear, legible, and engaging for the audience. Key recommendations include keeping visuals simple, using large text sizes, limiting animation and graphics, and always having a backup plan in case of technical issues.


