Download as ODP, PPTX


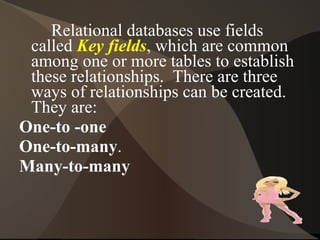
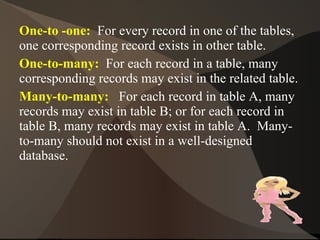


- The document discusses how to create relationships between tables in a relational database using key fields that are common between tables. There are three types of relationships: one-to-one, one-to-many, and many-to-many. - Relationships can be created while designing tables or afterwards using the Relationships window. This allows data from multiple tables to be queried and displayed together. - Examples are provided on how to use the Table Wizard to create tables with relationships as well as how to manually define relationships between existing tables using the Relationships window.