Download as PDF, PPTX
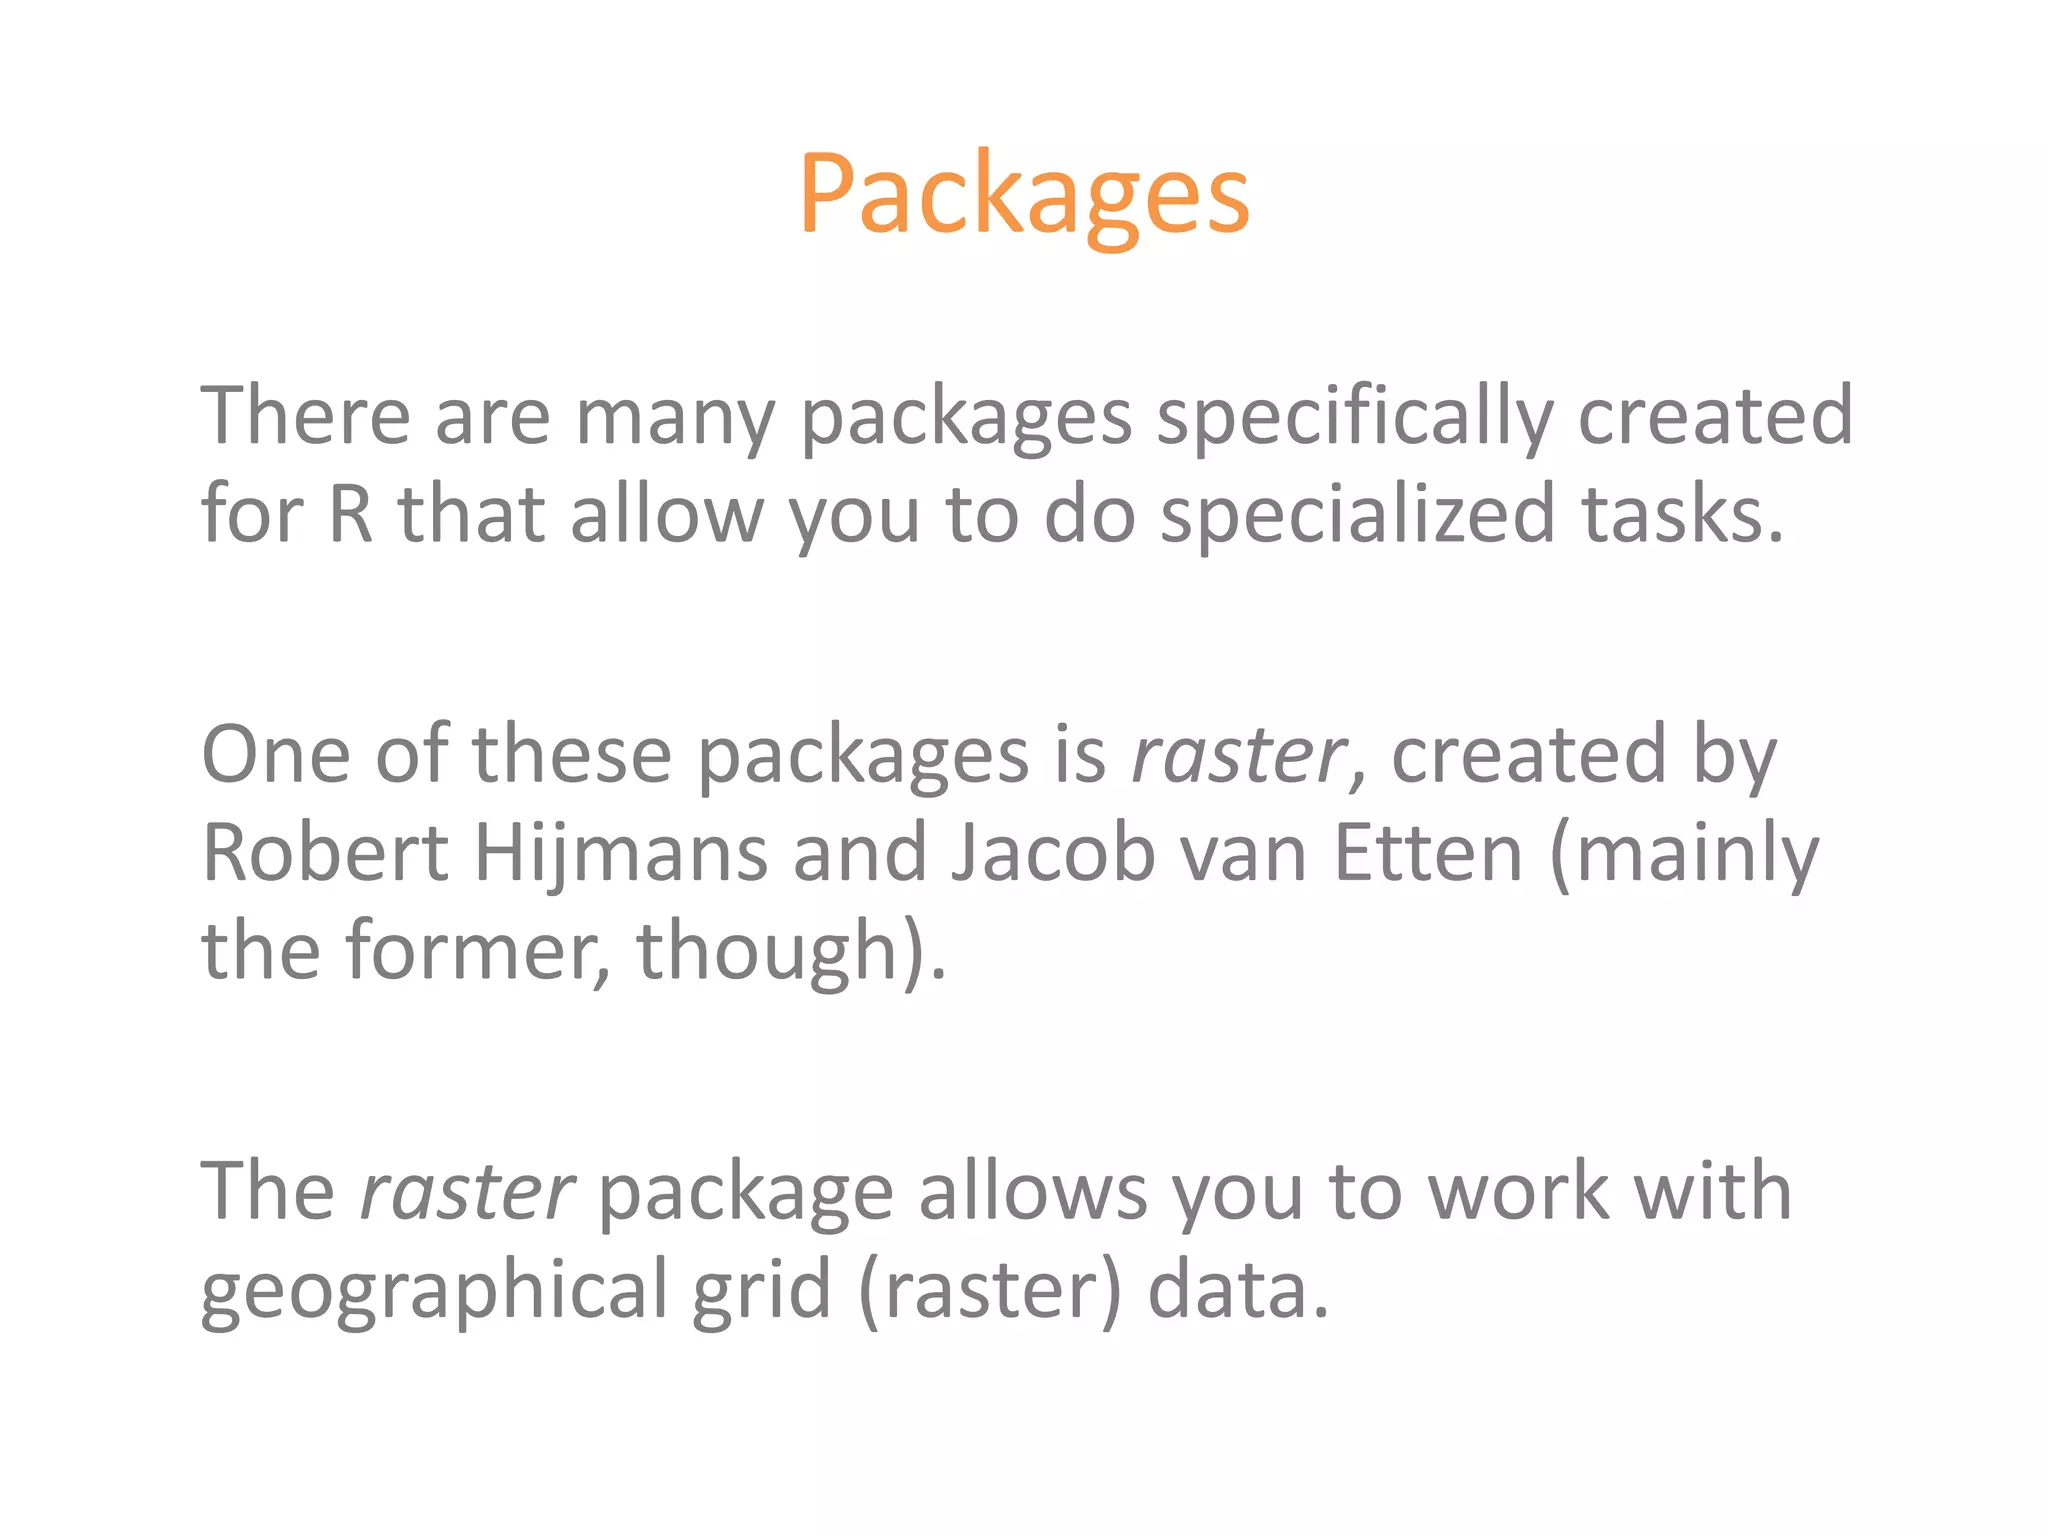
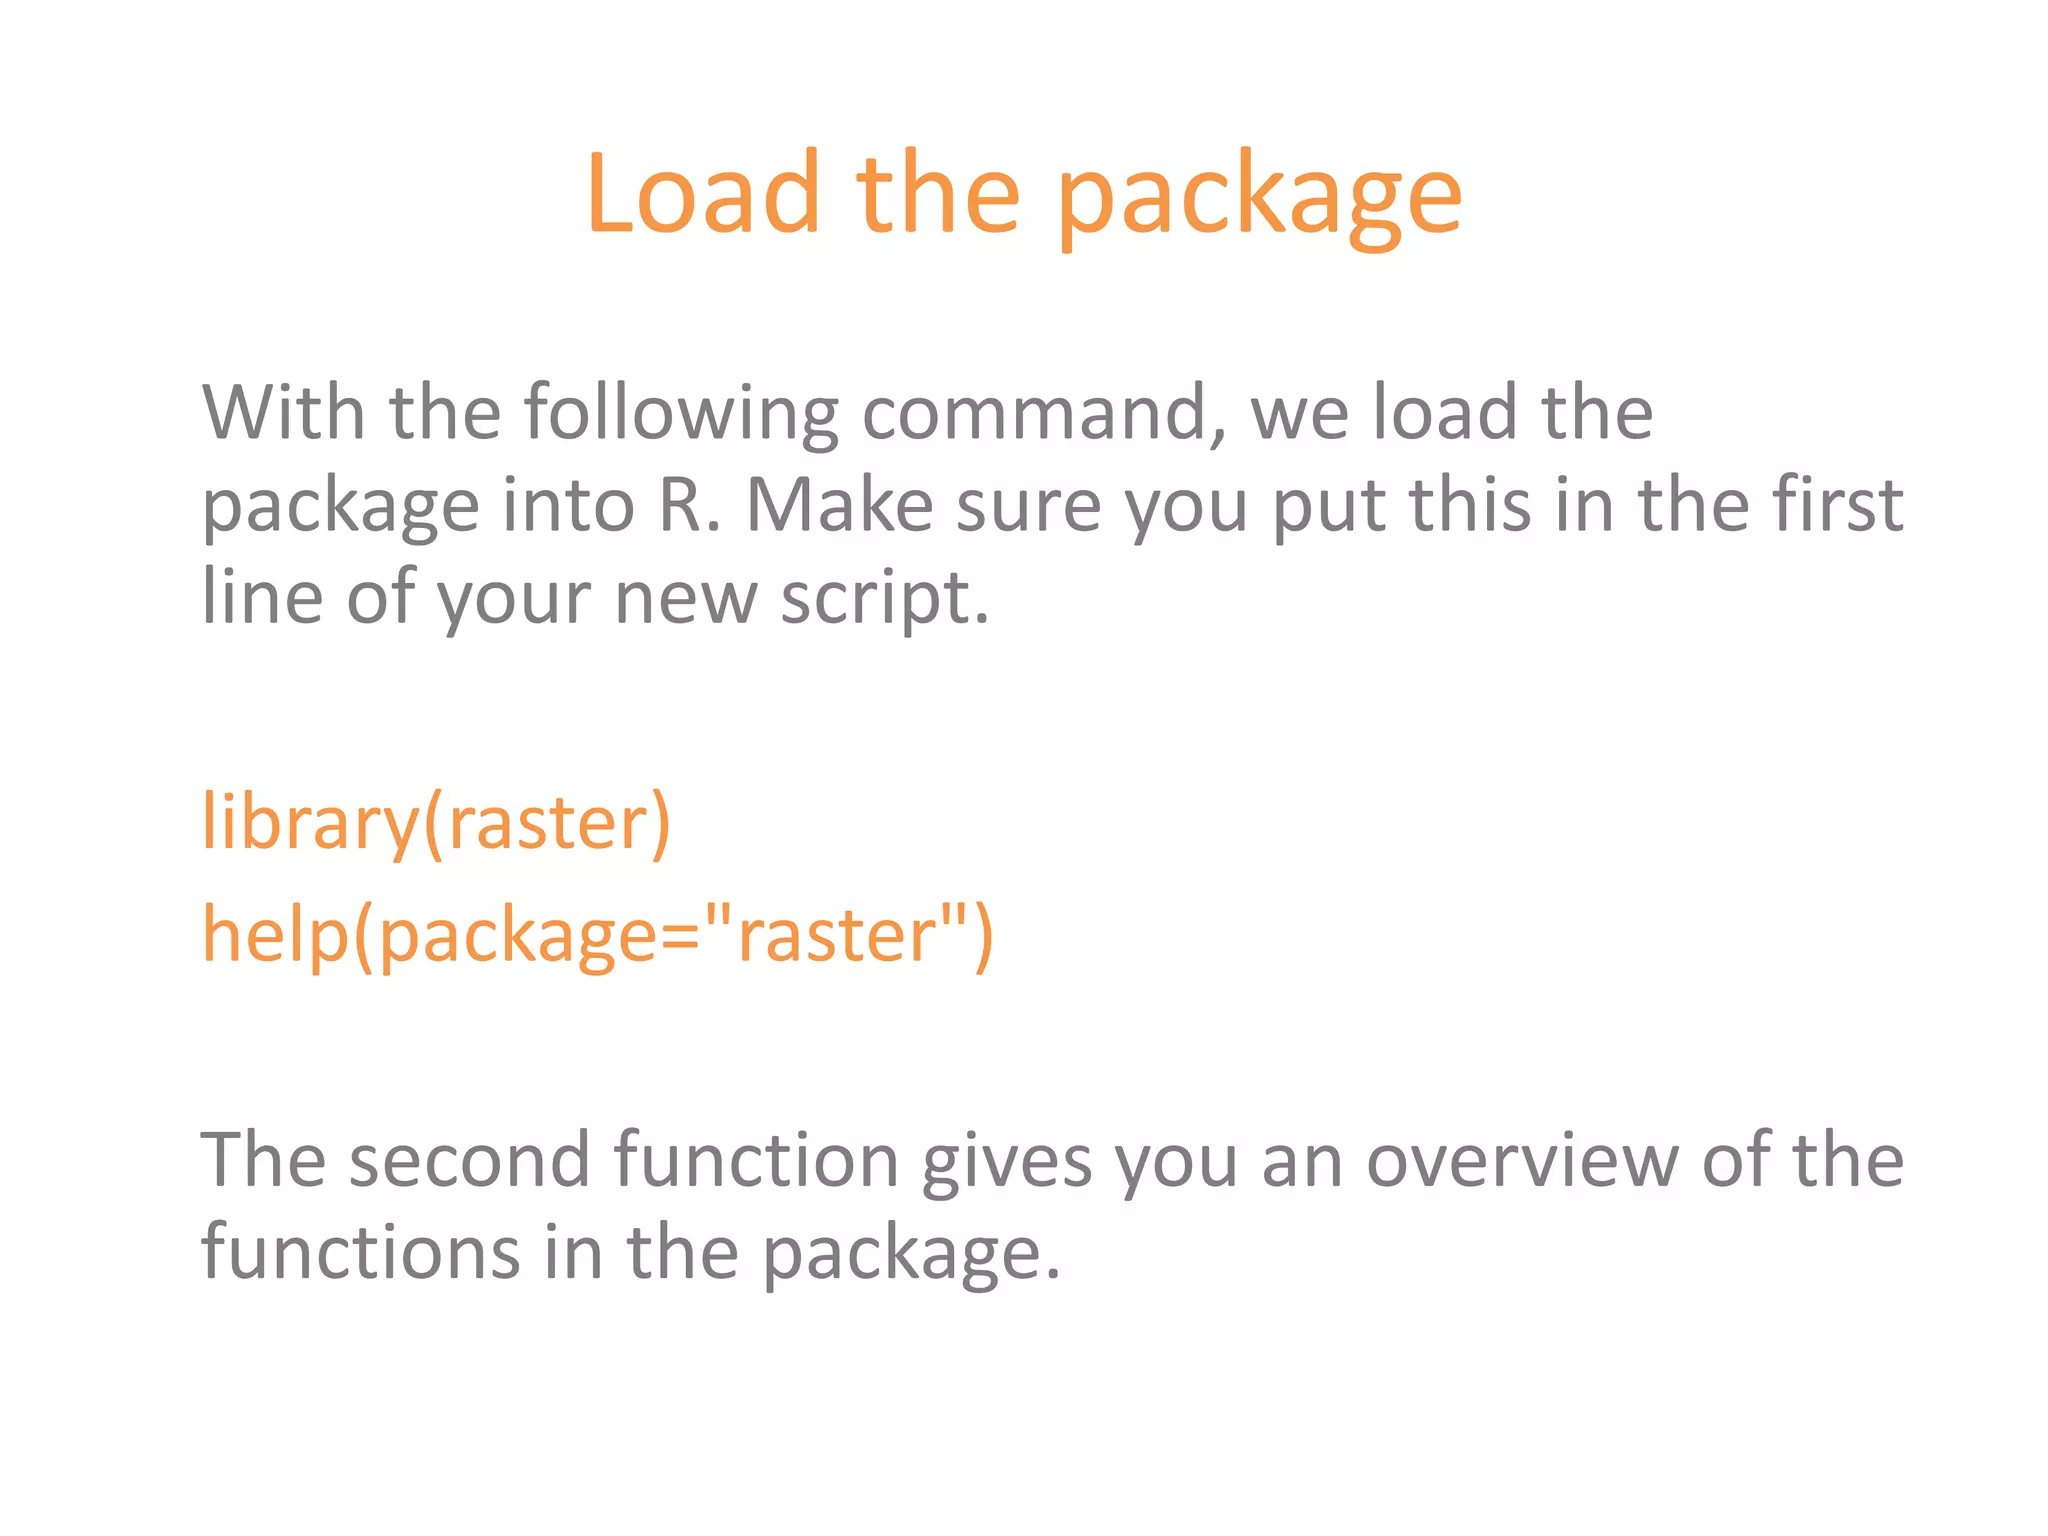

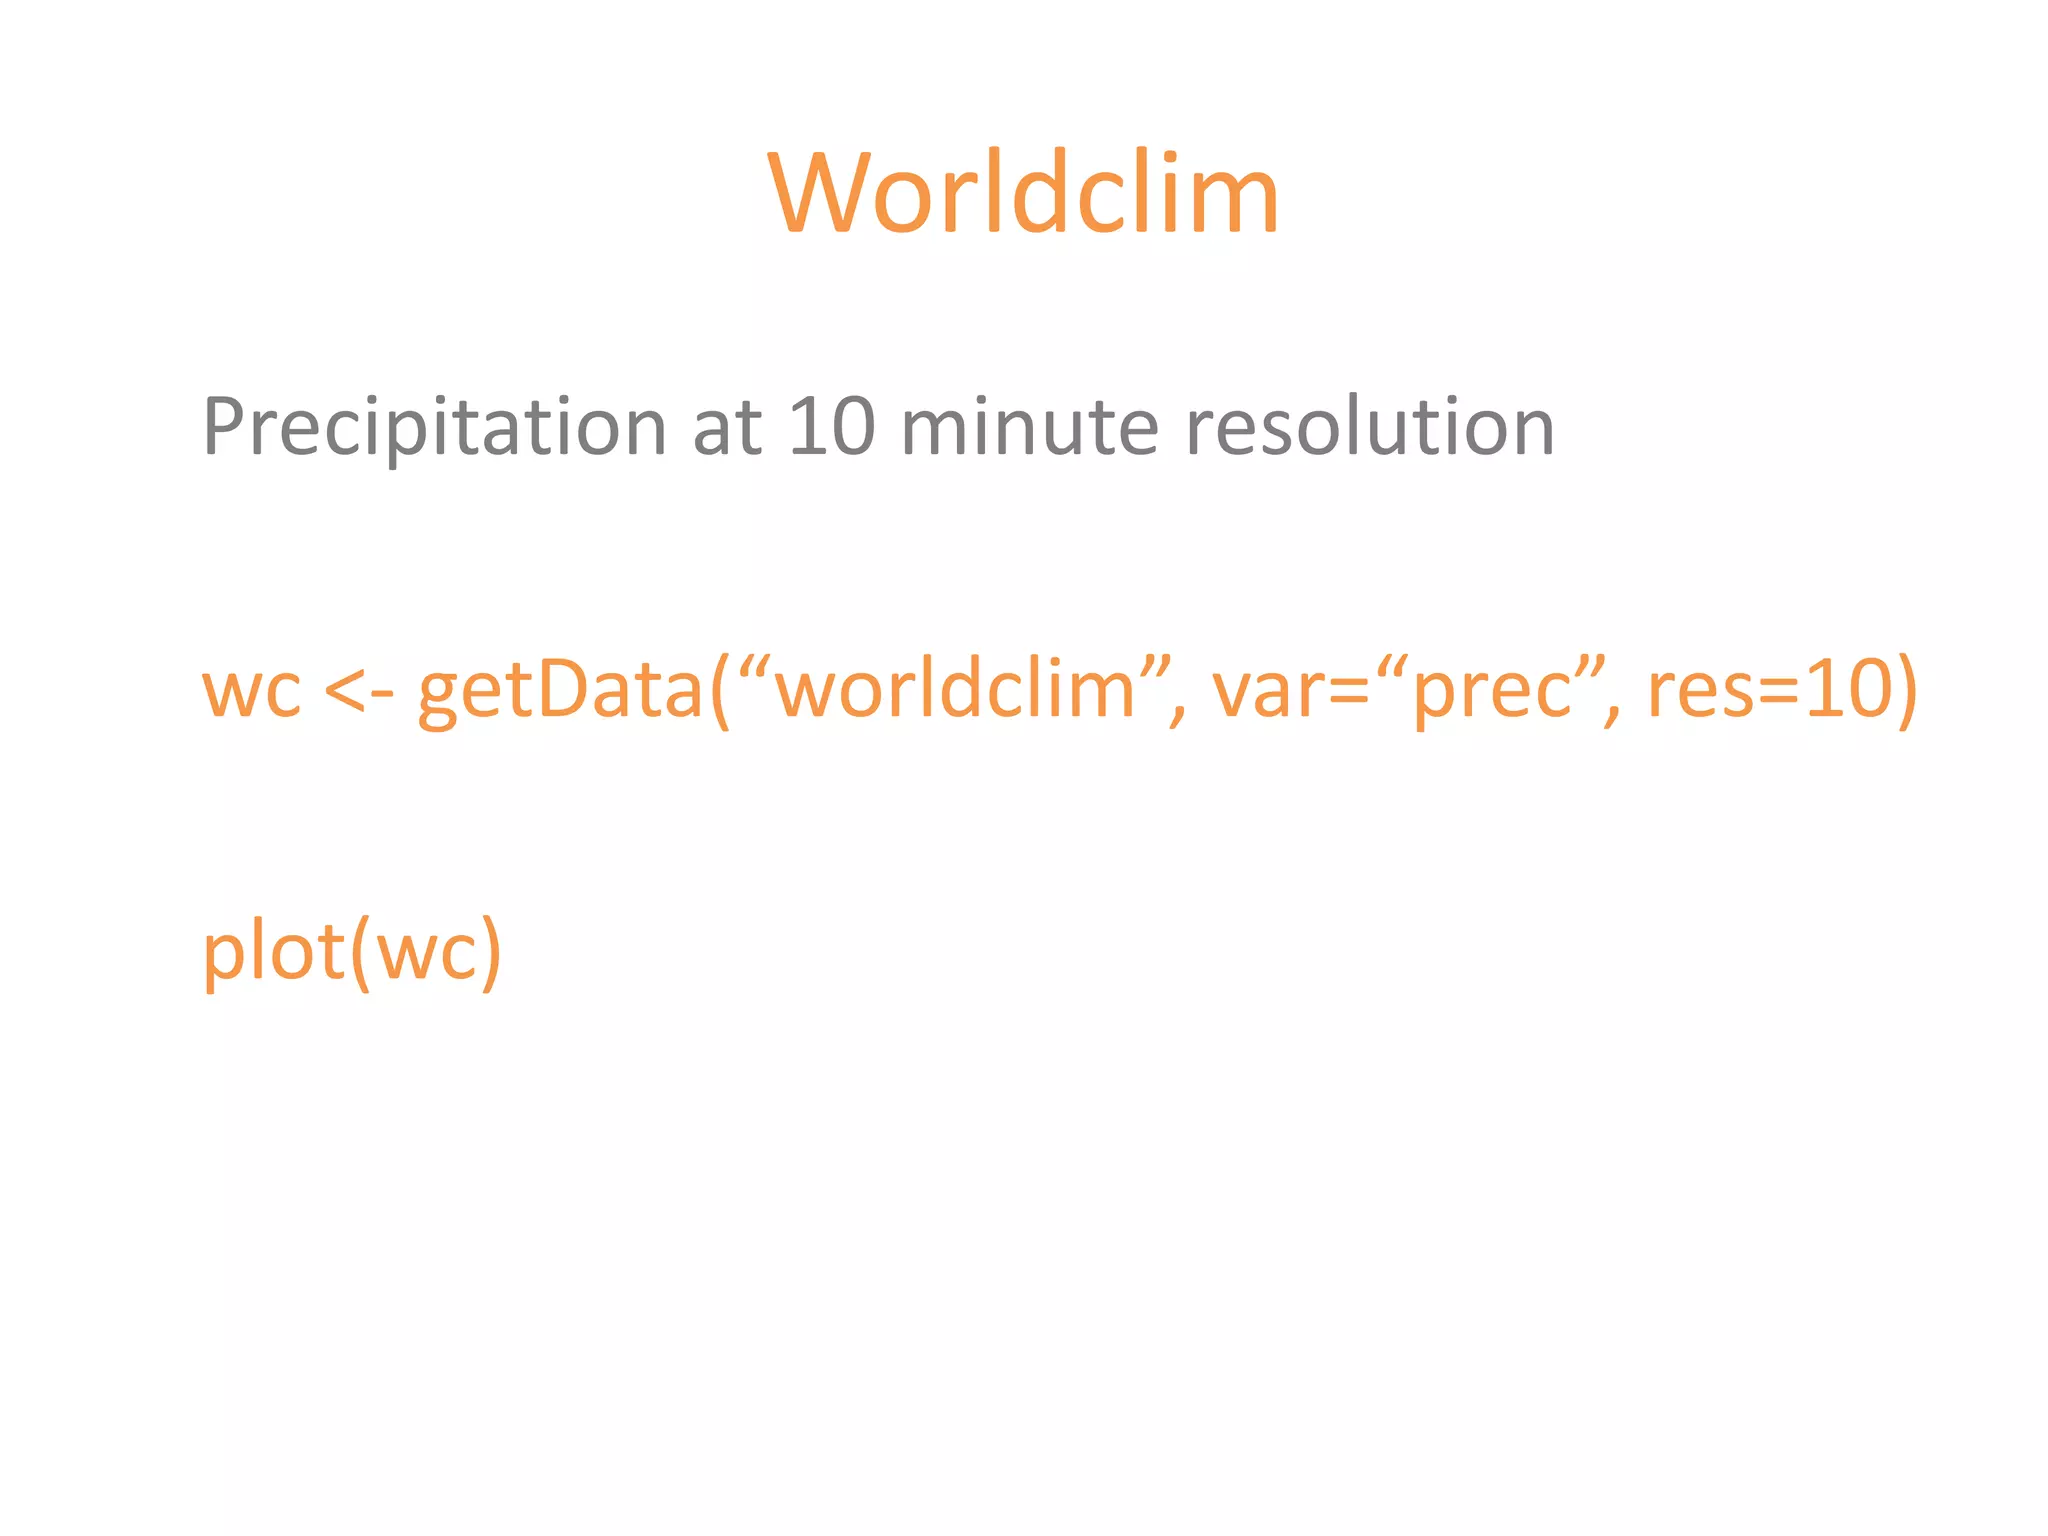
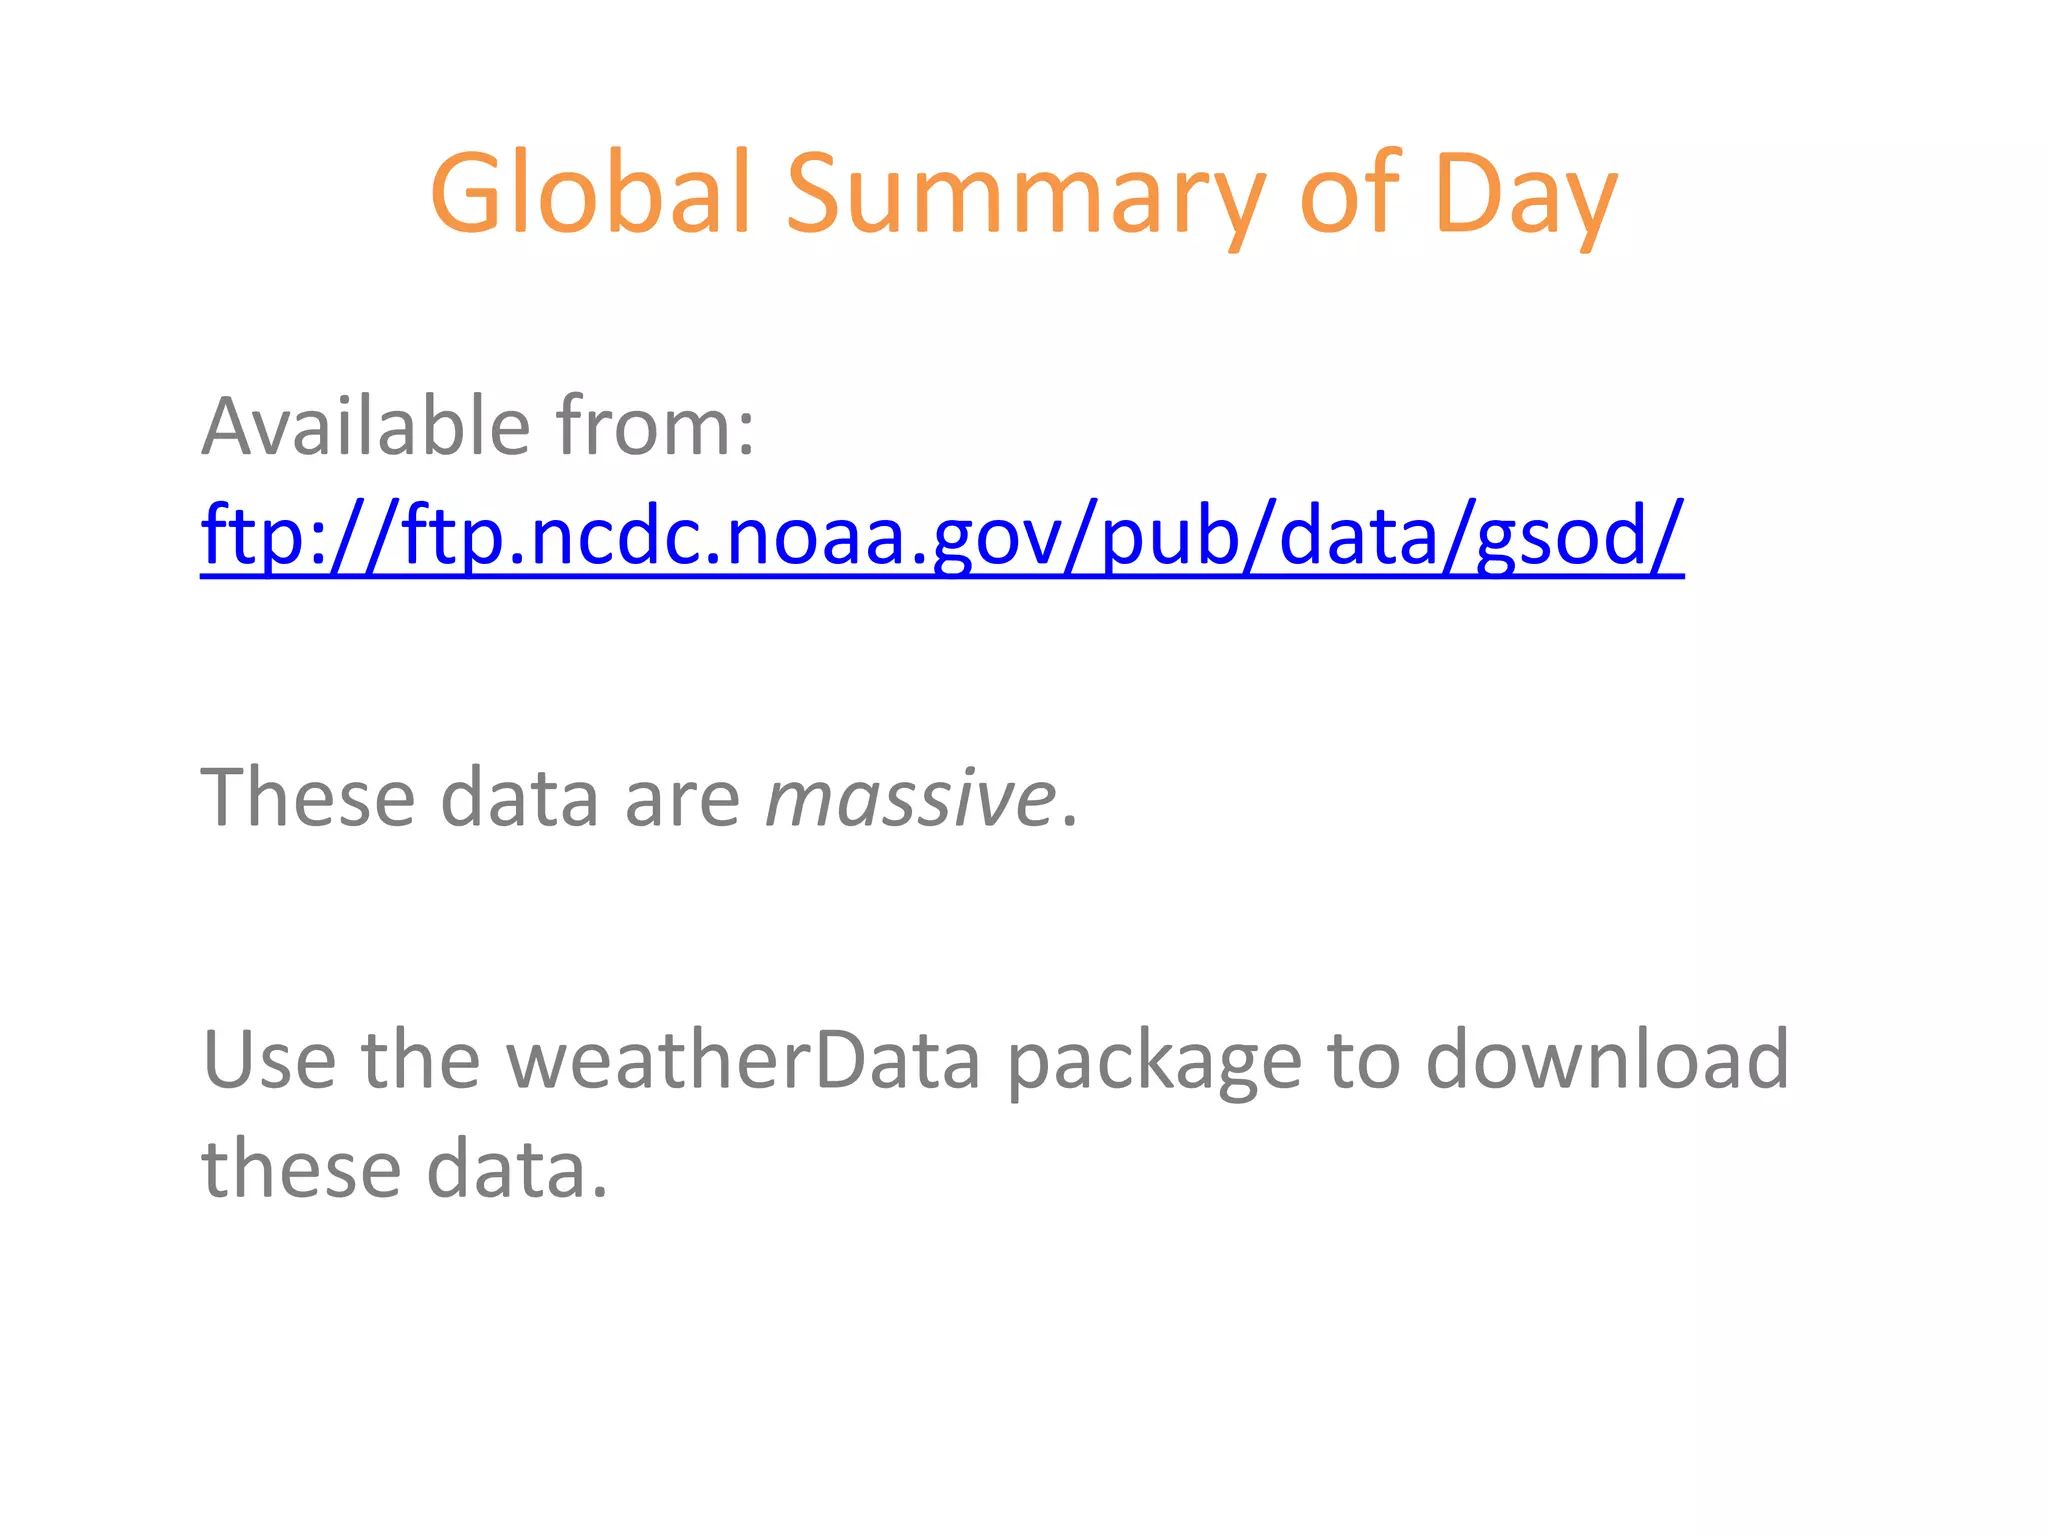

The raster package in R allows users to work with geographic grid data. It contains functions for reading raster files into R, performing operations on raster layers like cropping and aggregation, and visualizing raster maps. Common sources of global climate data that can be accessed in R include WorldClim, the Global Summary of Day from NOAA, and datasets available on the CGIAR website.


![[Research];[Social marketing & Vietnamese community insights]](https://cdn.slidesharecdn.com/ss_thumbnails/vietnammarketresearchtopline-viettrackmar2010-101230030551-phpapp01-thumbnail.jpg?width=640&height=640&fit=bounds)