Download as PDF, PPTX
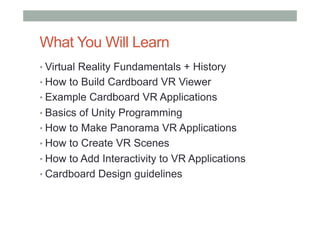
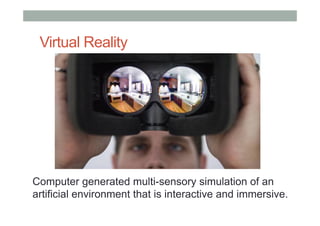

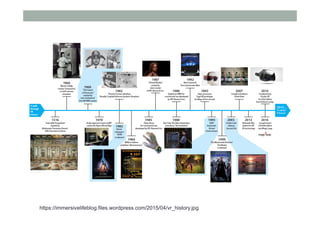
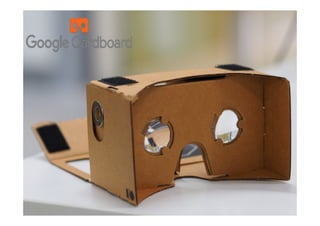
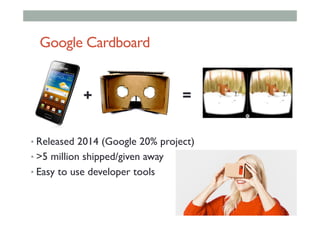
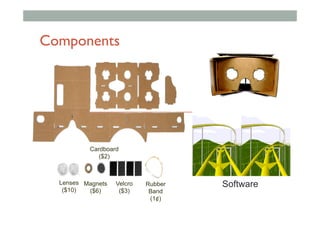
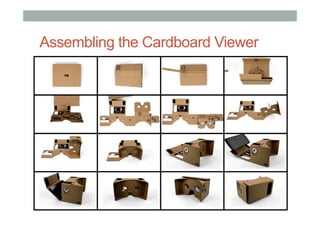
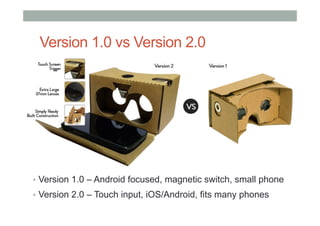
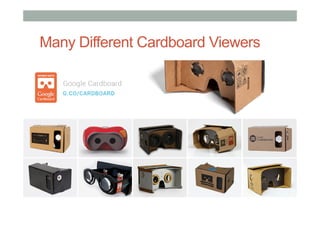
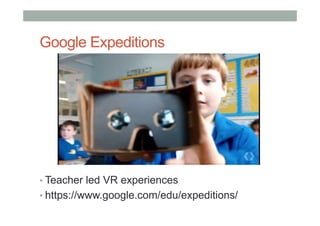
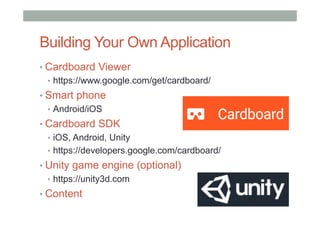
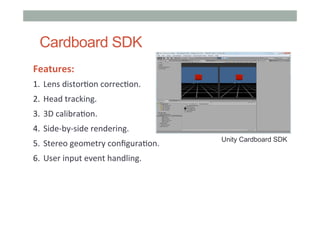

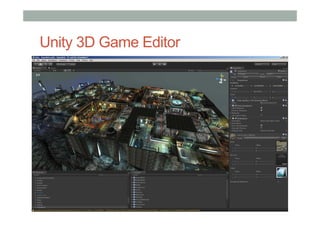
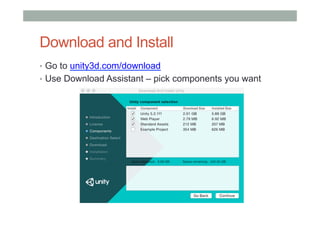
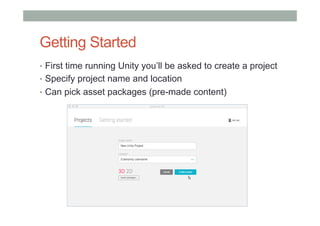

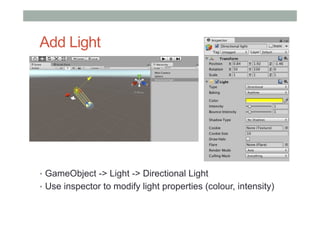
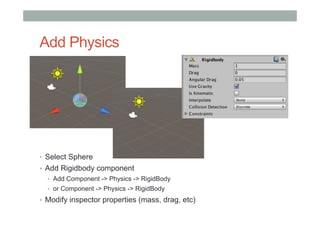
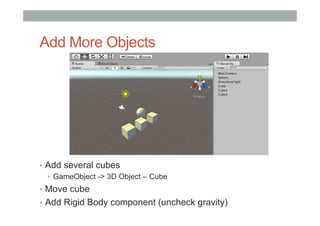
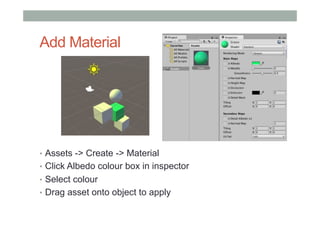
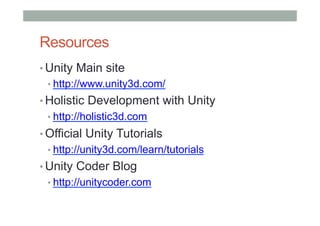
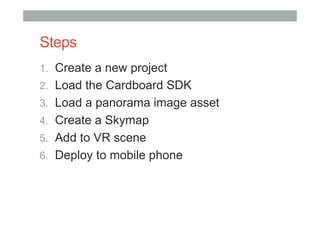
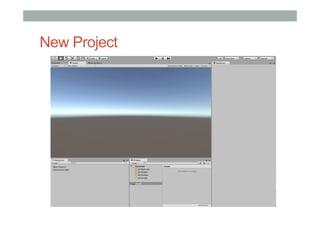

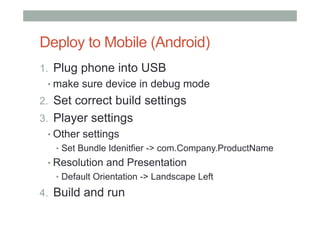
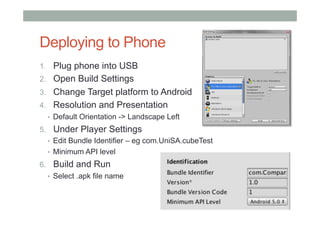
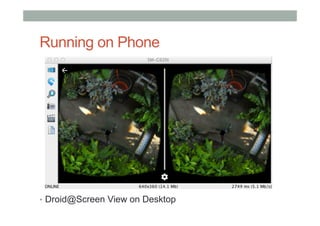


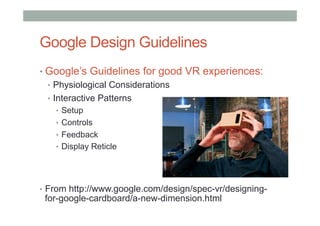

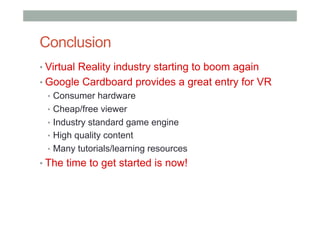

The document discusses building low-cost virtual reality (VR) experiences using Google Cardboard. It provides an overview of VR fundamentals and history. It then explains how to build a Cardboard VR viewer and develop basic Cardboard VR applications using tools like Unity. Examples are given of panoramic and 3D VR scenes that can be created. Guidelines are also provided for adding interactivity and following Google's design specifications for Cardboard applications.