Download as PDF, PPTX


![Augmented Reality Definition
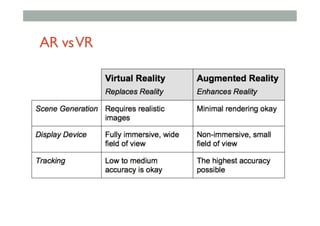
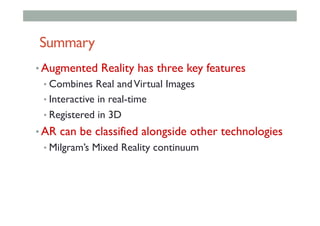
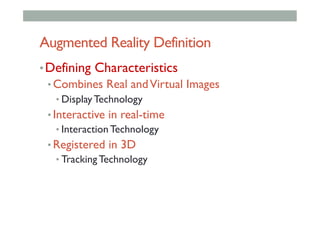
• Defining Characteristics [Azuma 97]
• Combines Real andVirtual Images
• Both can be seen at the same time
• Interactive in real-time
• The virtual content can be interacted with
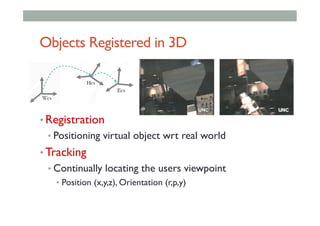
• Registered in 3D
• Virtual objects appear fixed in space
Azuma, R. T. (1997). A survey of augmented reality. Presence, 6(4), 355-385.](https://image.slidesharecdn.com/mobilear-tutorial-151202145835-lva1-app6892/85/Mobile-AR-Tutorial-3-320.jpg)


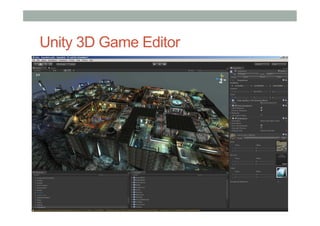


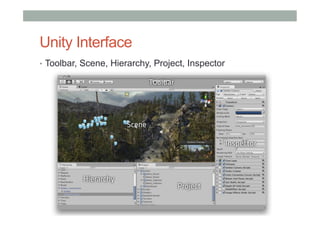
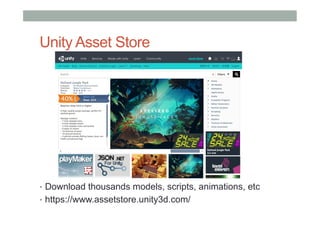


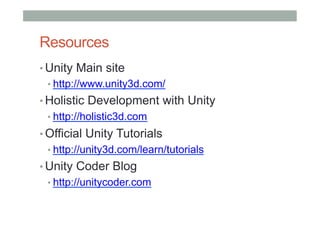


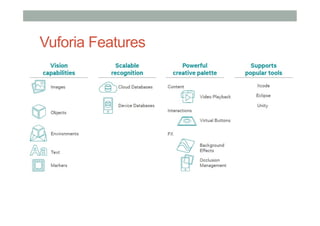
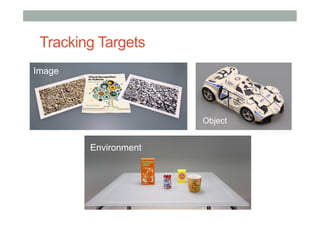
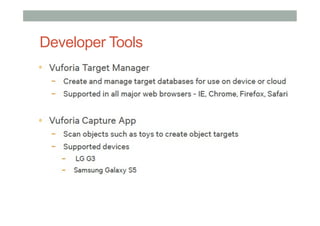
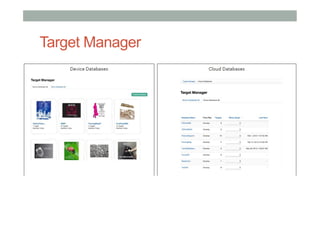
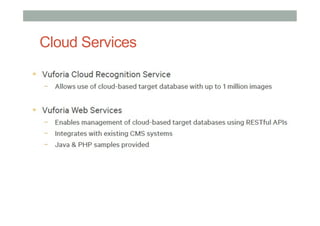
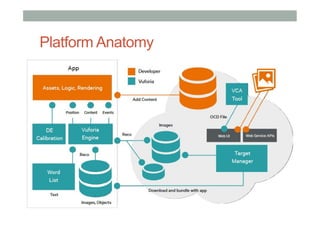


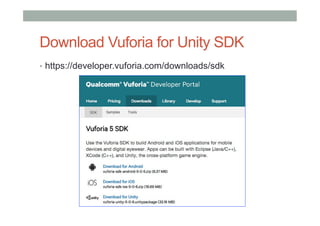
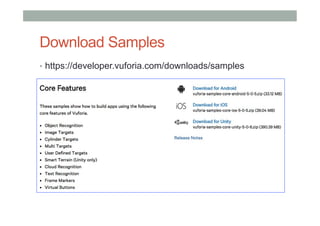
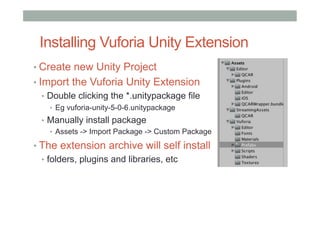


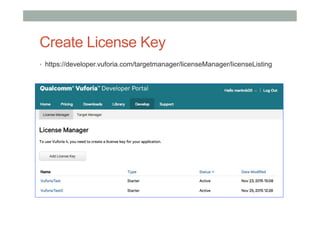
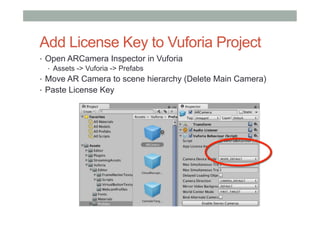

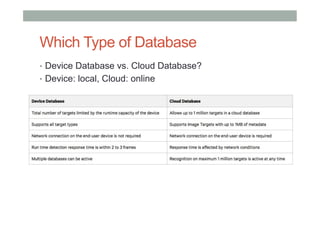
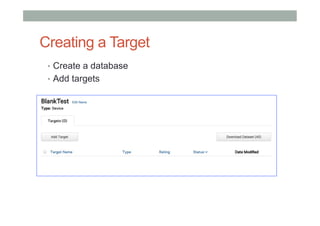
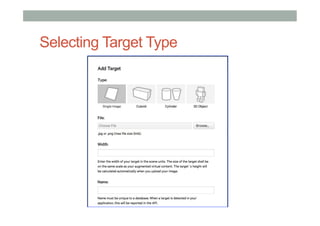
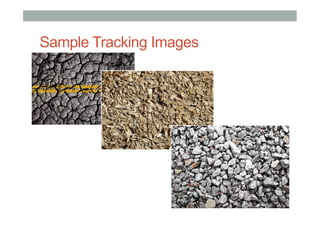

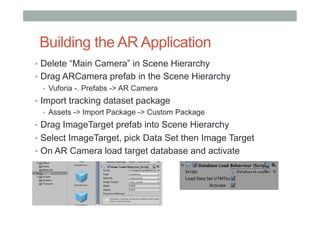
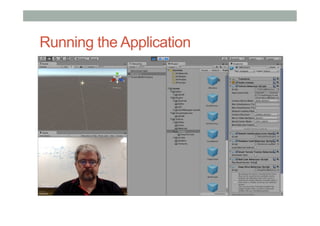
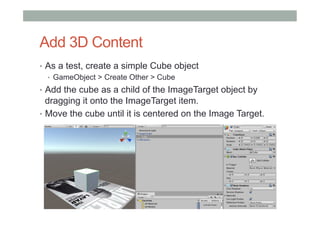
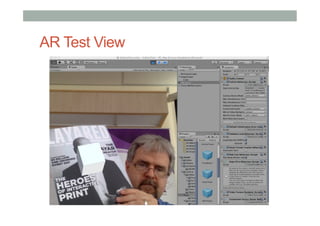


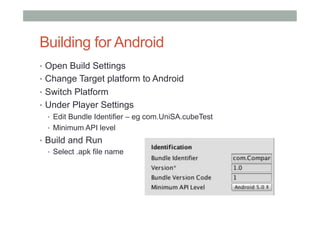

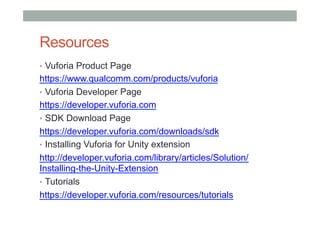

This document provides an overview of augmented reality (AR) and the Vuforia platform for building AR applications. It discusses key Vuforia features like image and object tracking. It also provides steps for setting up a Vuforia project in Unity, including importing the Vuforia Unity plugin, adding a tracking target, and deploying the built application to Android. Additional topics covered include interactive scripting, using Vuforia samples, and resources for further learning.

![[DevDay2018] Developing for VR/AR with Unity - By: Tu Phan and VR/AR Team, De...](https://cdn.slidesharecdn.com/ss_thumbnails/f110-phanngoctu-developingforar-180419092504-thumbnail.jpg?width=640&height=640&fit=bounds)


![[ICE 2025] Quick Prototyping with Unity & CoPilot.pptx](https://cdn.slidesharecdn.com/ss_thumbnails/ice2025quickprototypingwithunitycopilot-250819033823-549f06c1-thumbnail.jpg?width=640&height=640&fit=bounds)