Downloaded 169 times

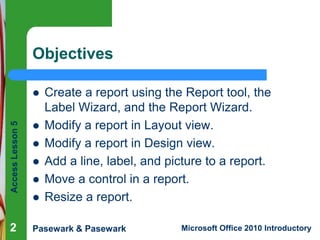
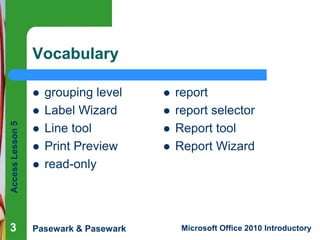


This document discusses how to create and modify reports in Microsoft Access 2010. It covers using the Report tool, Label Wizard, and Report Wizard to create basic reports from tables or queries. It also describes modifying reports in Layout view by adjusting control layouts and sizes, and in Design view by changing report sections, adding controls, lines, labels, and pictures. The goal is to help users understand how to generate and customize reports to display and organize database data.