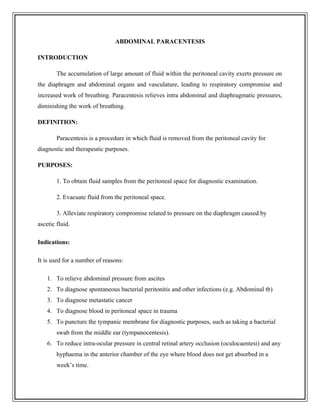
Abdominal paracentesis is a procedure that involves inserting a needle or catheter into the peritoneal cavity to obtain ascitic fluid for diagnostic or therapeutic purposes. It can be used to relieve symptoms of ascites or as a diagnostic test to determine the cause of fluid buildup. The procedure for a thoracentesis involves the following steps:
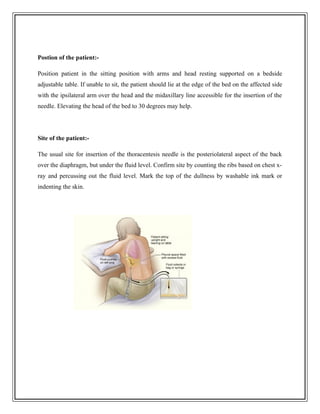
Positioning: You'll sit in a chair or lie on a table to allow the doctor access to your pleural space.
Ultrasound or CT Guidance: The doctor uses ultrasound or CT guidance to confirm the correct area for the needle insertion.
Numbing: The selected area is cleaned and injected with a numbing agent.
Needle Insertion: The doctor inserts a needle between the ribs in your back.
Fluid Withdrawal: A catheter (tube) is attached to the needle to withdraw fluid from the pleural space.

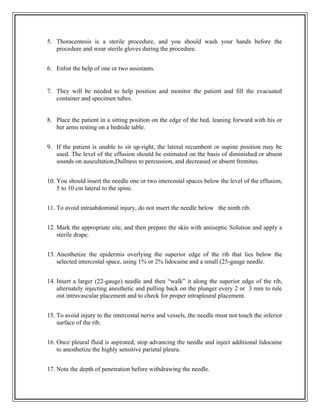


![INFLAMATORY BOWEL DISORDER [IFD] .ppt](https://cdn.slidesharecdn.com/ss_thumbnails/inflamatoryboweldisorder-250605044139-61f49cba-thumbnail.jpg?width=640&height=640&fit=bounds)


