This document provides an outline for planning a film production project. It includes sections for visual planning, organizational planning, location information, risk assessments, scheduling, paperwork, and soundtrack planning. For the visual planning section, it recommends developing a storyboard and shot list. The organizational planning section includes templates for listing contact information and roles. It also provides guidance on assessing locations and risks. The document is intended as a template to help structure and plan all aspects of a short film production.

![ This template PowerPoint presentation includes all the relevant
elements you need to cover your film production.
It is suggested you save this PP in a different name so you
always have a copy – some sections require you to delete the
information on the slide and replace with your own work
Add more pages to each section where necessary [you should be
doing this!]
Add visuals as you see necessary
This document will be added to as you progress through the pre-
production phase.
Remember, you need to give as much attention to your
sound planning as you do to your visual planning](https://image.slidesharecdn.com/4-180208112400/85/4-pre-production-sf-2017-2-320.jpg)
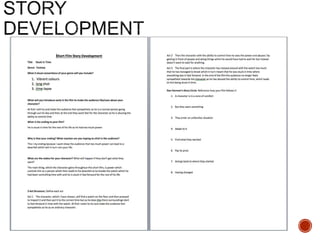
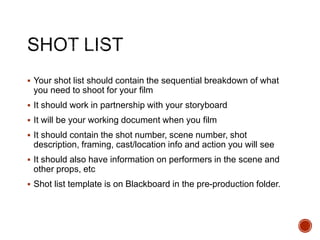
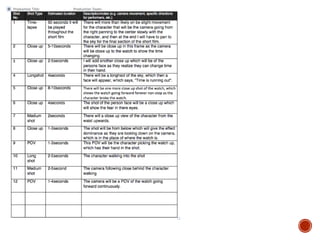
![ Breakdown your film into it’s basic sections [e.g. via scene
breakdown or similar] and apply broad visual ideas to each
section. You should list the shots required
You can use this as the master template for your production, then
add more shots to each section when you develop your full visual
plan
From this you could work on a conventional script if you want, but
using the scene breakdowns should be enough](https://image.slidesharecdn.com/4-180208112400/85/4-pre-production-sf-2017-6-320.jpg)
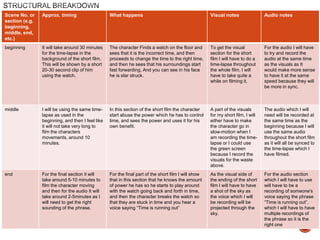
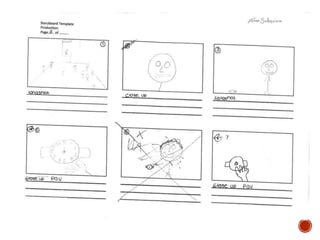
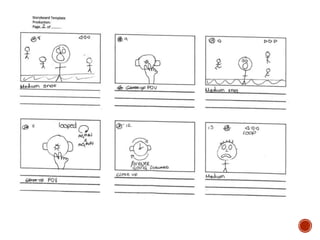
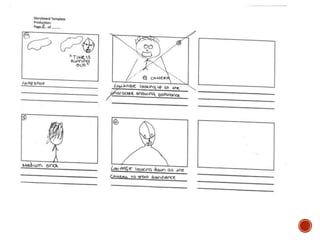
![ Your storyboard should bring your idea to life
Provide an idea of the sequencing of you film
Provides a basis for production
Suggested online storyboard creators are:
https://www.storyboardthat.com
http://www.pixton.com [very complicated]
http://www.storyjumper.com [allows you to insert your own images]
Alternatively, hand draw or photograph your storyboard and scan or
copy to insert it onto your slides
There are lots of tips collected together on Blackboard!](https://image.slidesharecdn.com/4-180208112400/85/4-pre-production-sf-2017-10-320.jpg)
![ Who is going to be in your film, how and why have they been deemed your
best choice? Do you have any backup options?
Luckily I didn’t] need any for backup because everyone that I needed came, but
before hand I didn’t have anyone that could have been backup.](https://image.slidesharecdn.com/4-180208112400/85/4-pre-production-sf-2017-18-320.jpg)
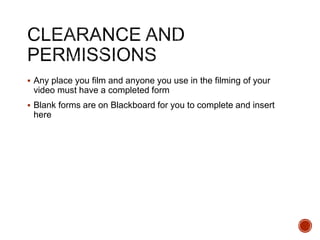
![ Information and images of your location[s] for filming
You should have address details, clearance/premissions for
filming, recce photos and floorplans [including camera, equipment
and cast/crew layouts]
Where possible, have a plan B fallback location option
Assess each location for any issues and suggest solutions](https://image.slidesharecdn.com/4-180208112400/85/4-pre-production-sf-2017-19-320.jpg)

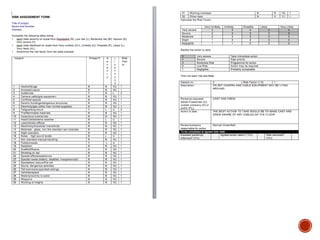
![ Things go wrong
Your contingency plan is there to give you a backup or to
minimise the effect on production
You should consider the following areas: Technical, Location,
Personnel and Organisational areas [about 5 potential issues for
each]
Use the form in pre-production folder on Blackboard](https://image.slidesharecdn.com/4-180208112400/85/4-pre-production-sf-2017-22-320.jpg)


![ These are the sounds/audio that the audience experiences, but
are not part of the ‘world’ of the character[s], this could be music,
sound cues, etc
Consider where you are going to get these, only royalty free
sources and original content is permitted – please track your
sources
You could also produce your own soundtrack using garageband](https://image.slidesharecdn.com/4-180208112400/85/4-pre-production-sf-2017-30-320.jpg)