This document provides tips for creating effective screencasts in 3 sentences or less:
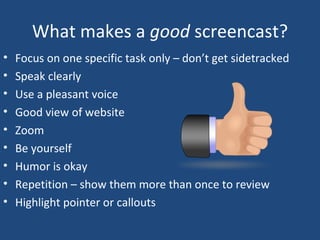
It discusses different types of screencasts such as quick "how-to" tutorials or more in-depth tutorials for teaching or training. It emphasizes the importance of storyboarding to plan out the script, scenes, and visual elements. Finally, it provides best practices for making high-quality screencasts such as focusing on one task, speaking clearly, using zoom features sparingly, and highlighting areas of the screen.