Downloaded 224 times

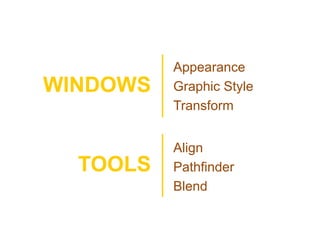


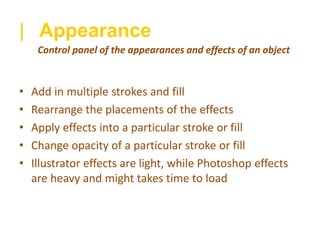

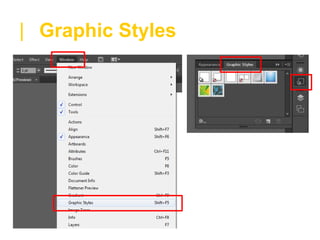

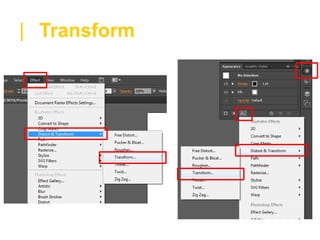
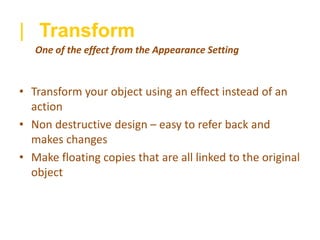


The document provides essential tips and tools for Adobe Illustrator, covering features such as the Appearance panel, Graphic Styles, Transform effects, Alignment tools, Pathfinder options, and Blend tools. It highlights the benefits of using non-destructive design methods, saving appearance settings, and creating complex shapes and patterns. Overall, it serves as a guide to enhance design efficiency and creativity within Illustrator.