
Recommended
Recommended
More Related Content
What's hot
What's hot (19)
Similar to Quick Guide: 5-Minute Screencasts for Assessment Support
Similar to Quick Guide: 5-Minute Screencasts for Assessment Support (20)
Recently uploaded
Recently uploaded (20)
Quick Guide: 5-Minute Screencasts for Assessment Support
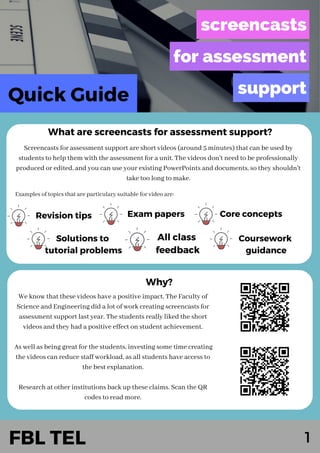
- 1. 1 Quick Guide Screencasts for assessment support are short videos (around 5 minutes) that can be used by students to help them with the assessment for a unit. The videos don't need to be professionally produced or edited, and you can use your existing PowerPoints and documents, so they shouldn't take too long to make. What are screencasts for assessment support? Why? We know that these videos have a positive impact. The Faculty of Science and Engineering did a lot of work creating screencasts for assessment support last year. The students really liked the short videos and they had a positive effect on student achievement. As well as being great for the students, investing some time creating the videos can reduce staff workload, as all students have access to the best explanation. Research at other institutions back up these claims. Scan the QR codes to read more. Revision tips All class feedback Exam papers Coursework guidance Core concepts Solutions to tutorial problems FBL TEL Examples of topics that are particulary suitable for video are:
- 2. 2 How? 1. Download Kaltura Capturespace Click on the CaptureSpace Desktop Recorder icon in the 'add new' menu: 2. Open the CaptureSpace Desktop Recorder Click on 'Add New' link FBL TEL Log in to mmutube.mmu.ac.uk Select download (if dialog appears select 'Run') Select CaptureSpace for Desktop The following workflow has been found to be the simplist to use. If you are already making this type of video using a different method, you don't need to change!
- 3. 3 Launch PowerPoint Give your video a name and description. Select add media: Select the video that you have just made by clicking on the select button 3. Prepare your content 4. Record your screencast 5. Publish your video If you are using a headset make sure it is plugged in FBL TEL Click on screen Select record Click the Kaltura icon on the taskbar Click on save and return to course Go to the Moodle page where you would like to add the video and turn editing on Select Video/Audio Resource Click on add an activity or resource Open your presentation tools by starting the slide show, right clicking and selecting 'pointer options' A countdown timer will start Press escape Click the done icon Make any necessary simple edits and click done again Click upload Congratulations - you have now created and published your screencast!
- 4. 4 Use Kaltura with PowerPoint for a simple and seamless experience Split recordings into specific topics to make it easier for student revision Use a headset to ensure voice clarity and to avoid background noise Show visual prompts / text to aid students with their understanding Use PowerPoint pointer options to highlight key points Send announcements to promote viewing Limit the screencast to 10 minutes and create topic based screencasts. Use MMUtube to upload content to make it accessible for students no matter what device they use (automatic if you use Kaltura) Best practice FBL TEL