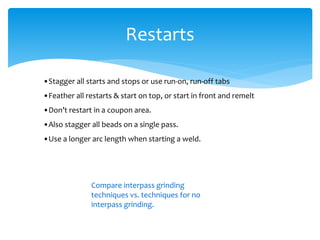
Downloaded 576 times

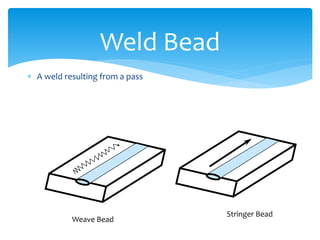
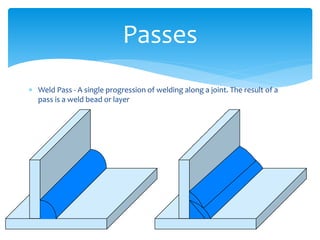
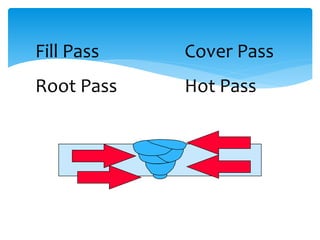
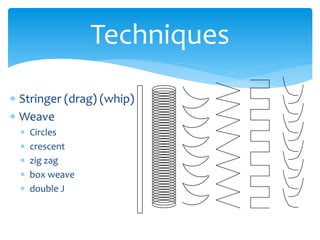
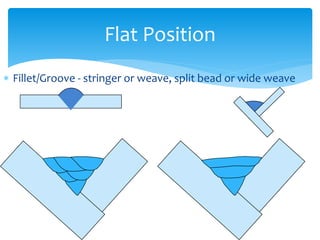
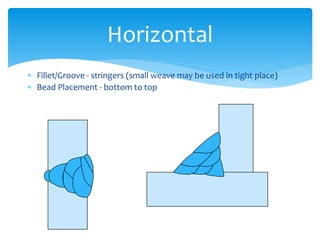


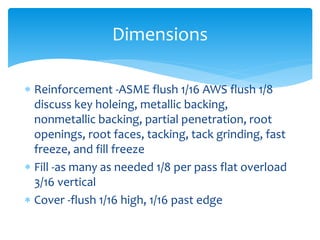
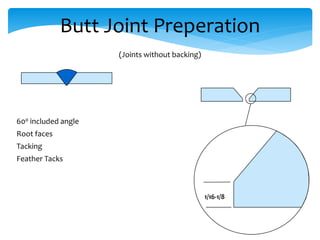

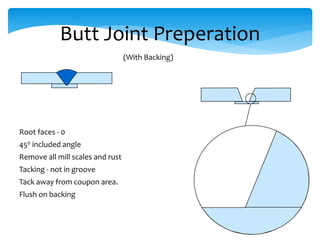


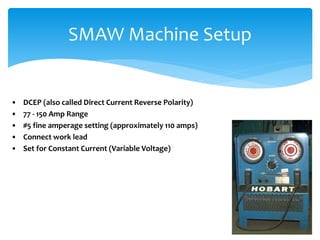
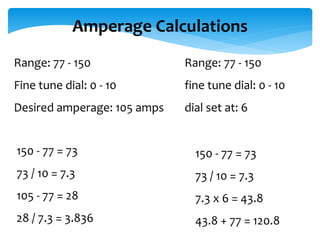

This document provides information on shielded metal arc welding (SMAW) techniques. It discusses various types of weld beads and passes used in SMAW. Key techniques covered include stringer, weave, and whip techniques and their characteristics. Proper travel angles, speeds, and electrode placement are described. Joint preparation details are provided for different joint types, positions, and whether backing is used. The document also discusses restart and crater techniques as well as machine setup parameters.


