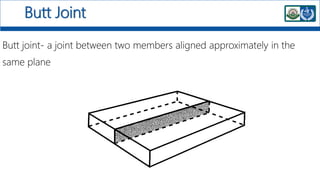
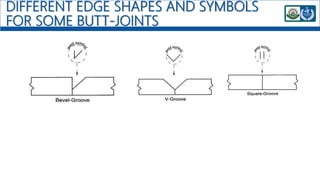
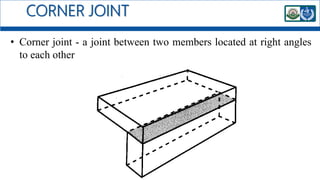
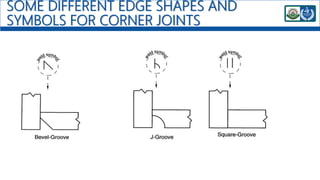
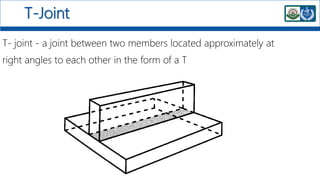
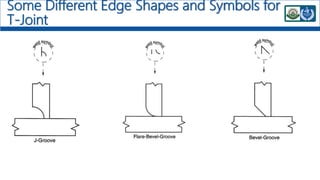
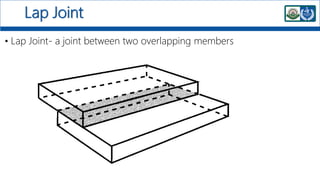
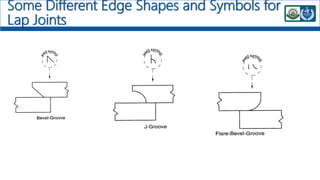
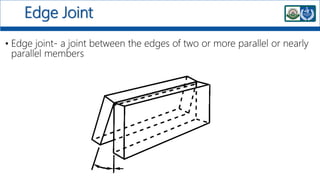
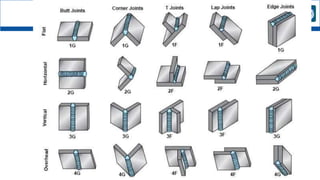
1) There are 5 basic welding joint types - butt, lap, edge, tee, and corner. Each joint has different edge preparations and symbols.
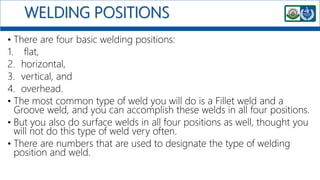
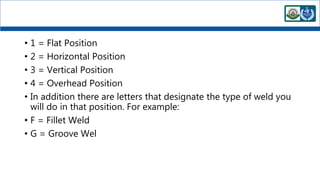
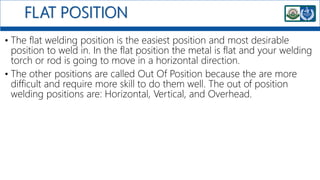
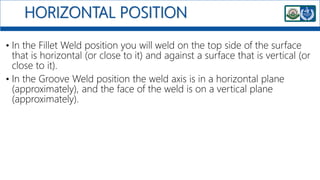
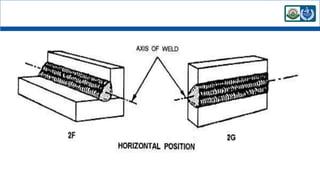
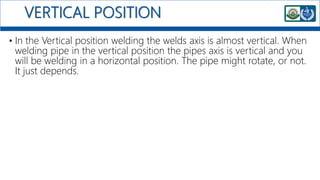
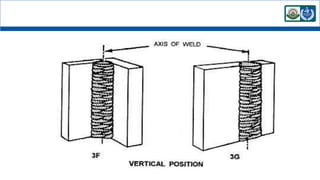
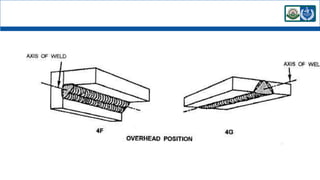
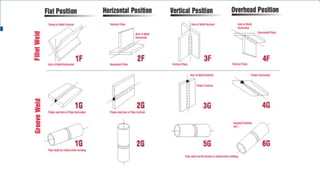
2) There are 4 basic welding positions - flat, horizontal, vertical, and overhead. Welds are designated by a number (1-4) indicating the position and a letter for the weld type (F for fillet, G for groove).
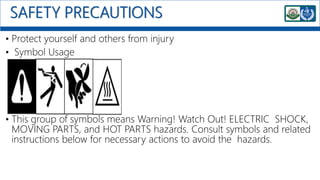
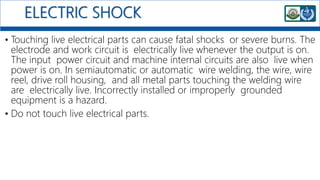
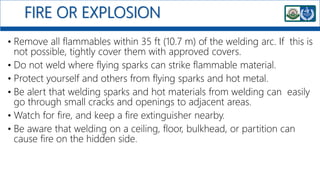
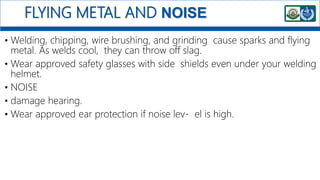
3) Safety precautions must be followed to avoid electric shock, burns, fumes/gases, arc rays, fire/explosion, flying sparks/metal, and noise when welding. Proper protective equipment such as gloves, helmet, and respirators are required.
![WELDING JOINTS AND POSITIONS
Short course
Maxwell Owusu
[BSc., MSc.]
Maxwell.owusu@stu.edu.gh/ +233-261-268565](https://image.slidesharecdn.com/weldingjointsandpositions-220726193955-fe74f10a/85/WELDING-JOINTS-AND-POSITIONS-pptx-1-320.jpg)