The document discusses the slit lamp biomicroscope, its components, uses, and techniques. It describes:
- The history and development of the slit lamp from the 1860s to present.
- The main components including the viewing arm, biomicroscope, illumination arm, and controls for slit size, shape, filters and intensity.
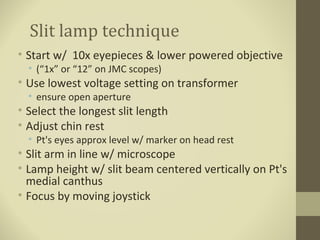
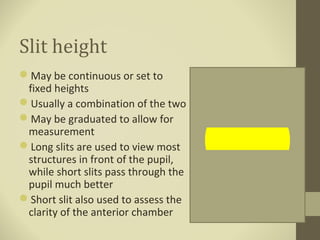
- Common techniques like varying slit width and lamp angle to illuminate different tissue depths and structures.
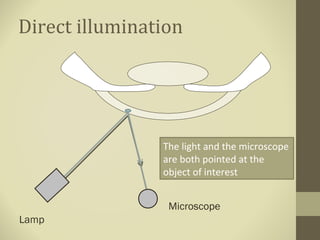
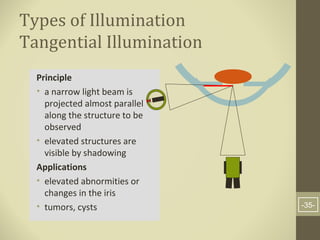
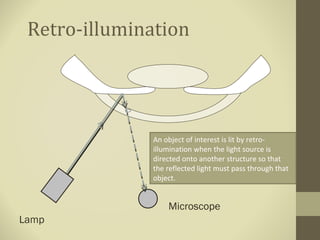
- Methods of illumination including direct, indirect, retro-illumination and their uses in examining different anterior segment structures.