Downloaded 100 times
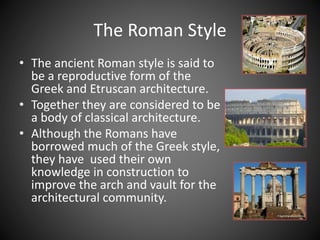
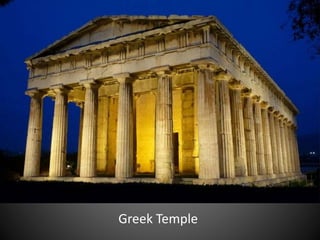
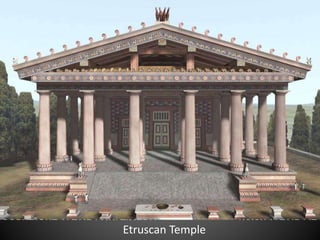
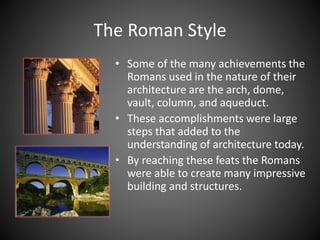
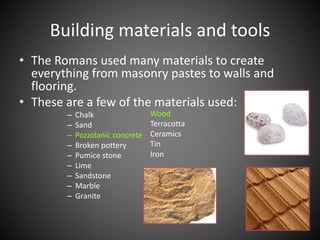
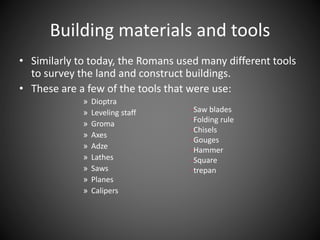
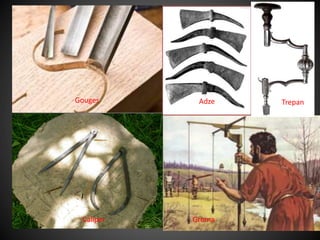
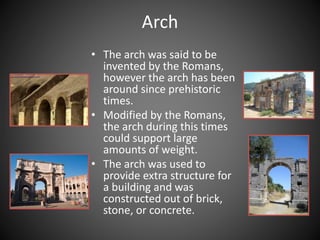
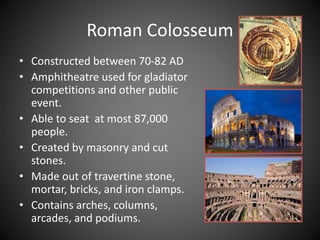
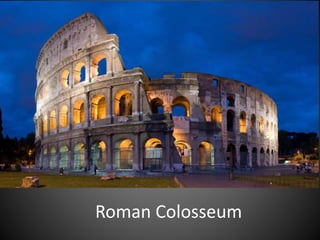
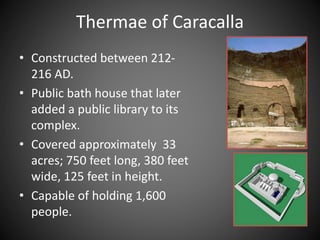
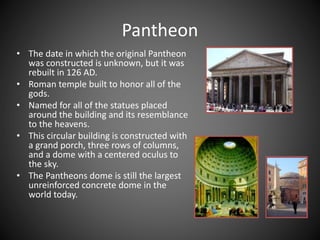
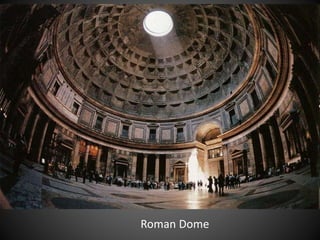

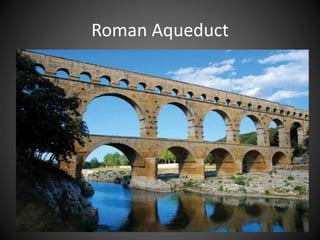


The Romans borrowed architectural styles from the Greeks and Etruscans but improved on techniques like arches and vaults. They utilized materials like concrete, stone, marble and various tools to construct impressive buildings like the Colosseum amphitheater, Thermae of Caracalla baths, and the Pantheon temple. The Romans advanced architecture through their innovative use of arches, domes, vaults and aqueducts to create substantial structures that are still standing today.


