Downloaded 937 times
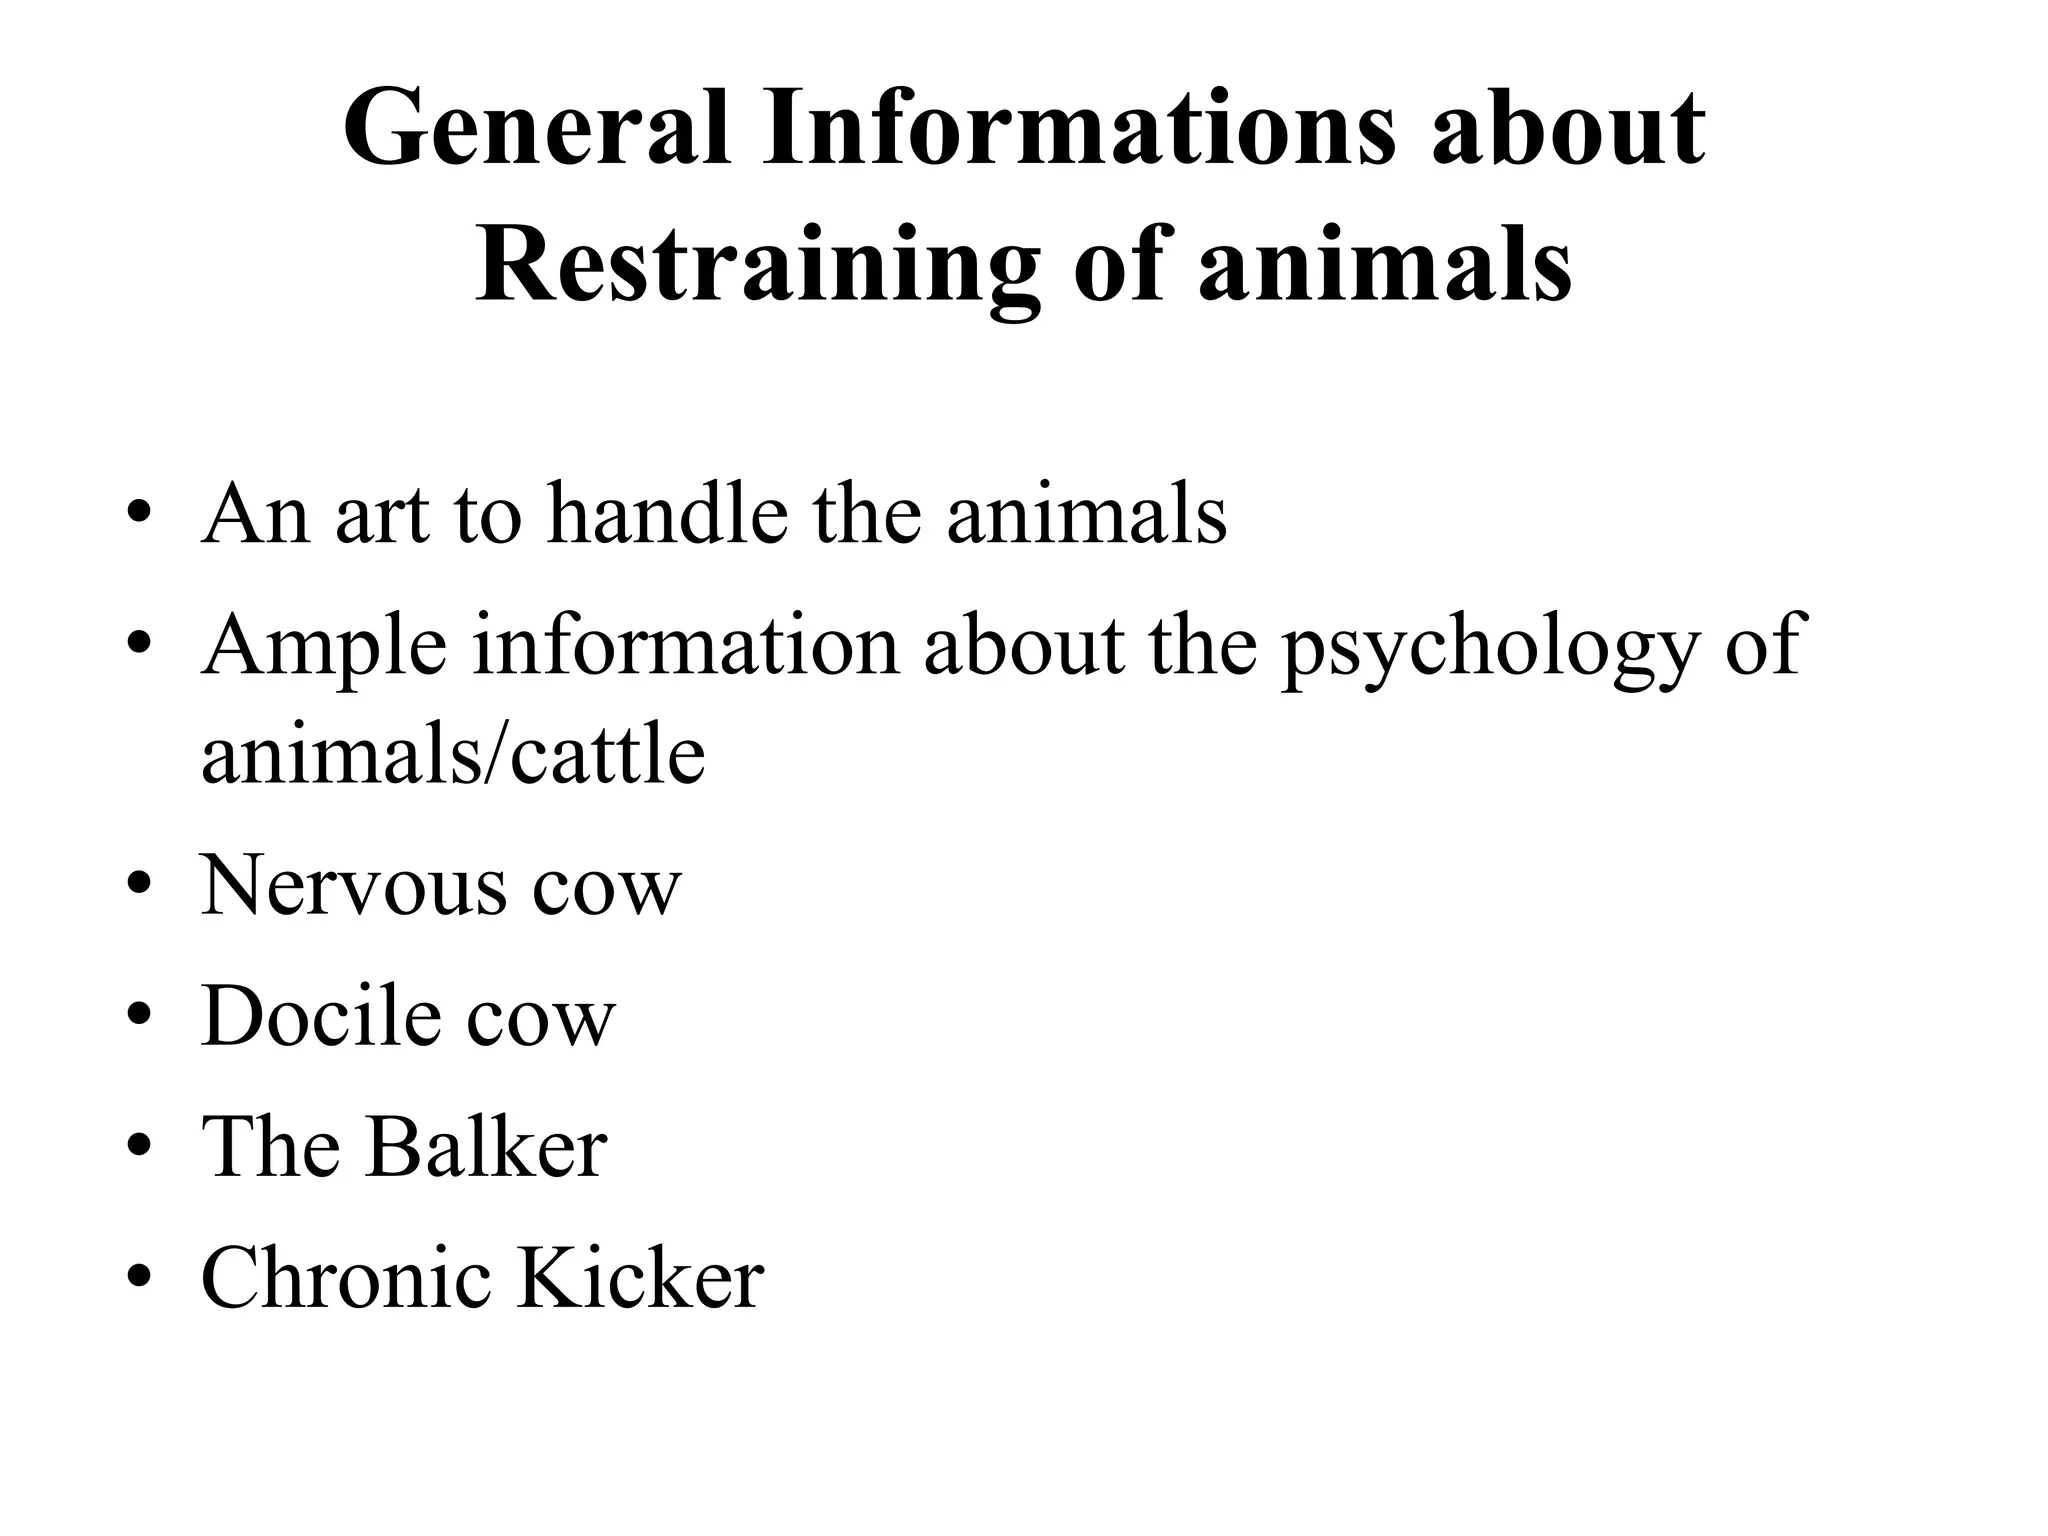
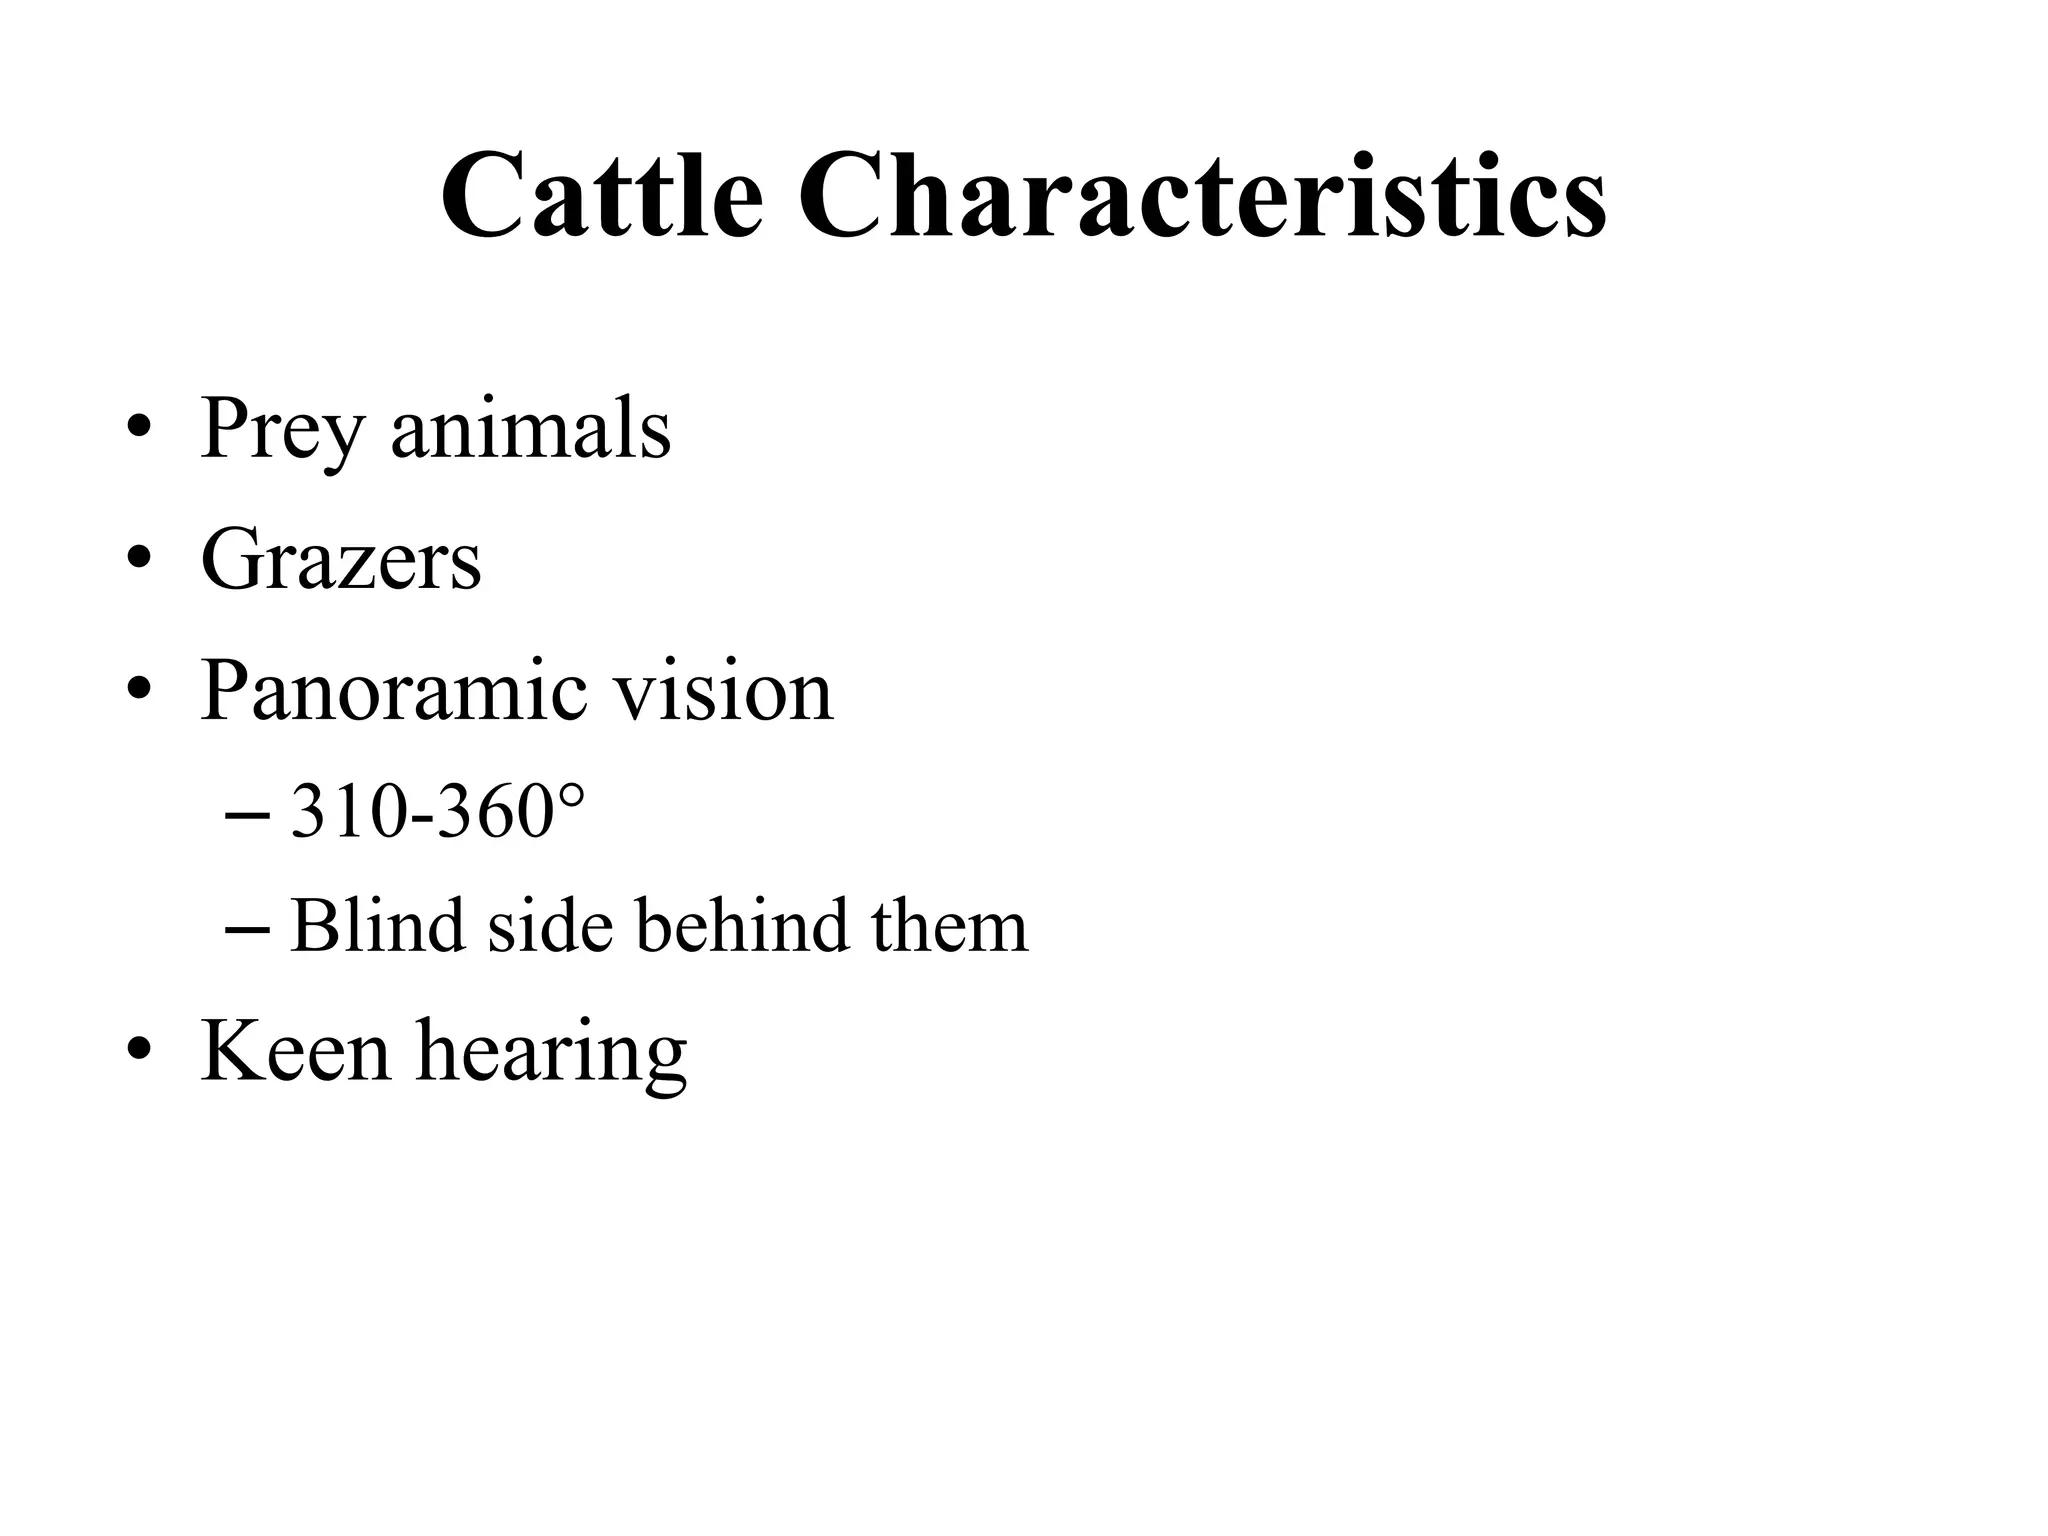
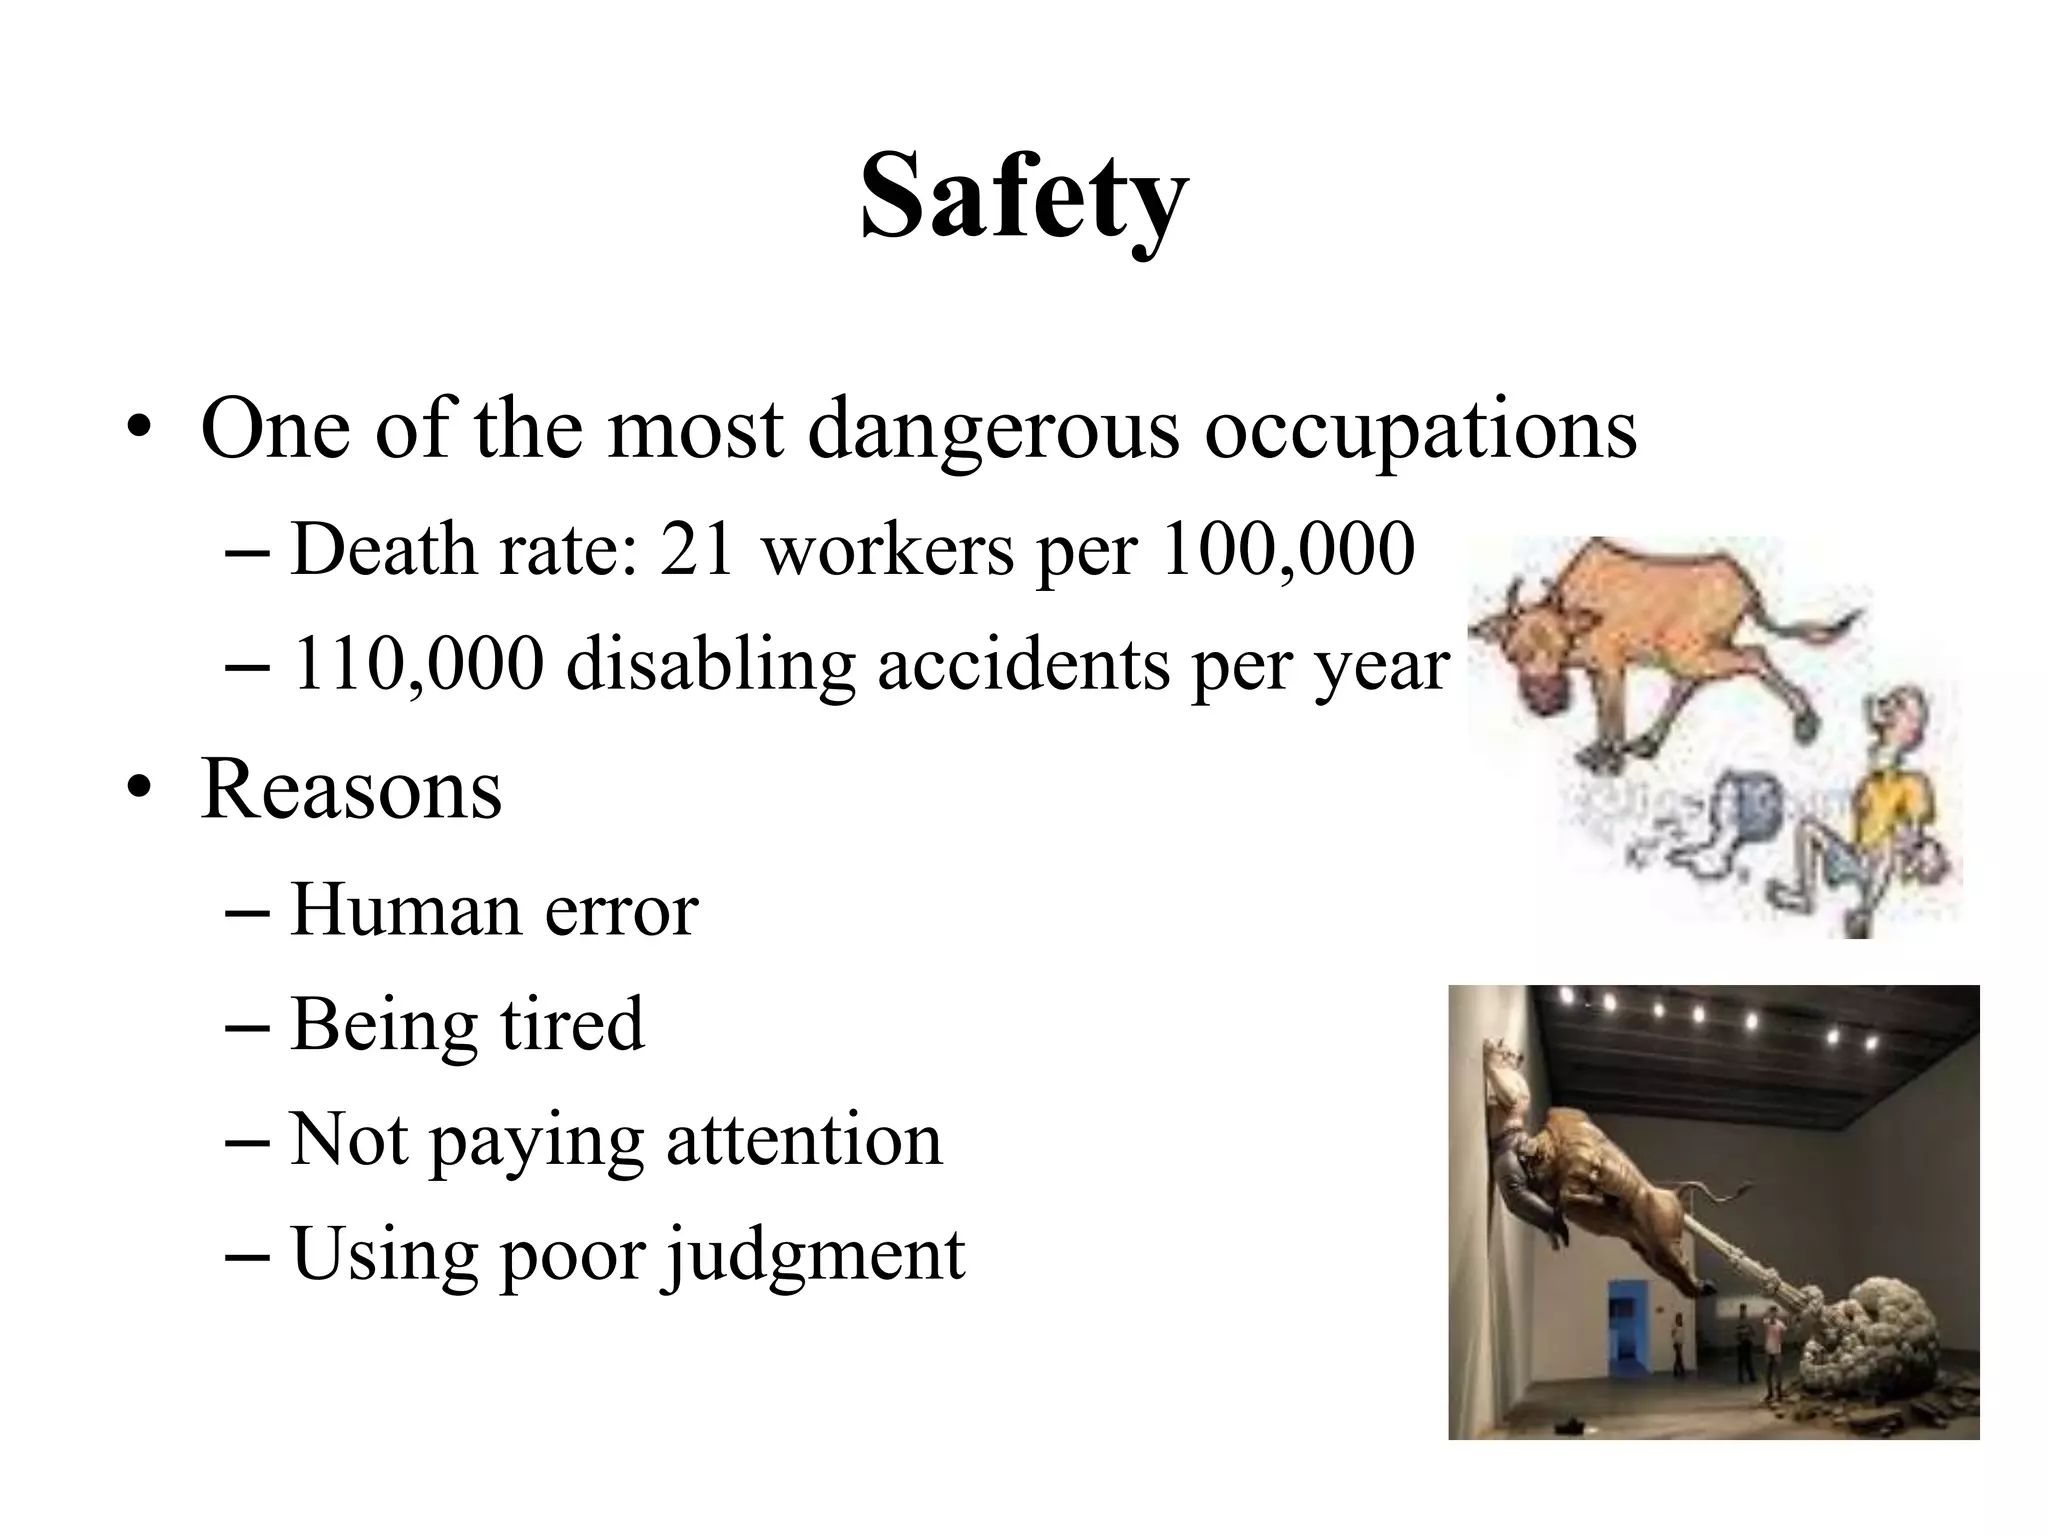
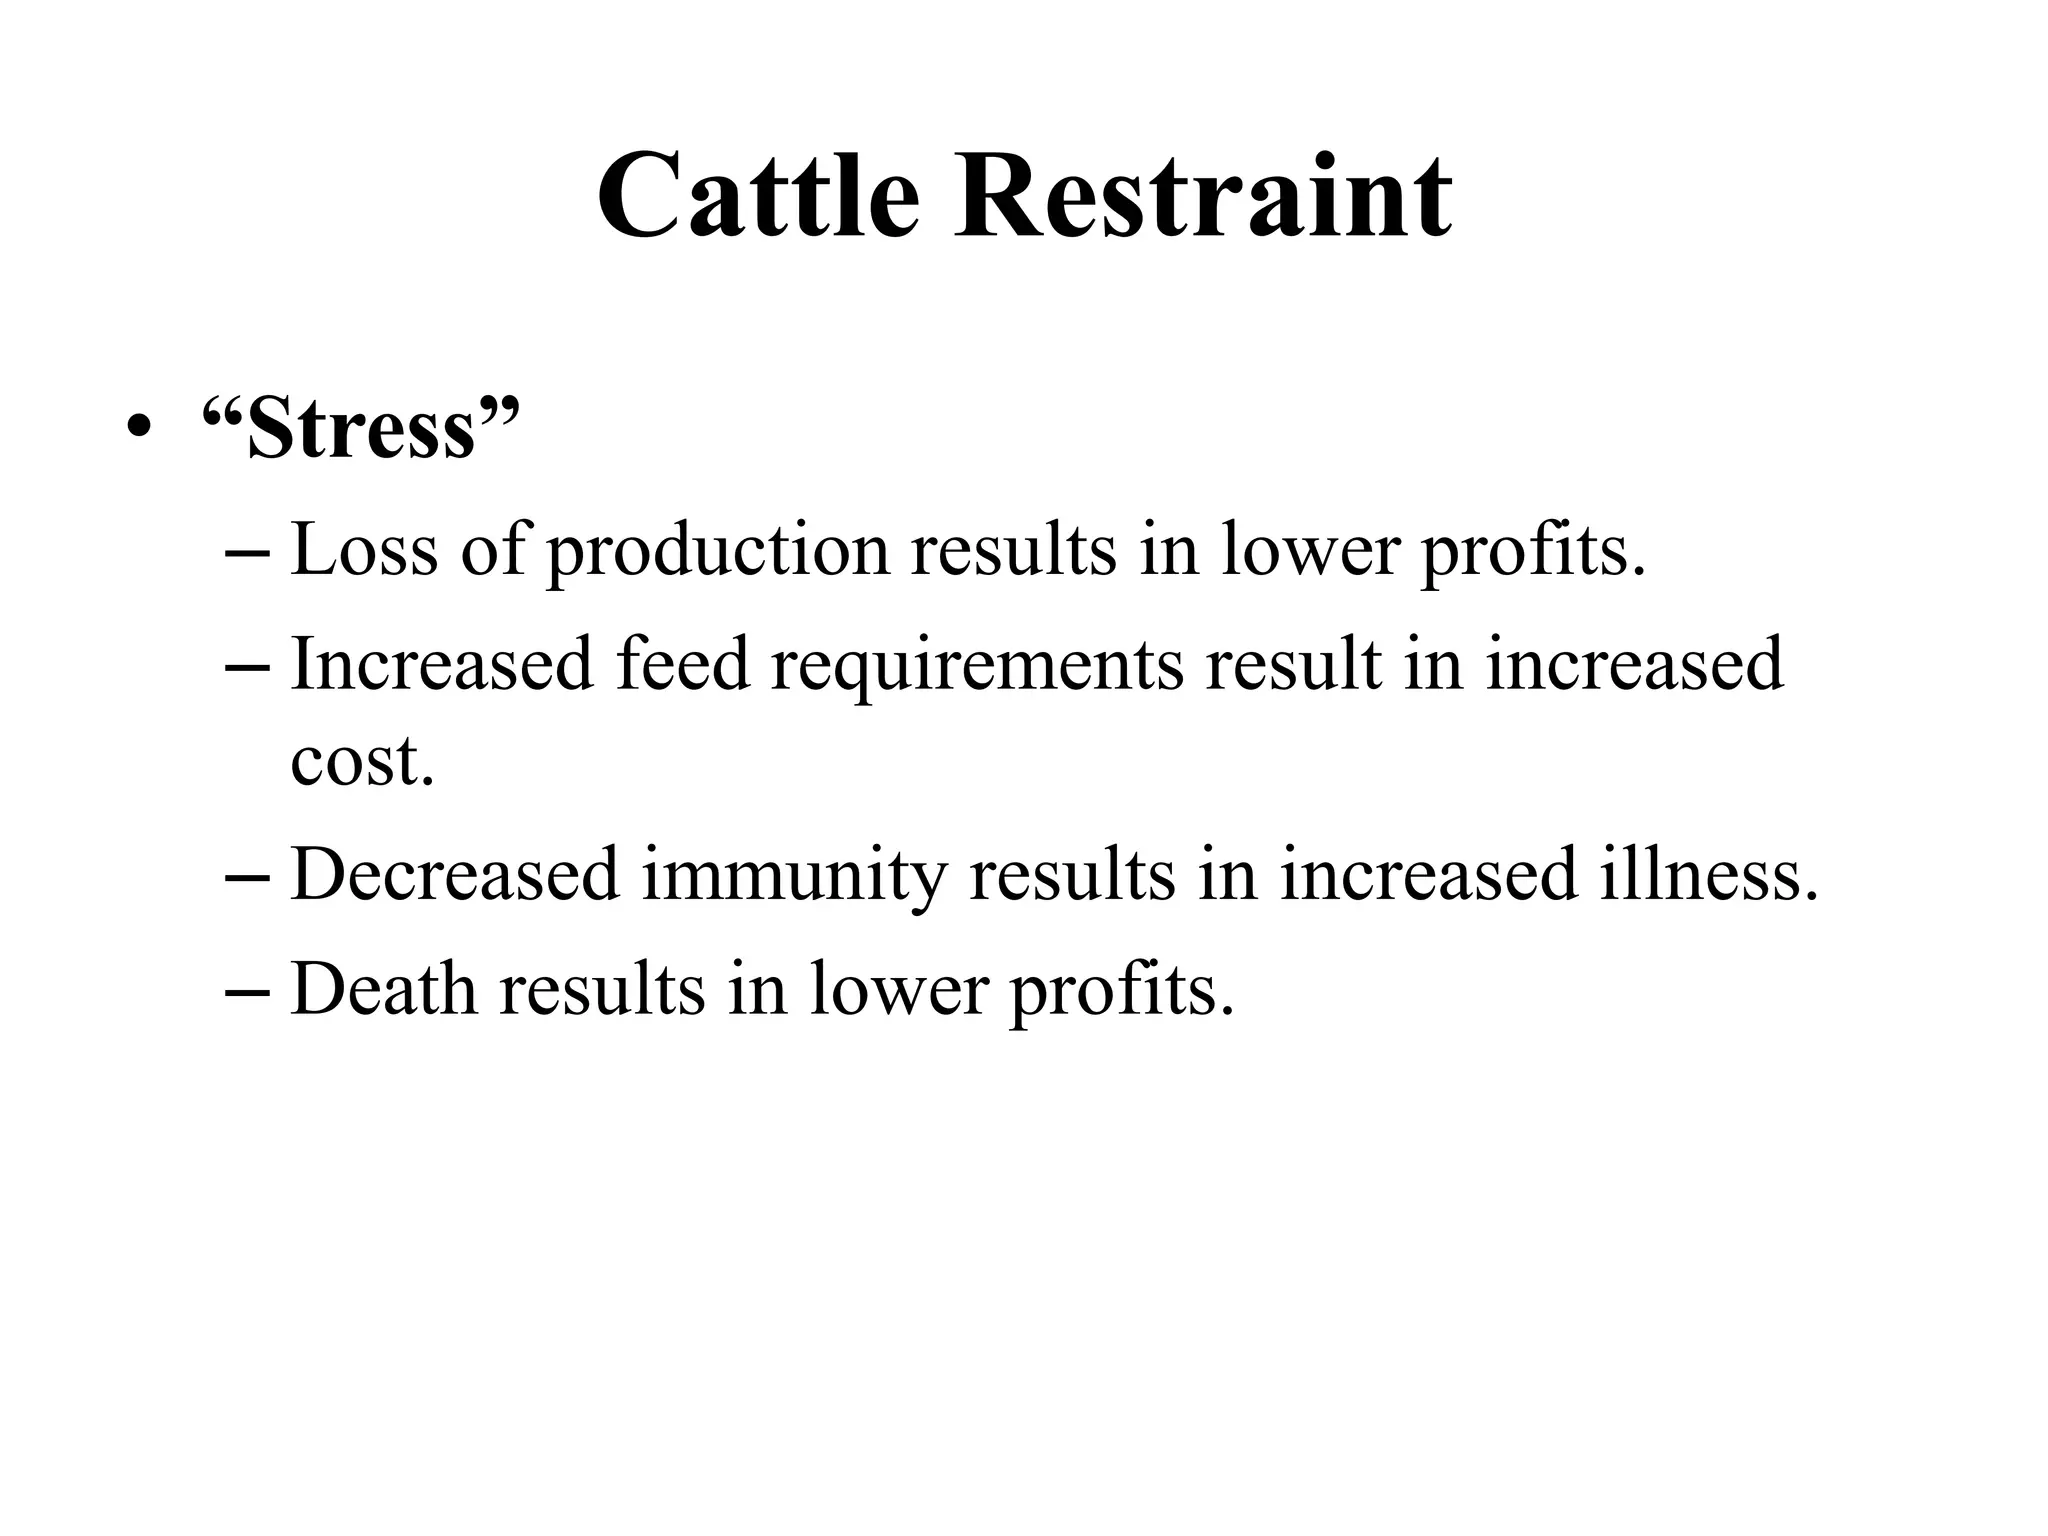
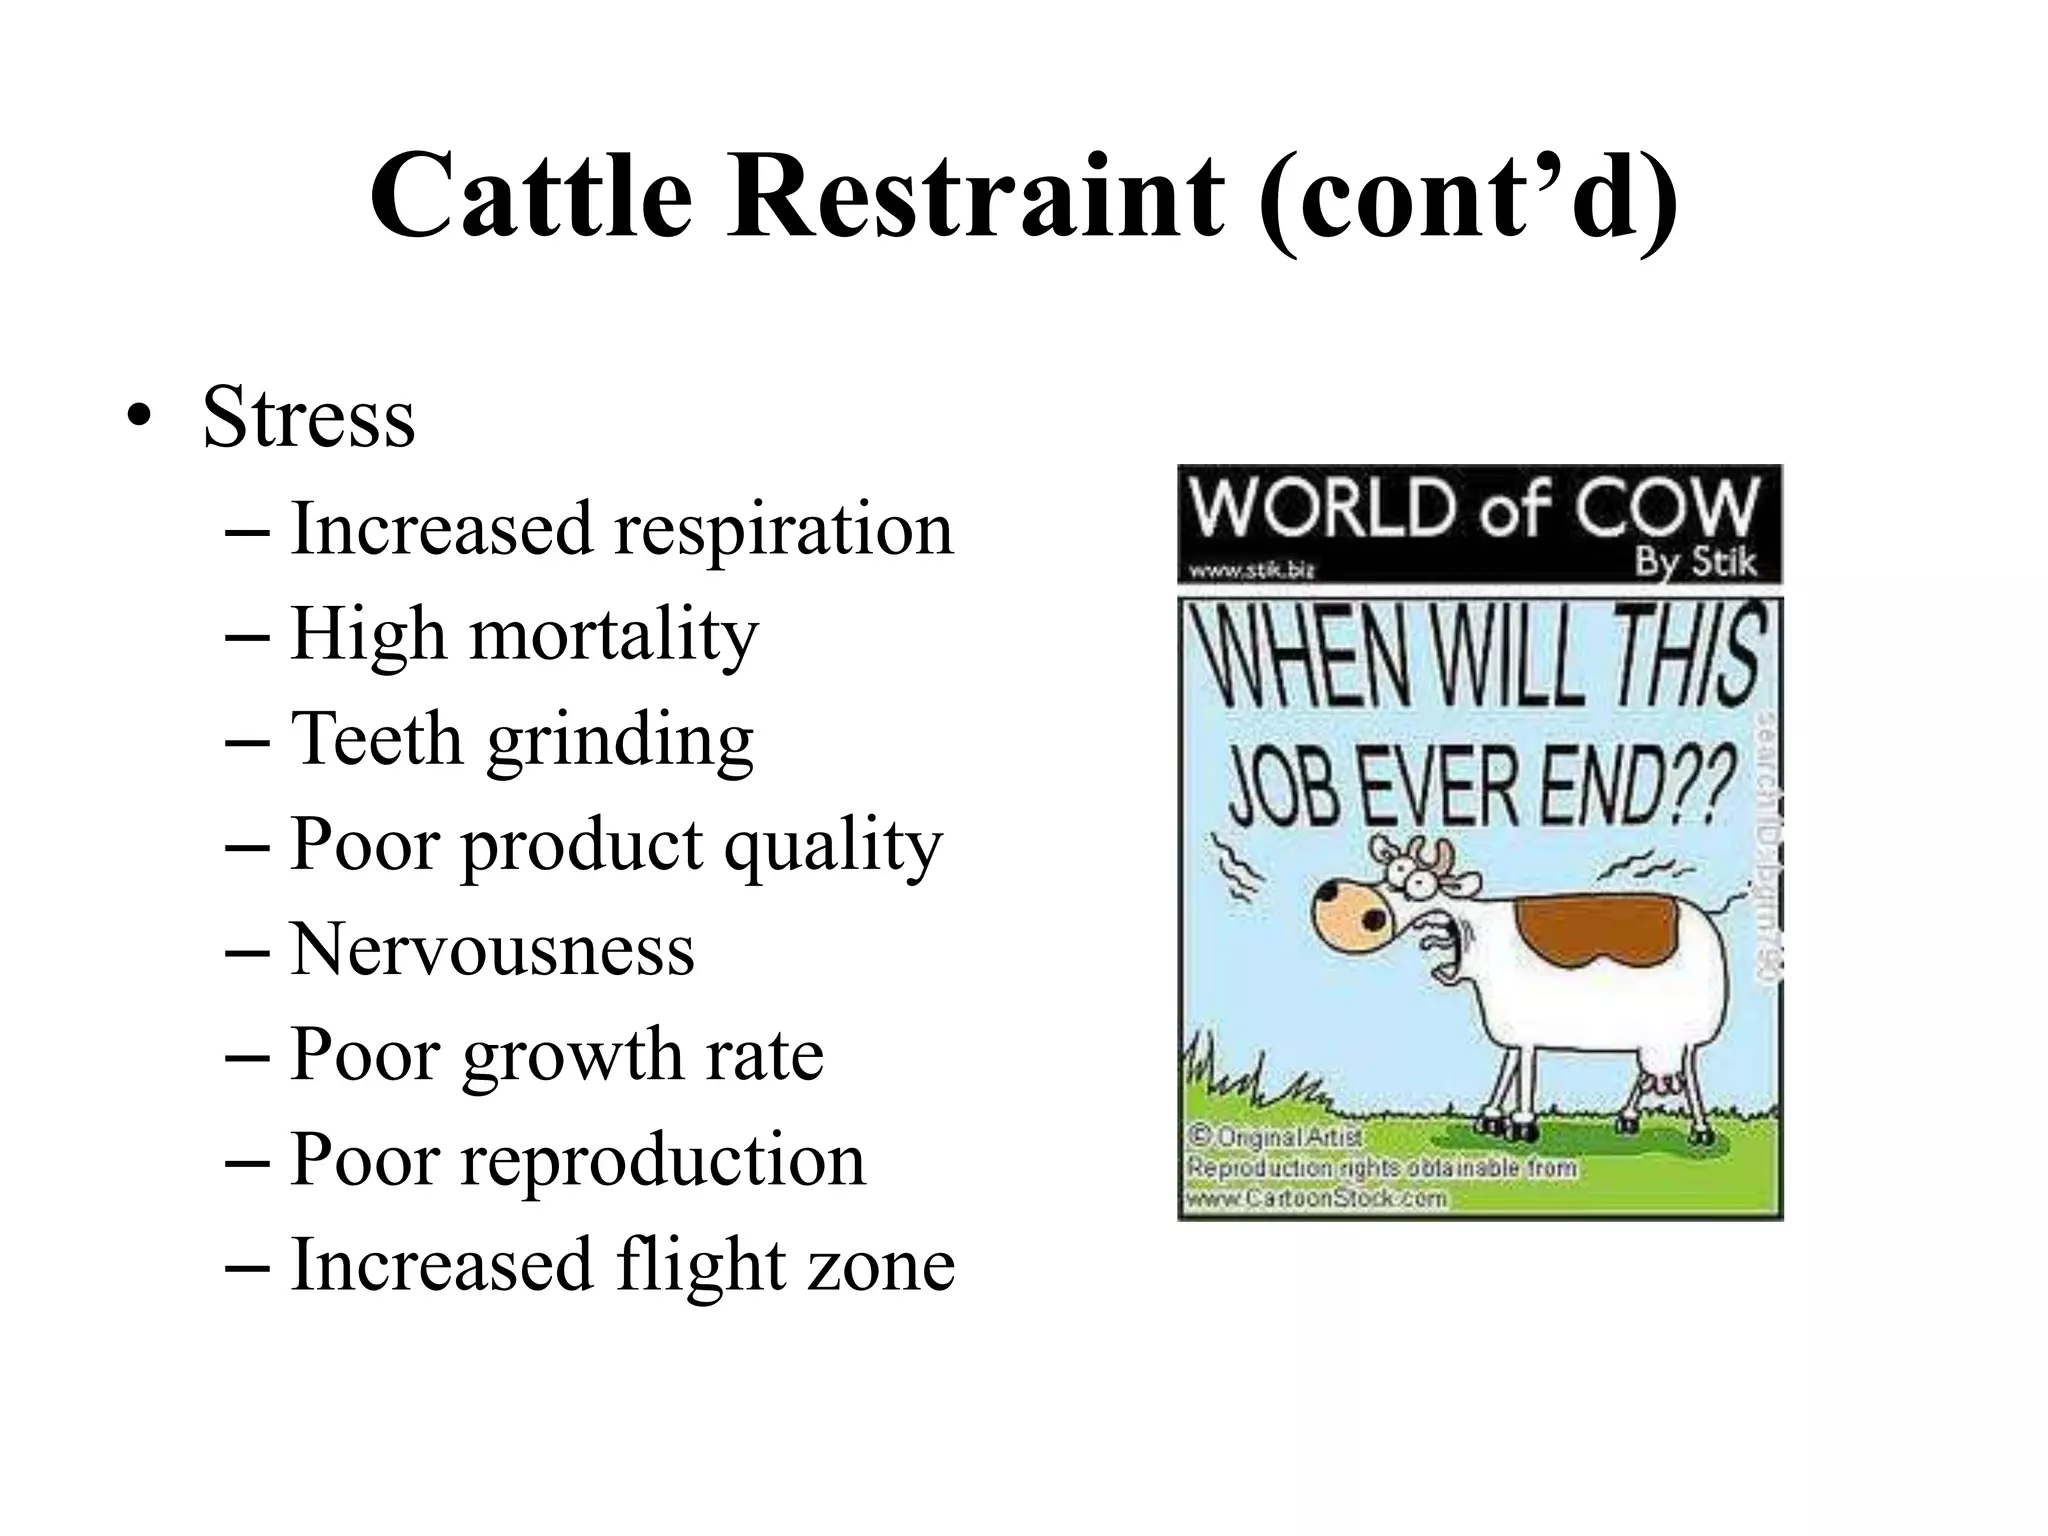
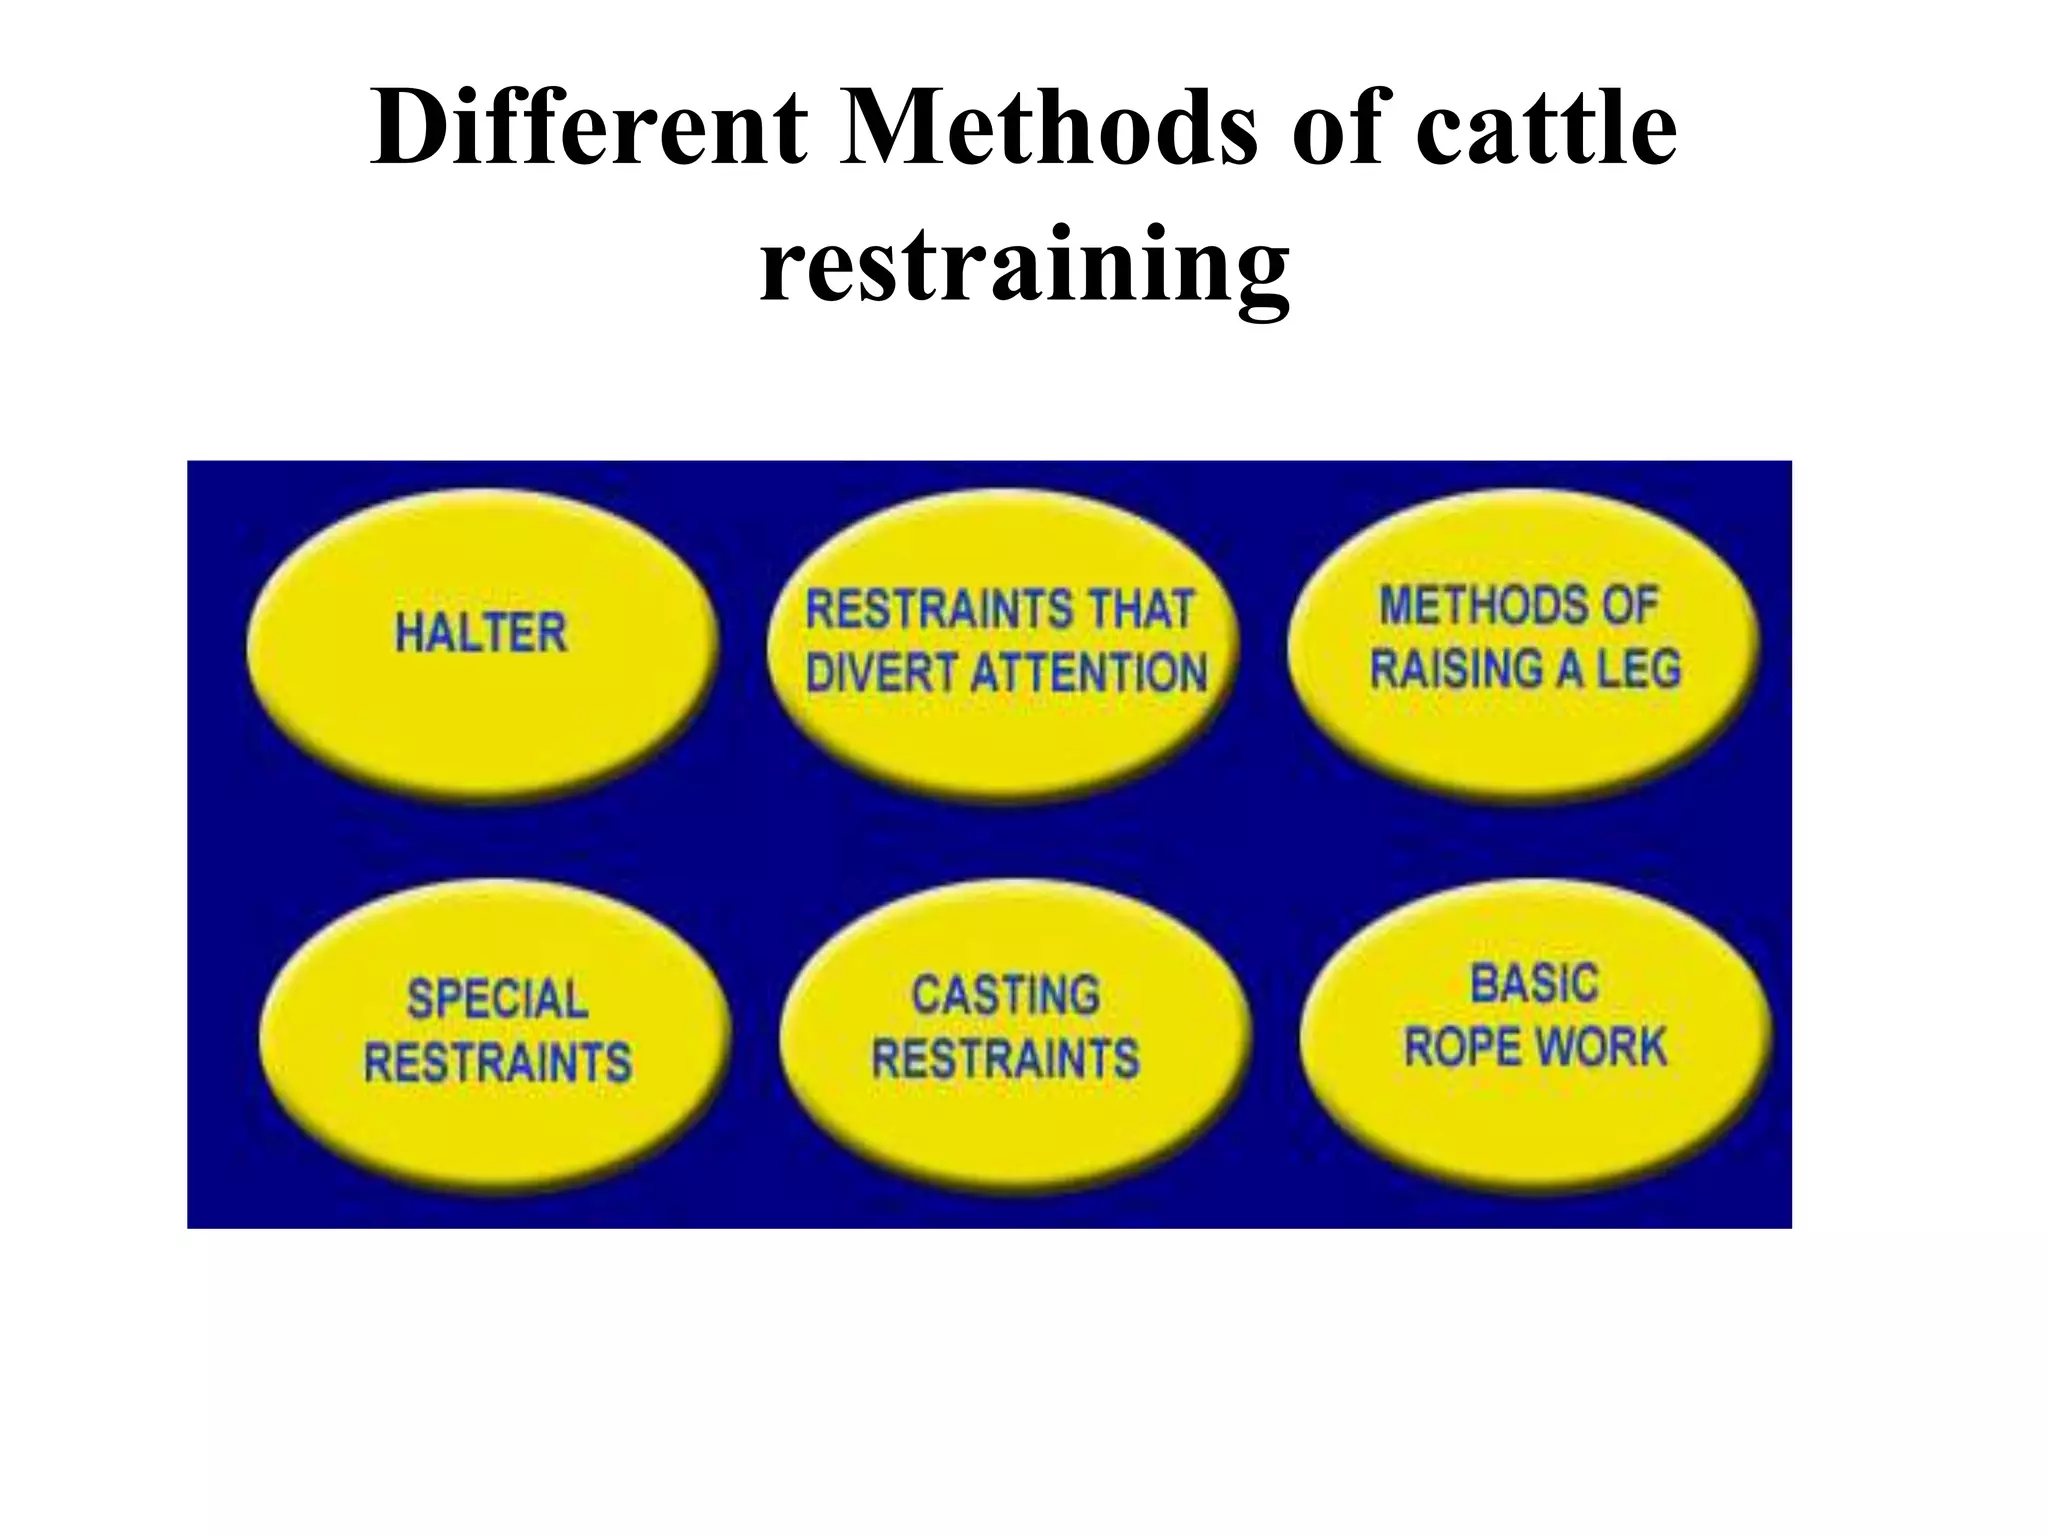

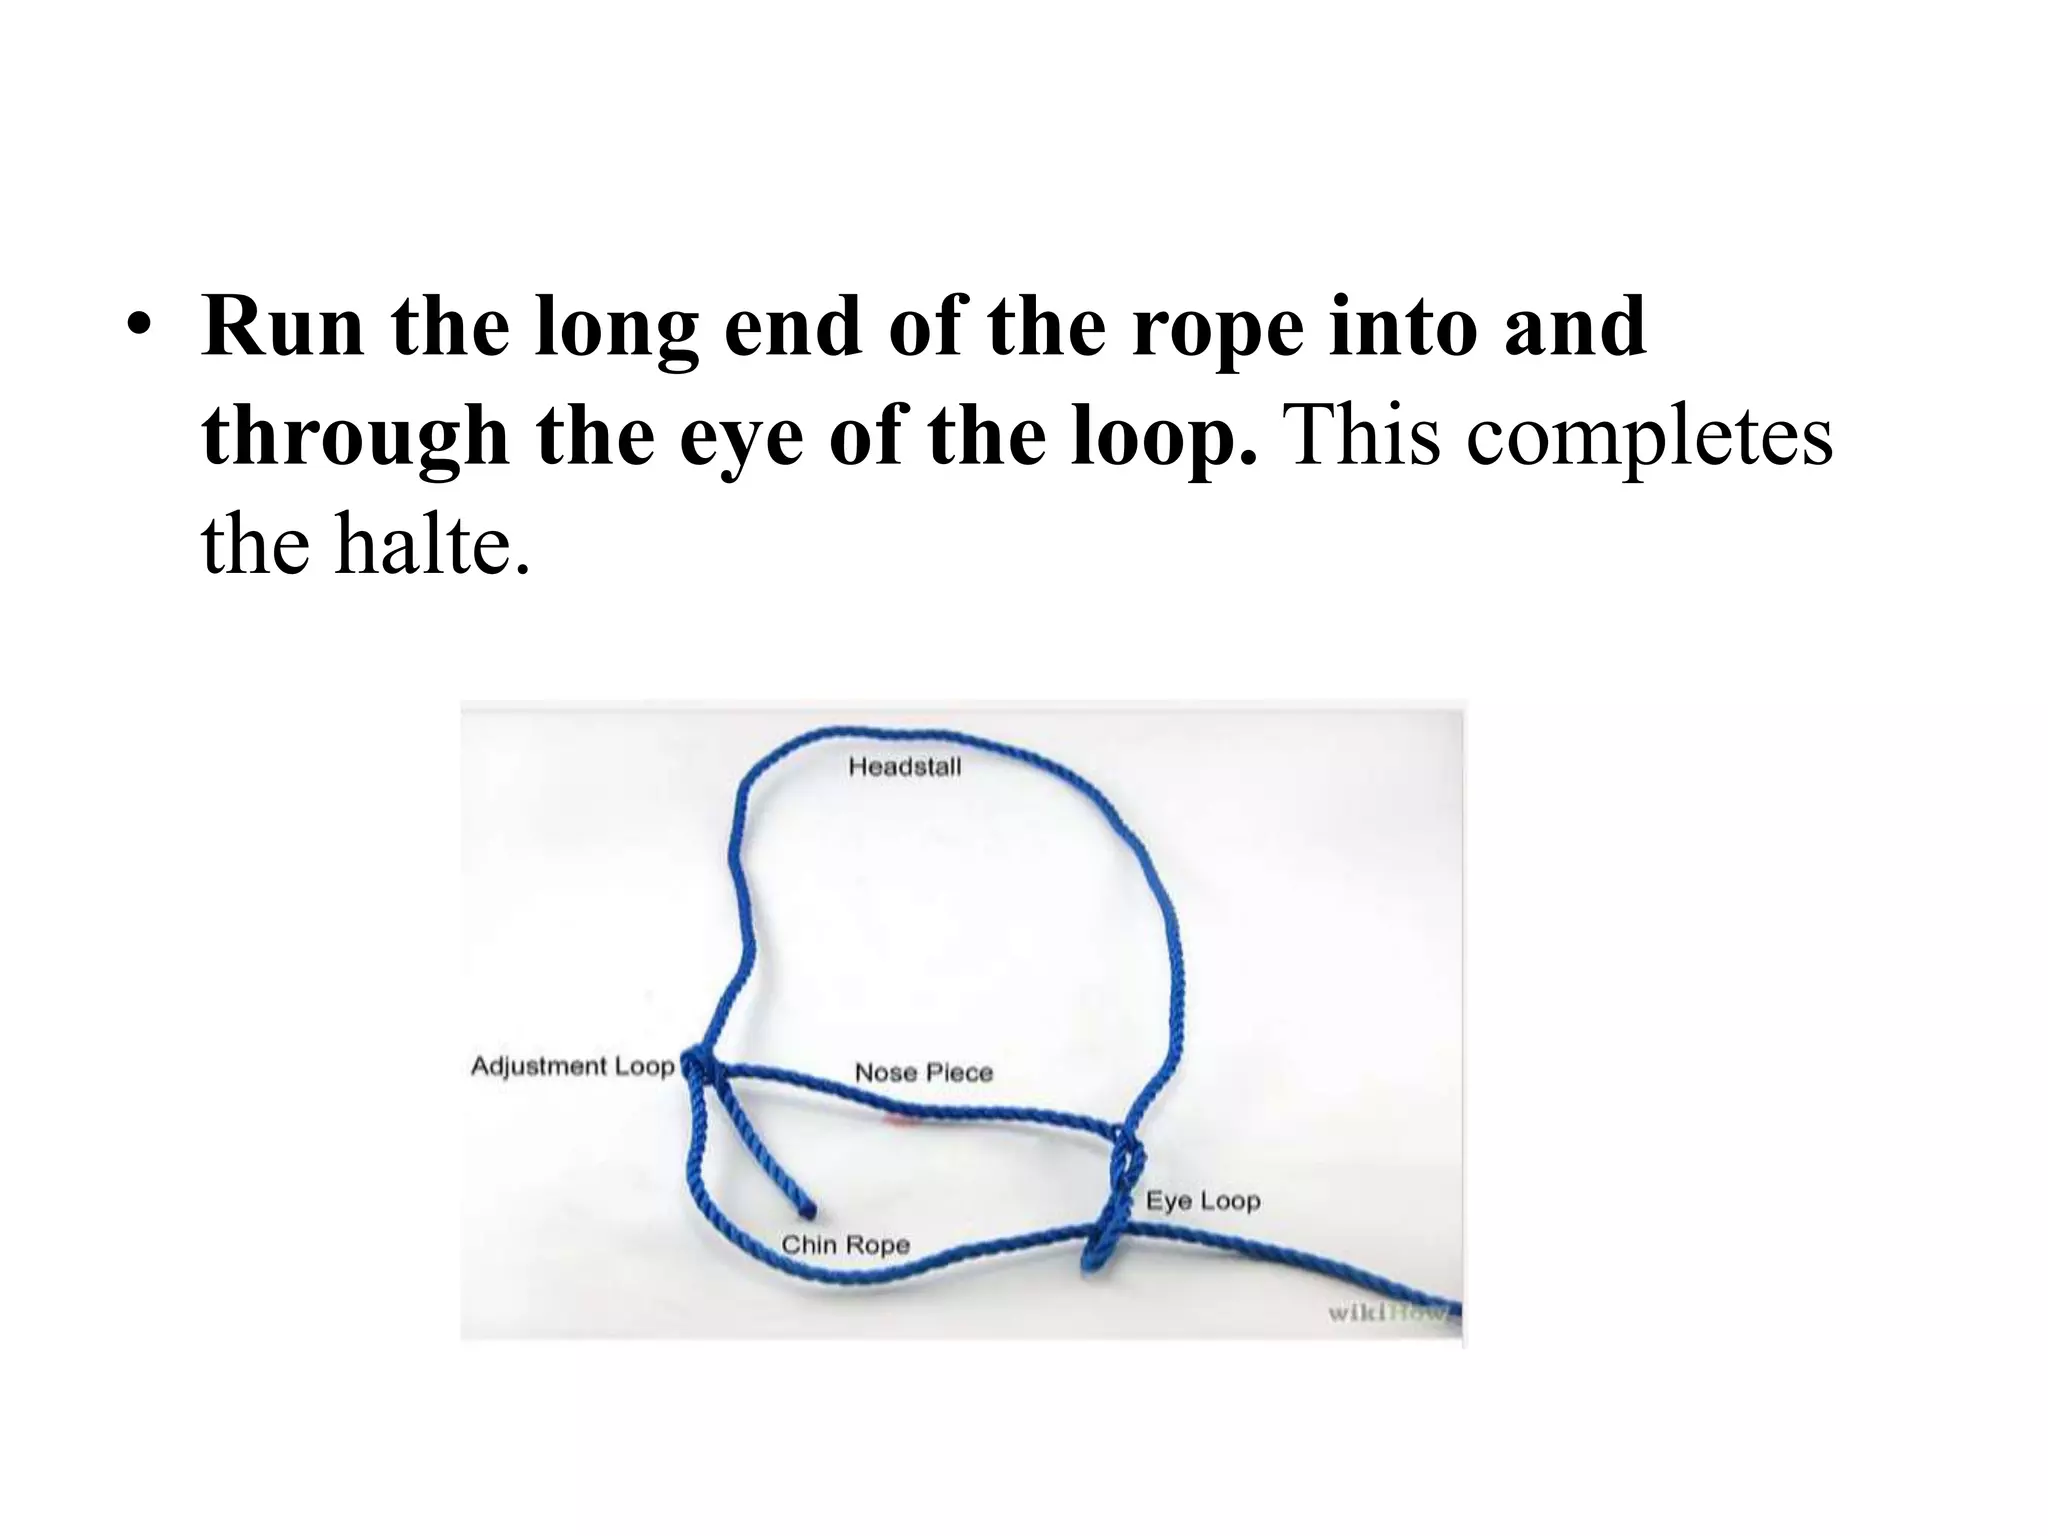
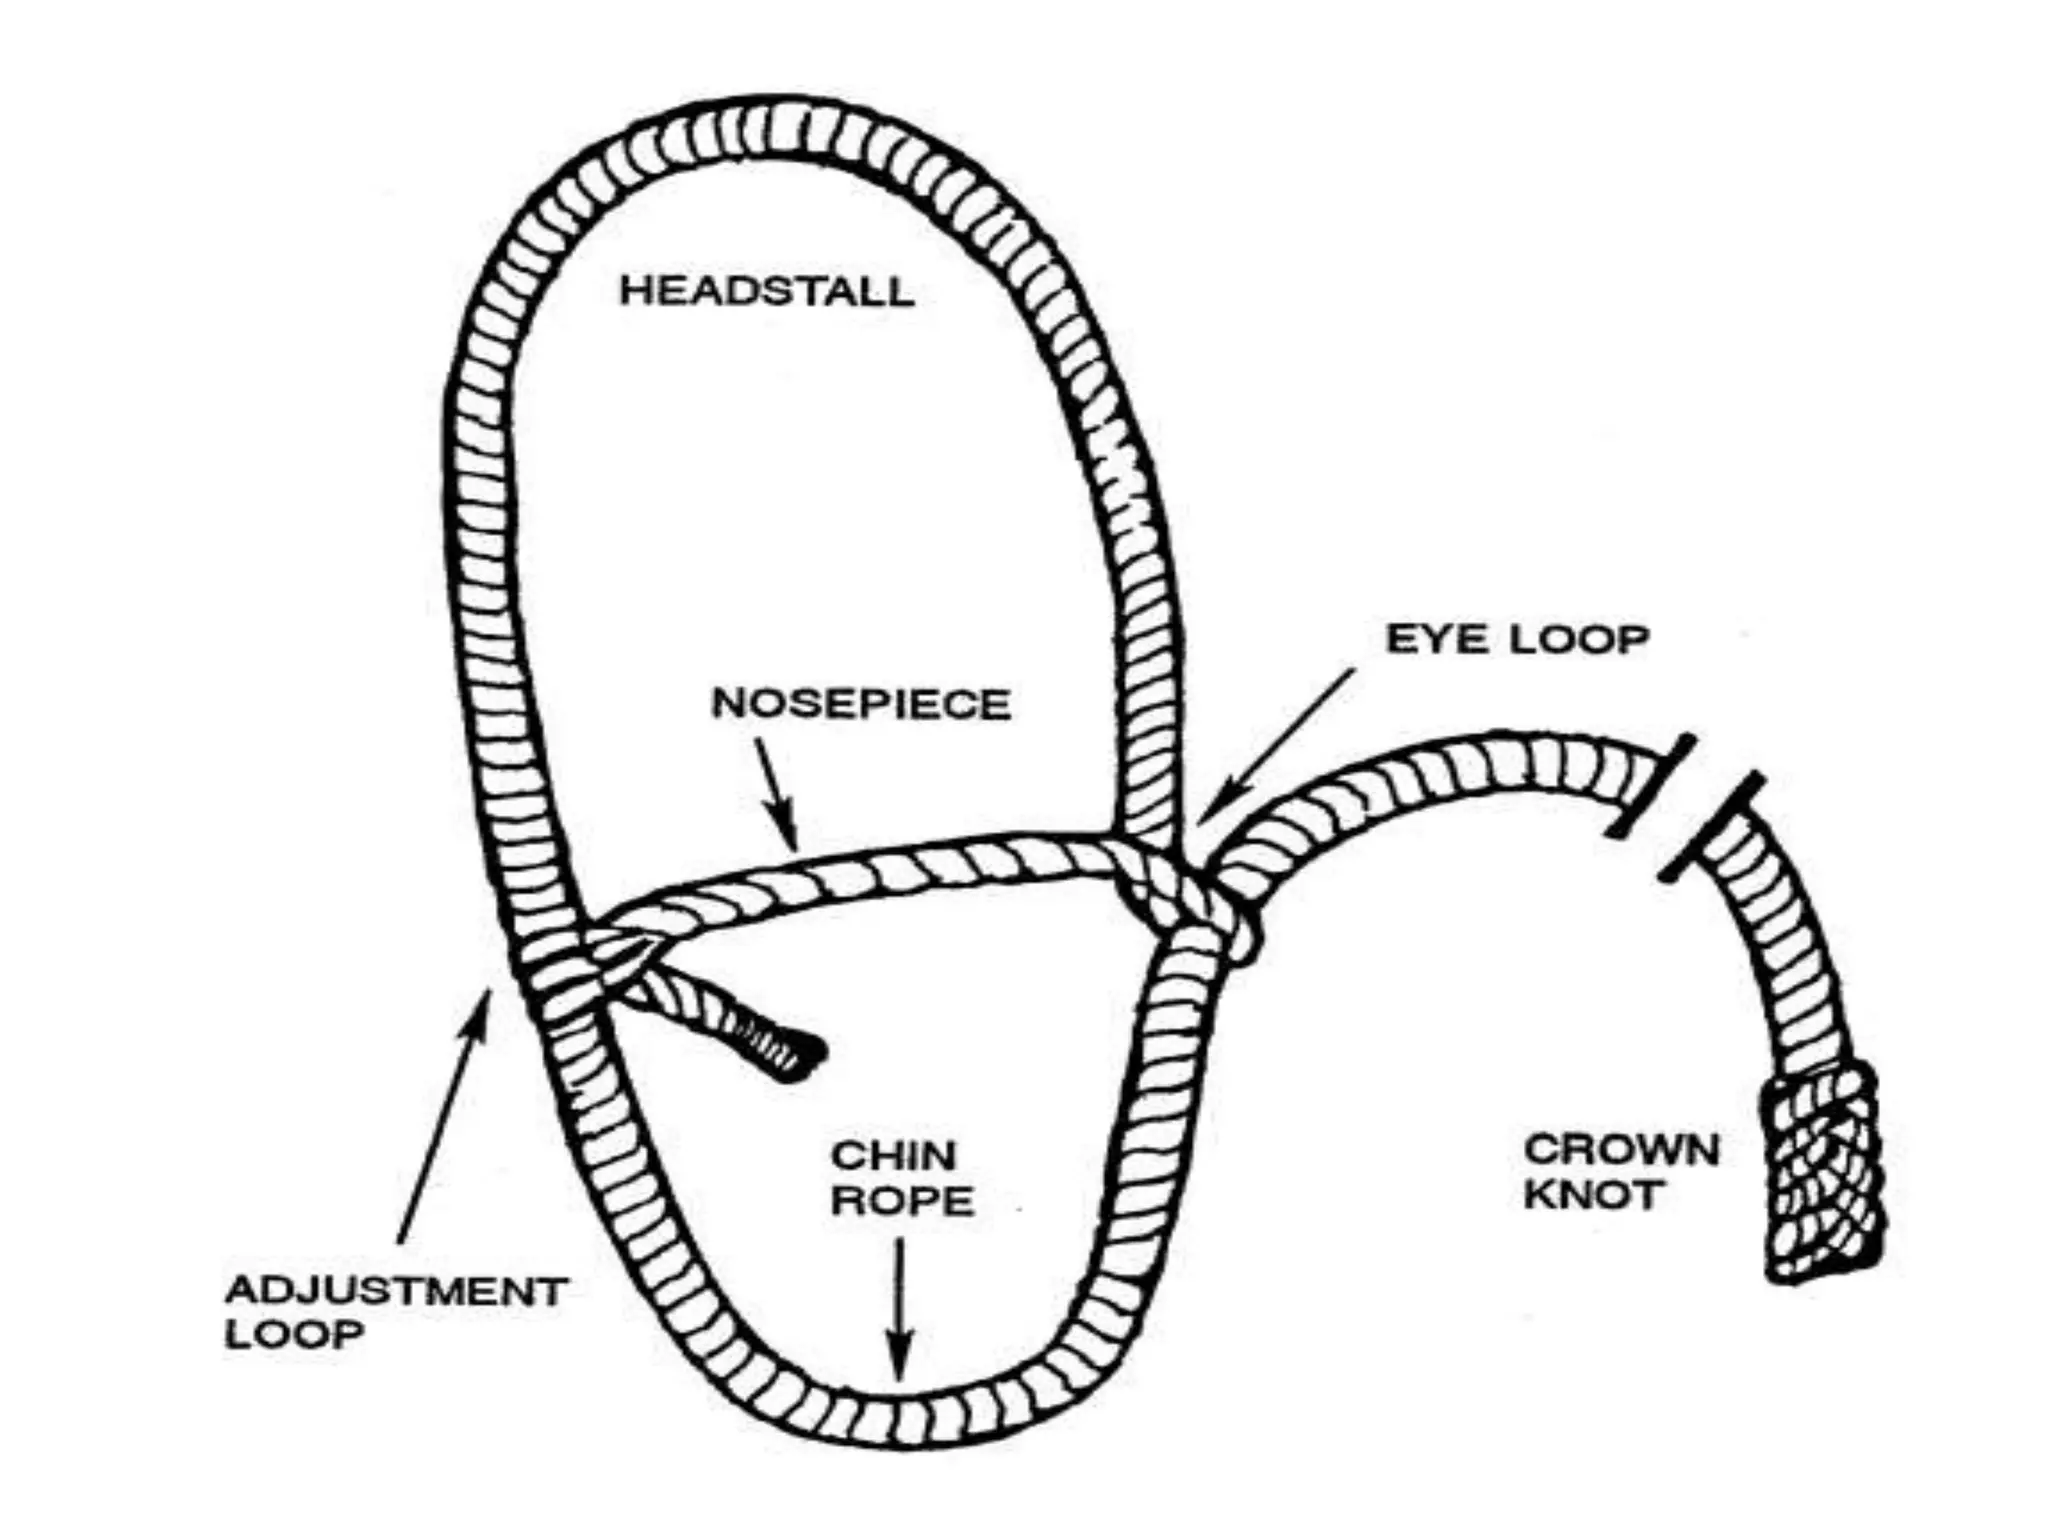
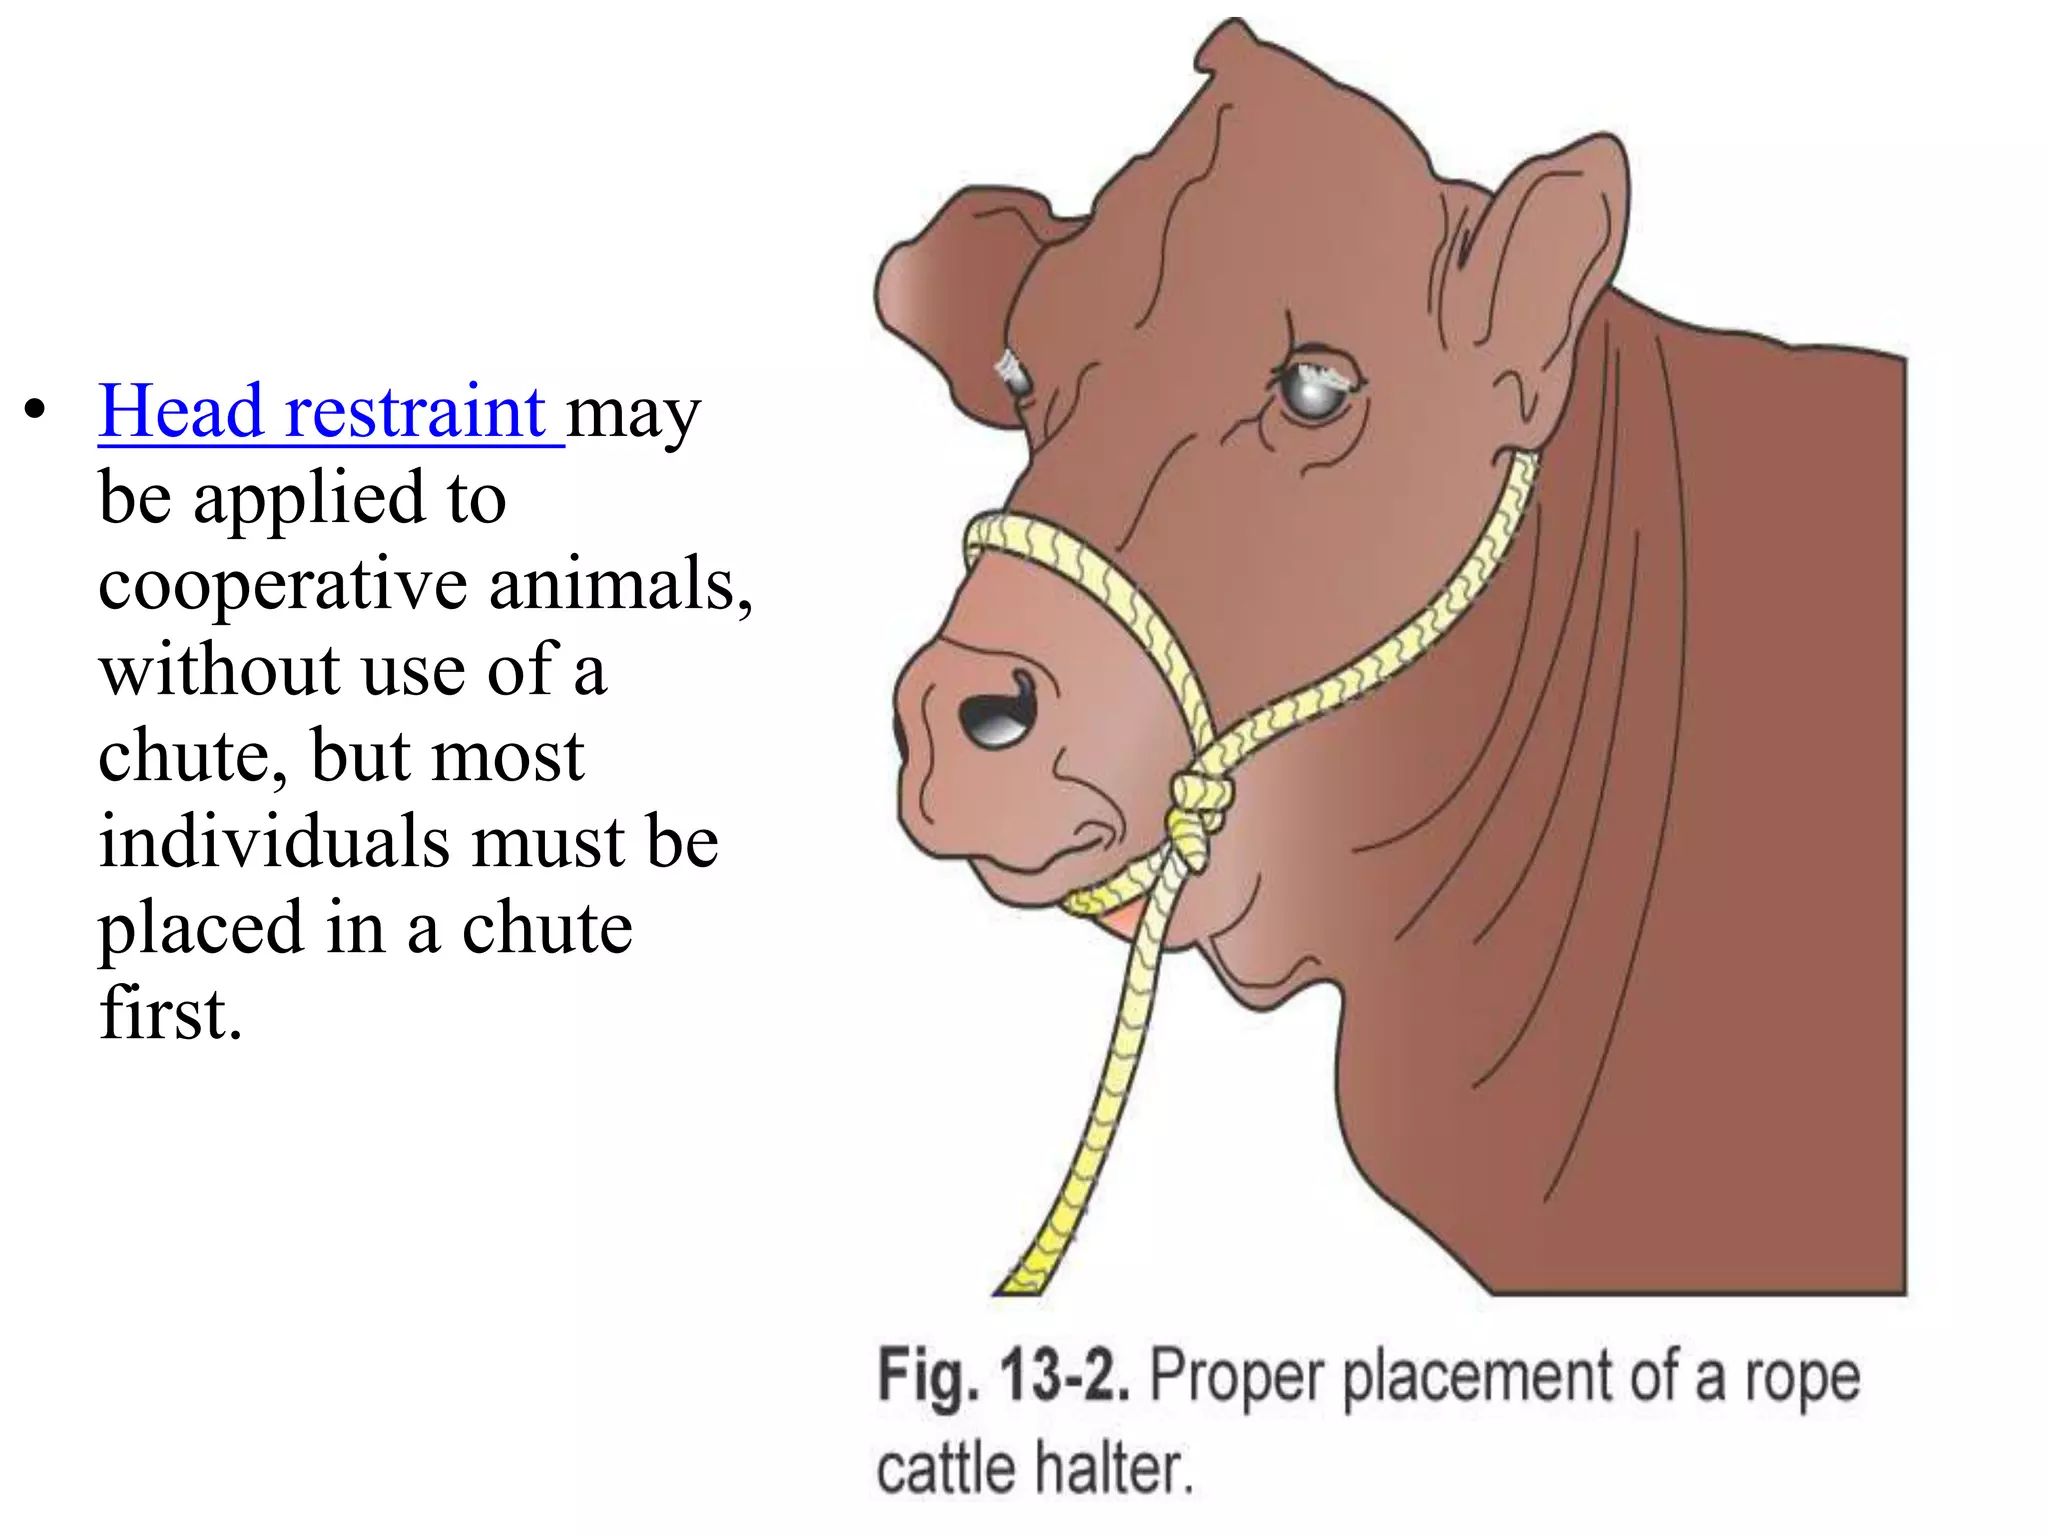
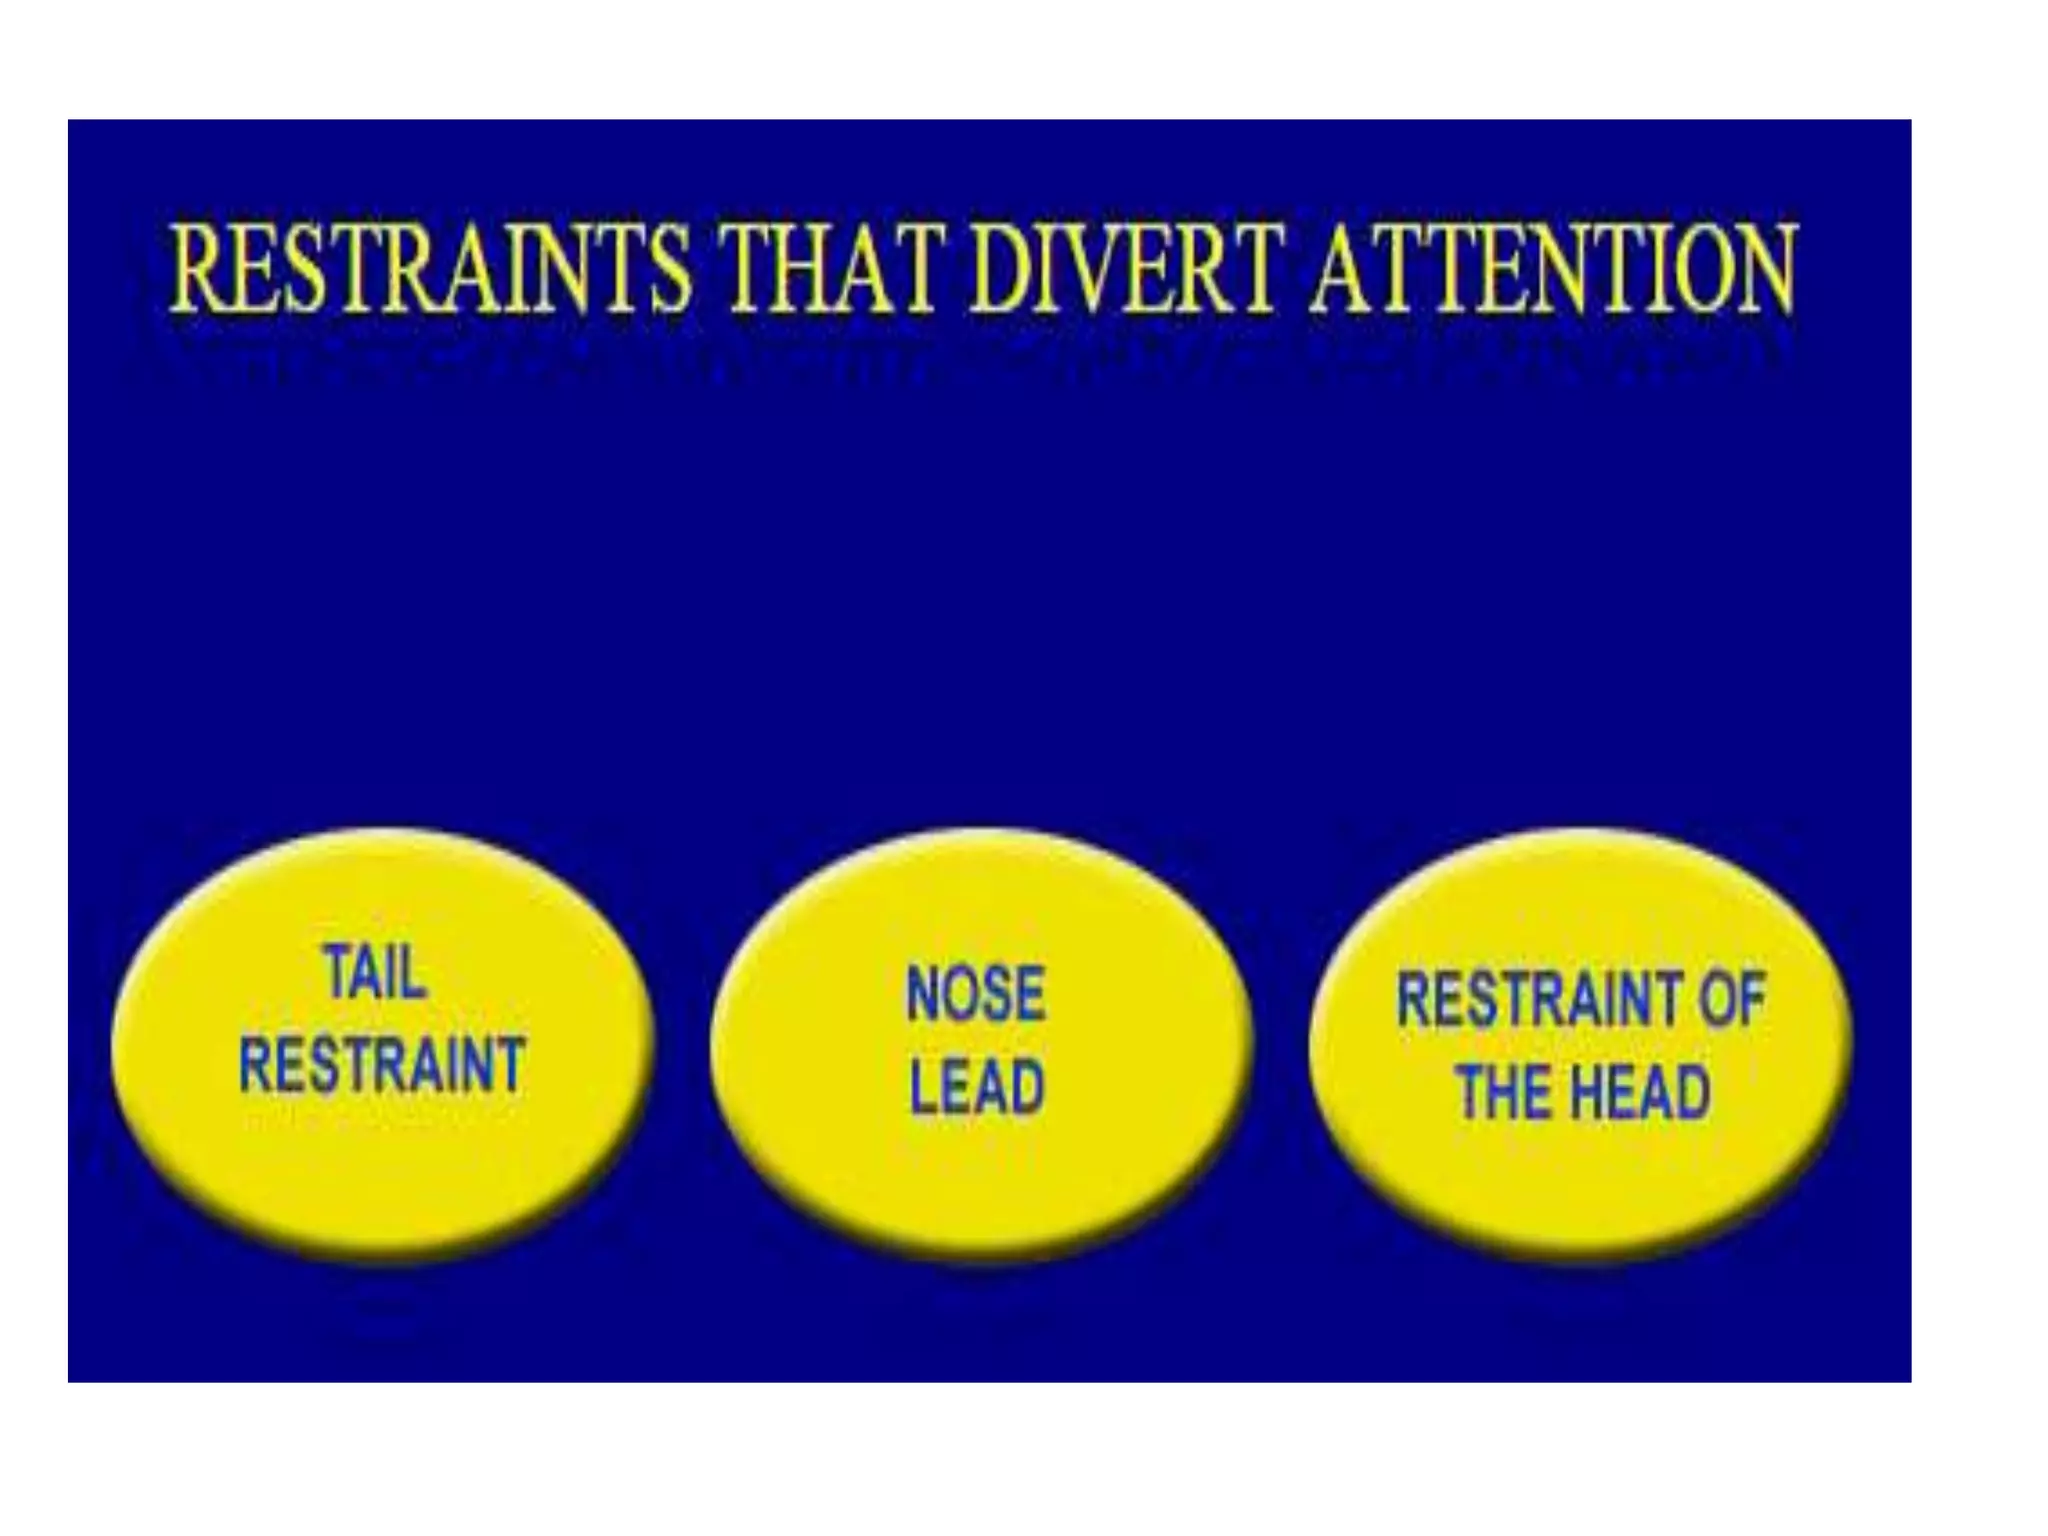


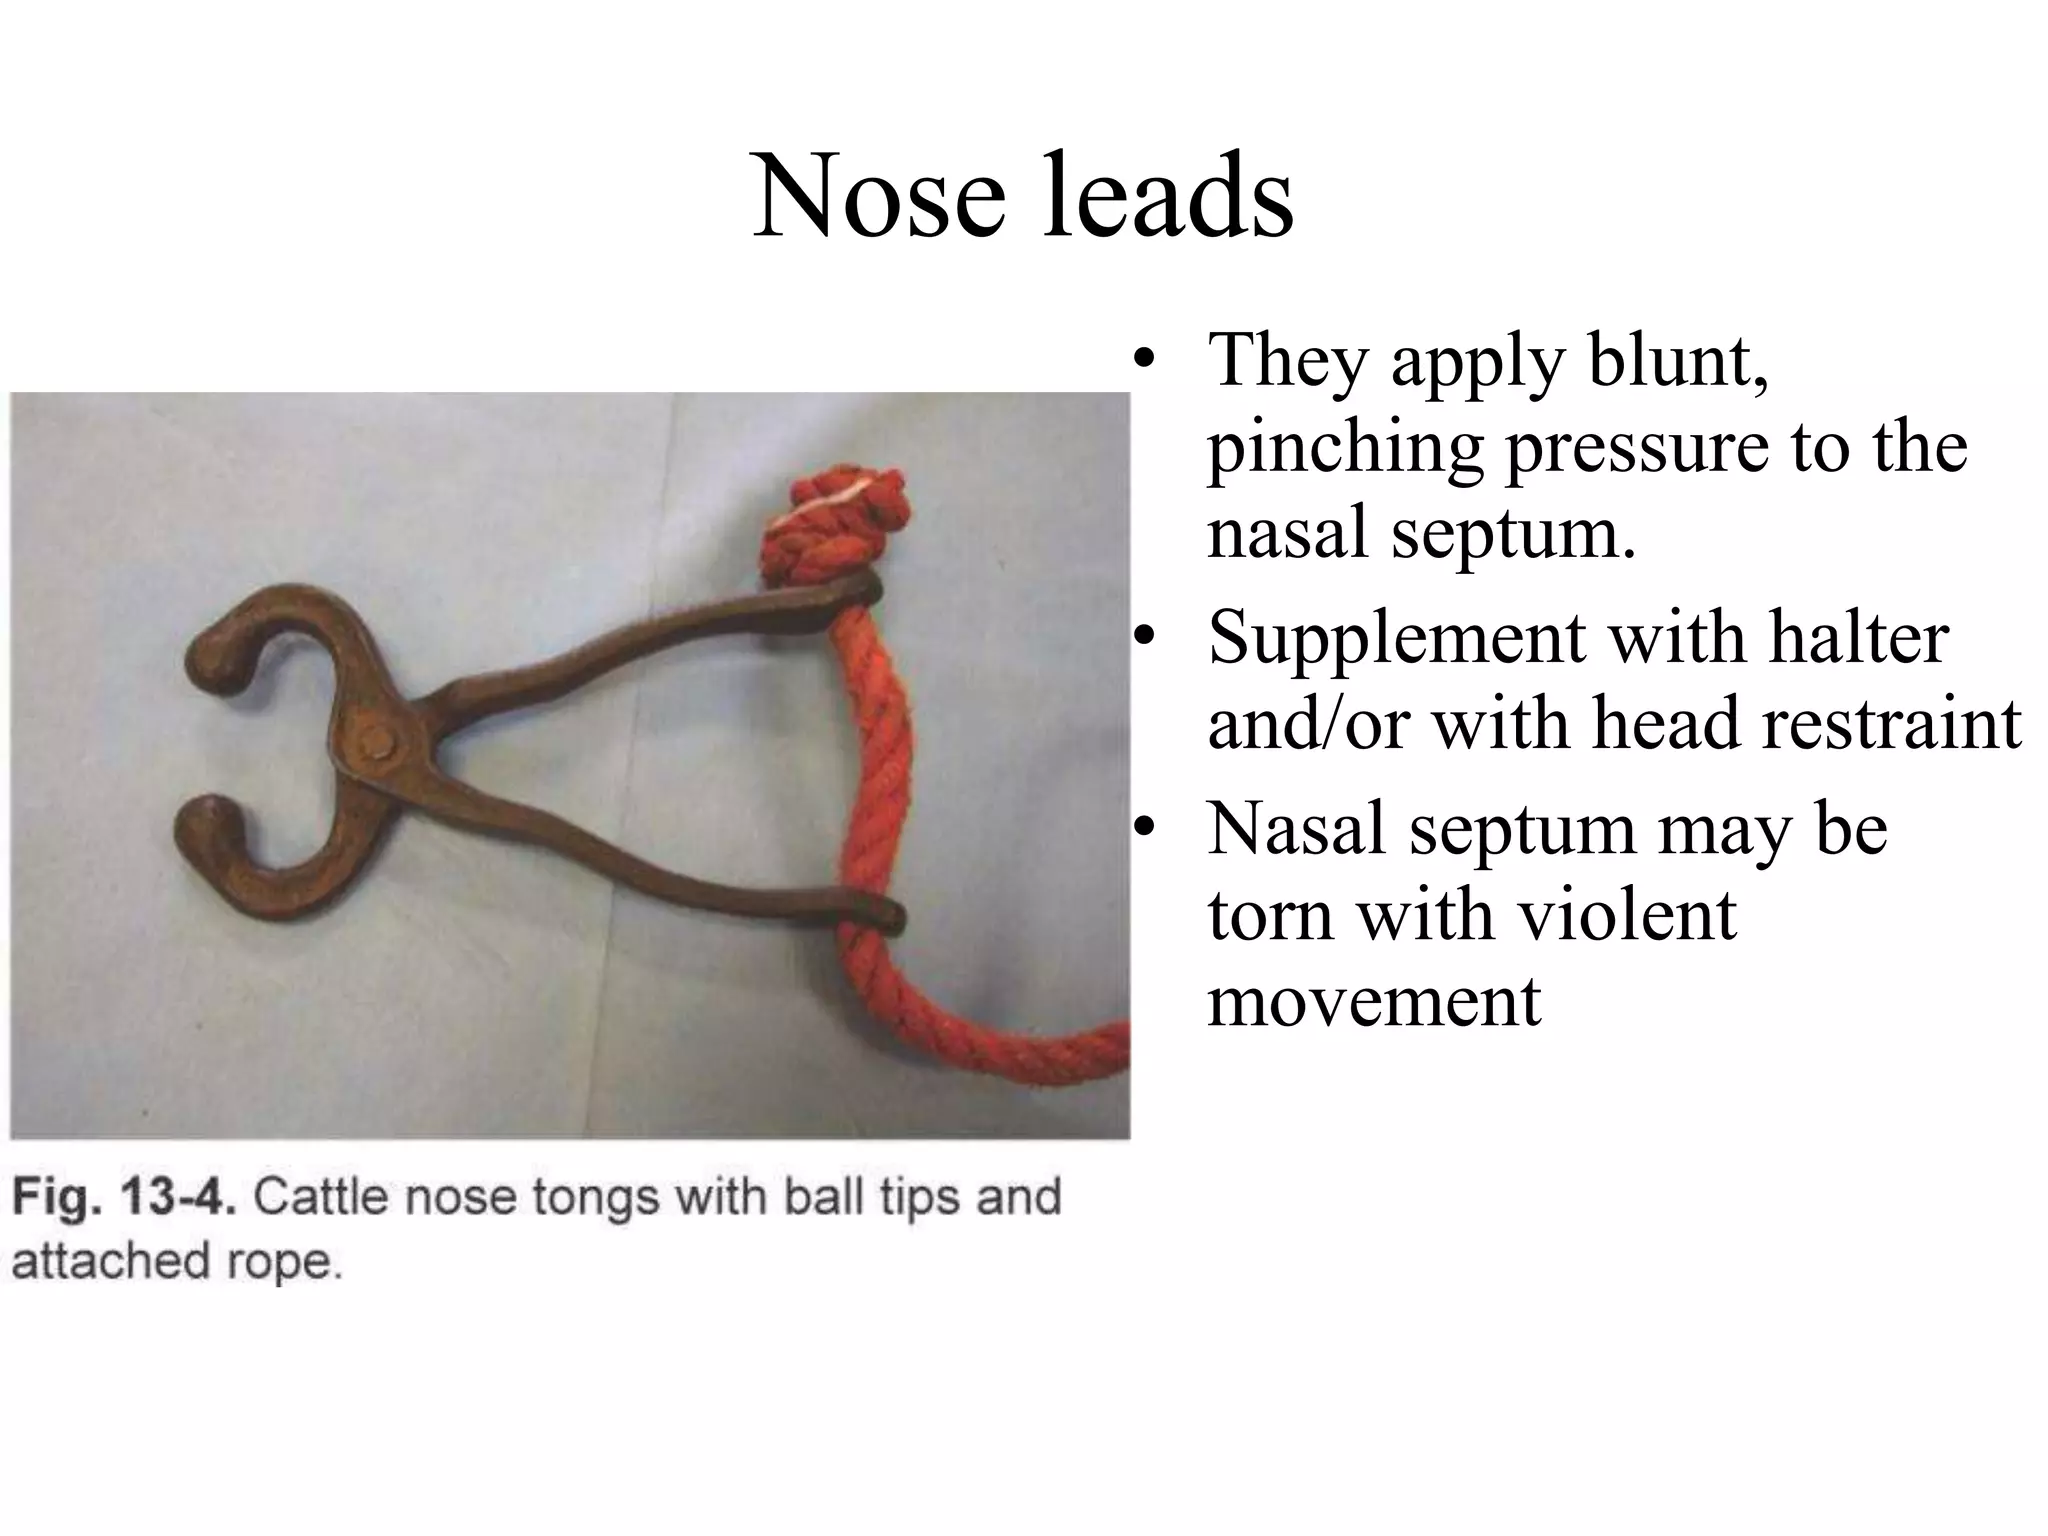


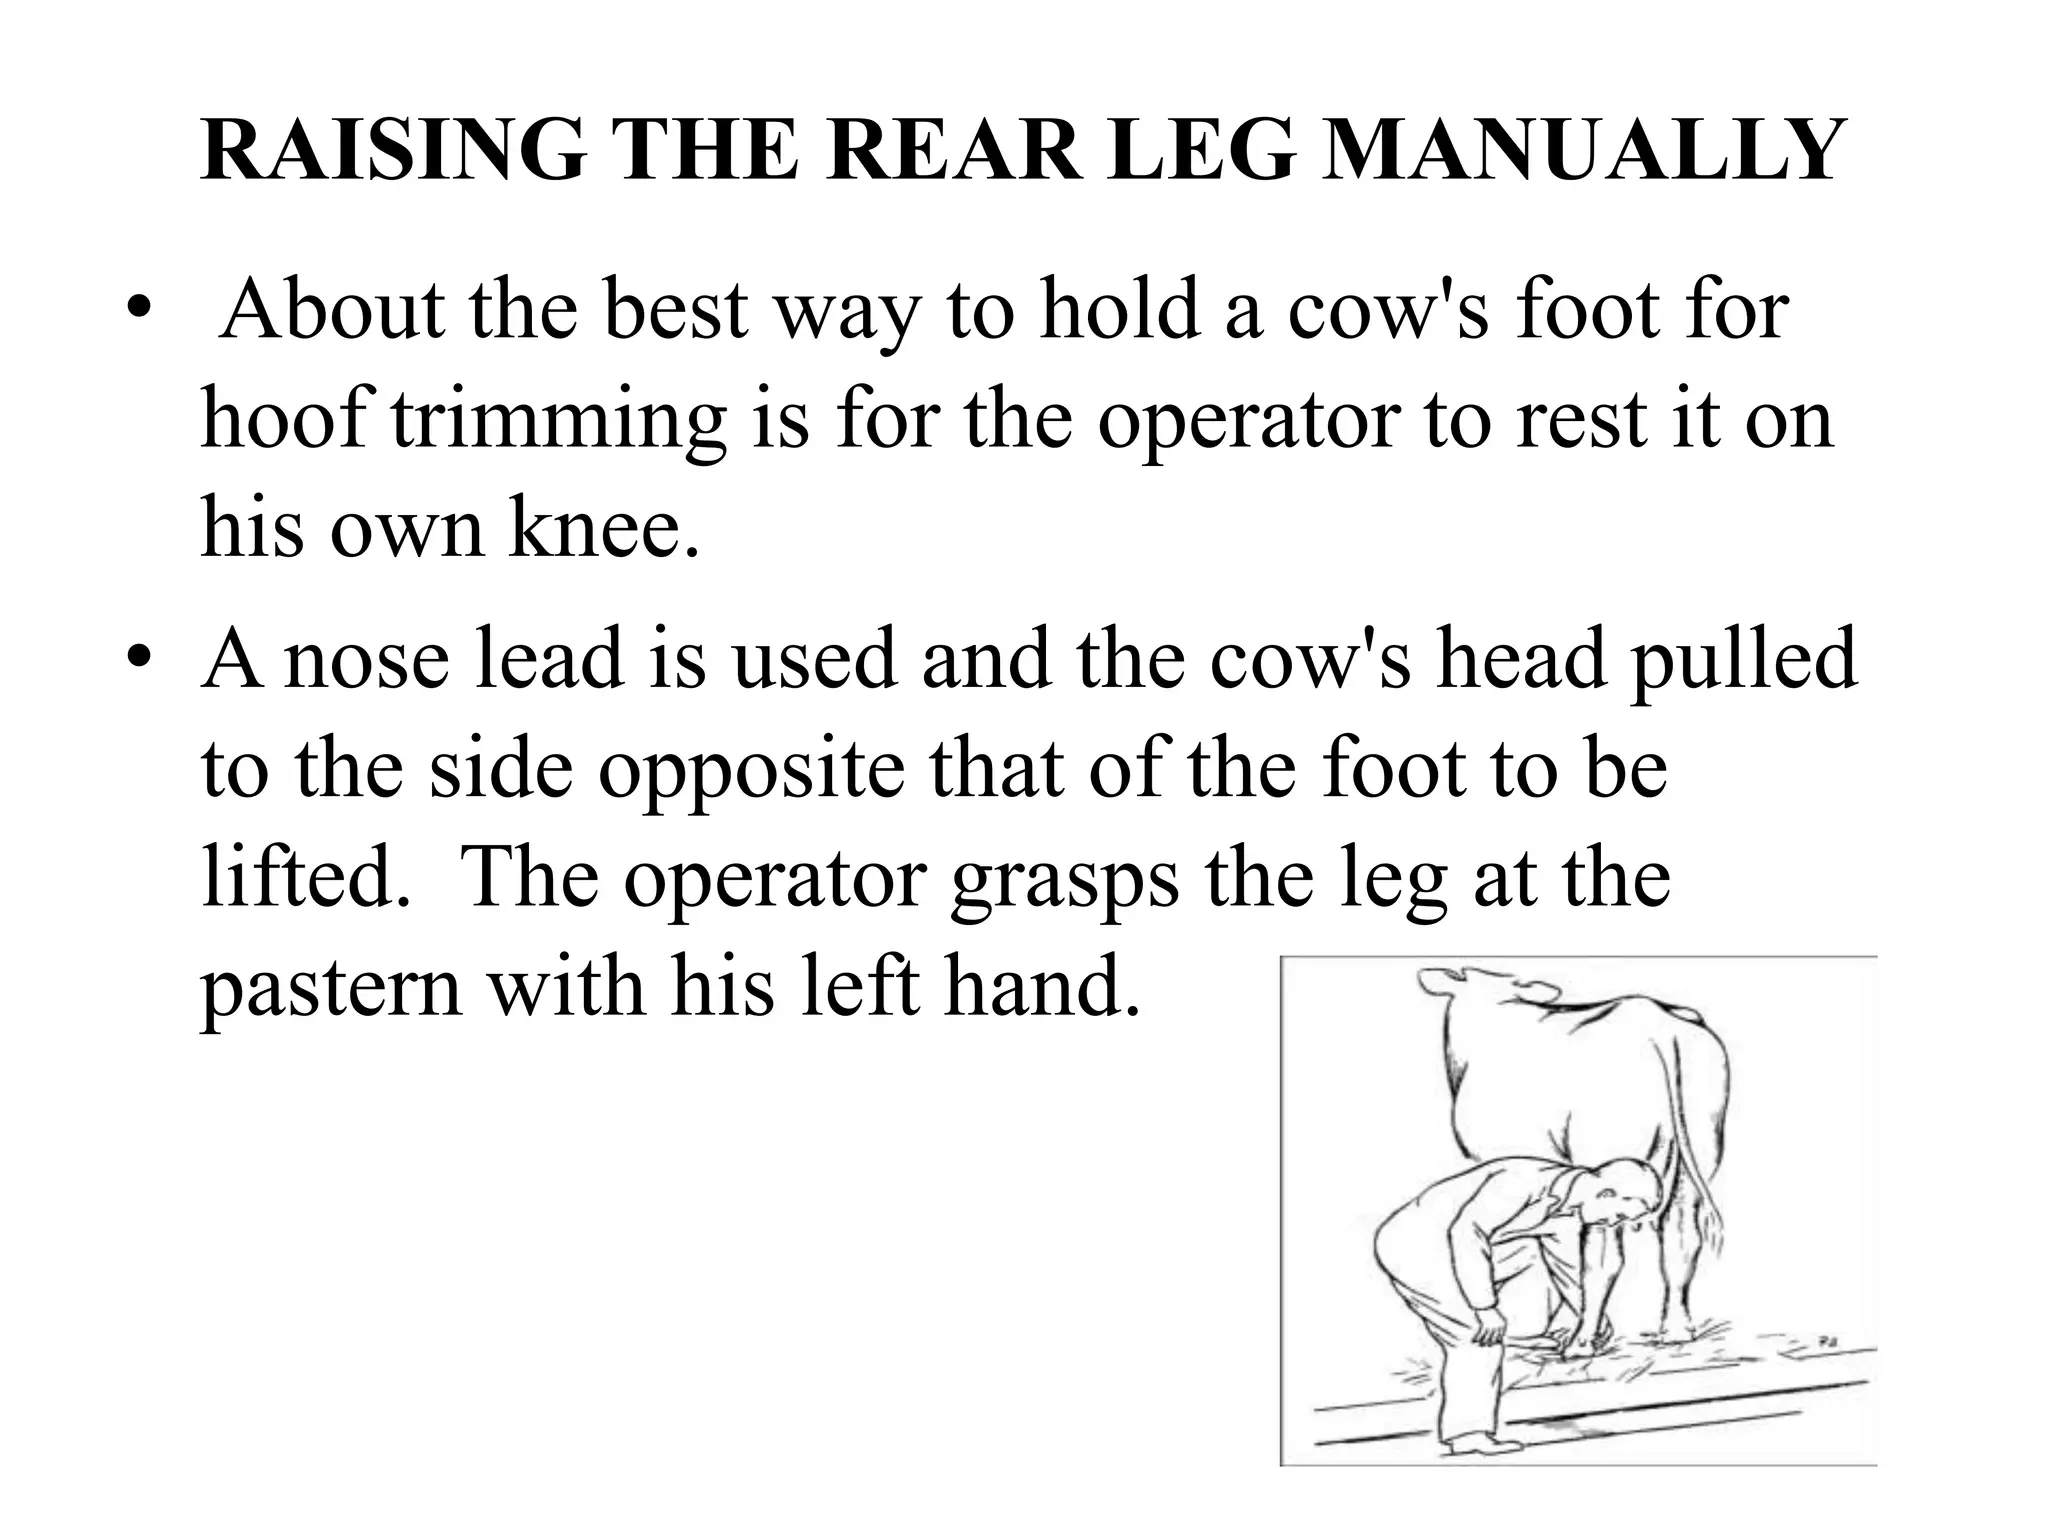


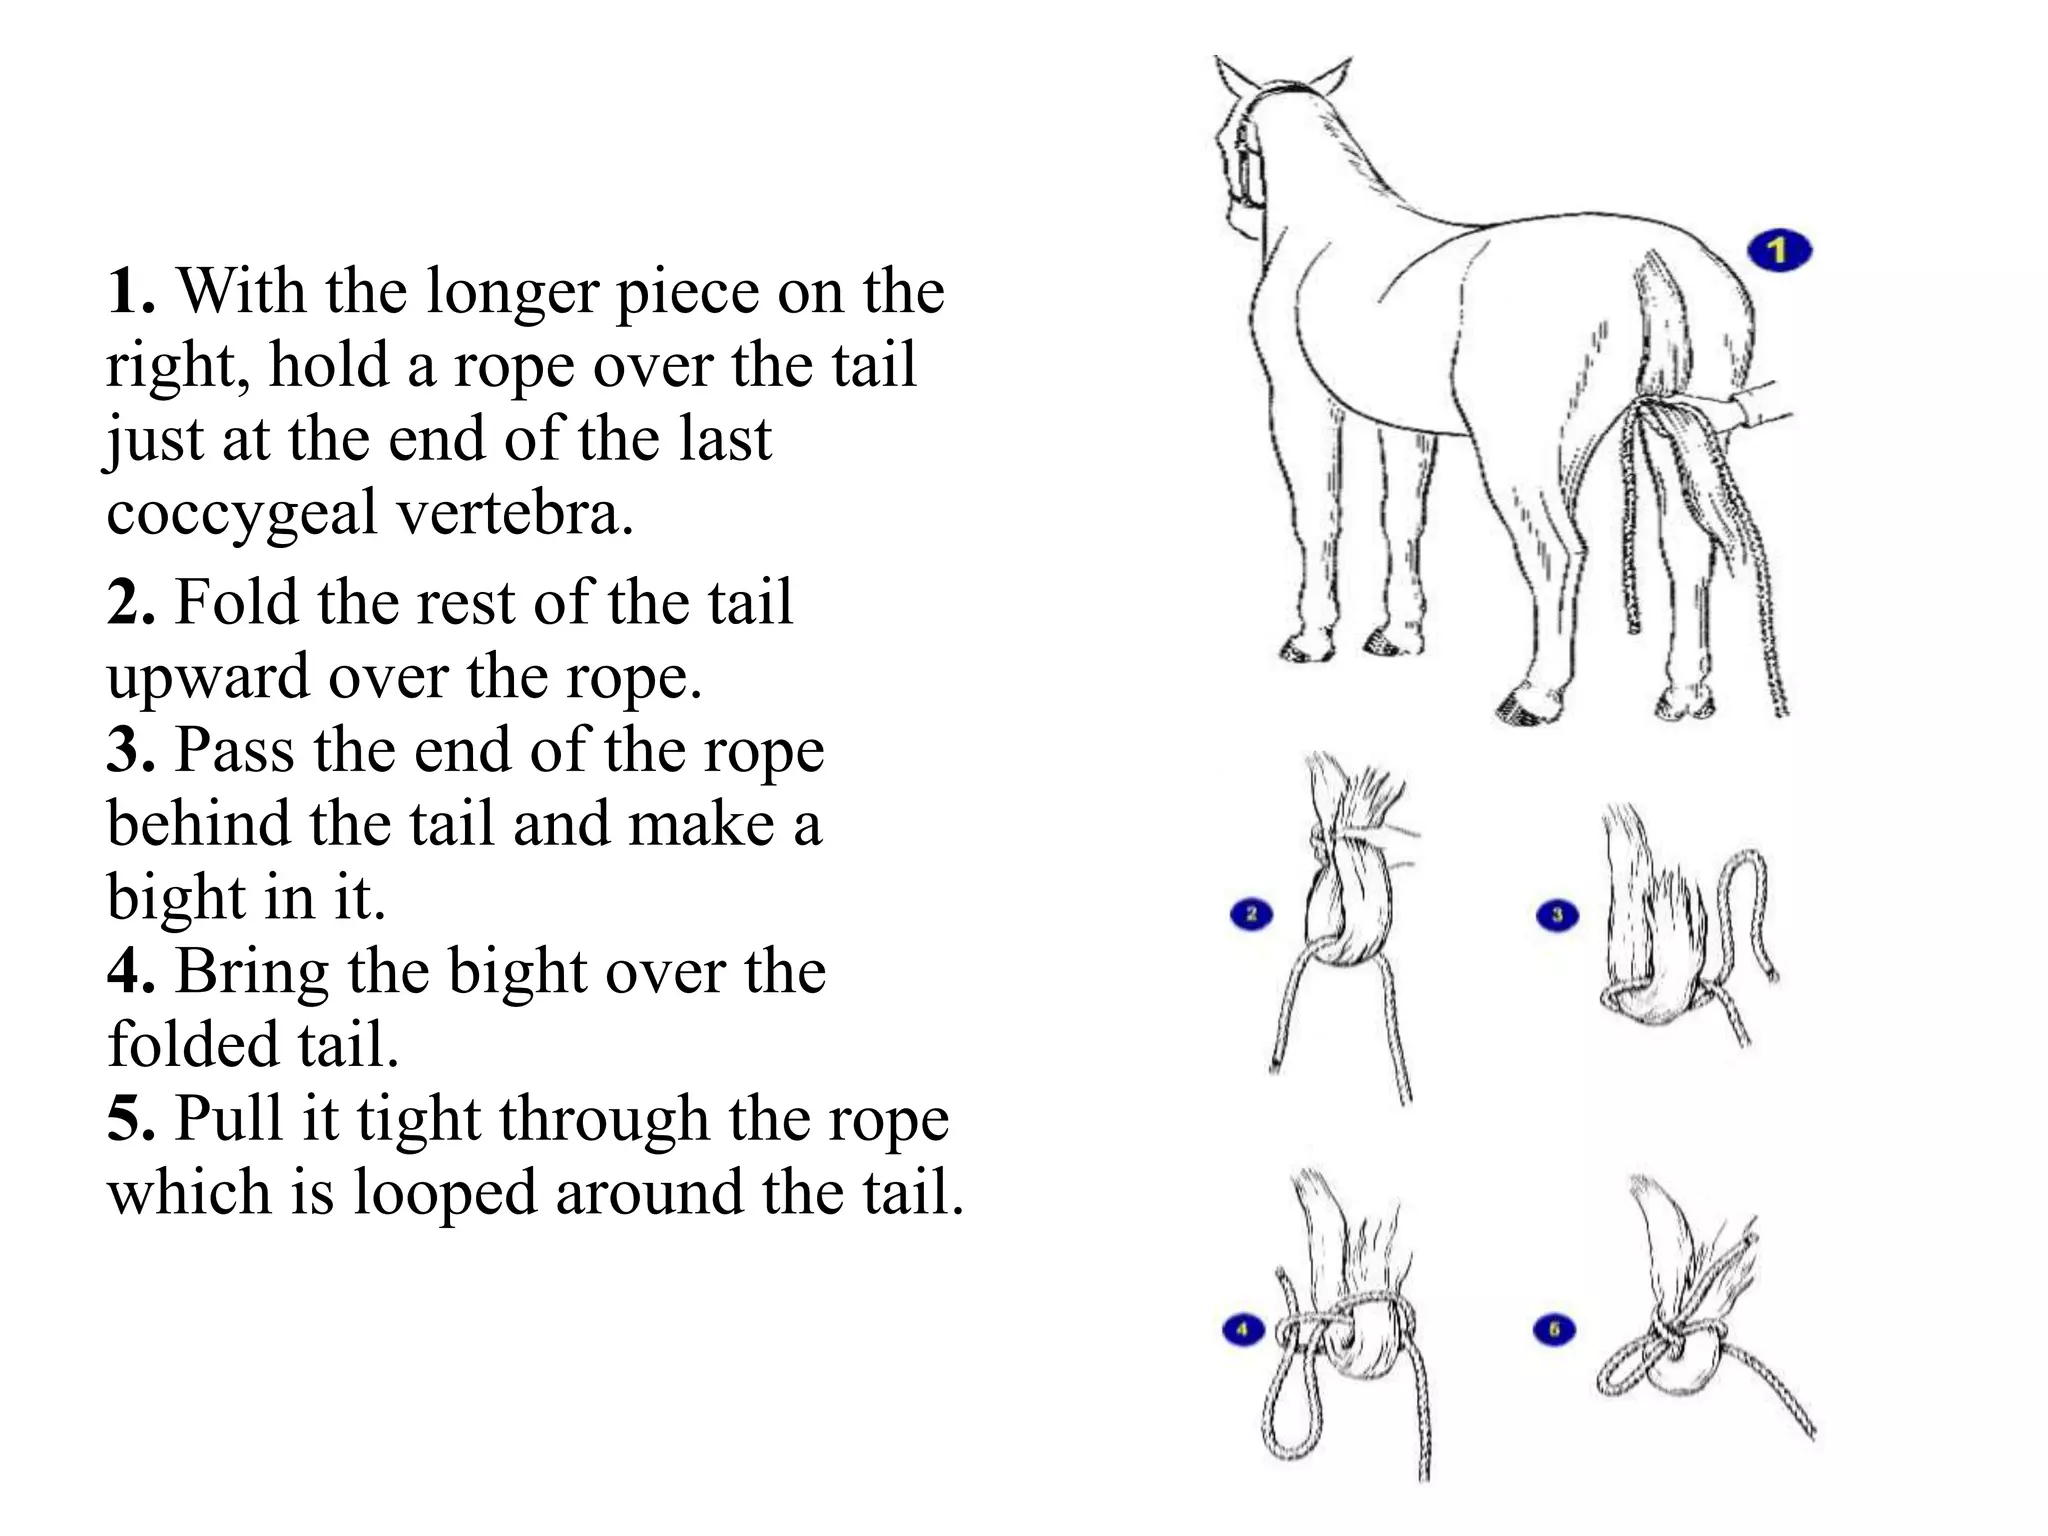


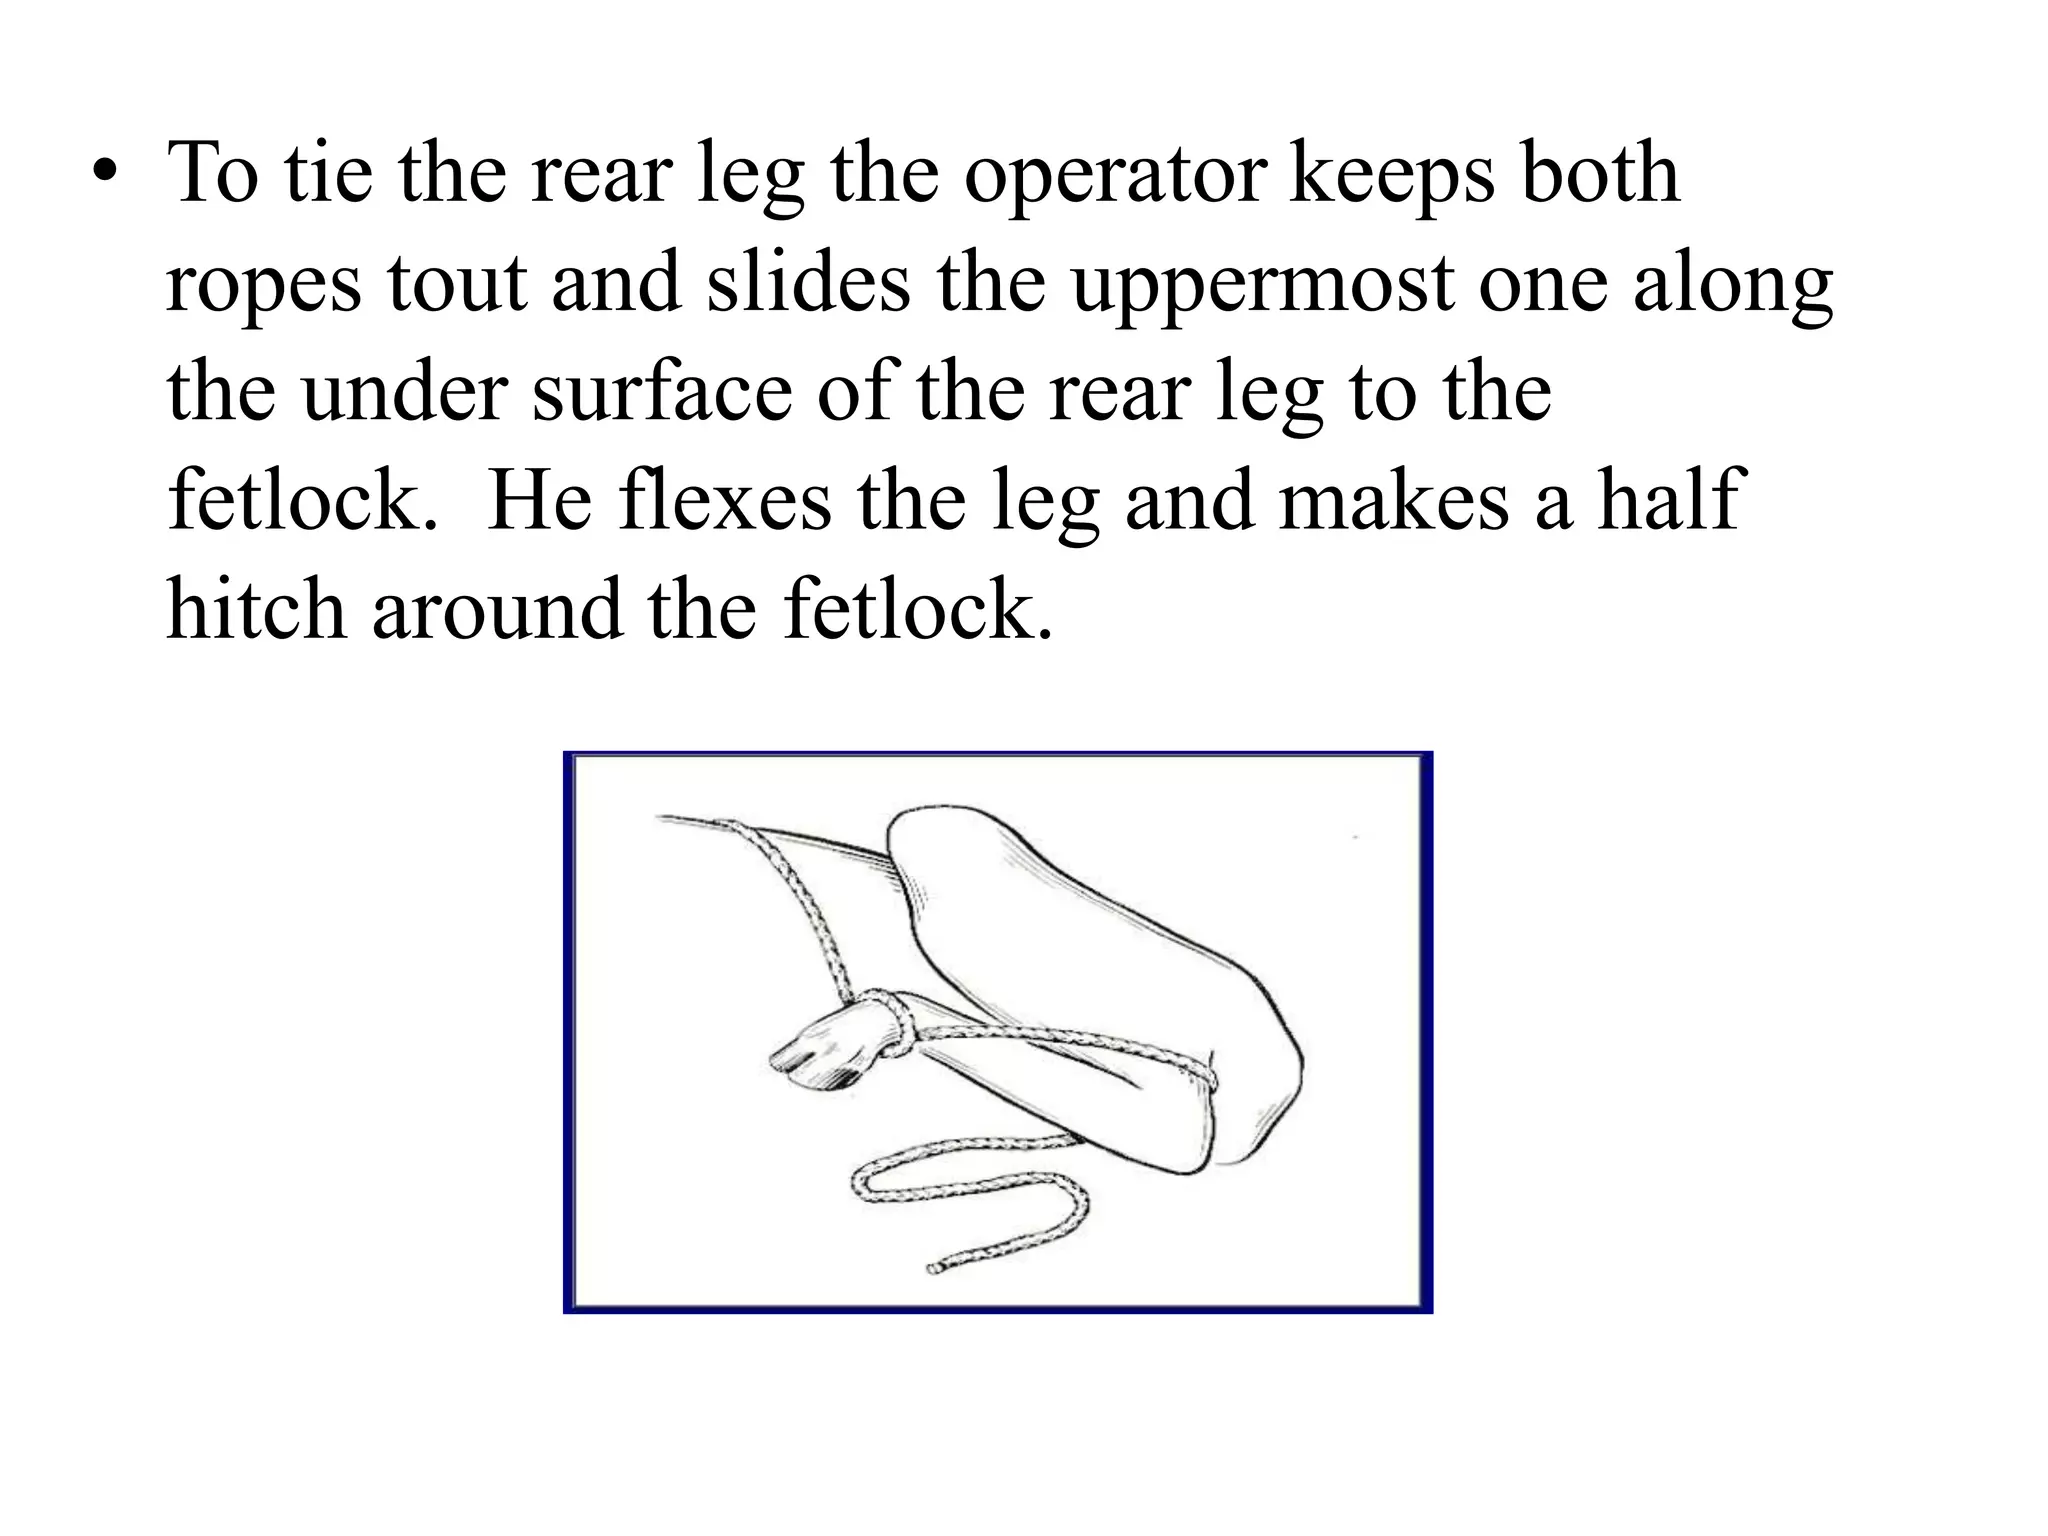
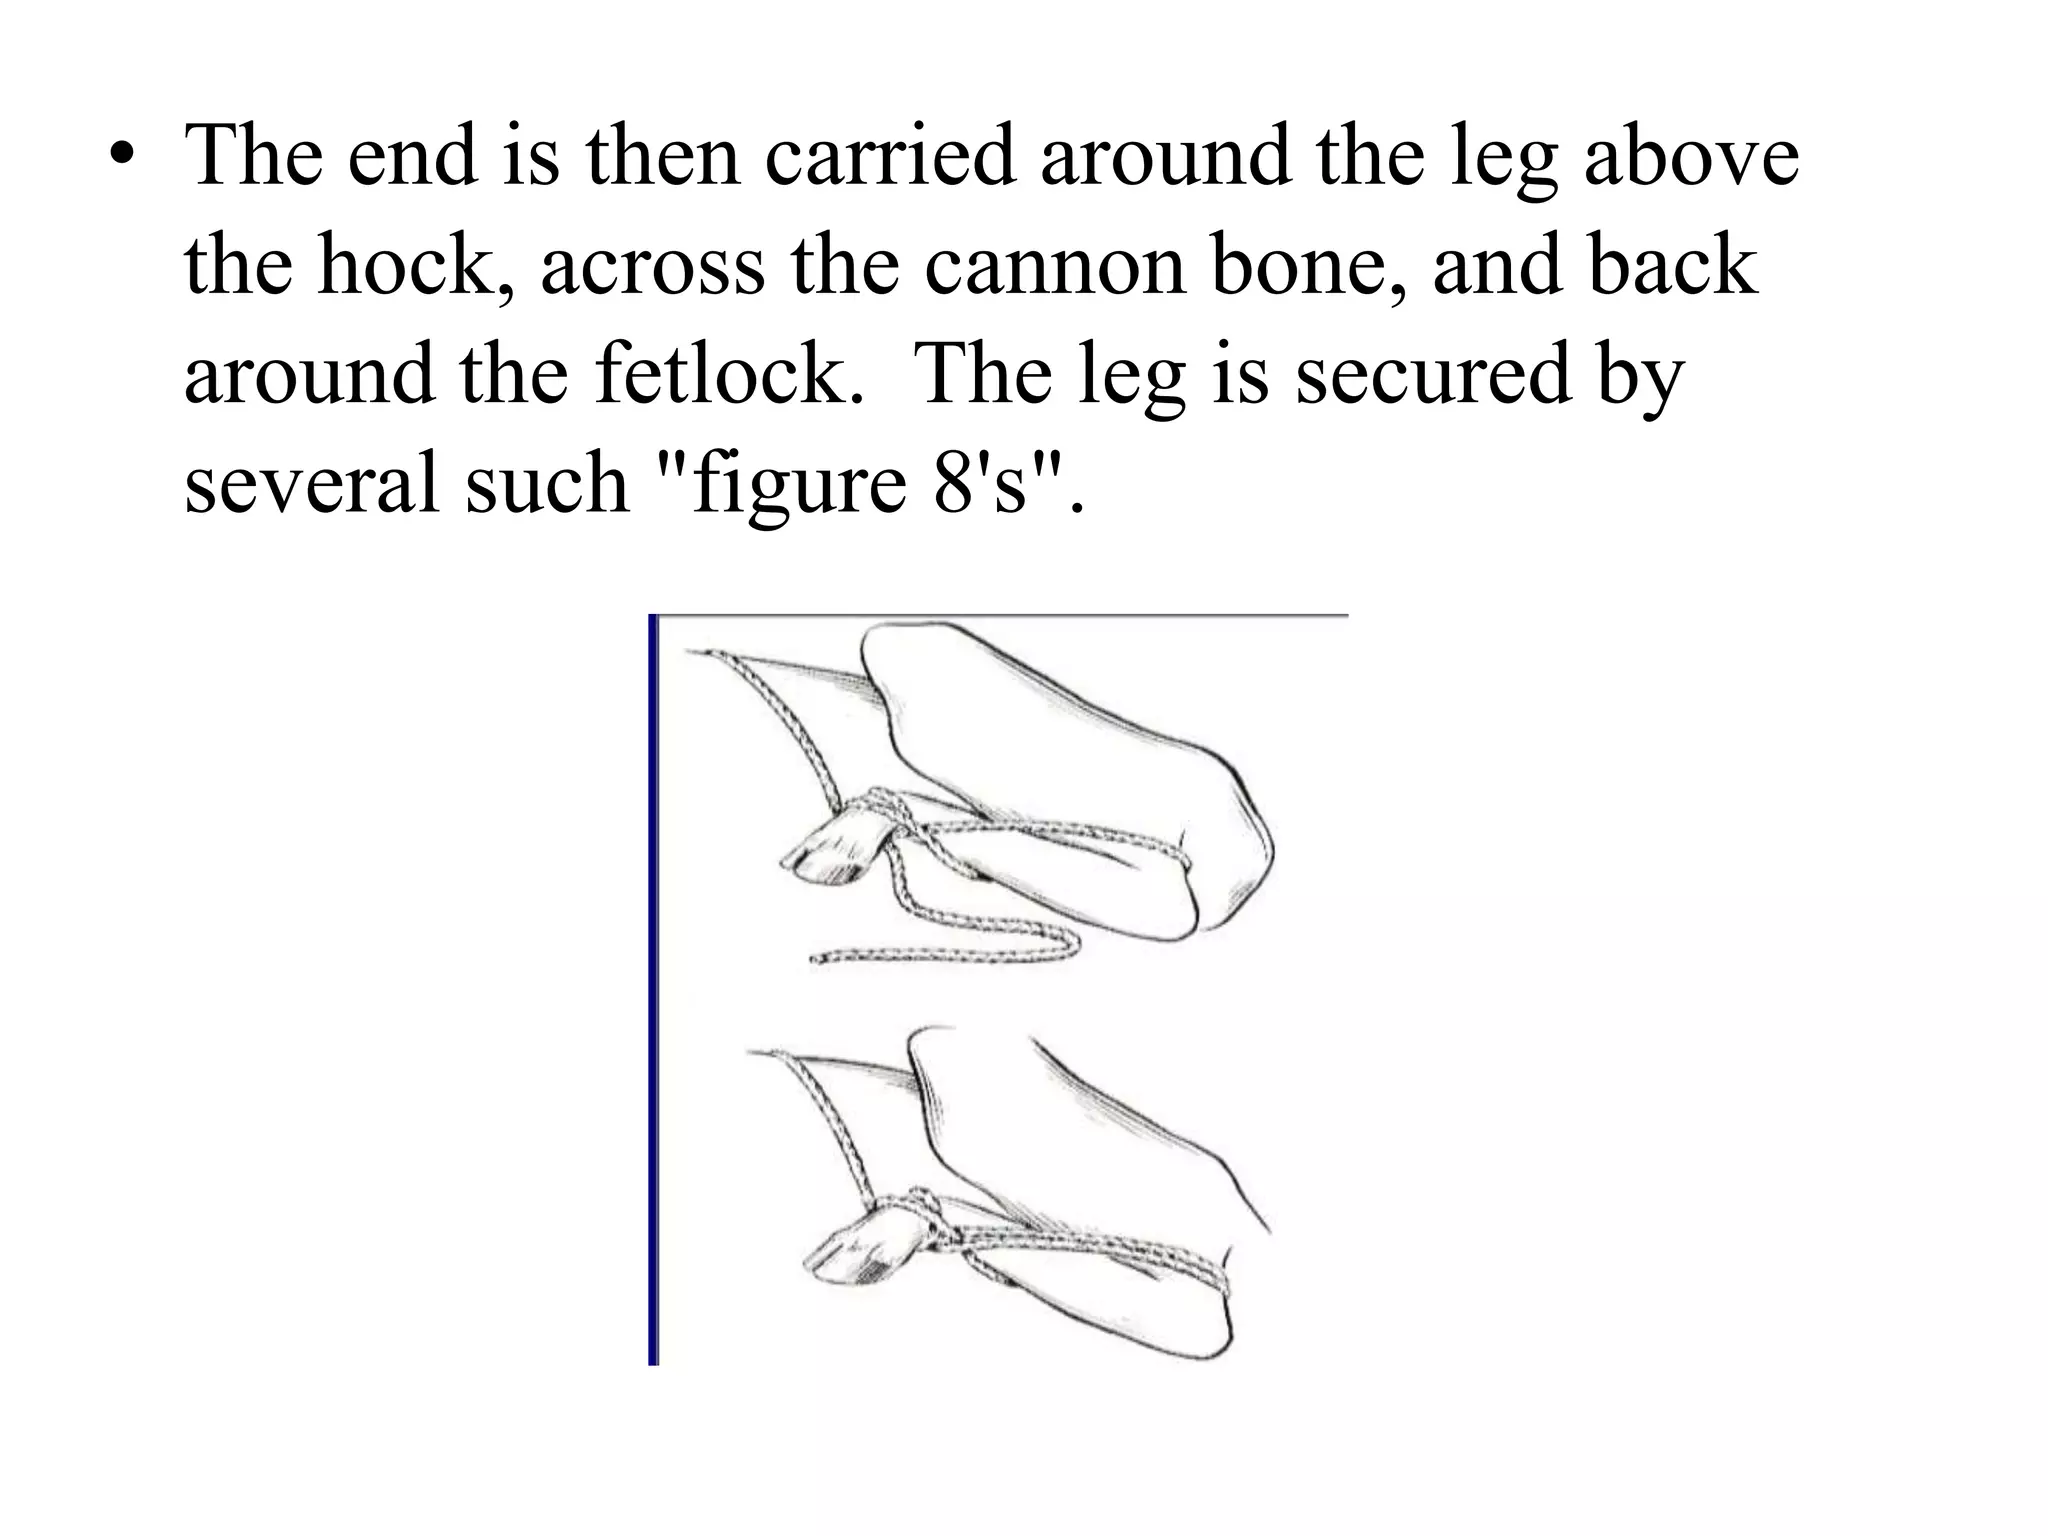
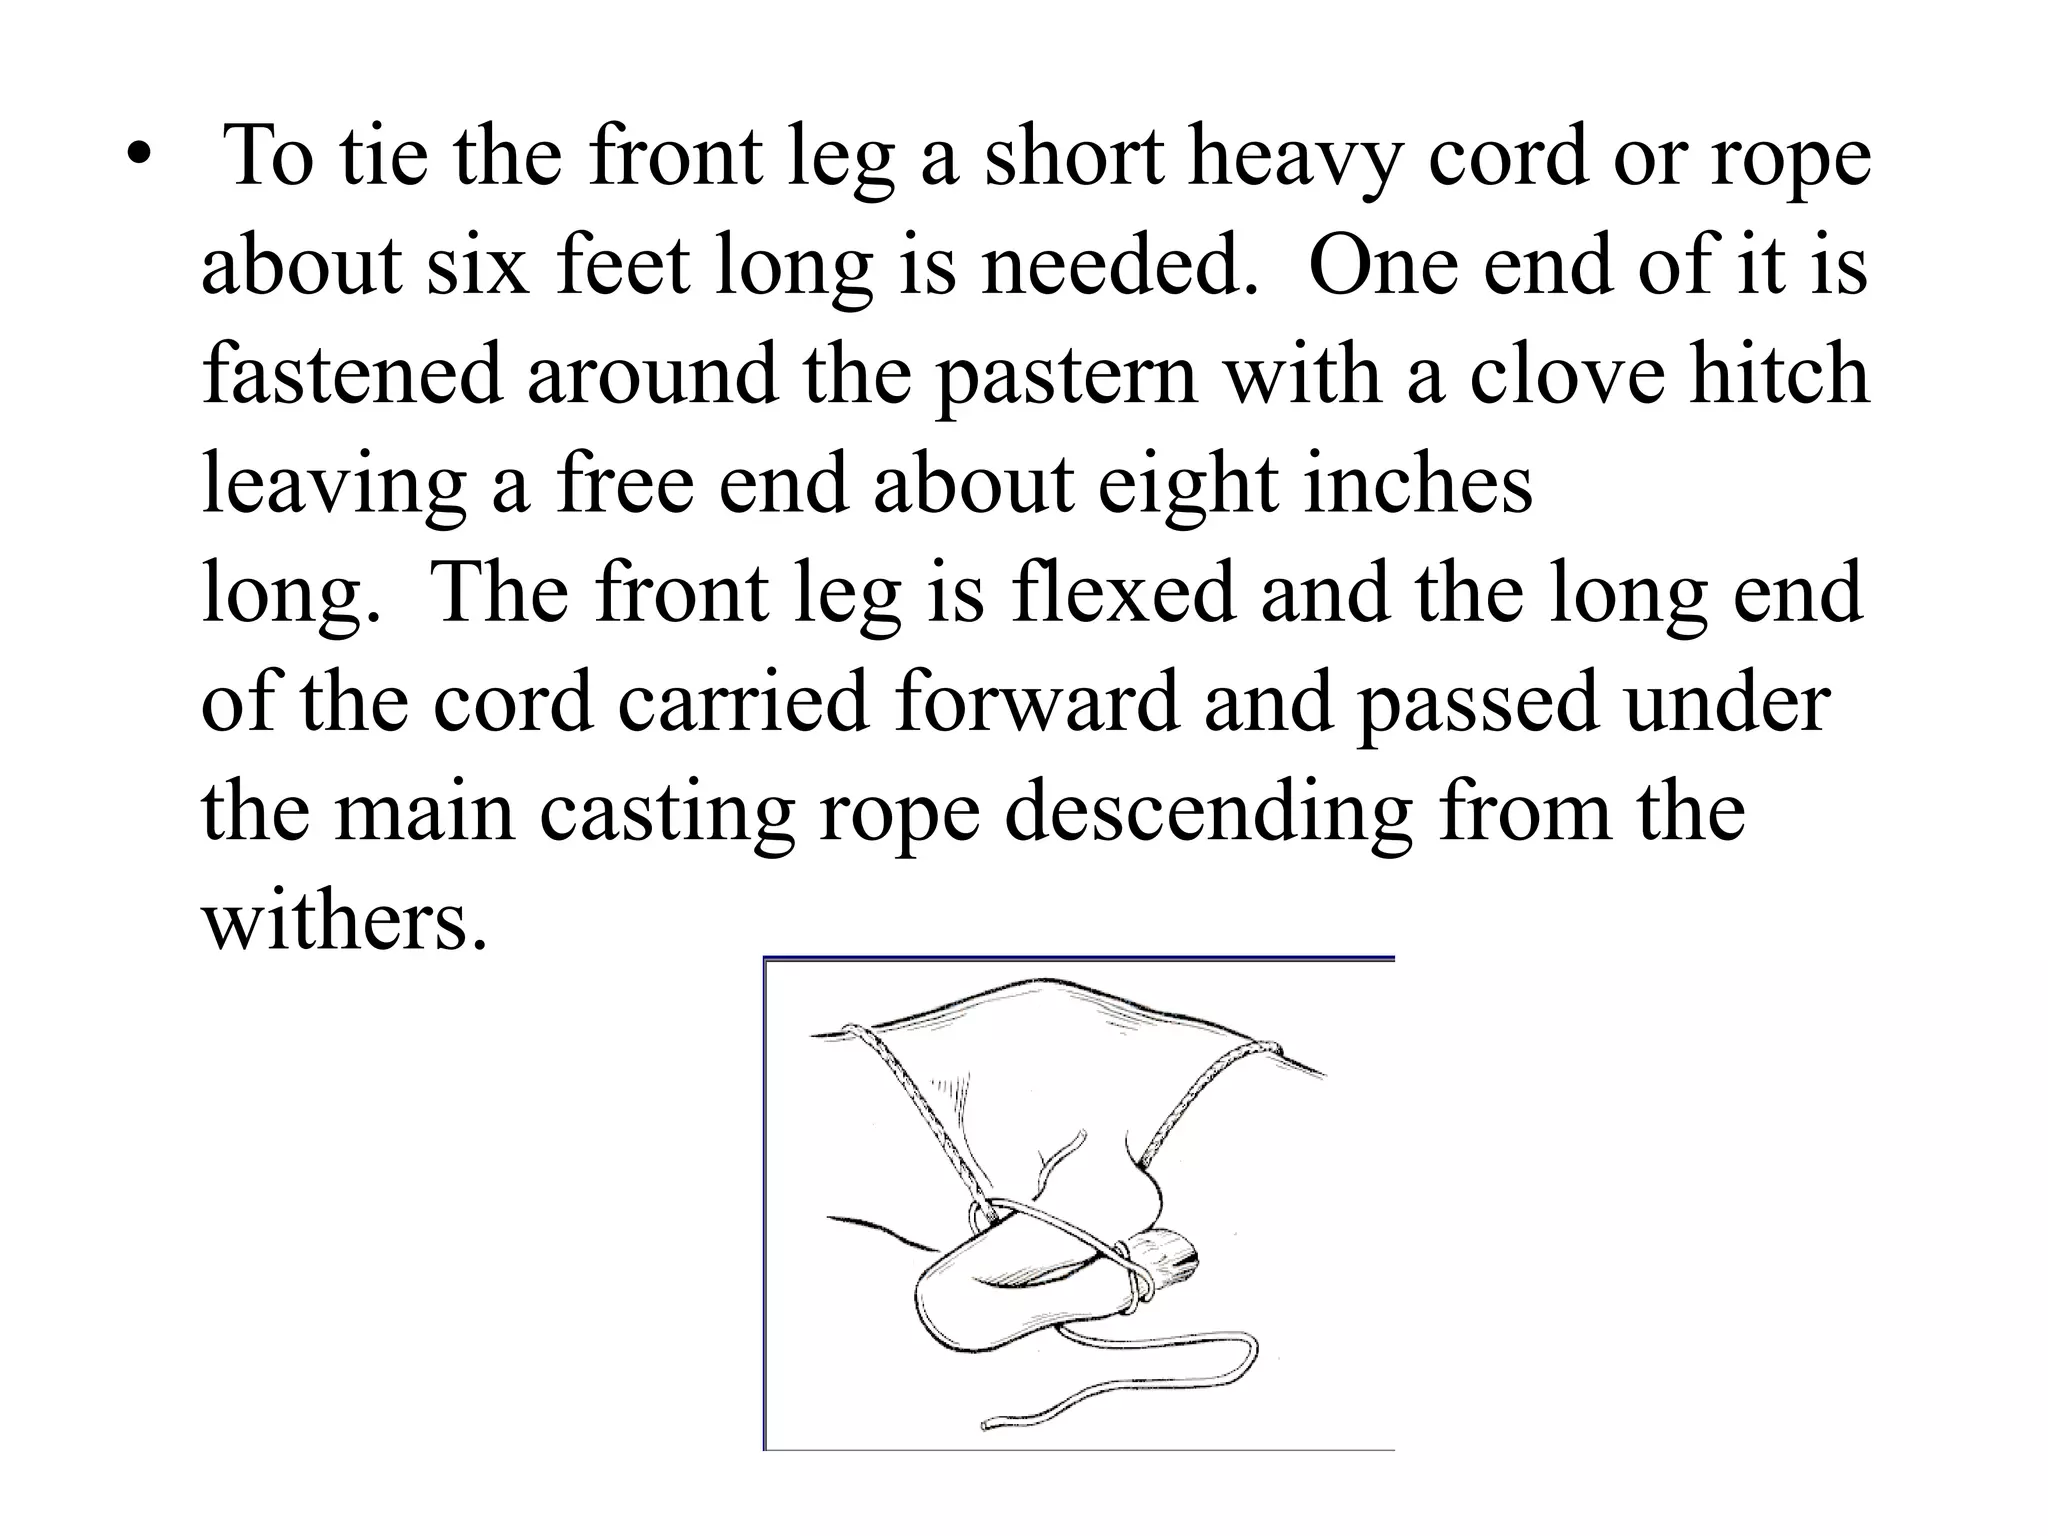


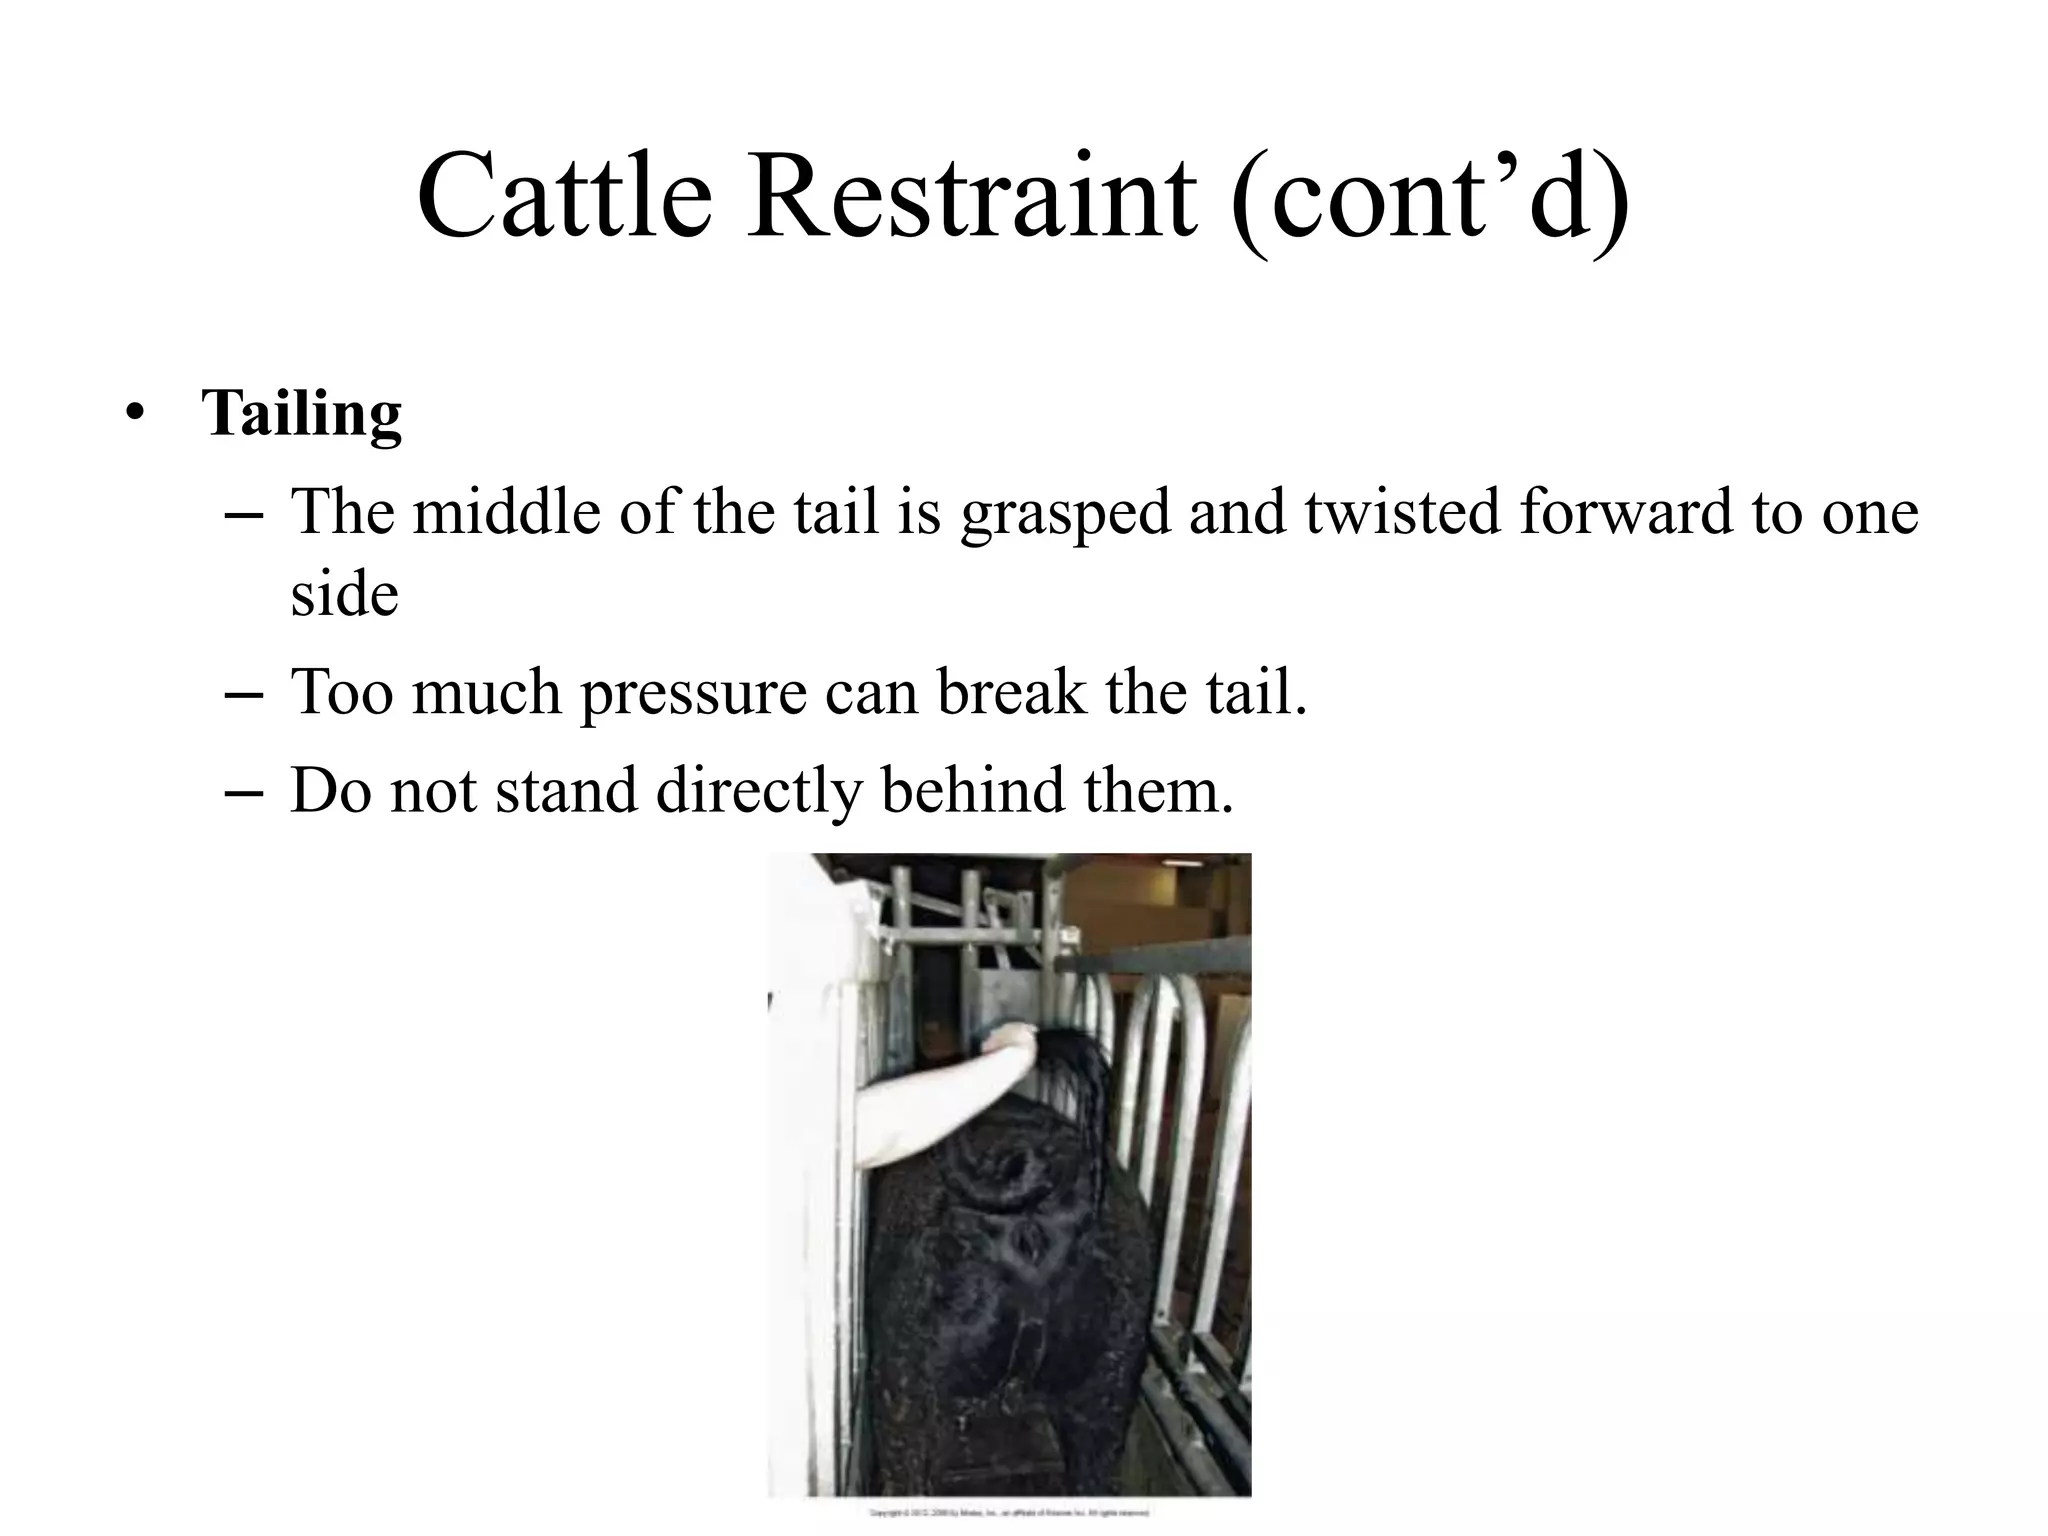

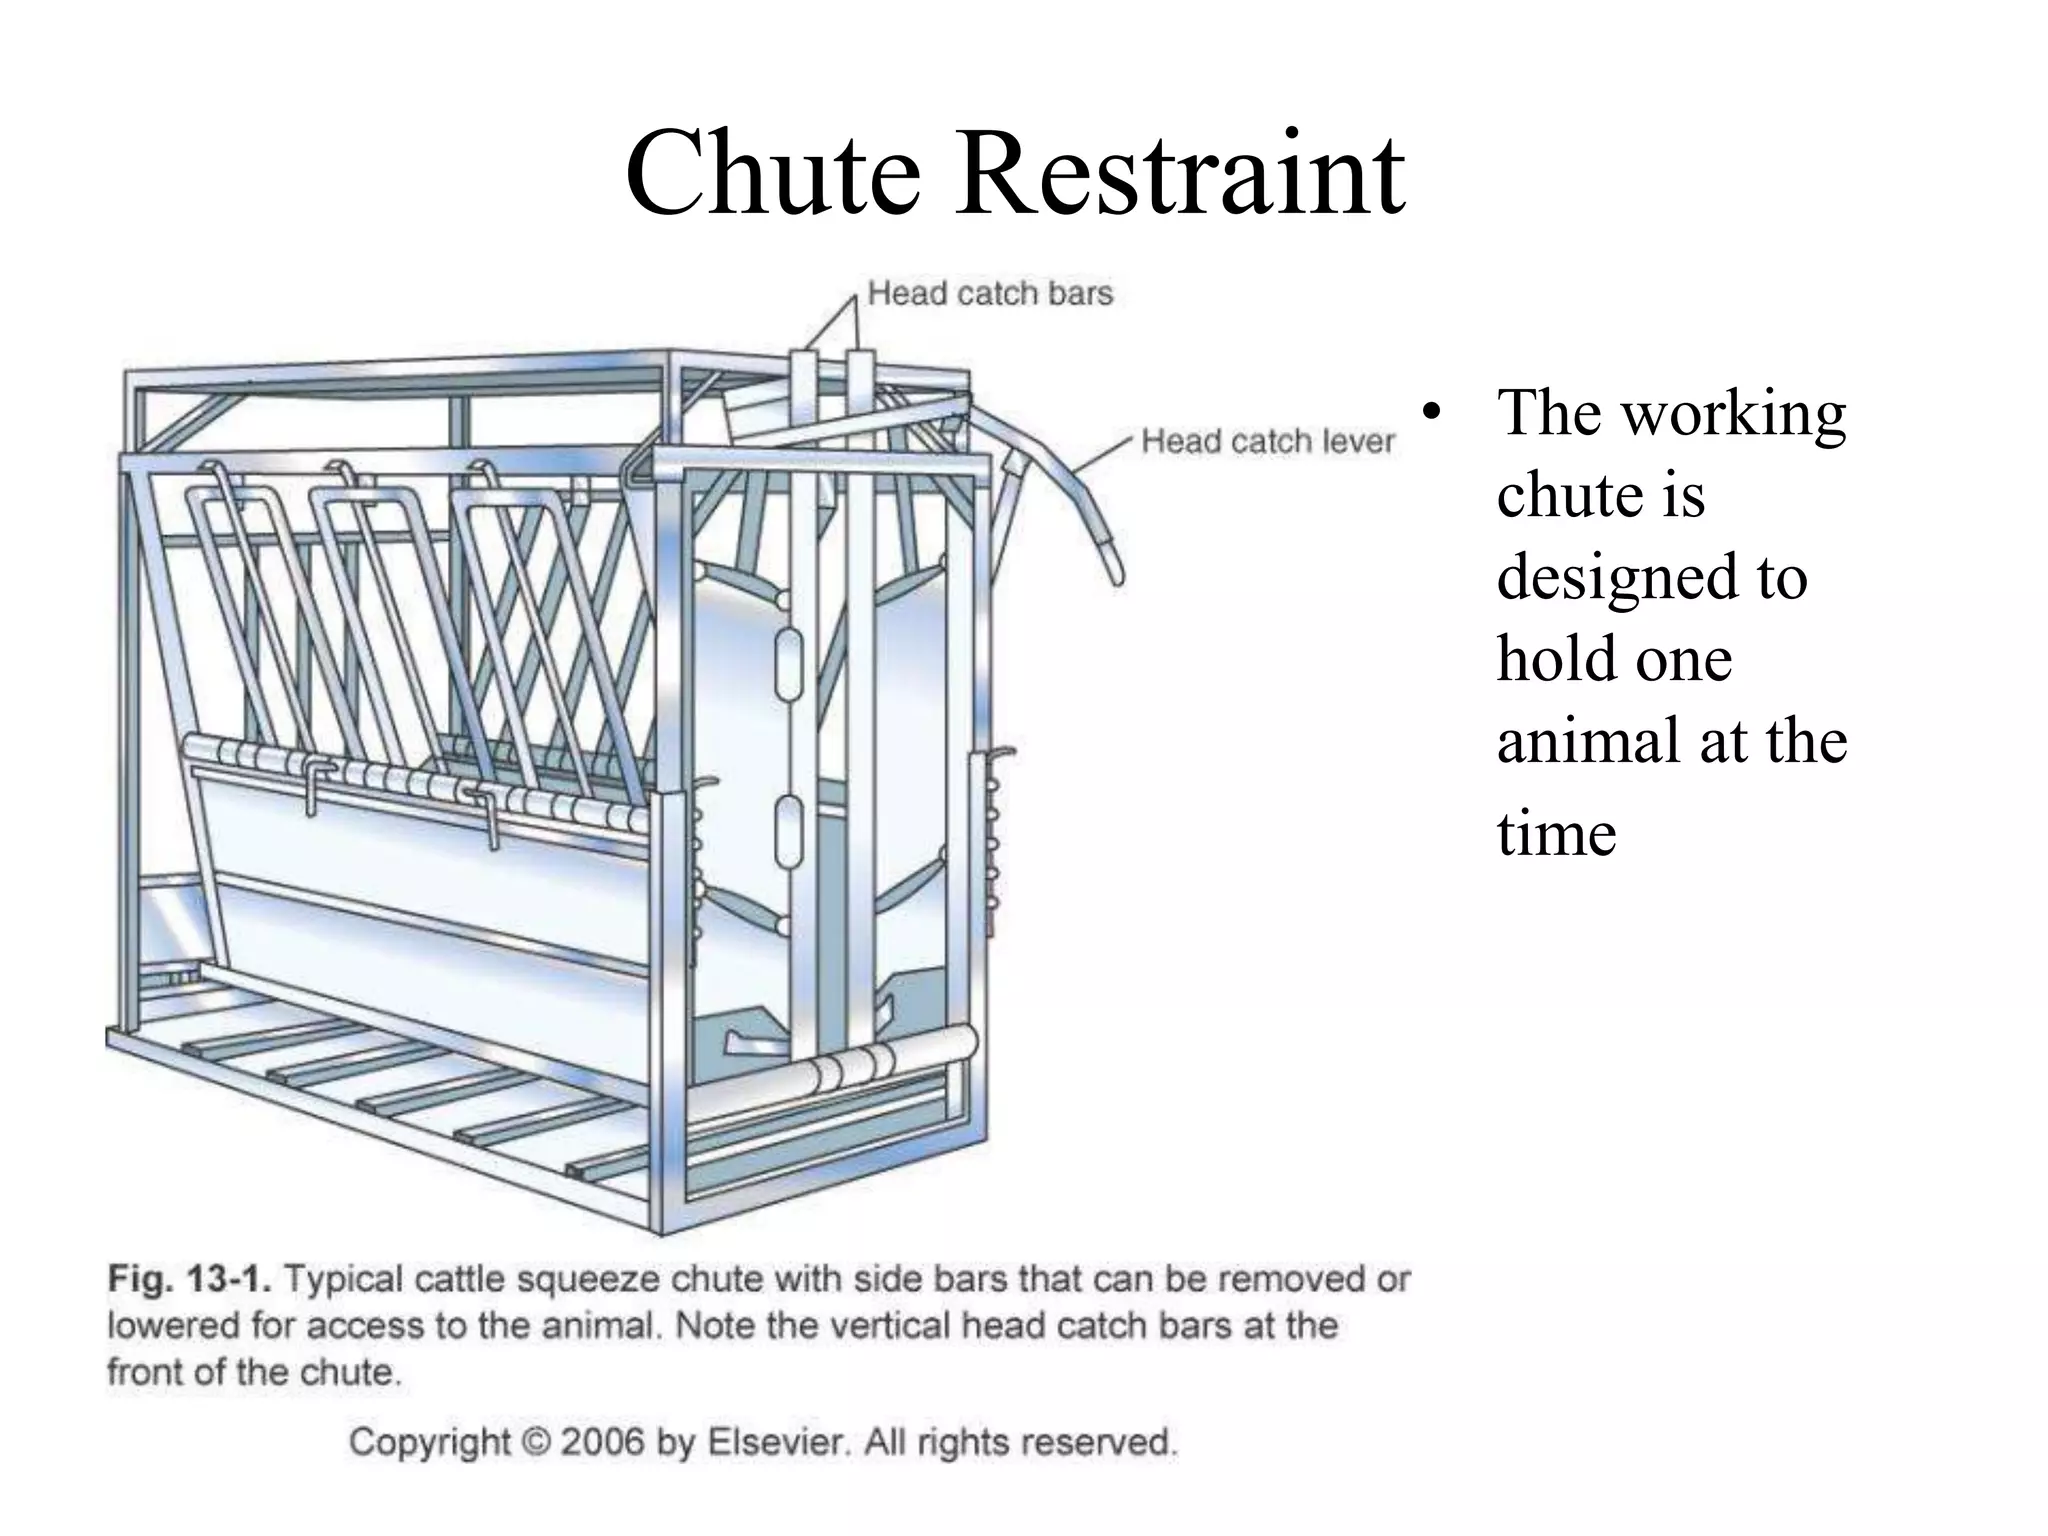
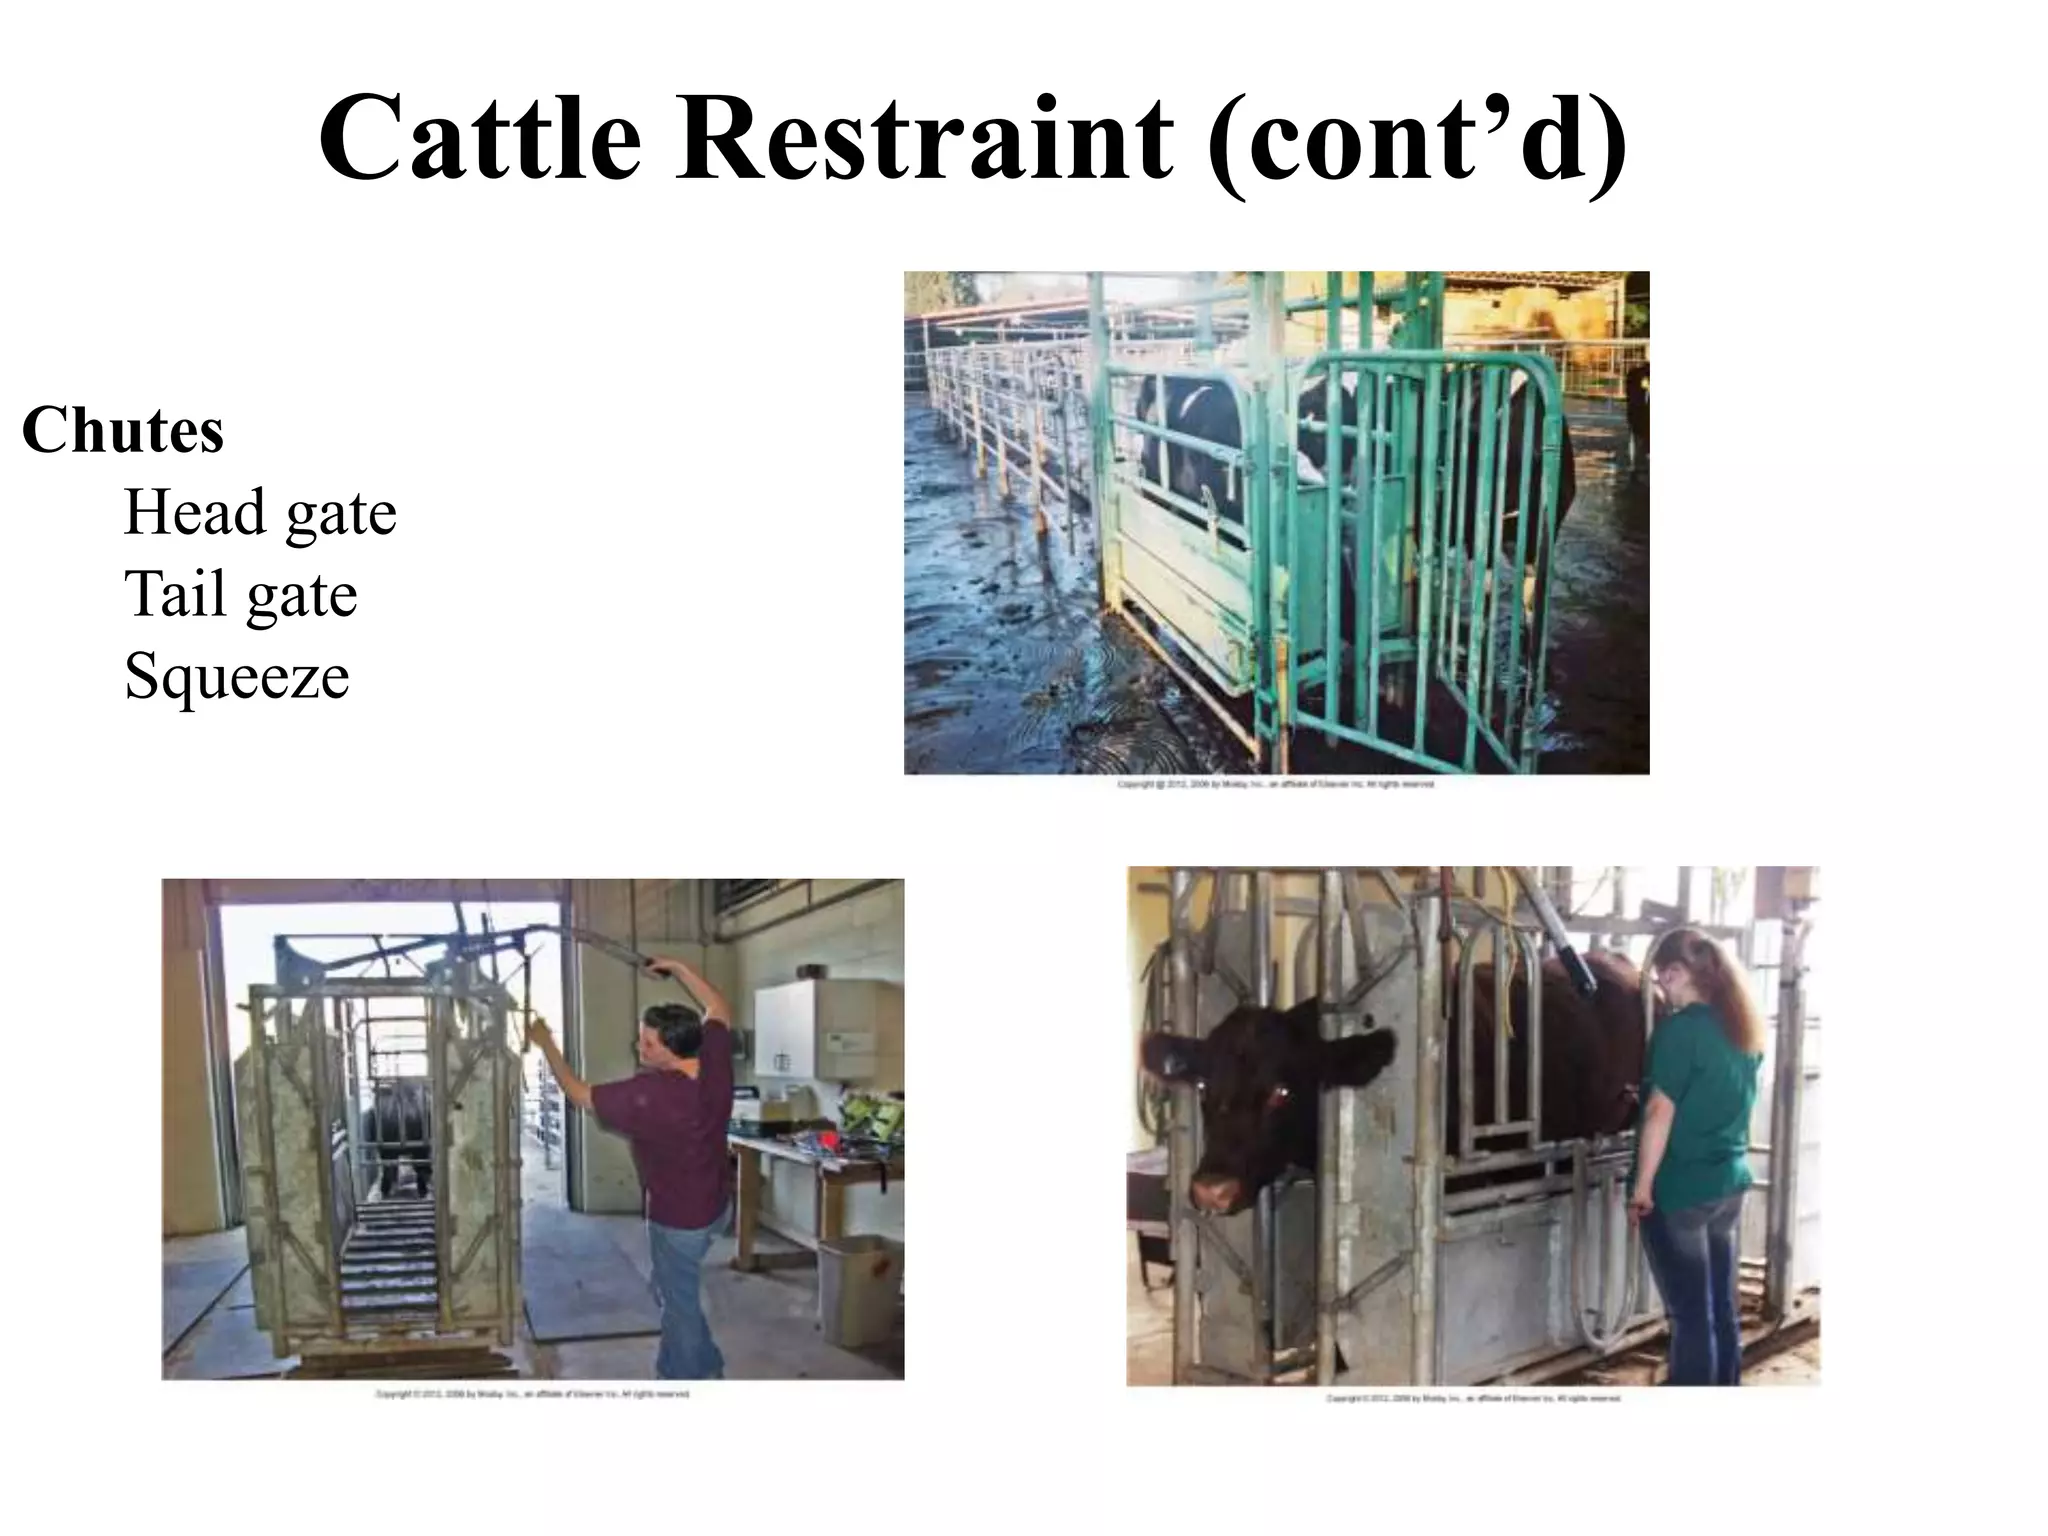
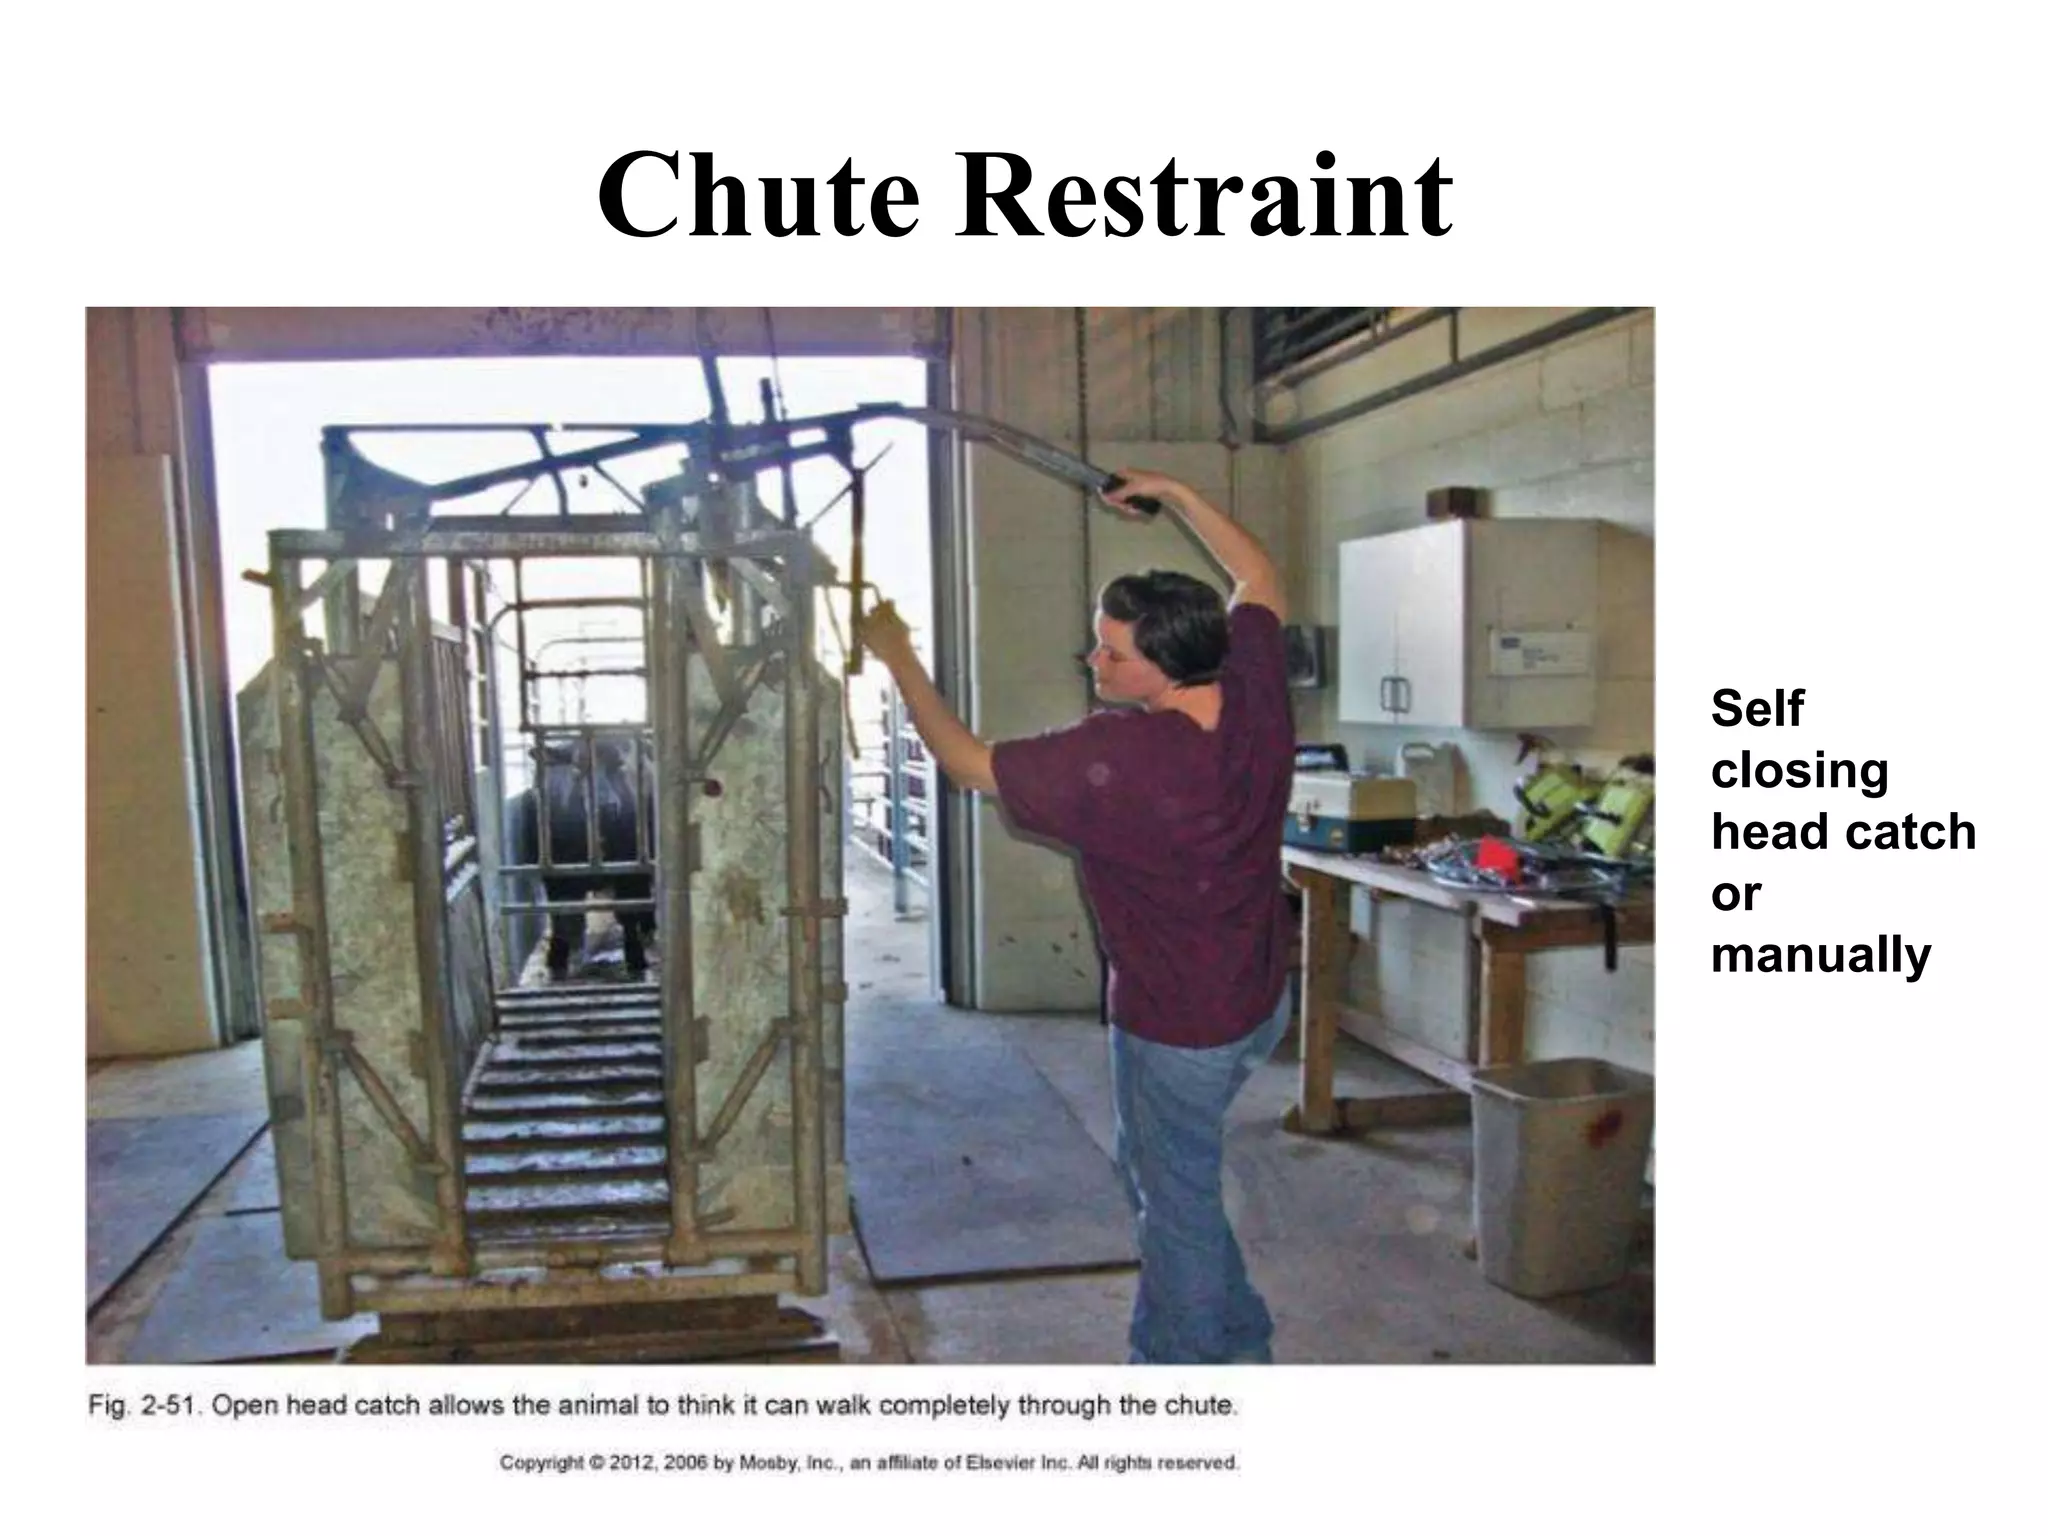


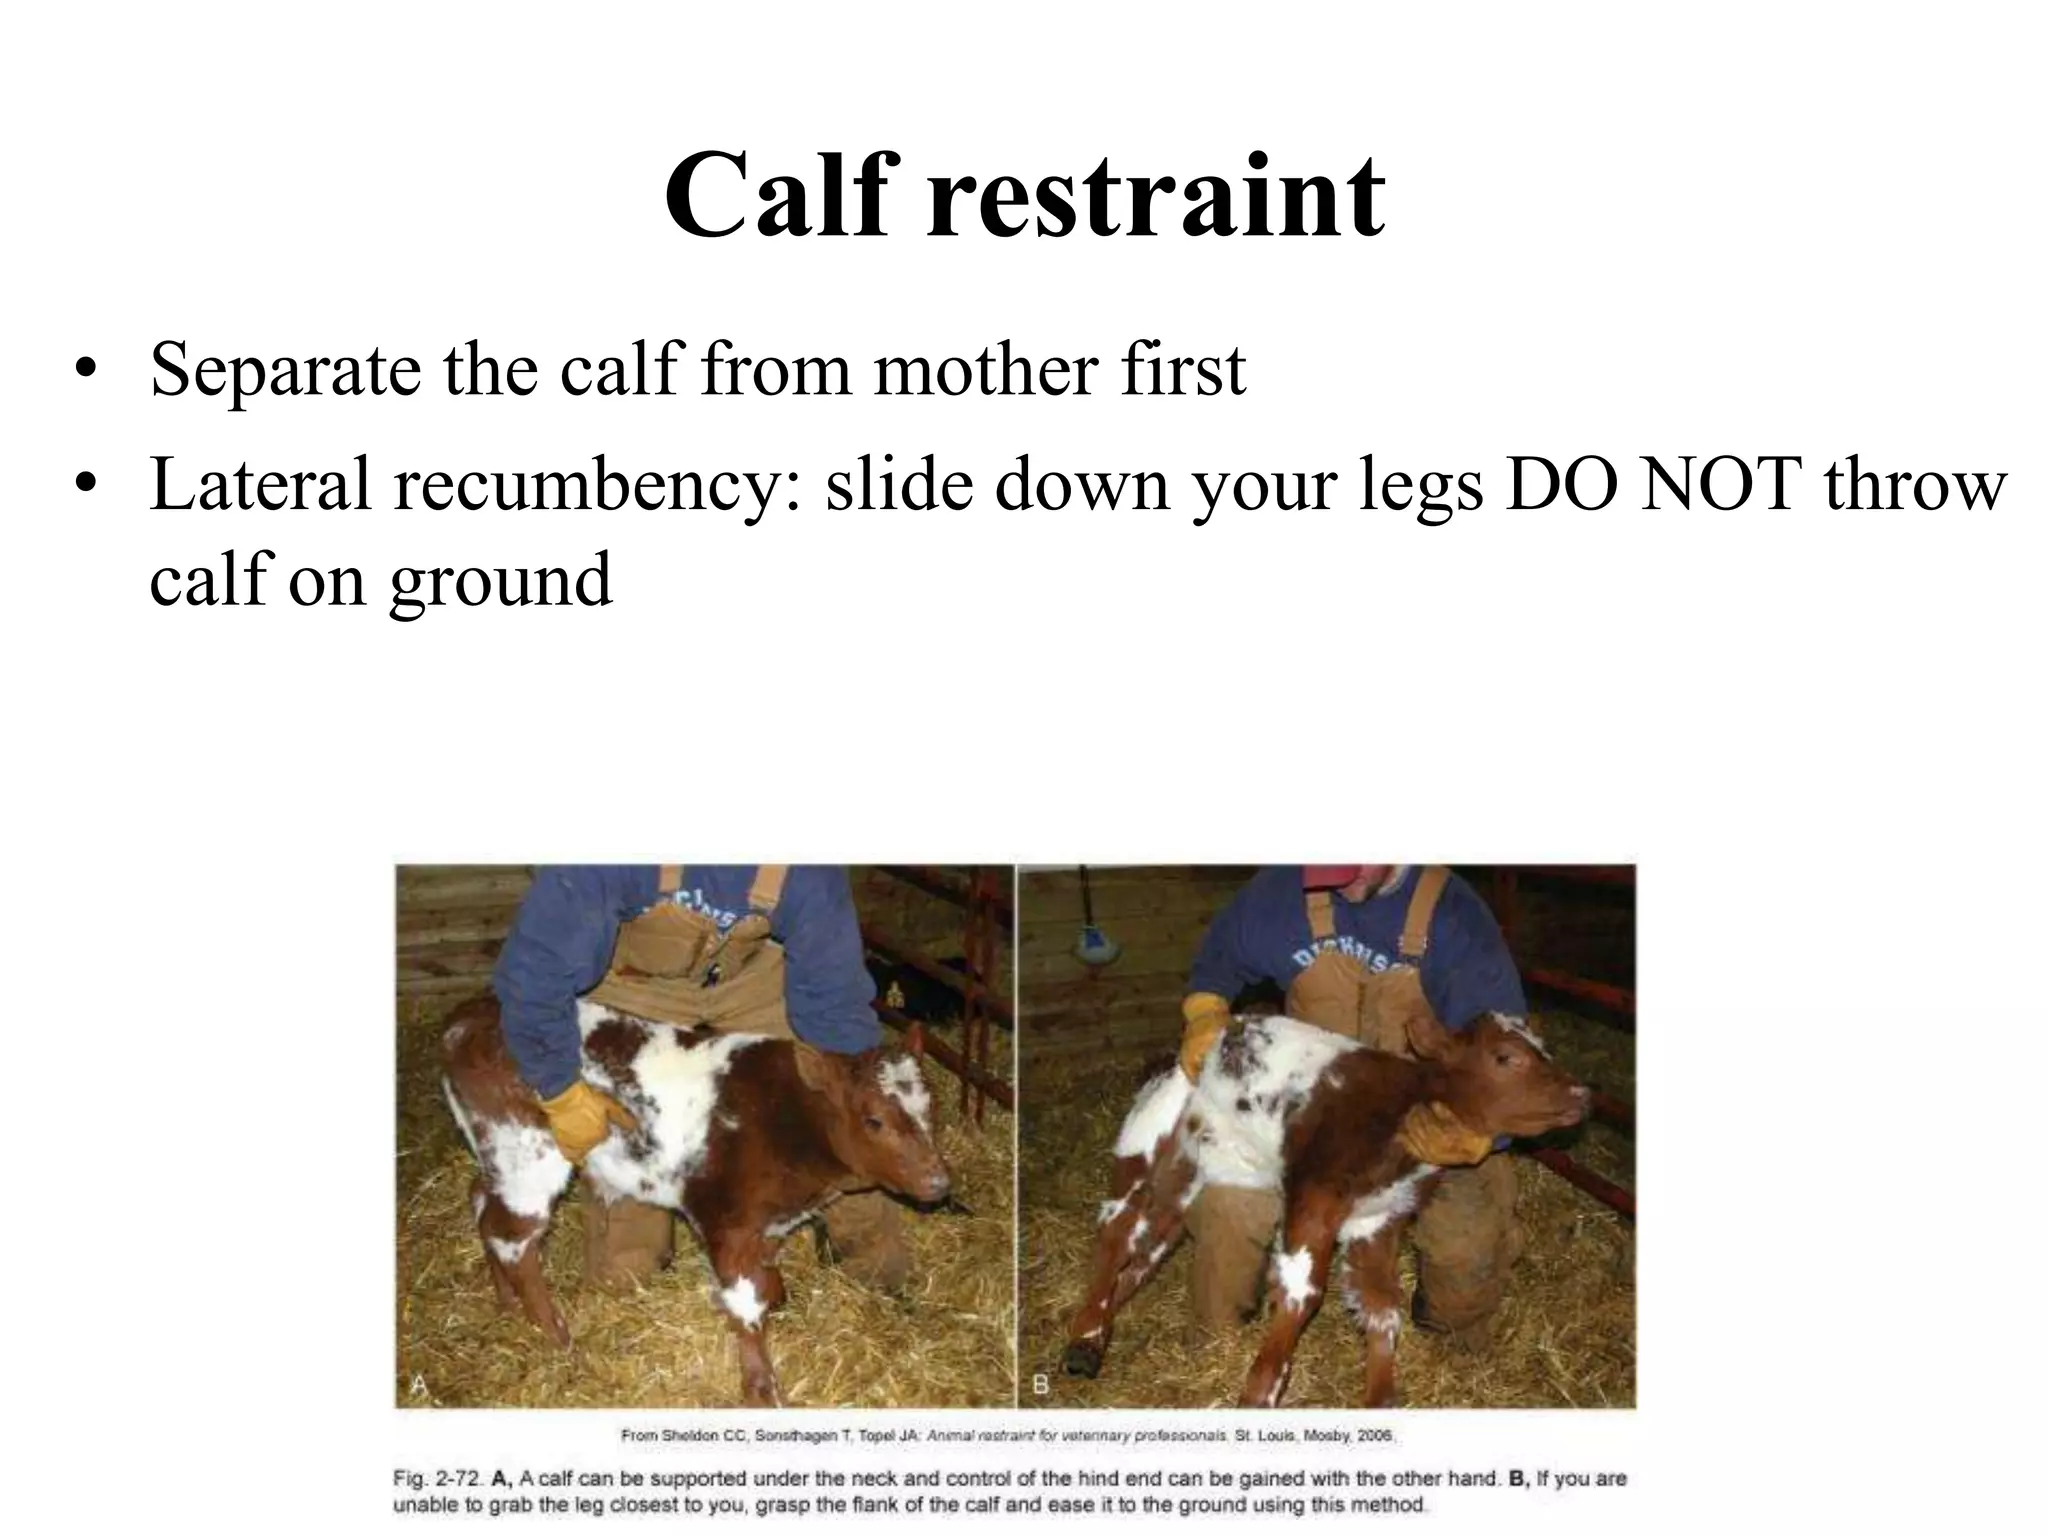
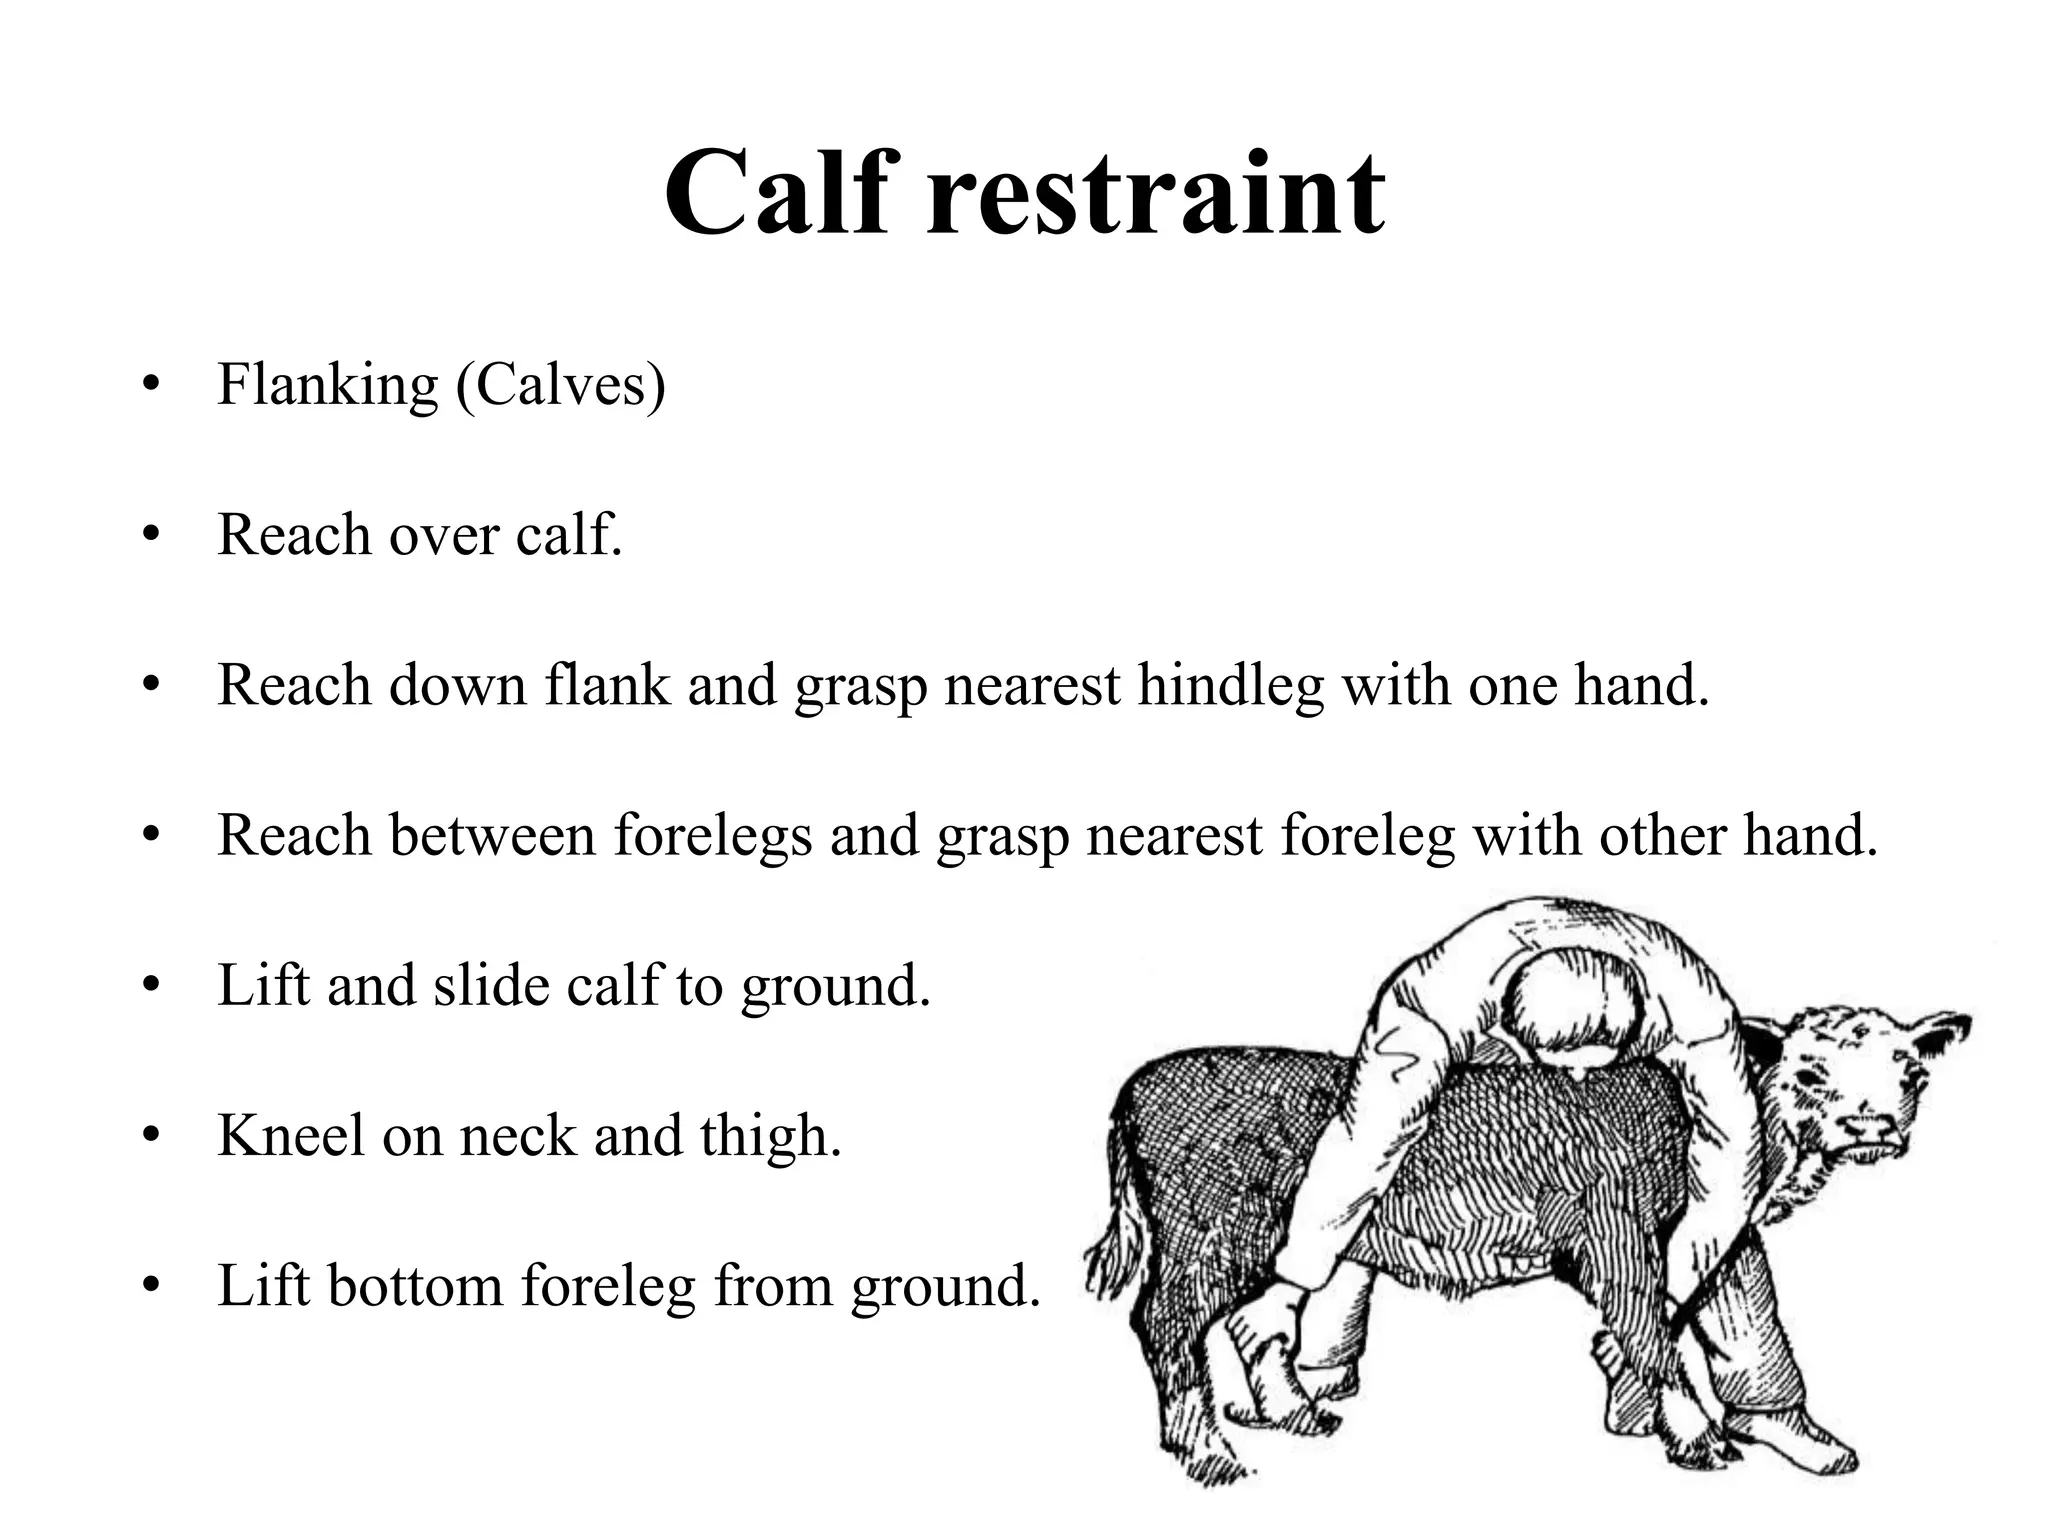
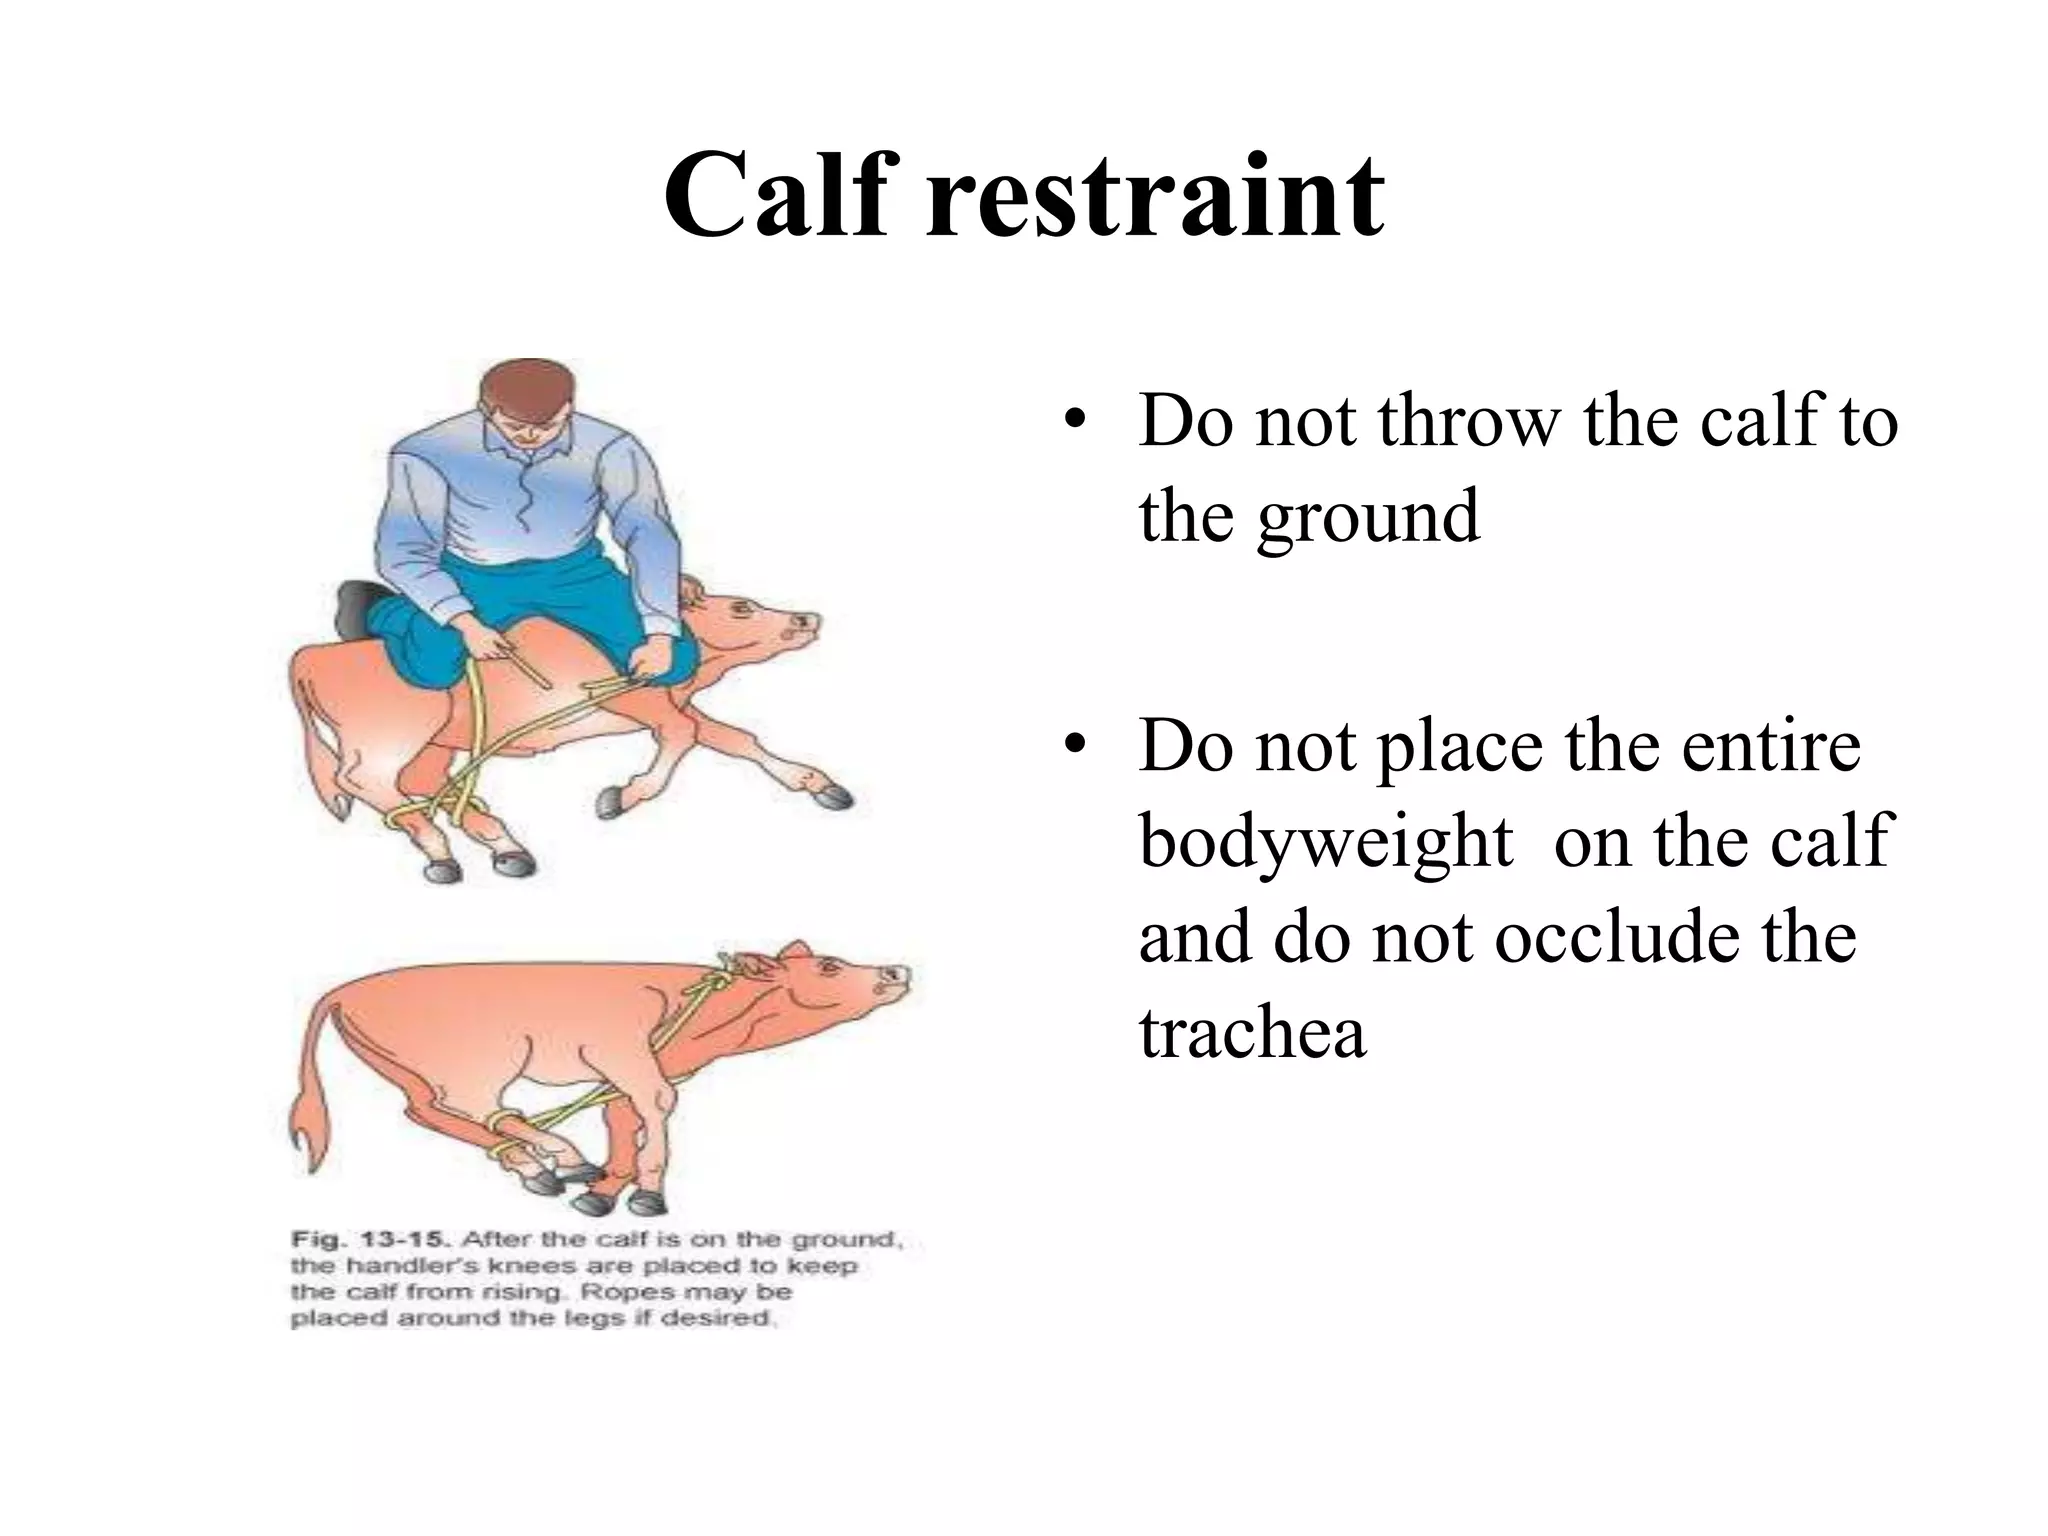
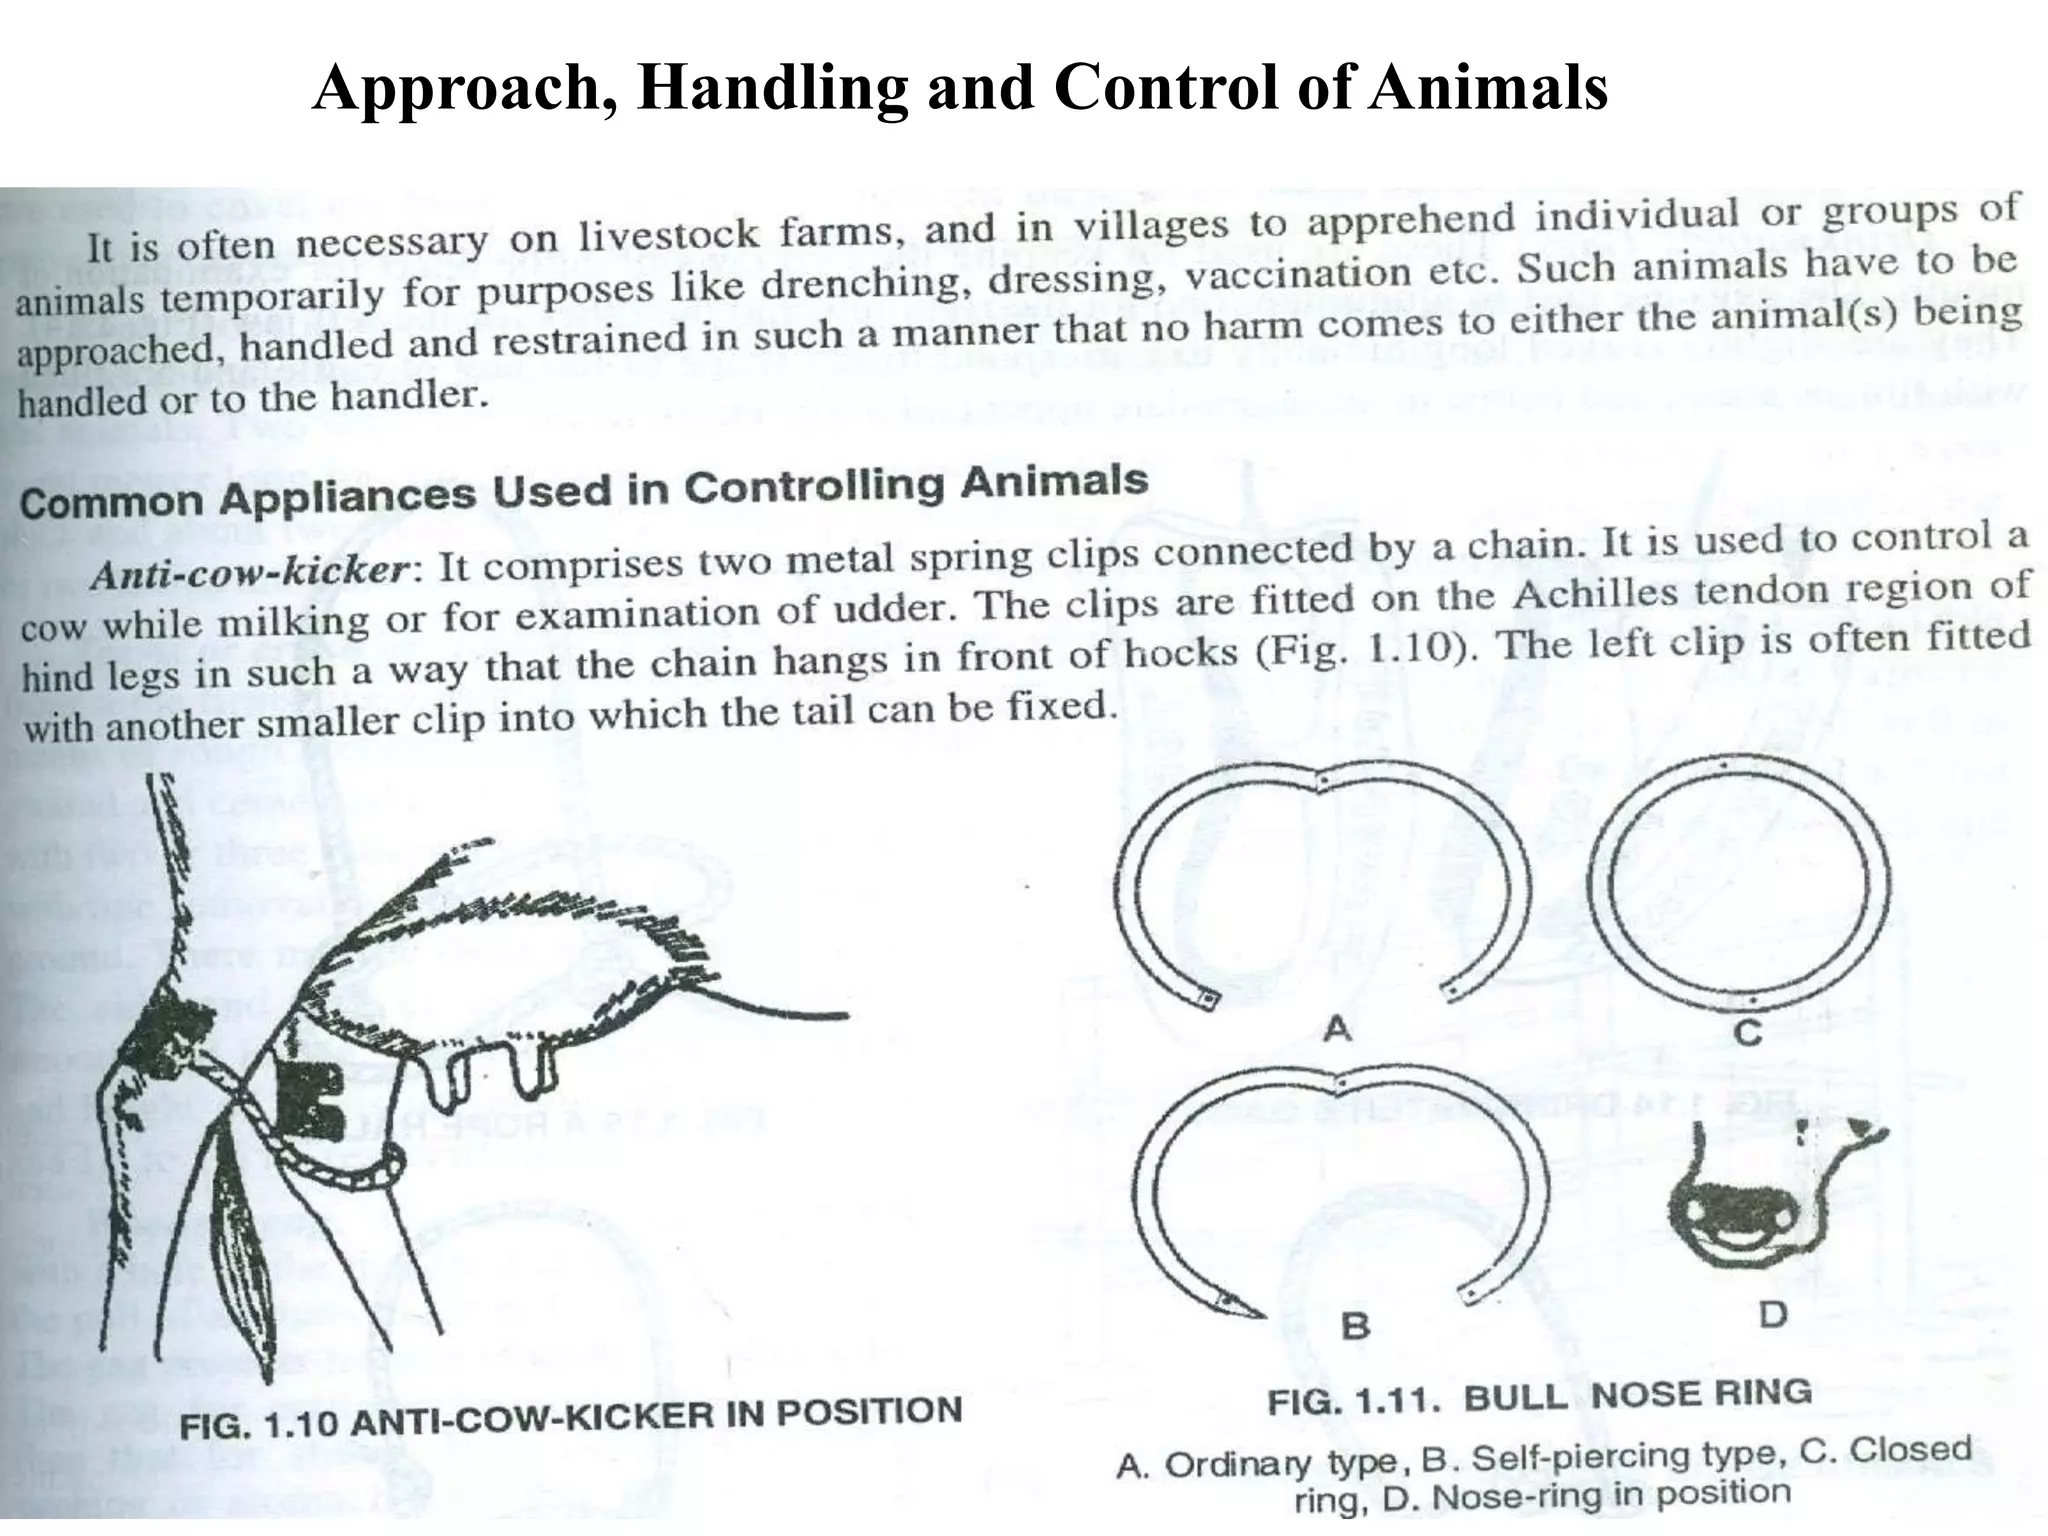


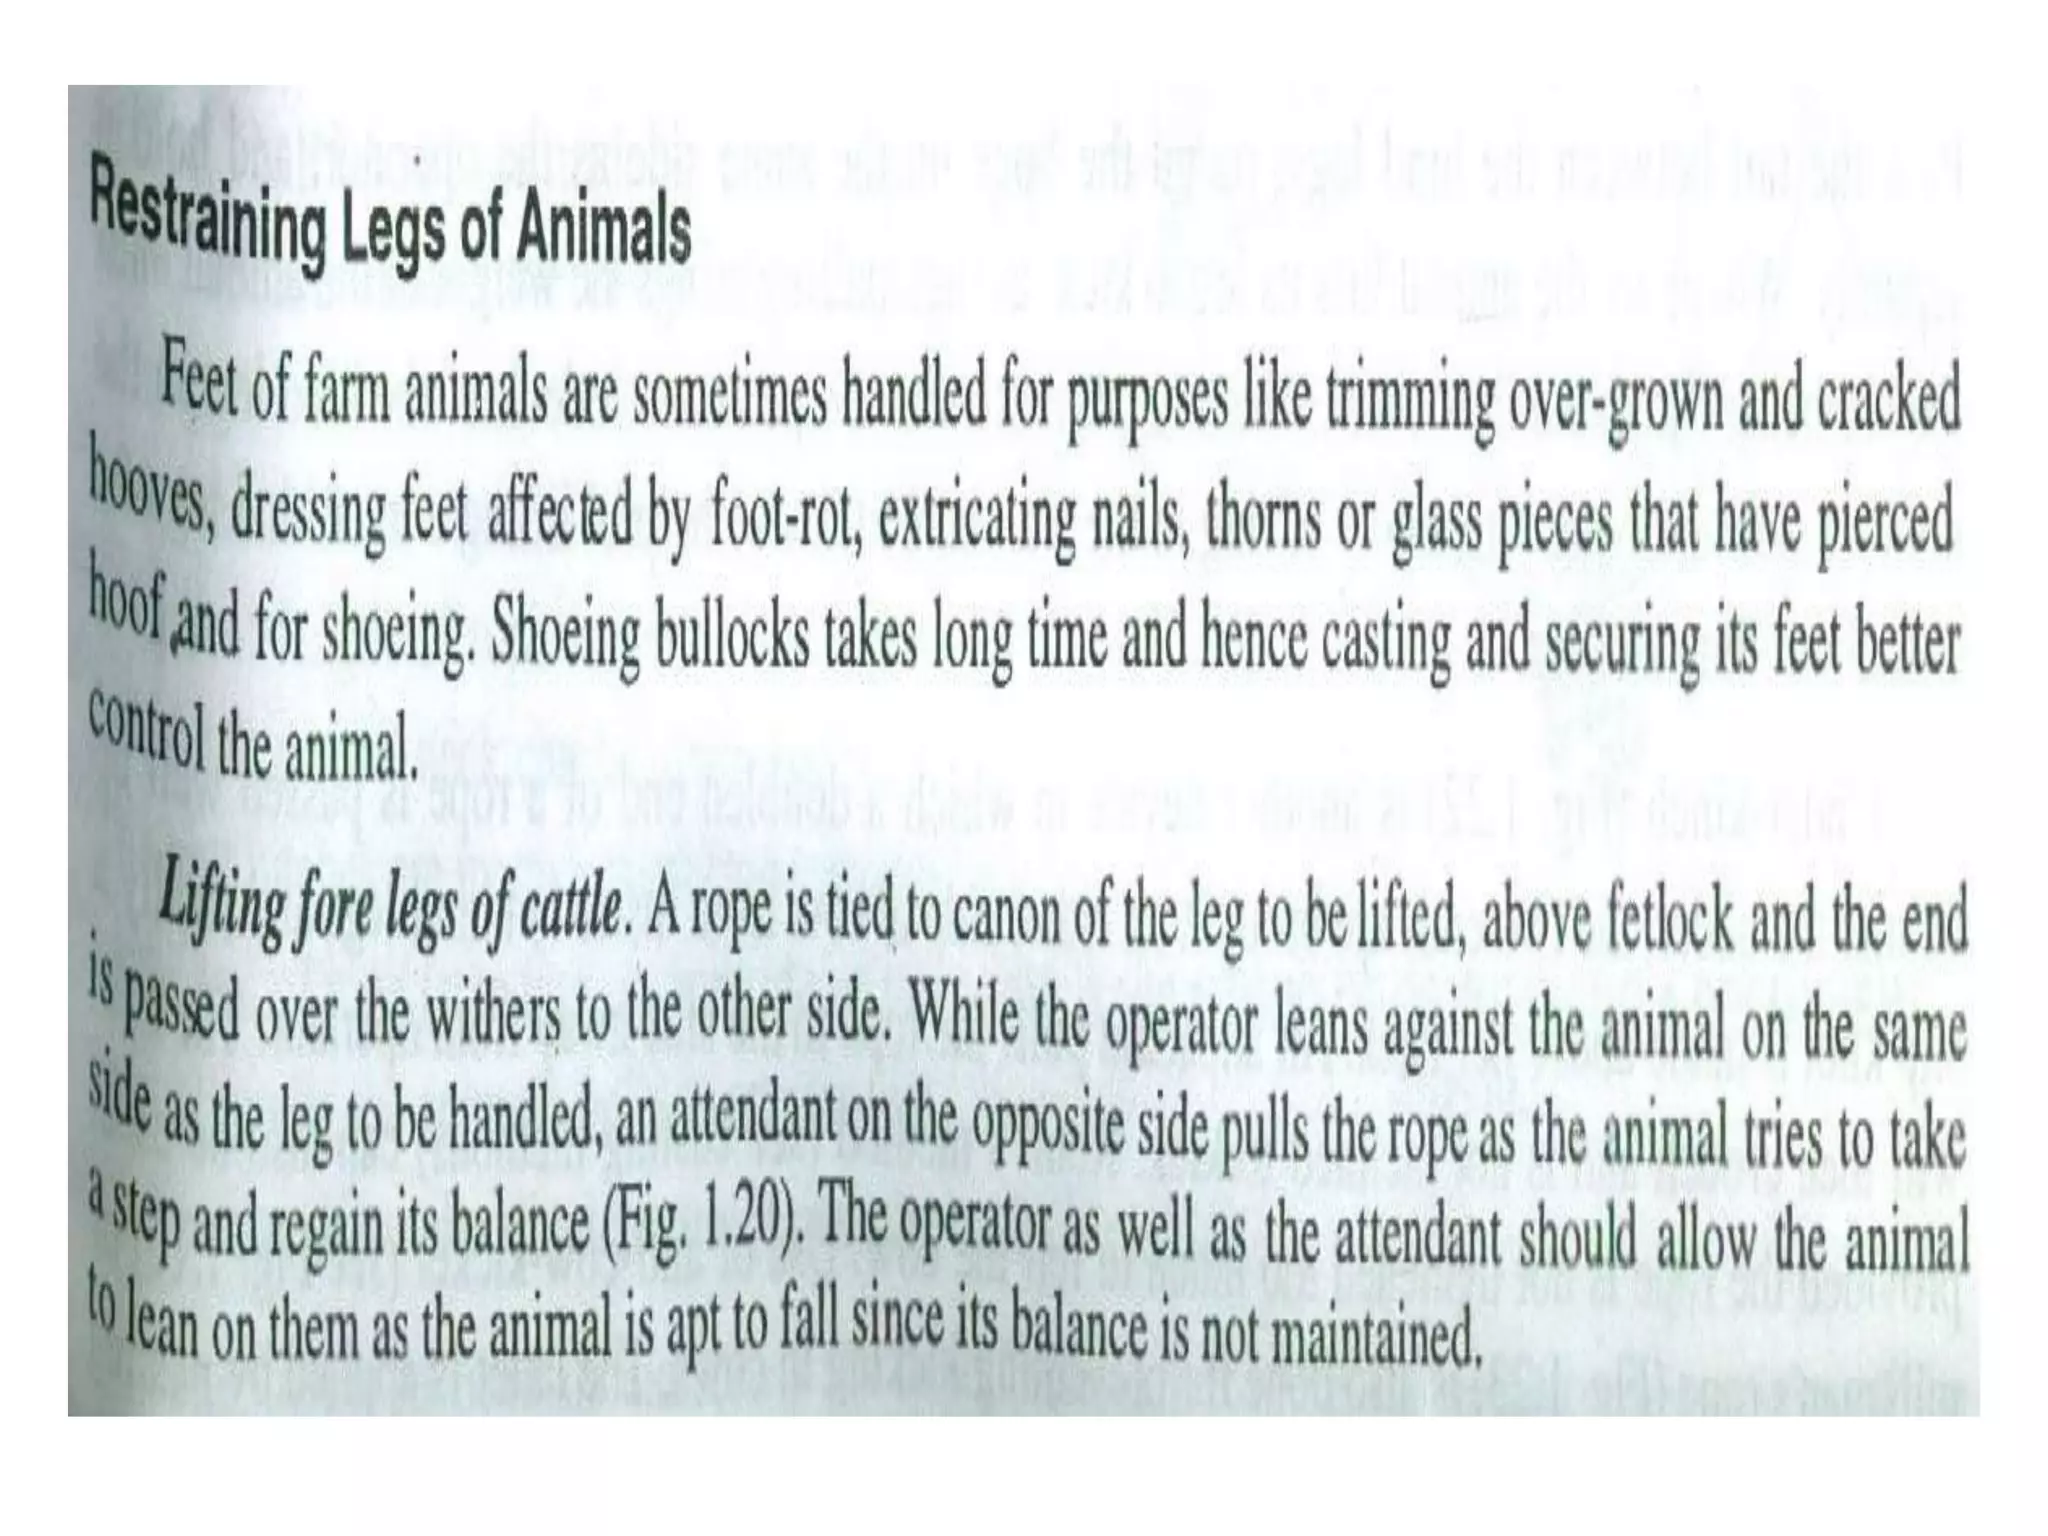


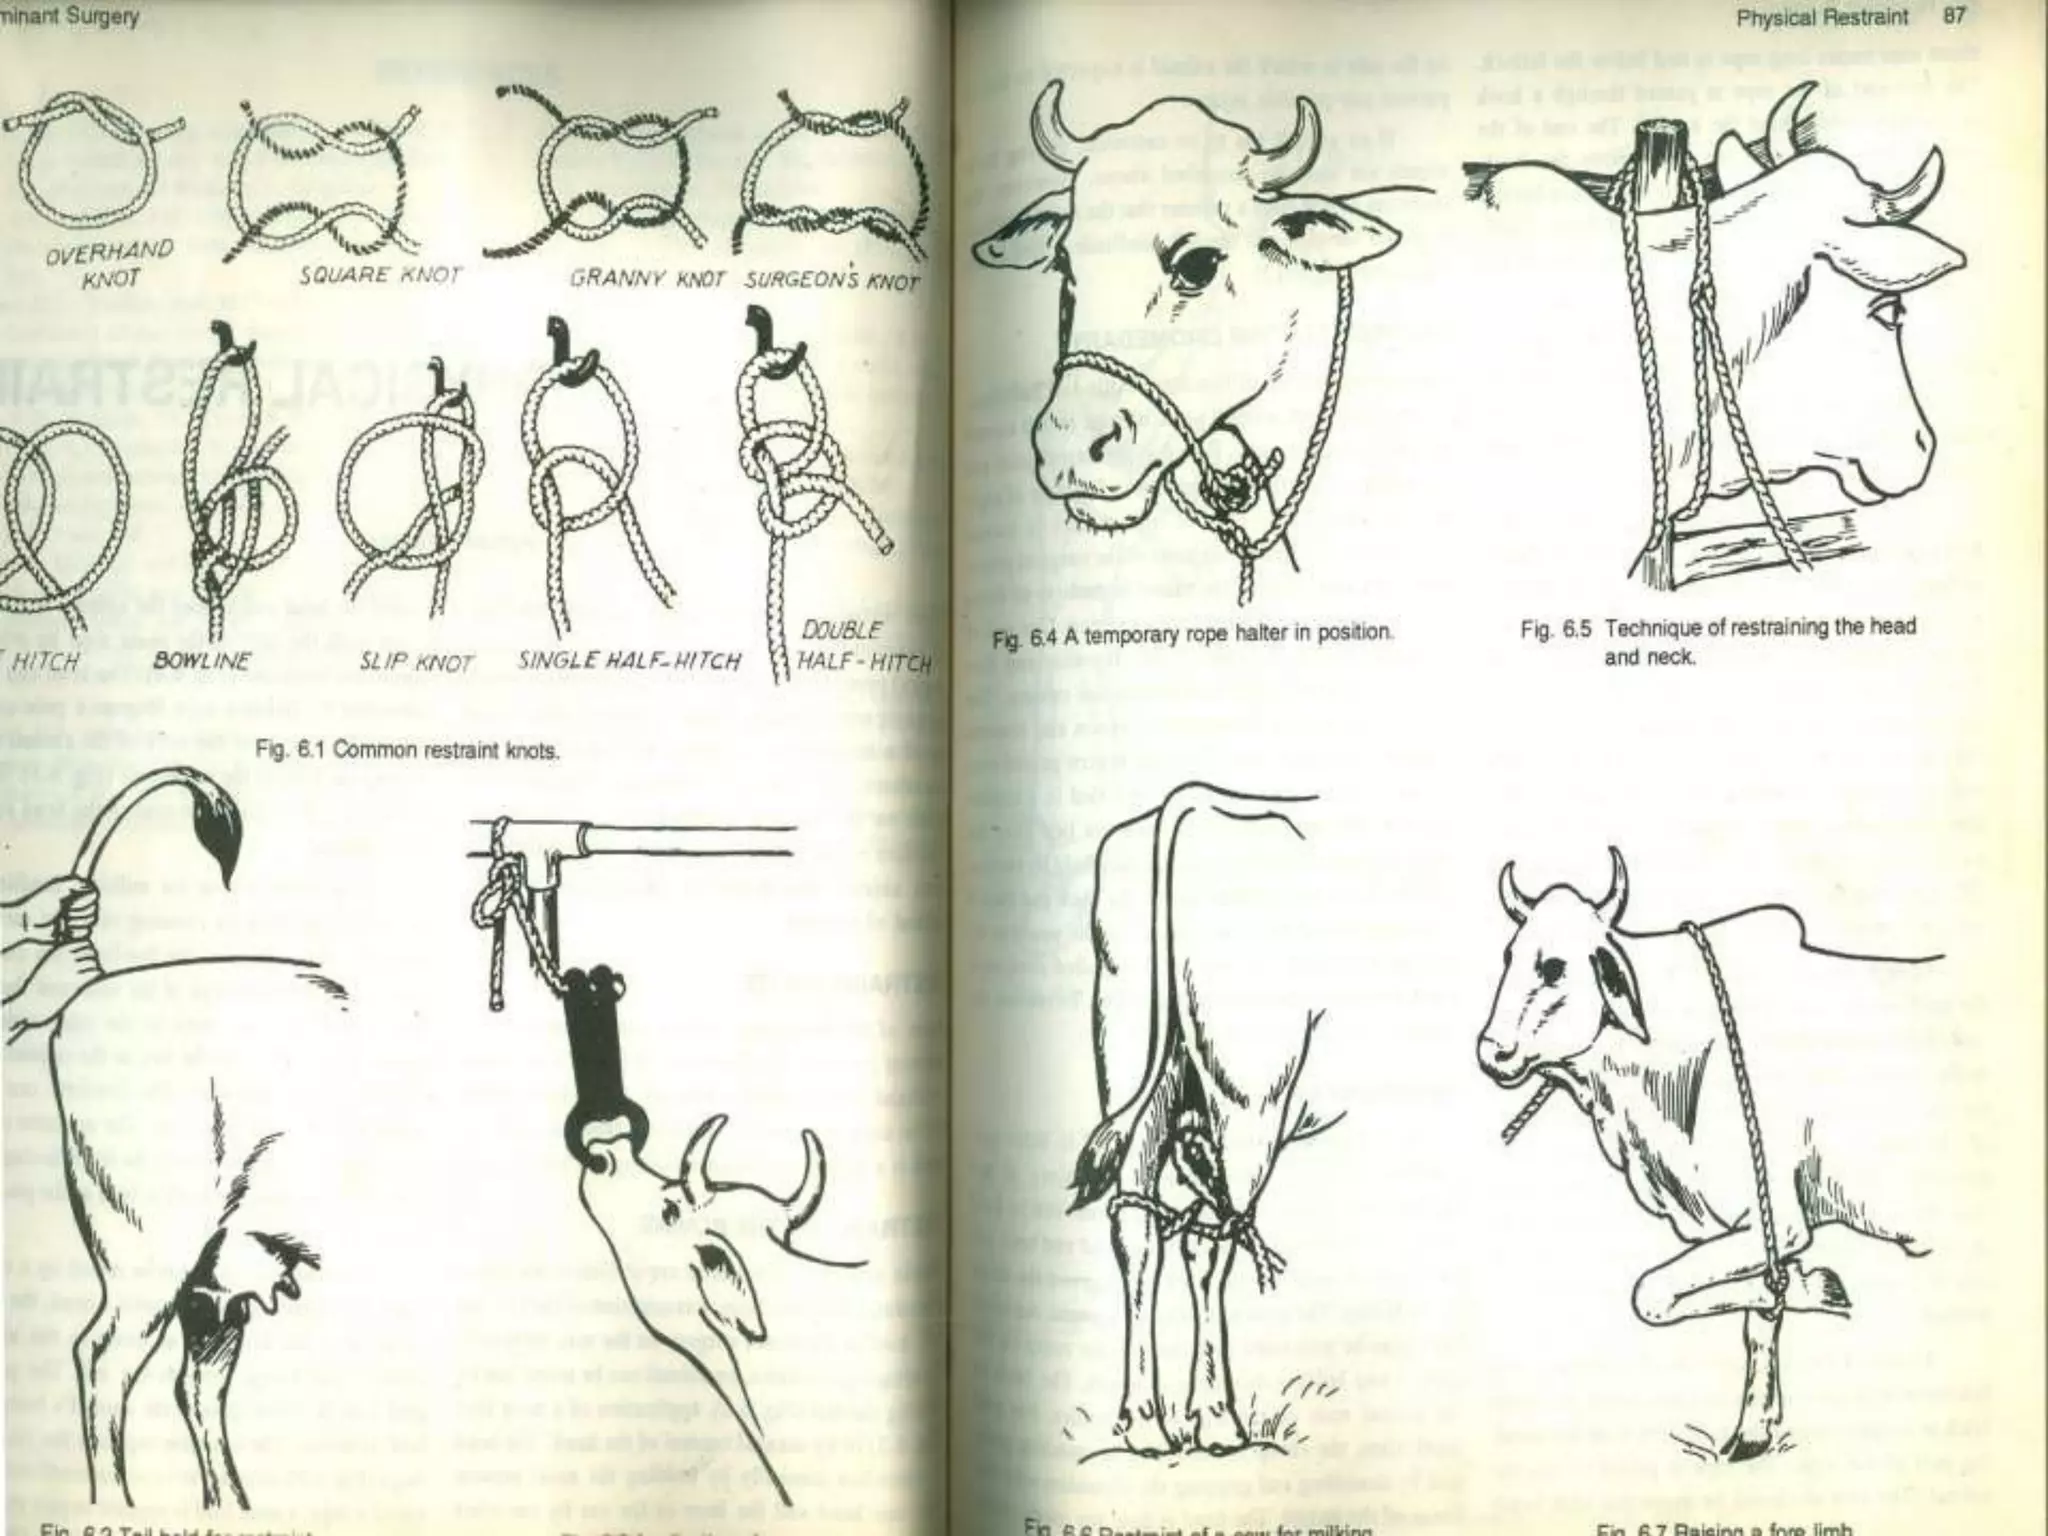


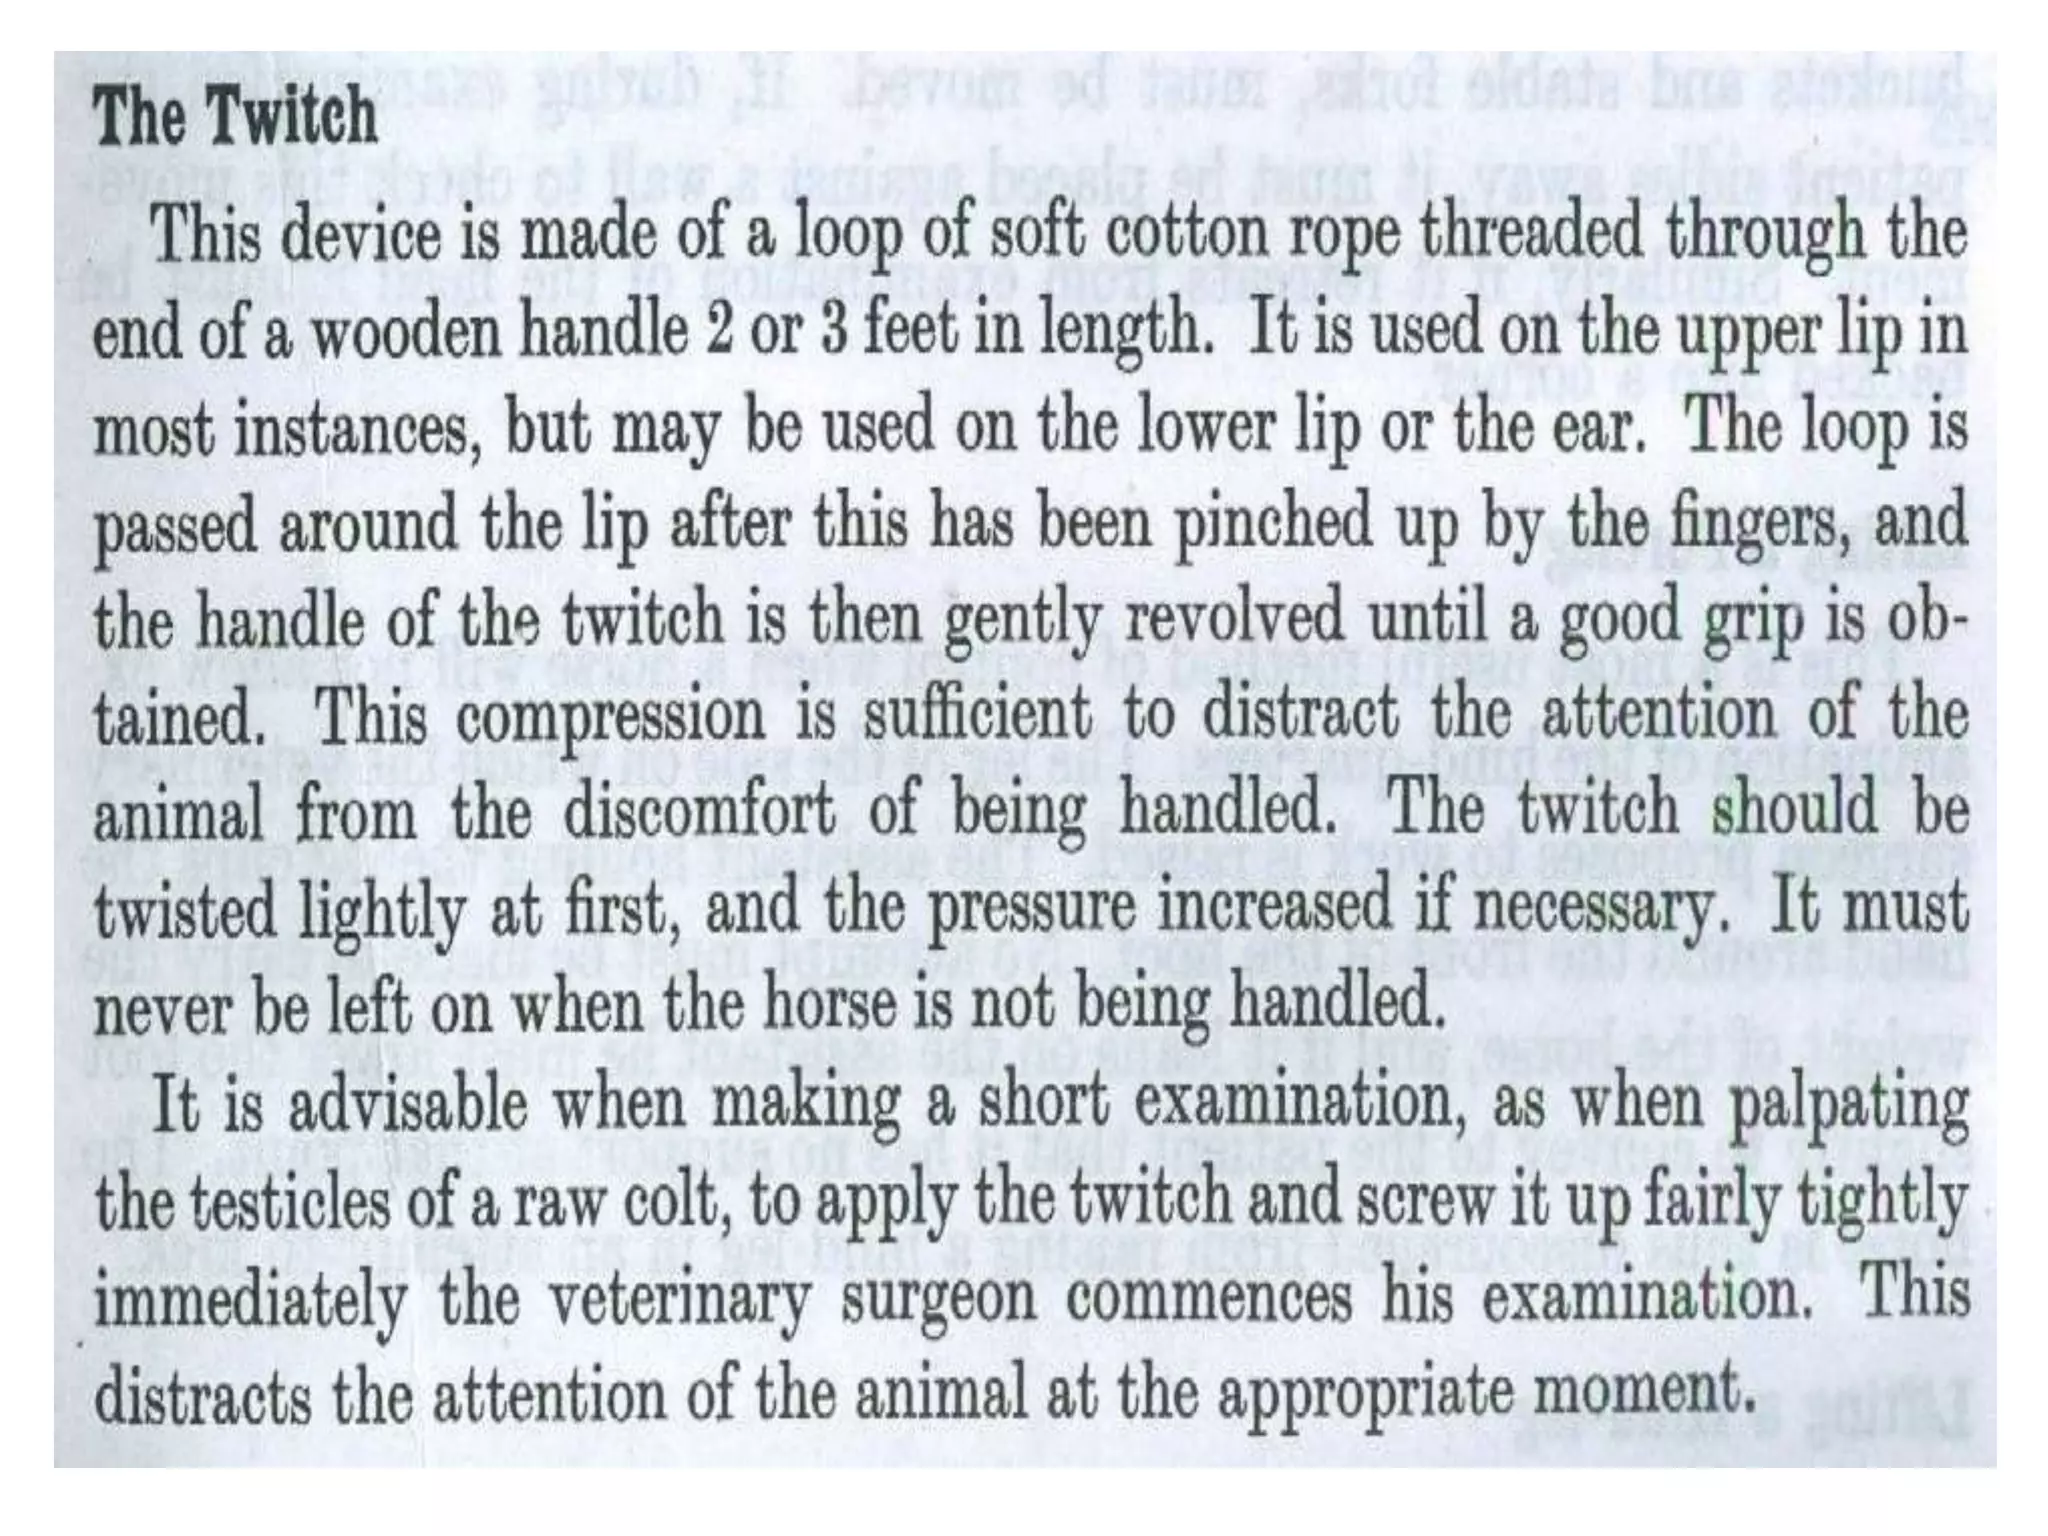


The document provides information on restraining animals, specifically cattle. It discusses: - The importance of understanding an animal's psychology and instincts to properly restrain them without harm. Methods include physical, chemical and psychological restraint. - Safety is a top priority as veterinary work can be dangerous. Restraint allows medical procedures while limiting animal movement. - Cattle have prey instincts like flight zones and use panoramic vision so handlers must stay in sight. Common restraint techniques are described like halters, chutes, and casting/rolling animals. - Young calves require gentler handling and restraint compared to adults. Psychological restraint through voice and touch can calm animals before other methods are needed. Training is critical for