Download to read offline


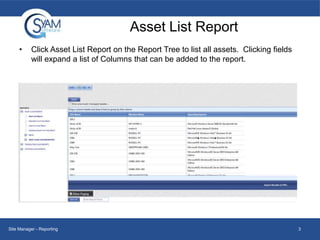
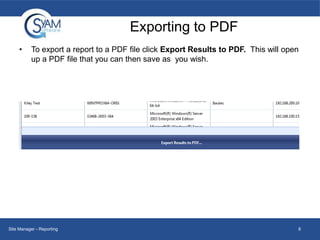
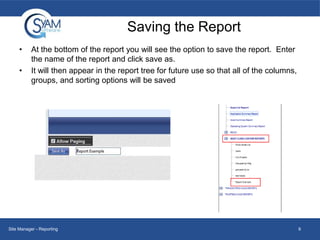
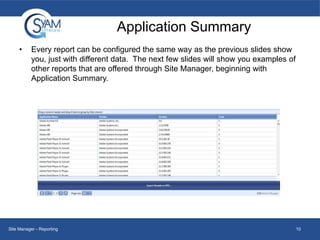
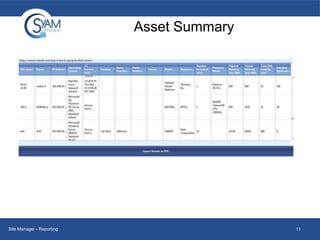
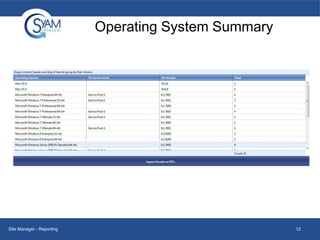
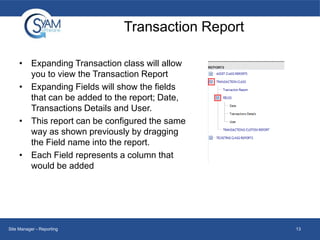
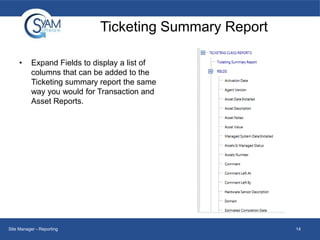

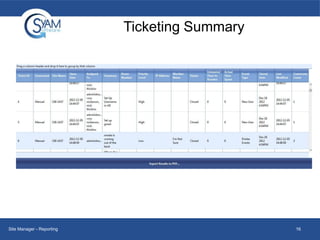

The document discusses the reporting features in Site Manager, including predefined reports for asset list, application summary, asset summary, operating system summary, transactions, and ticketing summary. It provides instructions on how to customize reports by adding, removing, and grouping columns, as well as applying filters and exporting reports to PDF. Key report customization options covered include dragging fields into reports, right-clicking column headers to select columns, and filtering by expression. Saved reports will retain all customizations and be available in the report tree for future use.