Download to read offline

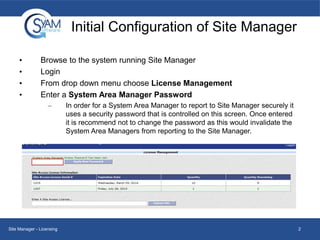
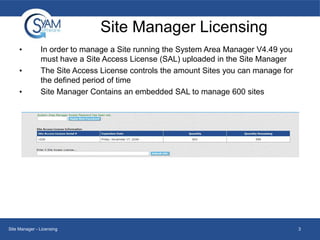
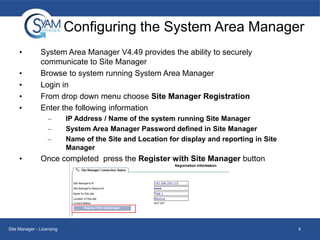
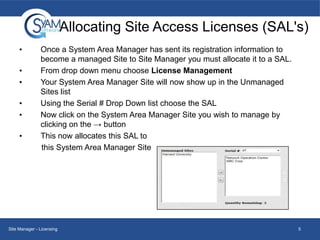
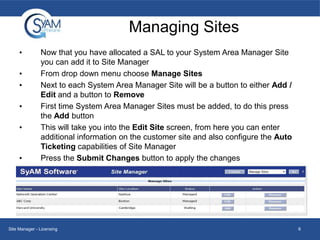
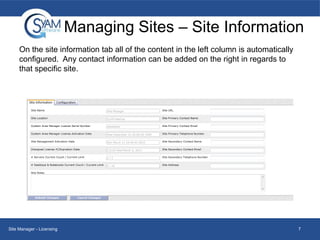
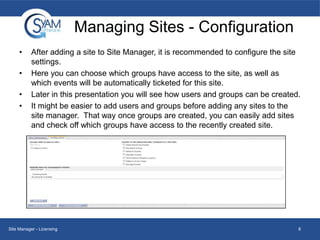
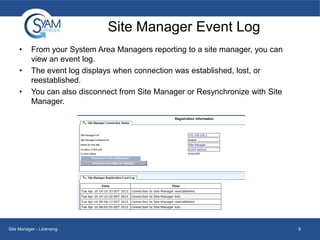

This document provides instructions for configuring licensing in Site Manager. It describes how to enter a system area manager password, manage site access licenses to control the number of sites that can be managed, configure individual system area managers to register with Site Manager, allocate licenses to managed sites, and manage sites by adding them to Site Manager and configuring site settings and user access.