Download as PDF, PPTX
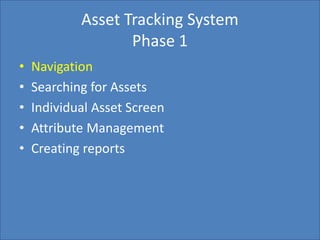
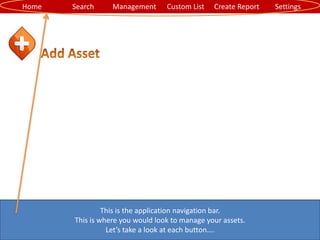
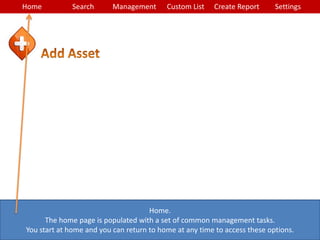
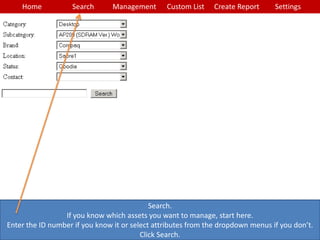

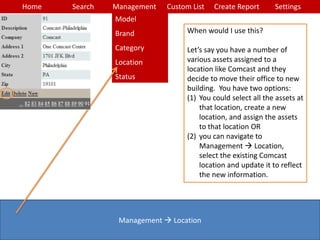
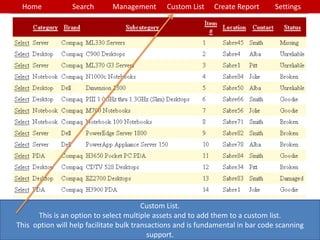
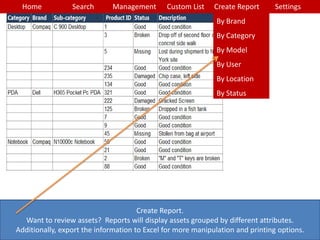
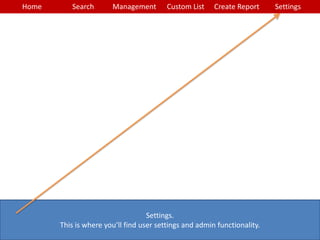
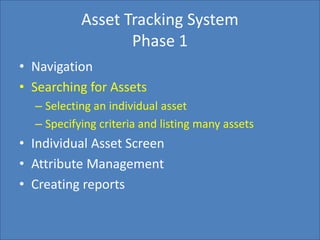
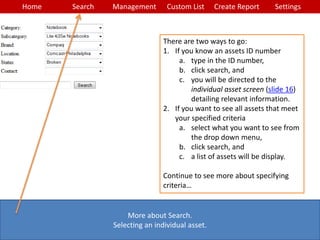
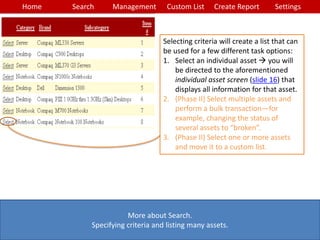
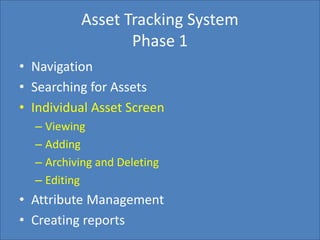
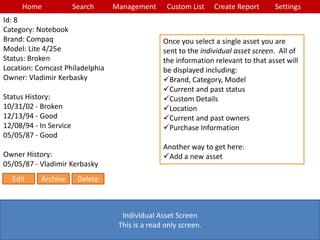
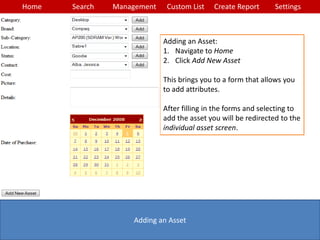
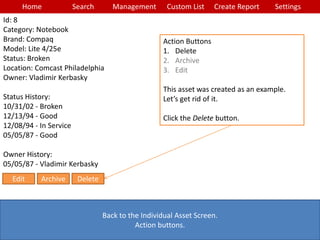
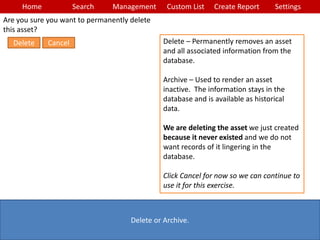
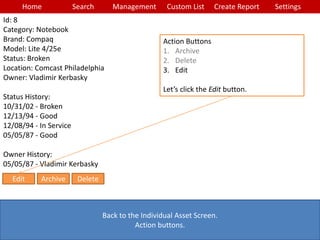
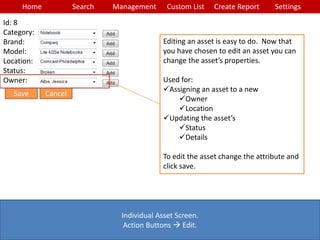
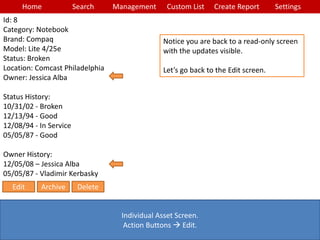
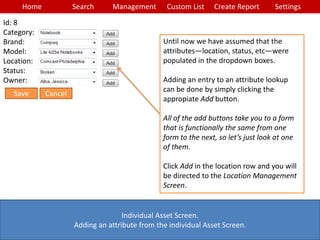
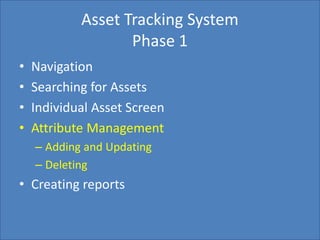
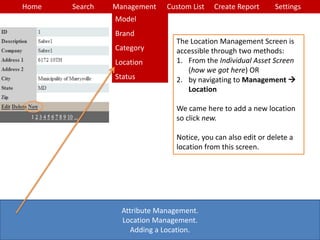
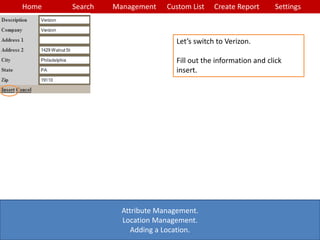
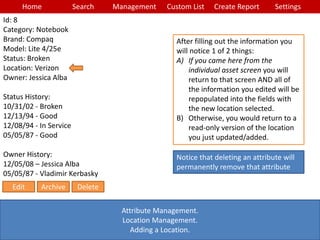
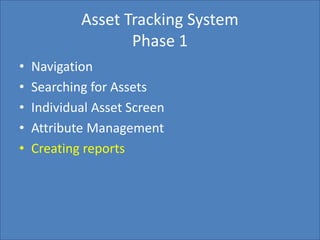
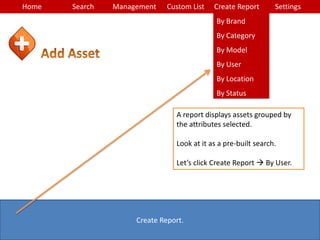
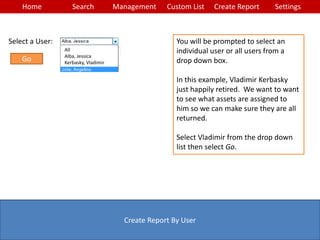
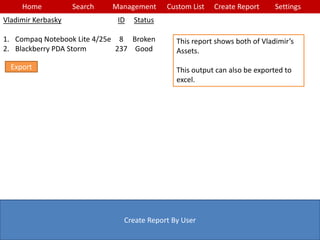
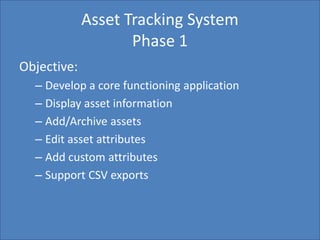

The document outlines the features and functionality of an asset tracking system, including navigation options like searching for assets, viewing individual asset details, managing attributes, and creating reports; it also covers adding, editing, archiving, and deleting assets and attributes.


