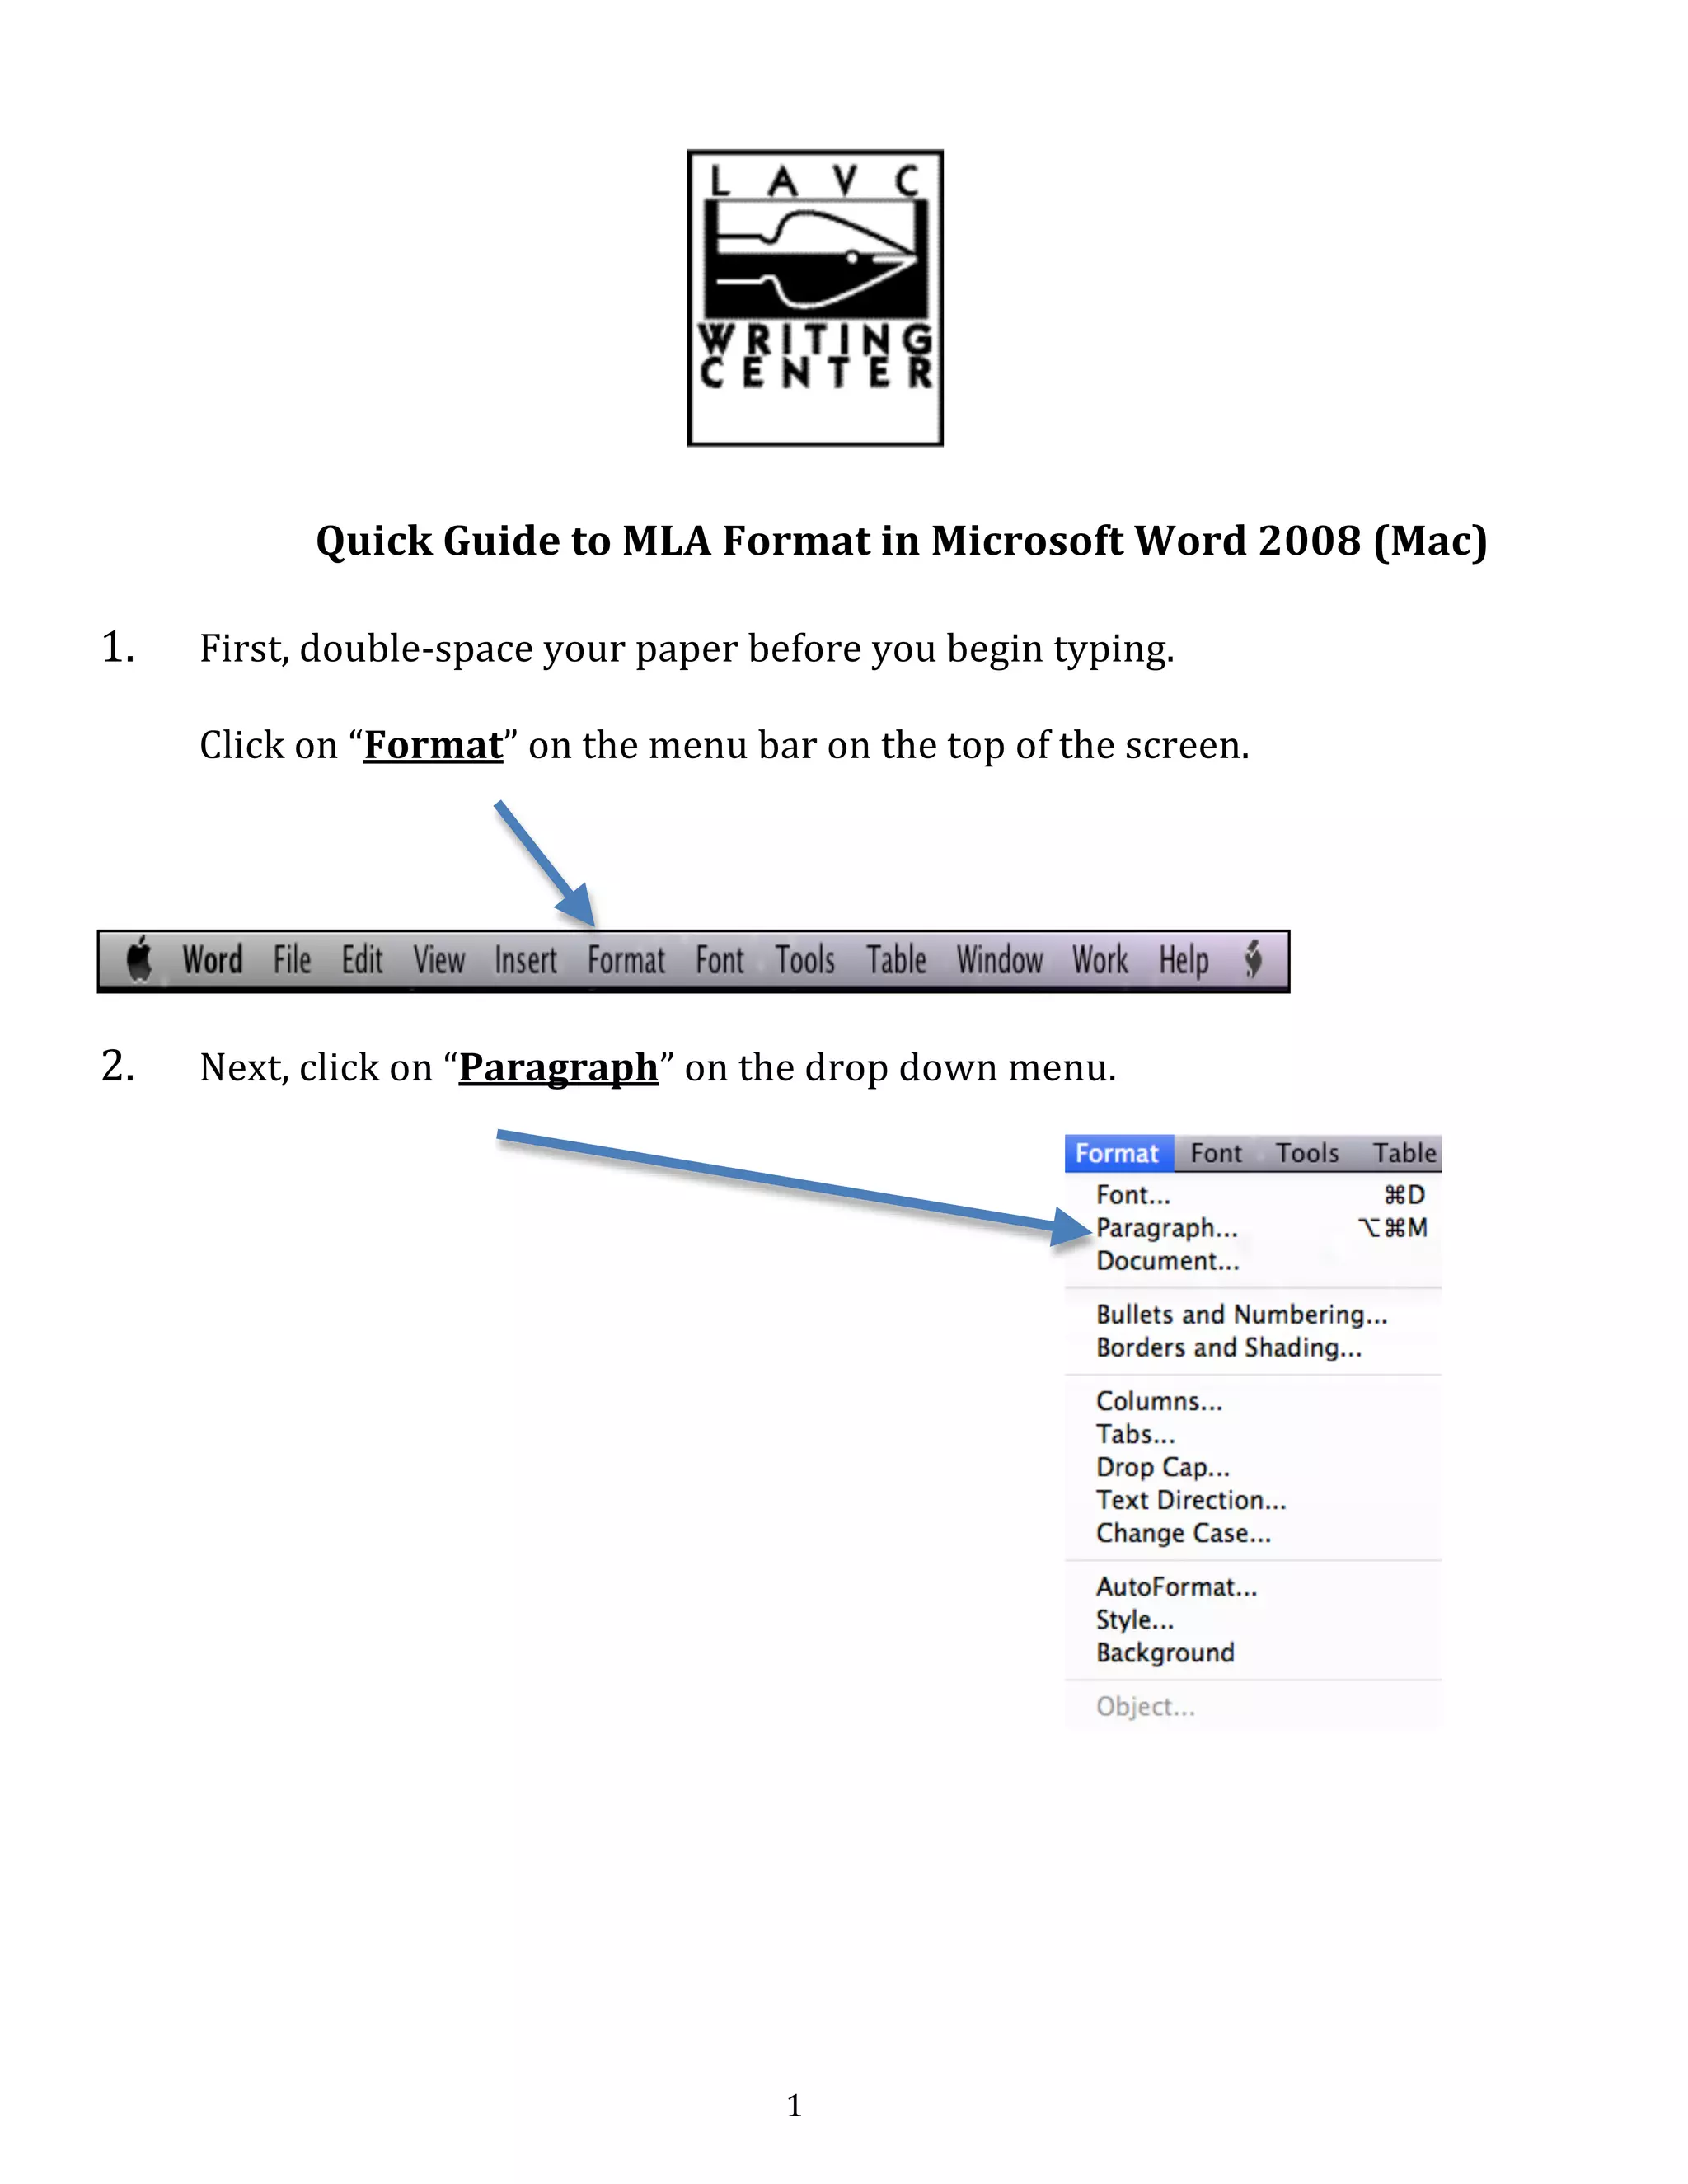
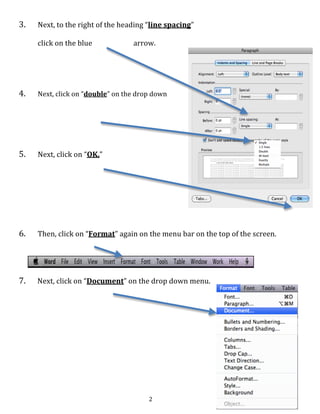
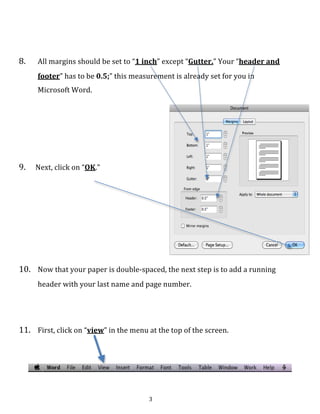
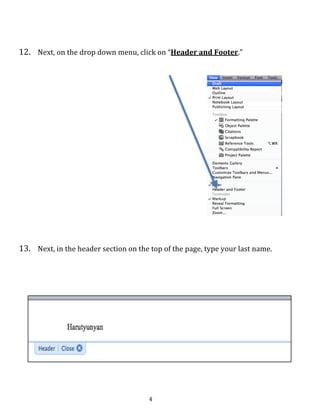
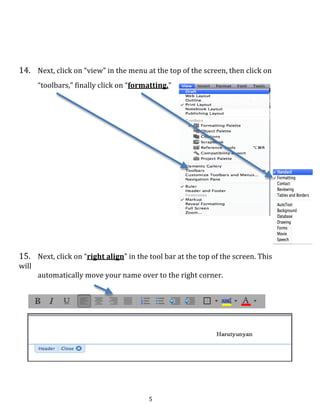
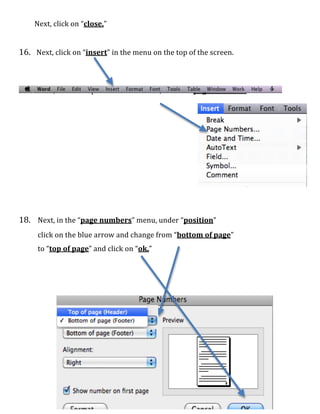
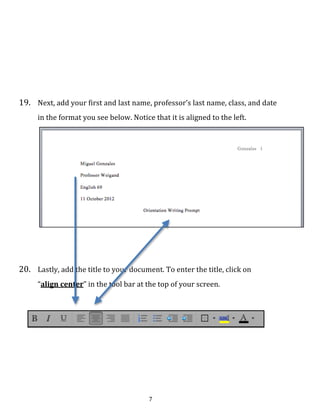
Quick 
Guide 
to 
MLA 
Format 
in 
Microsoft 
Word 
2008 
(Mac) 
1 
1. First, 
double-­‐space 
your 
paper 
before 
you 
begin 
typing. 
Click 
on 
“Format” 
on 
the 
menu 
bar 
on 
the 
top 
of 
the 
screen. 
2. Next, 
click 
on 
“Paragraph” 
on 
the 
drop 
down 
menu.
2 
3. Next, 
to 
the 
right 
of 
the 
heading 
“line 
spacing” 
click 
on 
the 
blue 
arrow. 
4. Next, 
click 
on 
“double” 
on 
the 
drop 
down 
menu. 
5. Next, 
click 
on 
“OK.” 
6. 
Then, 
click 
on 
“Format” 
again 
on 
the 
menu 
bar 
on 
the 
top 
of 
the 
screen. 
7. 
Next, 
click 
on 
“Document” 
on 
the 
drop 
down 
menu.
3 
8. 
All 
margins 
should 
be 
set 
to 
“1 
inch” 
except 
“Gutter.” 
Your 
“header 
and 
footer” 
has 
to 
be 
0.5;” 
this 
measurement 
is 
already 
set 
for 
you 
in 
Microsoft 
Word. 
9. 
Next, 
click 
on 
“OK.” 
10. 
Now 
that 
your 
paper 
is 
double-­‐spaced, 
the 
next 
step 
is 
to 
add 
a 
running 
header 
with 
your 
last 
name 
and 
page 
number. 
11. 
First, 
click 
on 
“view” 
in 
the 
menu 
at 
the 
top 
of 
the 
screen.
4 
12. 
Next, 
on 
the 
drop 
down 
menu, 
click 
on 
“Header 
and 
Footer.” 
13. 
Next, 
in 
the 
header 
section 
on 
the 
top 
of 
the 
page, 
type 
your 
last 
name.
5 
14. 
Next, 
click 
on 
“view” 
in 
the 
menu 
at 
the 
top 
of 
the 
screen, 
then 
click 
on 
“toolbars,” 
finally 
click 
on 
“formatting.” 
15. 
Next, 
click 
on 
“right 
align” 
in 
the 
tool 
bar 
at 
the 
top 
of 
the 
screen. 
This 
will 
automatically 
move 
your 
name 
over 
to 
the 
right 
corner.
6 
Next, 
click 
on 
“close.” 
16. 
Next, 
click 
on 
“insert” 
in 
the 
menu 
on 
the 
top 
of 
the 
screen. 
17. 
Next, 
on 
the 
drop 
down 
menu, 
click 
on 
“page 
numbers.” 
18. 
Next, 
in 
the 
“page 
numbers” 
menu, 
under 
“position” 
click 
on 
the 
blue 
arrow 
and 
change 
from 
“bottom 
of 
page” 
to 
“top 
of 
page” 
and 
click 
on 
“ok.”
7 
19. 
Next, 
add 
your 
first 
and 
last 
name, 
professor’s 
last 
name, 
class, 
and 
date 
in 
the 
format 
you 
see 
below. 
Notice 
that 
it 
is 
aligned 
to 
the 
left. 
20. 
Lastly, 
add 
the 
title 
to 
your 
document. 
To 
enter 
the 
title, 
click 
on 
“align 
center” 
in 
the 
tool 
bar 
at 
the 
top 
of 
your 
screen.
8 
Revised 
on 
10/15/12

Quick guide to mla format mac 08

  • 1.
    Quick Guide to MLA Format in Microsoft Word 2008 (Mac) 1 1. First, double-­‐space your paper before you begin typing. Click on “Format” on the menu bar on the top of the screen. 2. Next, click on “Paragraph” on the drop down menu.
  • 2.
    2 3. Next, to the right of the heading “line spacing” click on the blue arrow. 4. Next, click on “double” on the drop down menu. 5. Next, click on “OK.” 6. Then, click on “Format” again on the menu bar on the top of the screen. 7. Next, click on “Document” on the drop down menu.
  • 3.
    3 8. All margins should be set to “1 inch” except “Gutter.” Your “header and footer” has to be 0.5;” this measurement is already set for you in Microsoft Word. 9. Next, click on “OK.” 10. Now that your paper is double-­‐spaced, the next step is to add a running header with your last name and page number. 11. First, click on “view” in the menu at the top of the screen.
  • 4.
    4 12. Next, on the drop down menu, click on “Header and Footer.” 13. Next, in the header section on the top of the page, type your last name.
  • 5.
    5 14. Next, click on “view” in the menu at the top of the screen, then click on “toolbars,” finally click on “formatting.” 15. Next, click on “right align” in the tool bar at the top of the screen. This will automatically move your name over to the right corner.
  • 6.
    6 Next, click on “close.” 16. Next, click on “insert” in the menu on the top of the screen. 17. Next, on the drop down menu, click on “page numbers.” 18. Next, in the “page numbers” menu, under “position” click on the blue arrow and change from “bottom of page” to “top of page” and click on “ok.”
  • 7.
    7 19. Next, add your first and last name, professor’s last name, class, and date in the format you see below. Notice that it is aligned to the left. 20. Lastly, add the title to your document. To enter the title, click on “align center” in the tool bar at the top of your screen.
  • 8.
    8 Revised on 10/15/12