Download to read offline

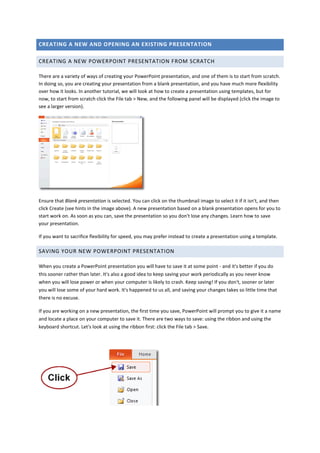


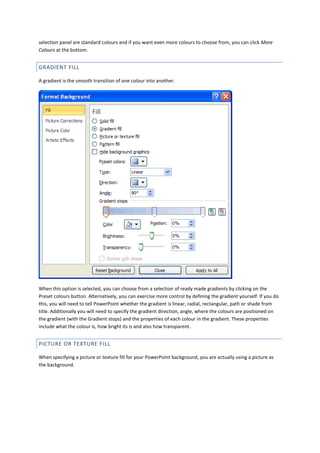


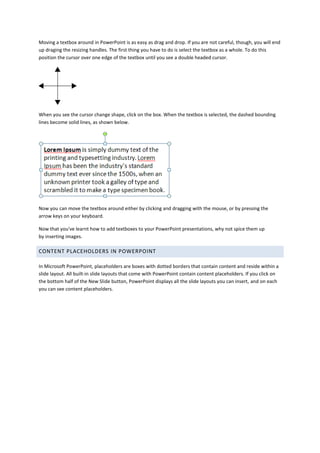


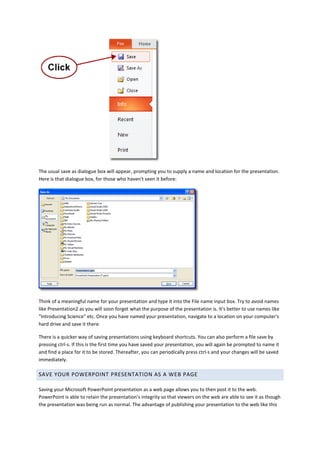


This document provides an overview of key PowerPoint tasks like creating and opening presentations, adding and modifying slides, inserting text, images, and other media. It covers topics such as saving presentations, using templates, formatting text, adding transitions and animations. The document is a tutorial that explains how to perform common PowerPoint functions in a step-by-step manner.