The document summarizes the post-production process for editing a smile campaign video using Premiere Pro. Key steps included:
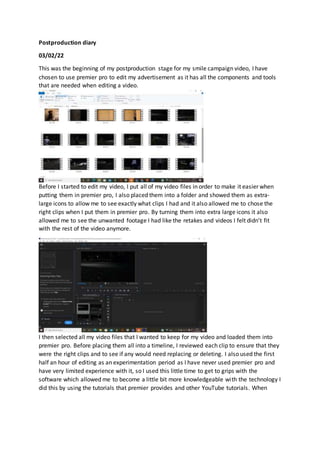
1. Organizing video files and reviewing clips to select those to keep.
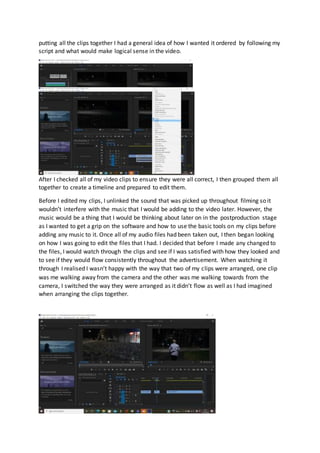
2. Loading selected clips into Premiere Pro and experimenting with the software during an initial editing period.
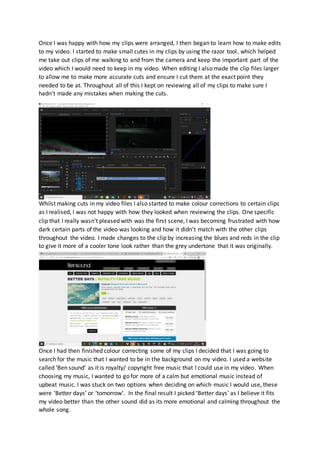
3. Arranging clips in timeline according to script, then making cuts and color corrections as needed.
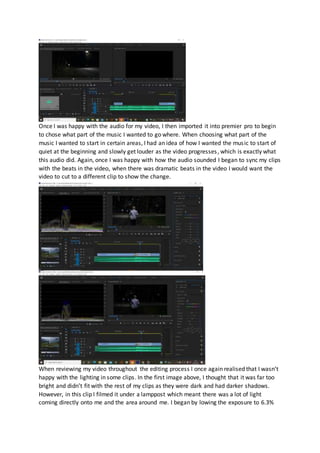
4. Adding background music from a royalty-free site and syncing audio with video edits.
5. Further refining lighting and transitions between clips before exporting the final video.