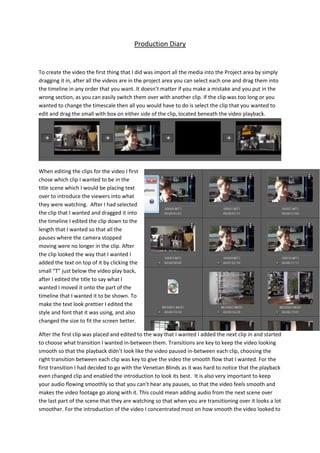
1) The document describes the process of editing a video production diary. Key steps included importing media, arranging clips on the timeline, editing clip lengths, and adding titles.
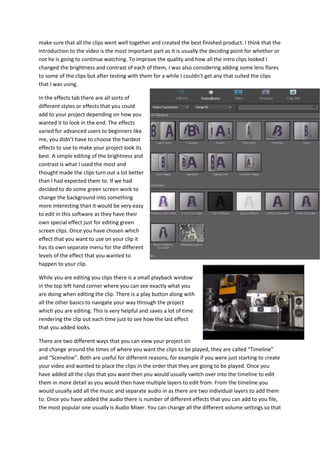
2) Transitions between clips were selected to ensure a smooth flow. Effects like adjusting brightness and contrast improved clip quality.
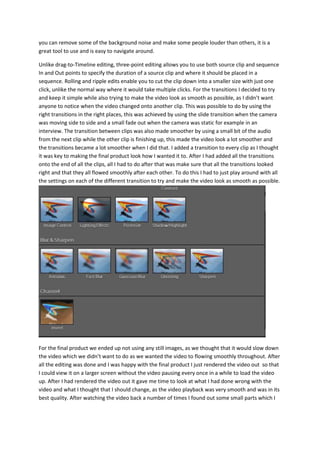
3) Audio was edited with tools like the audio mixer to balance levels and remove noise. Rendering finalized the project by creating high-quality playback without pauses.