Download to read offline


![Have Fun! Royce Kitts [email_address] Tonganoxie Public Library Patti Butcher [email_address] State Library of Kansas](https://image.slidesharecdn.com/photosharingthebasicsfor23thingsks-100119133311-phpapp02/85/Photo-Sharing-The-Basics-For-23-Things-Ks-25-320.jpg)

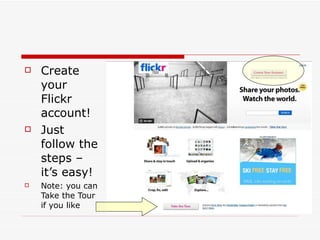
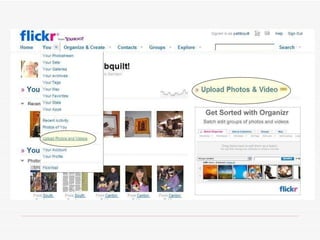
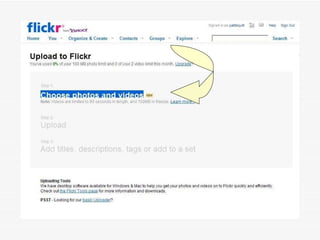
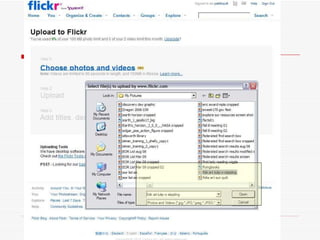
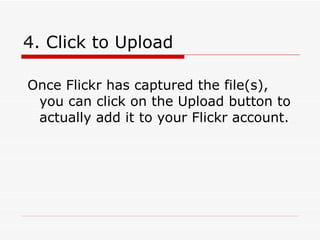
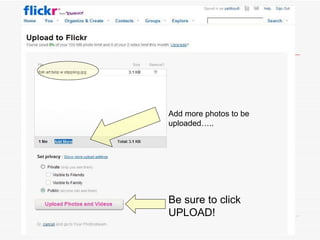
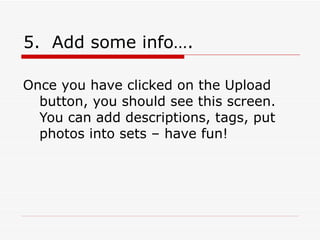
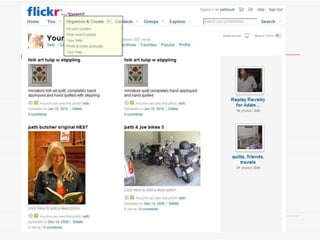
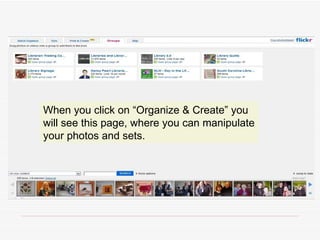
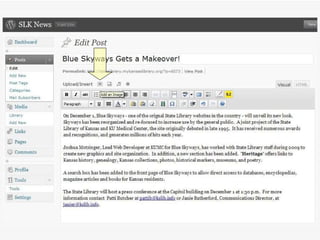
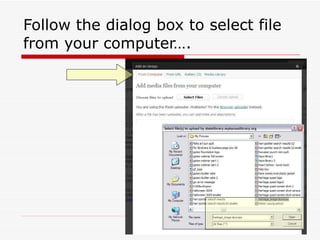
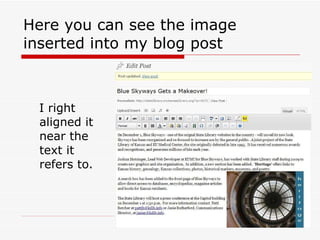
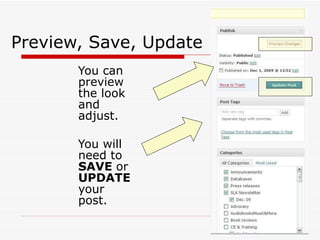
This document provides step-by-step instructions for uploading photos to Flickr and inserting images into blog posts. It outlines 8 steps for setting up a Flickr account and uploading photos, including choosing photos, selecting files, clicking upload, adding descriptions and tags, and organizing photos. It then describes how to insert an image into a WordPress blog post by clicking the upload/insert image icon, selecting a file, and clicking insert into post. The document encourages playing with image alignment and size and provides tips for editing photos before uploading.