Download to read offline
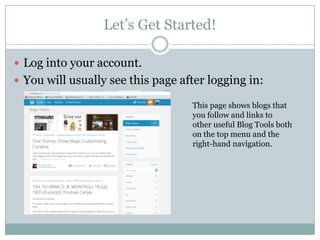
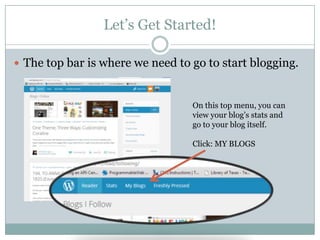
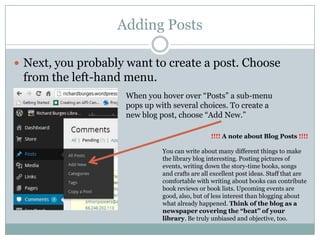
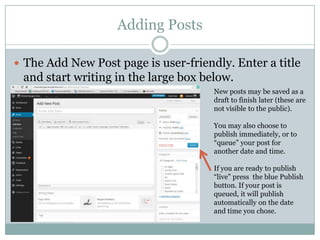
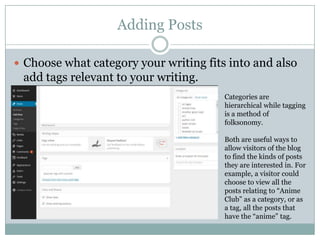
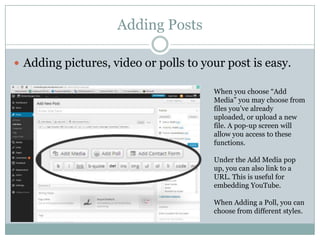
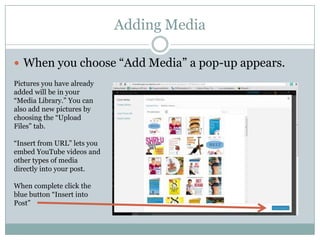
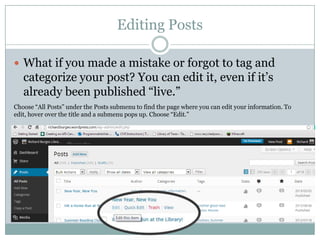
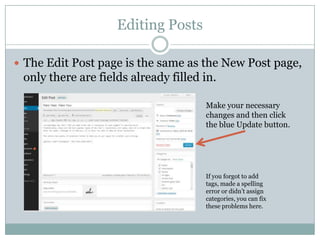
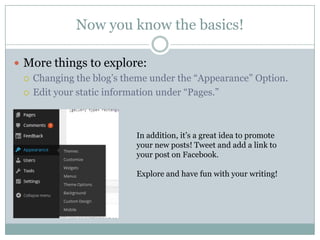

This document provides instructions for using WordPress to blog at the library. It outlines the basic functions for getting started, including logging in, navigating to the dashboard, managing comments, and creating new blog posts. Key steps covered are adding a title and content, publishing or scheduling posts, adding categories/tags, and inserting media like images or videos. The document also describes how to edit existing posts. The overall purpose is to teach the basics of blogging using WordPress.


