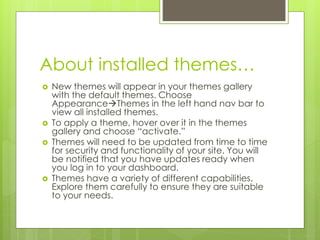
Download to read offline
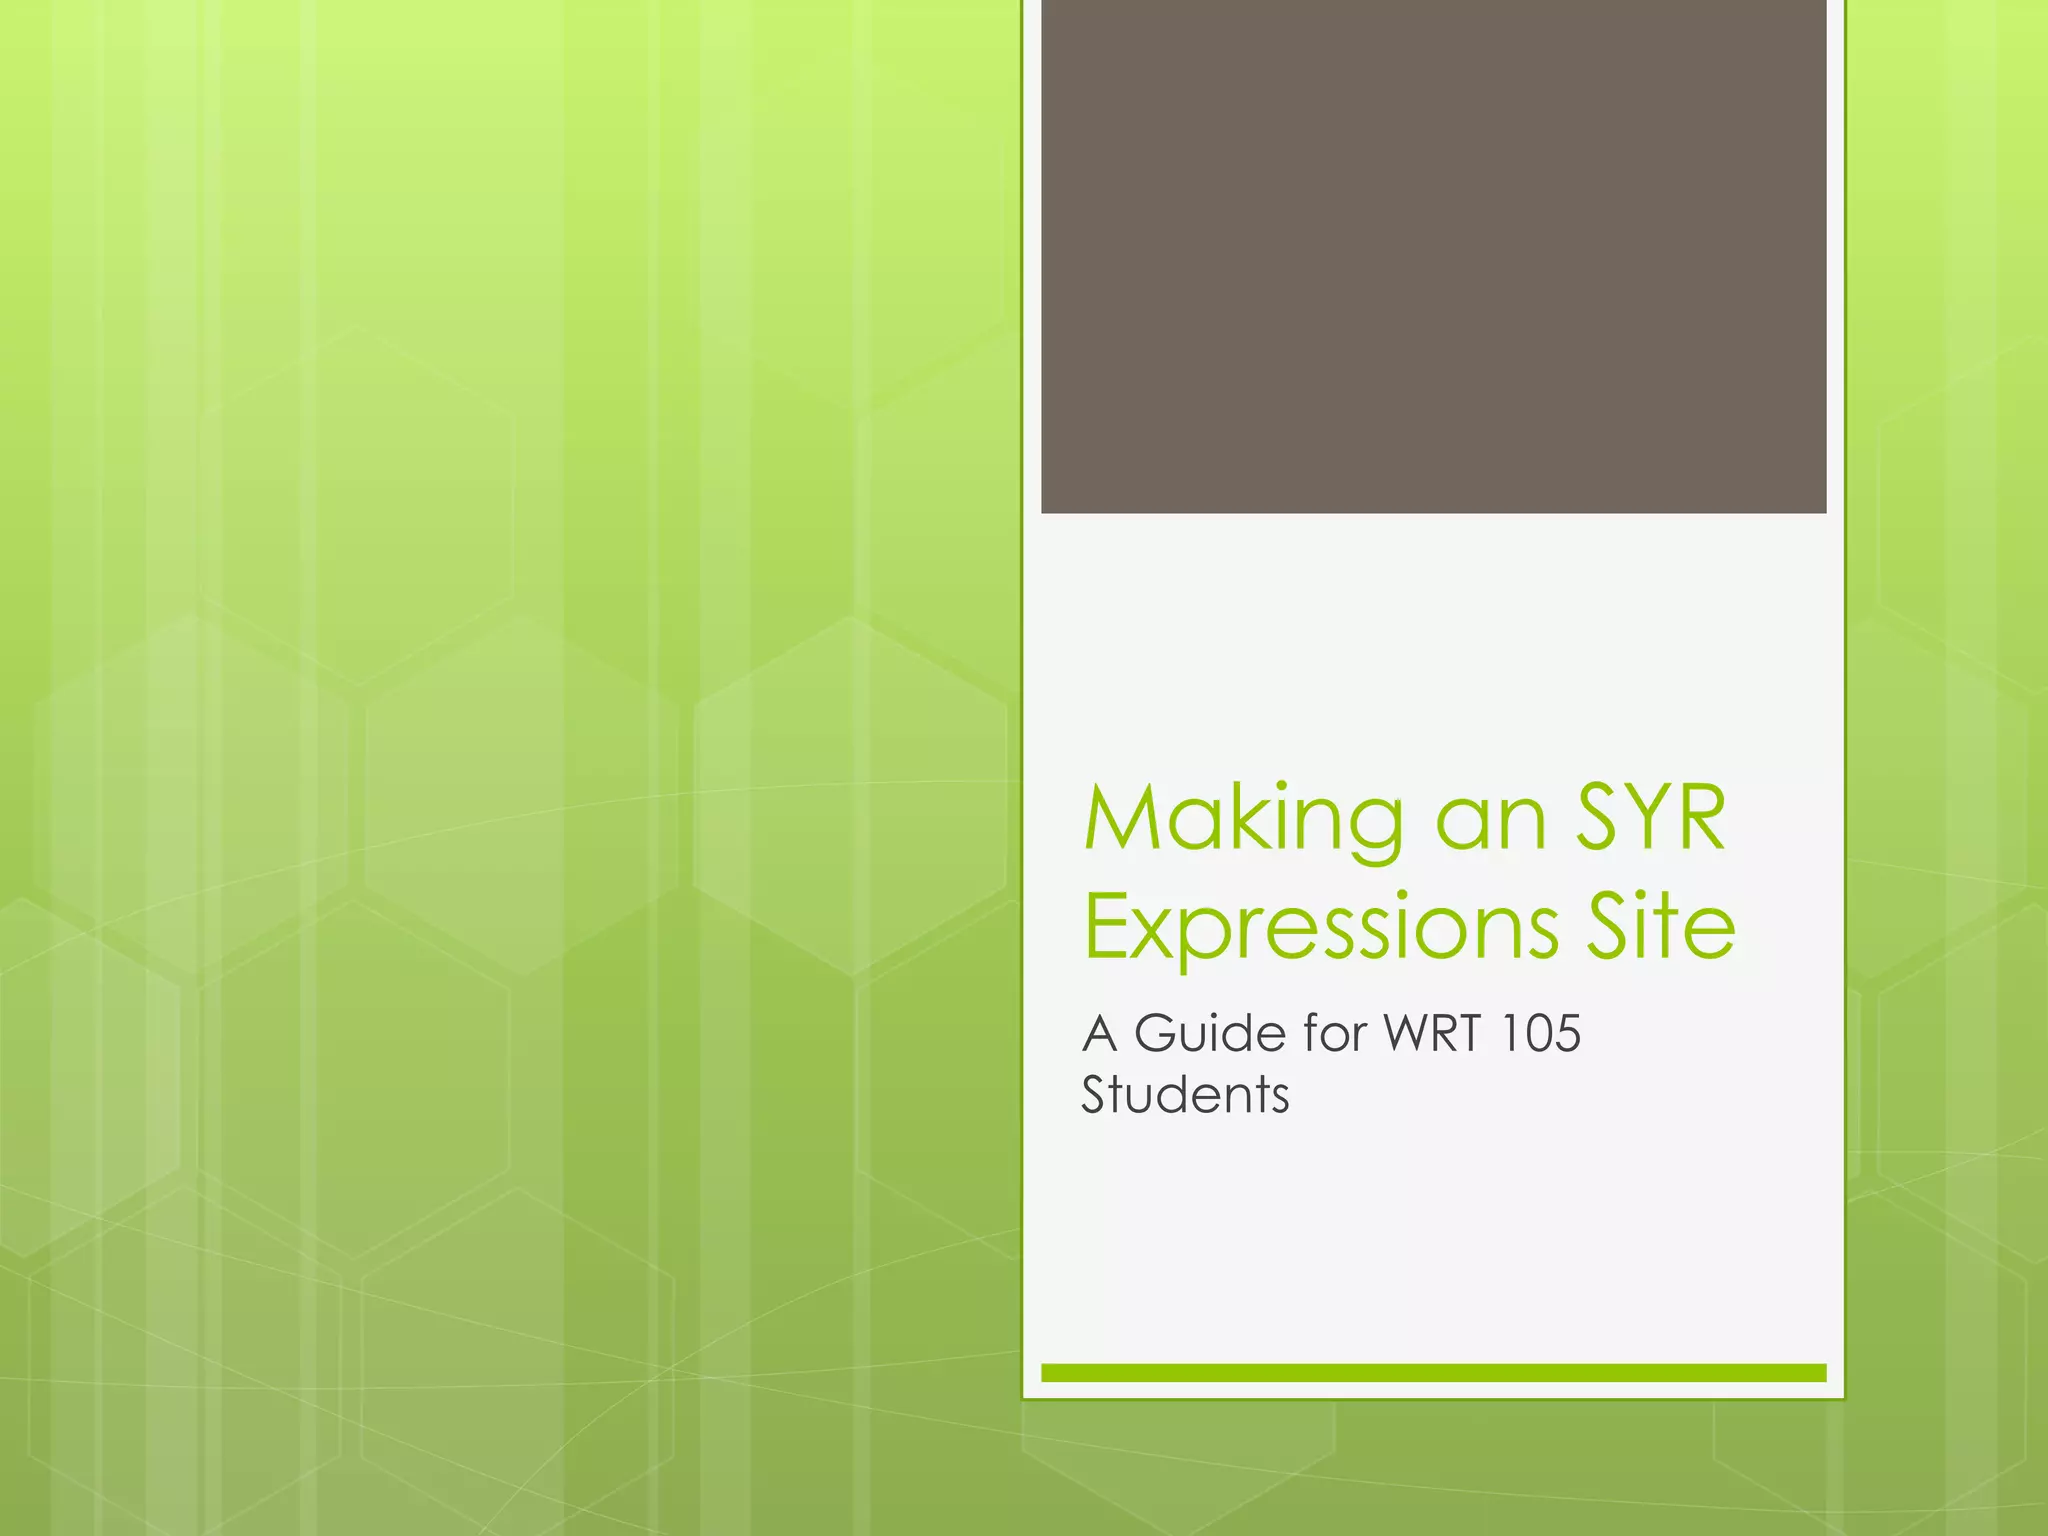
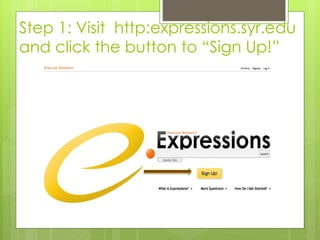
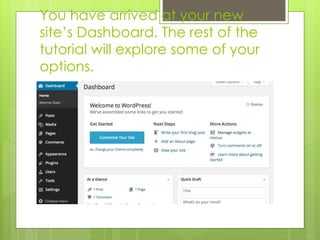
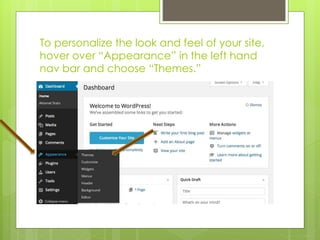


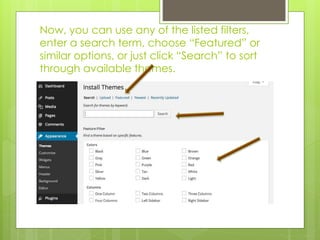

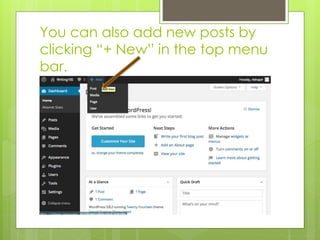
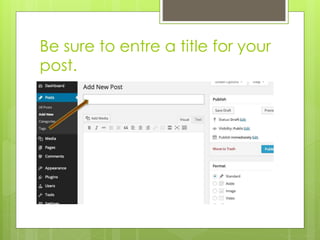

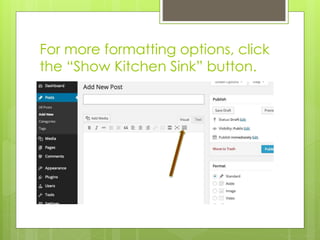

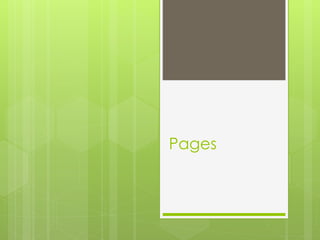
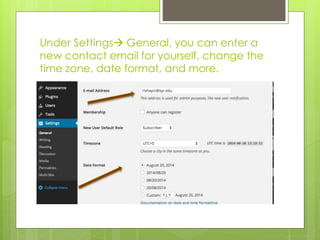
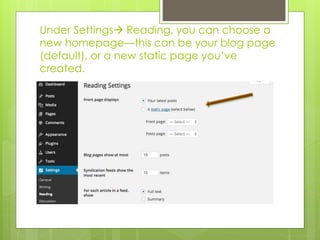
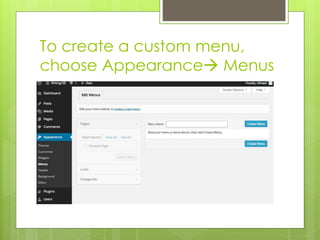

This document provides steps for students to create an Expressions site and an overview of customization options. It outlines how to sign up, choose a theme, add posts and pages. Themes allow customizing a site's look and feel. Posts are discrete units of content that appear chronologically. Pages feature static content that must be fully re-edited. Additional settings allow customizing the homepage, menus and more. Help resources like the Answer Space and ITS contact information are also provided.


![Glogster wtih de[1]](https://cdn.slidesharecdn.com/ss_thumbnails/glogsterwtihde1-111013091320-phpapp01-thumbnail.jpg?width=640&height=640&fit=bounds)
![[DCTPE2011] Drupal 7 的Fields/Views 運用](https://cdn.slidesharecdn.com/ss_thumbnails/drupalbeginnercontentfieldsblue-110804000513-phpapp01-thumbnail.jpg?width=640&height=640&fit=bounds)