Downloaded 175 times

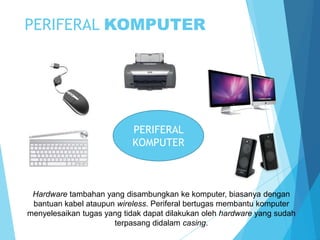
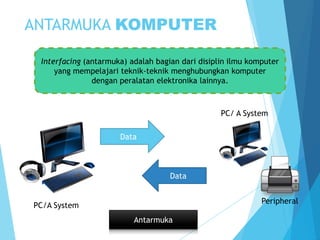

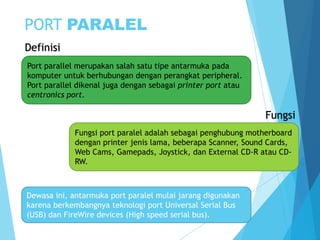
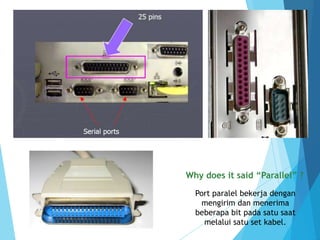


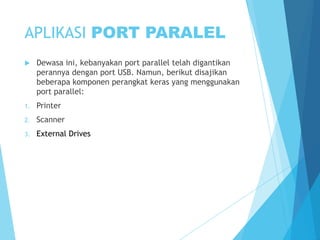
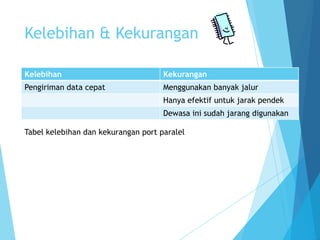

Dokumen ini menjelaskan tentang periferal komputer dan port paralel sebagai antarmuka untuk menghubungkan perangkat periferal dengan komputer. Port paralel, meskipun telah banyak tergantikan oleh USB, masih digunakan pada beberapa perangkat seperti printer dan scanner, dan memiliki berbagai mode operasi. Kelebihan port paralel termasuk kecepatan pengiriman data yang tinggi, namun, kekurangan utamanya adalah hanya efektif untuk jarak pendek dan semakin jarang digunakan.


![serialport-200101110208 [Autosaved].pptx](https://cdn.slidesharecdn.com/ss_thumbnails/serialport-200101110208autosaved-240603055510-2c9f1c39-thumbnail.jpg?width=640&height=640&fit=bounds)


![Modul Ajar KBC SKI Kelas 6 MI [MODULKELAS.COM]](https://cdn.slidesharecdn.com/ss_thumbnails/modulajarkbcskikelas6mimodulkelas-260207160743-753abfd0-thumbnail.jpg?width=640&height=640&fit=bounds)


![Modul Ajar Kurikulum Berbasis Cinta (KBC) SKI Kelas 11 [modulguruku.com]](https://cdn.slidesharecdn.com/ss_thumbnails/modulajarkurikulumberbasiscintakbcskikelas11mamodulguruku-260211160930-802ab0b6-thumbnail.jpg?width=640&height=640&fit=bounds)


