Downloaded 101 times

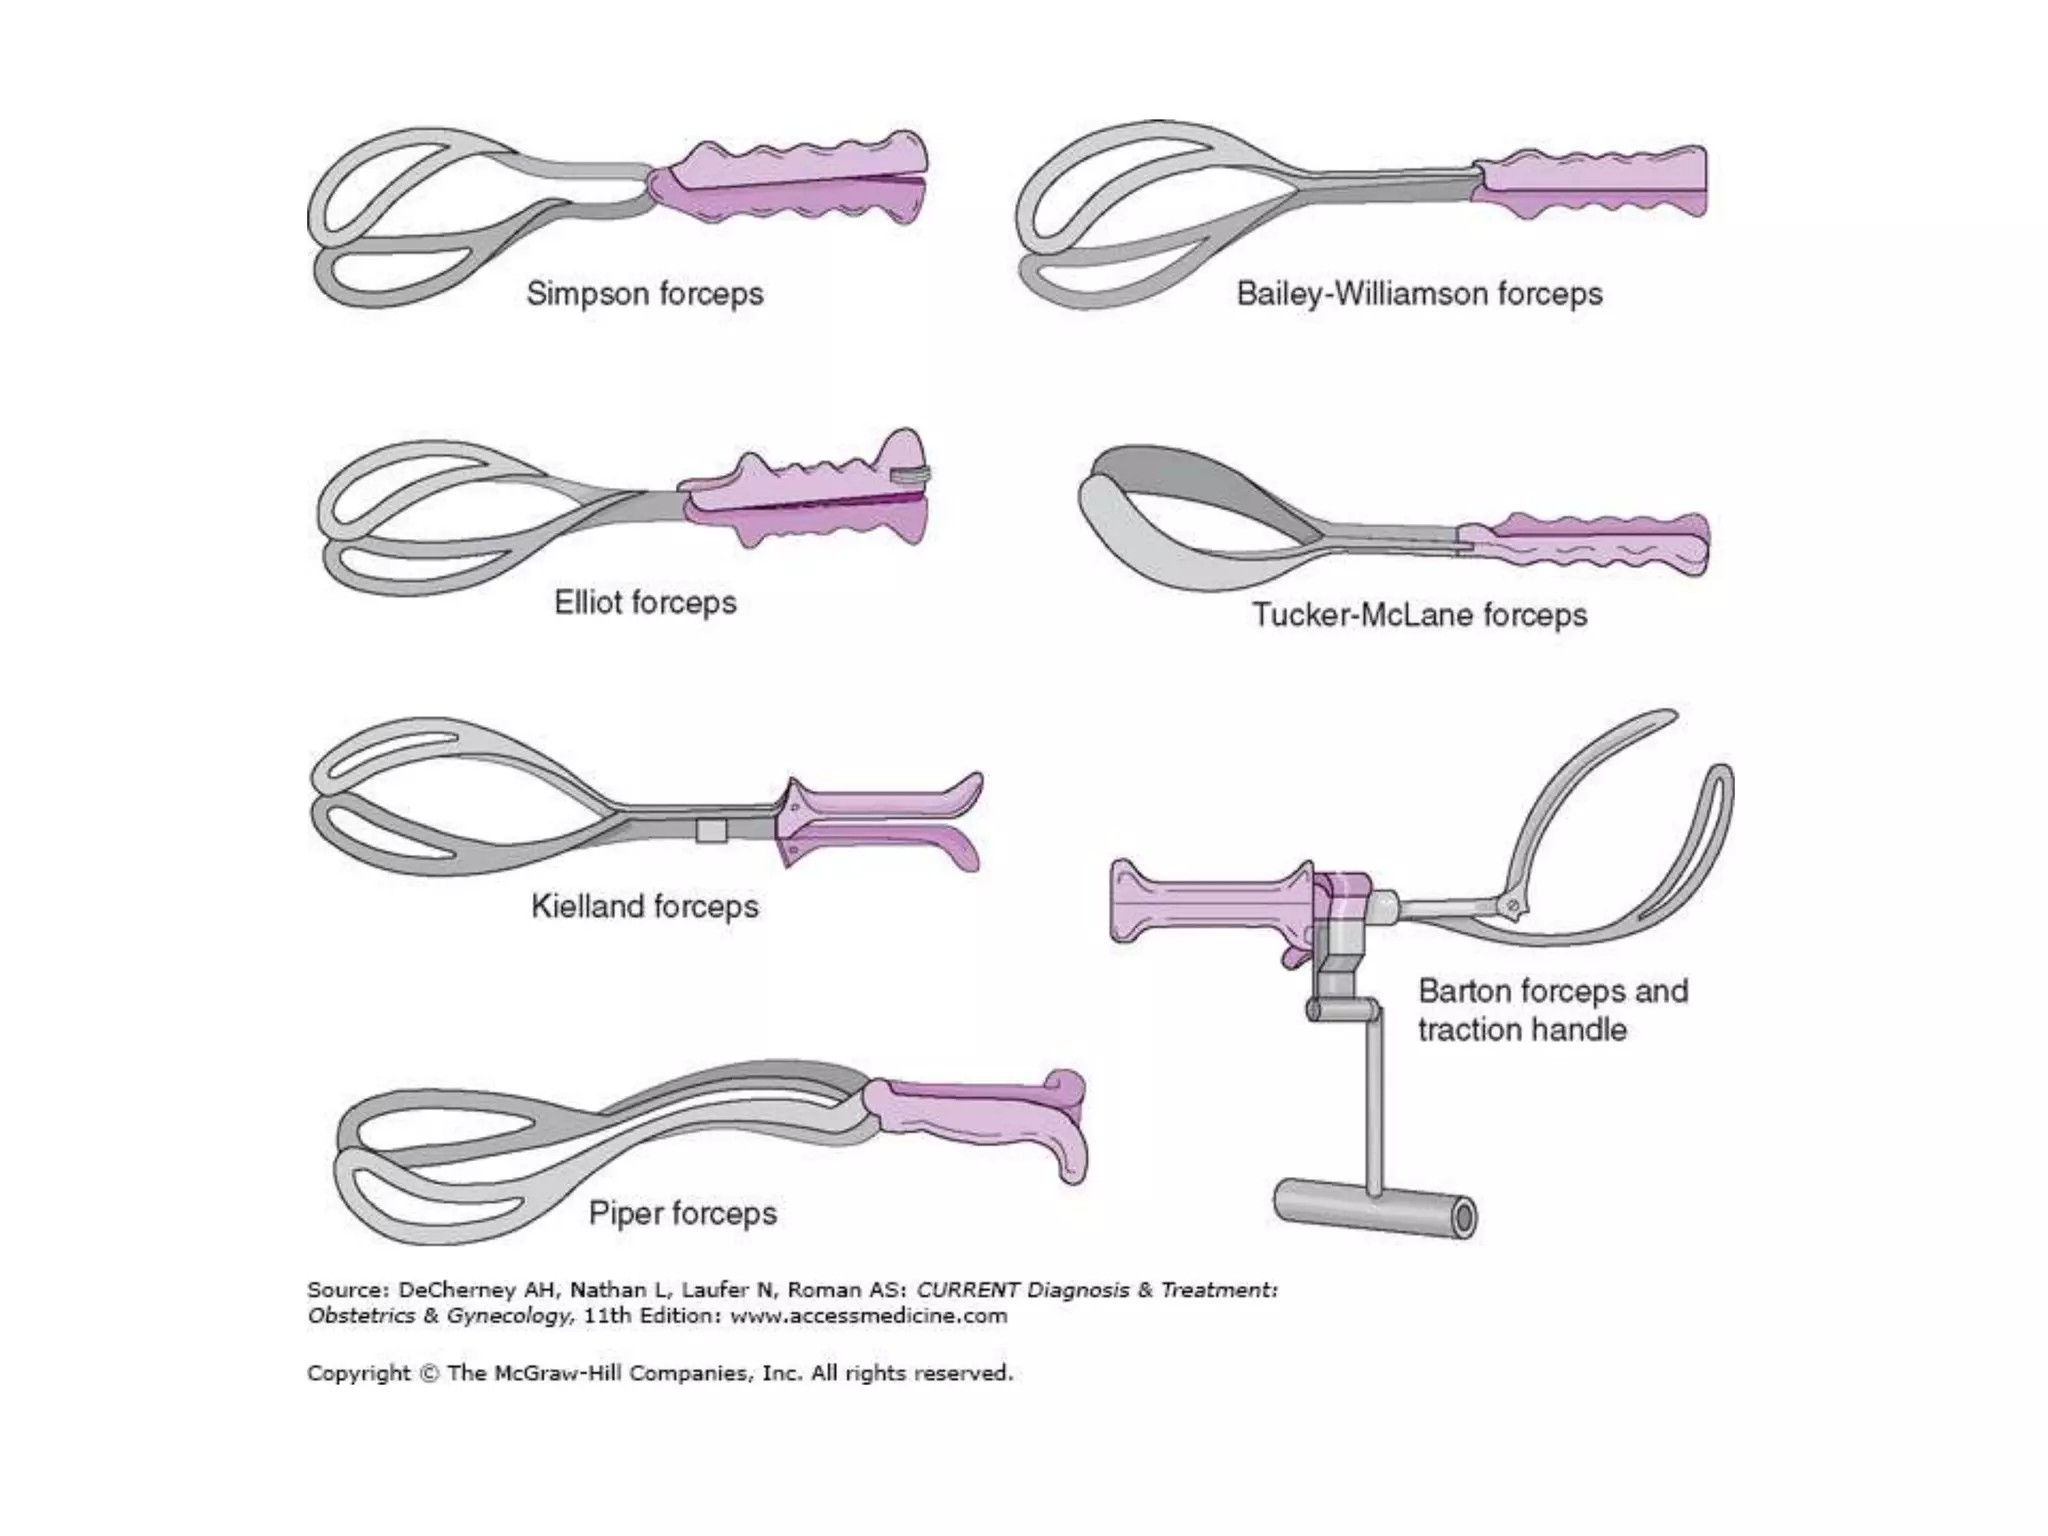

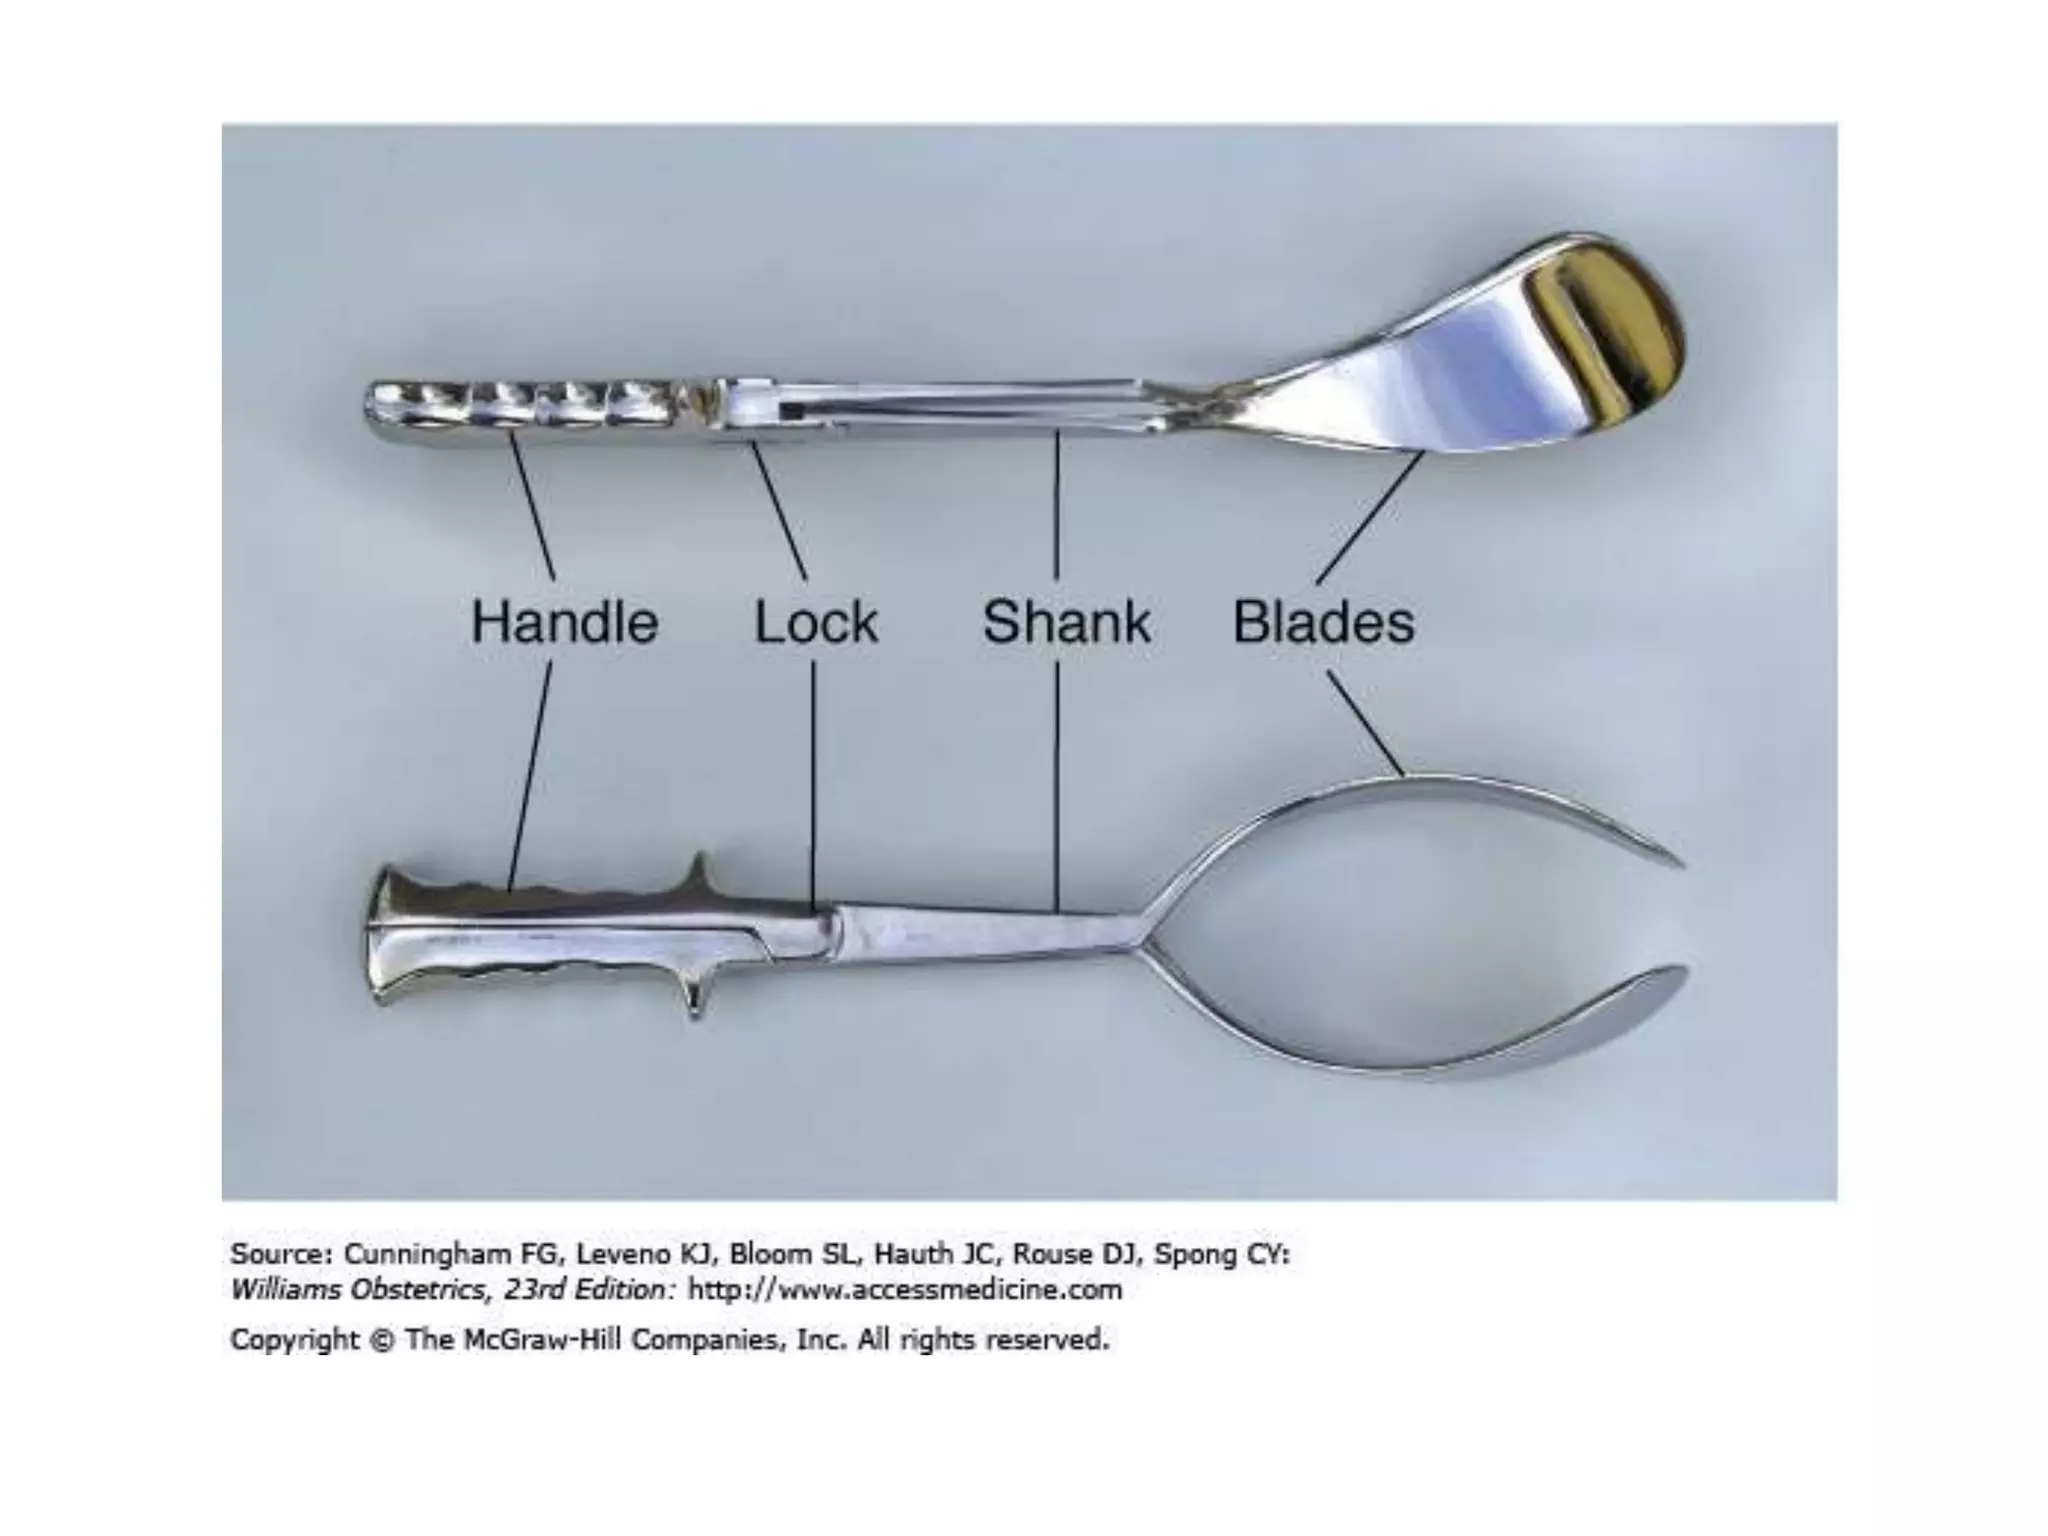
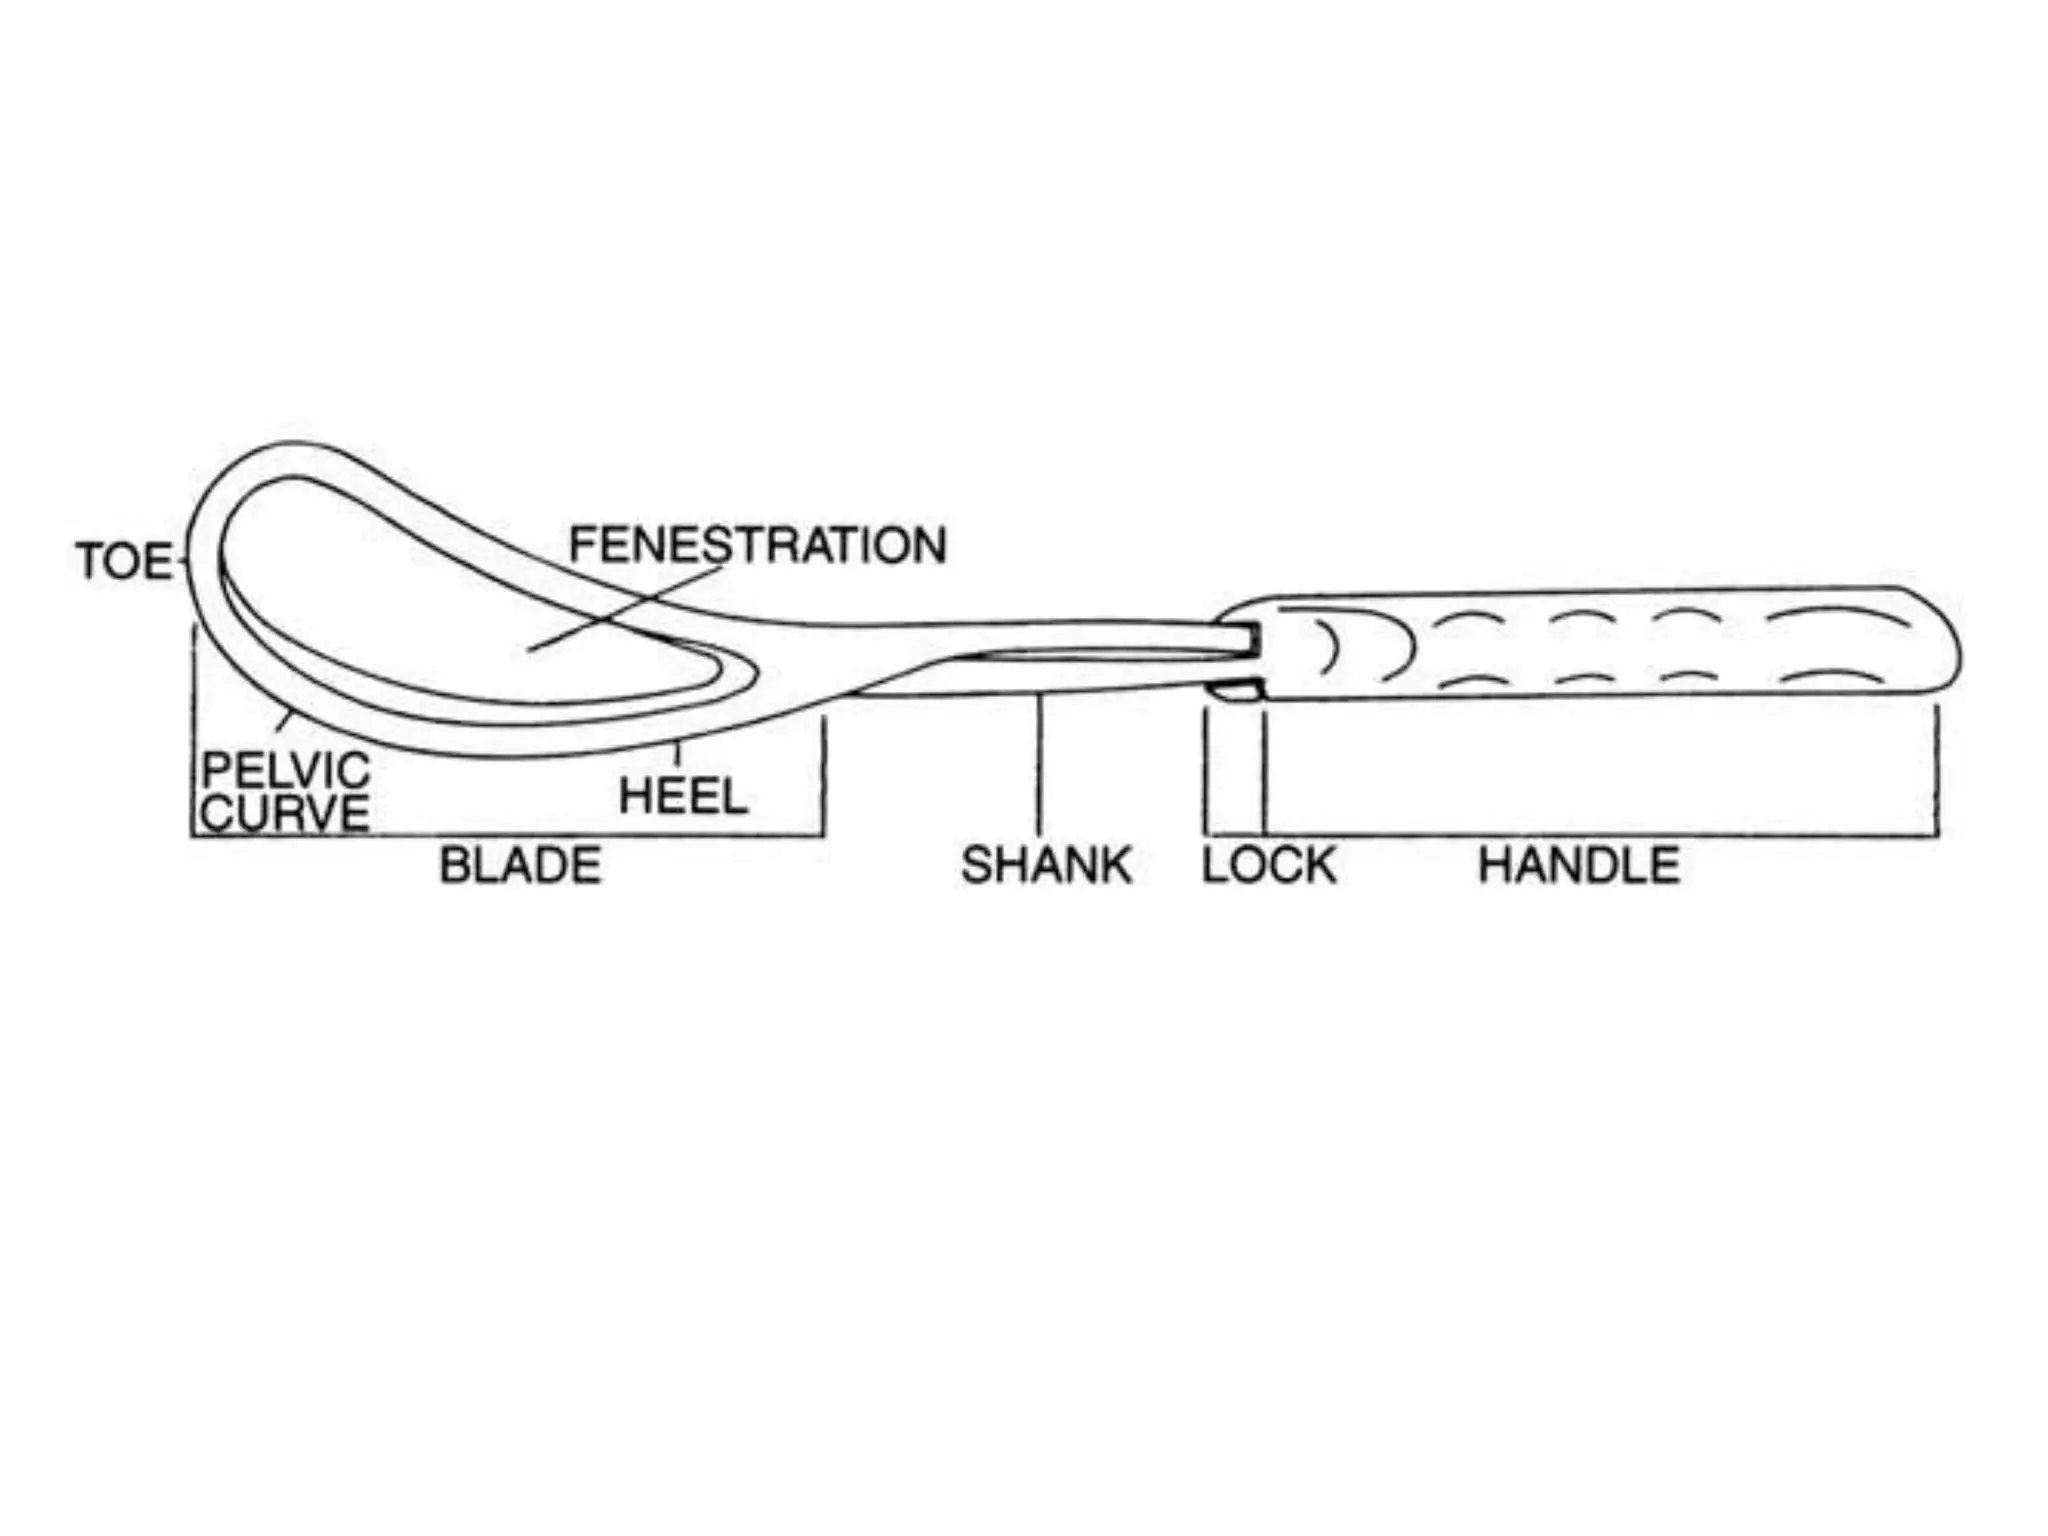


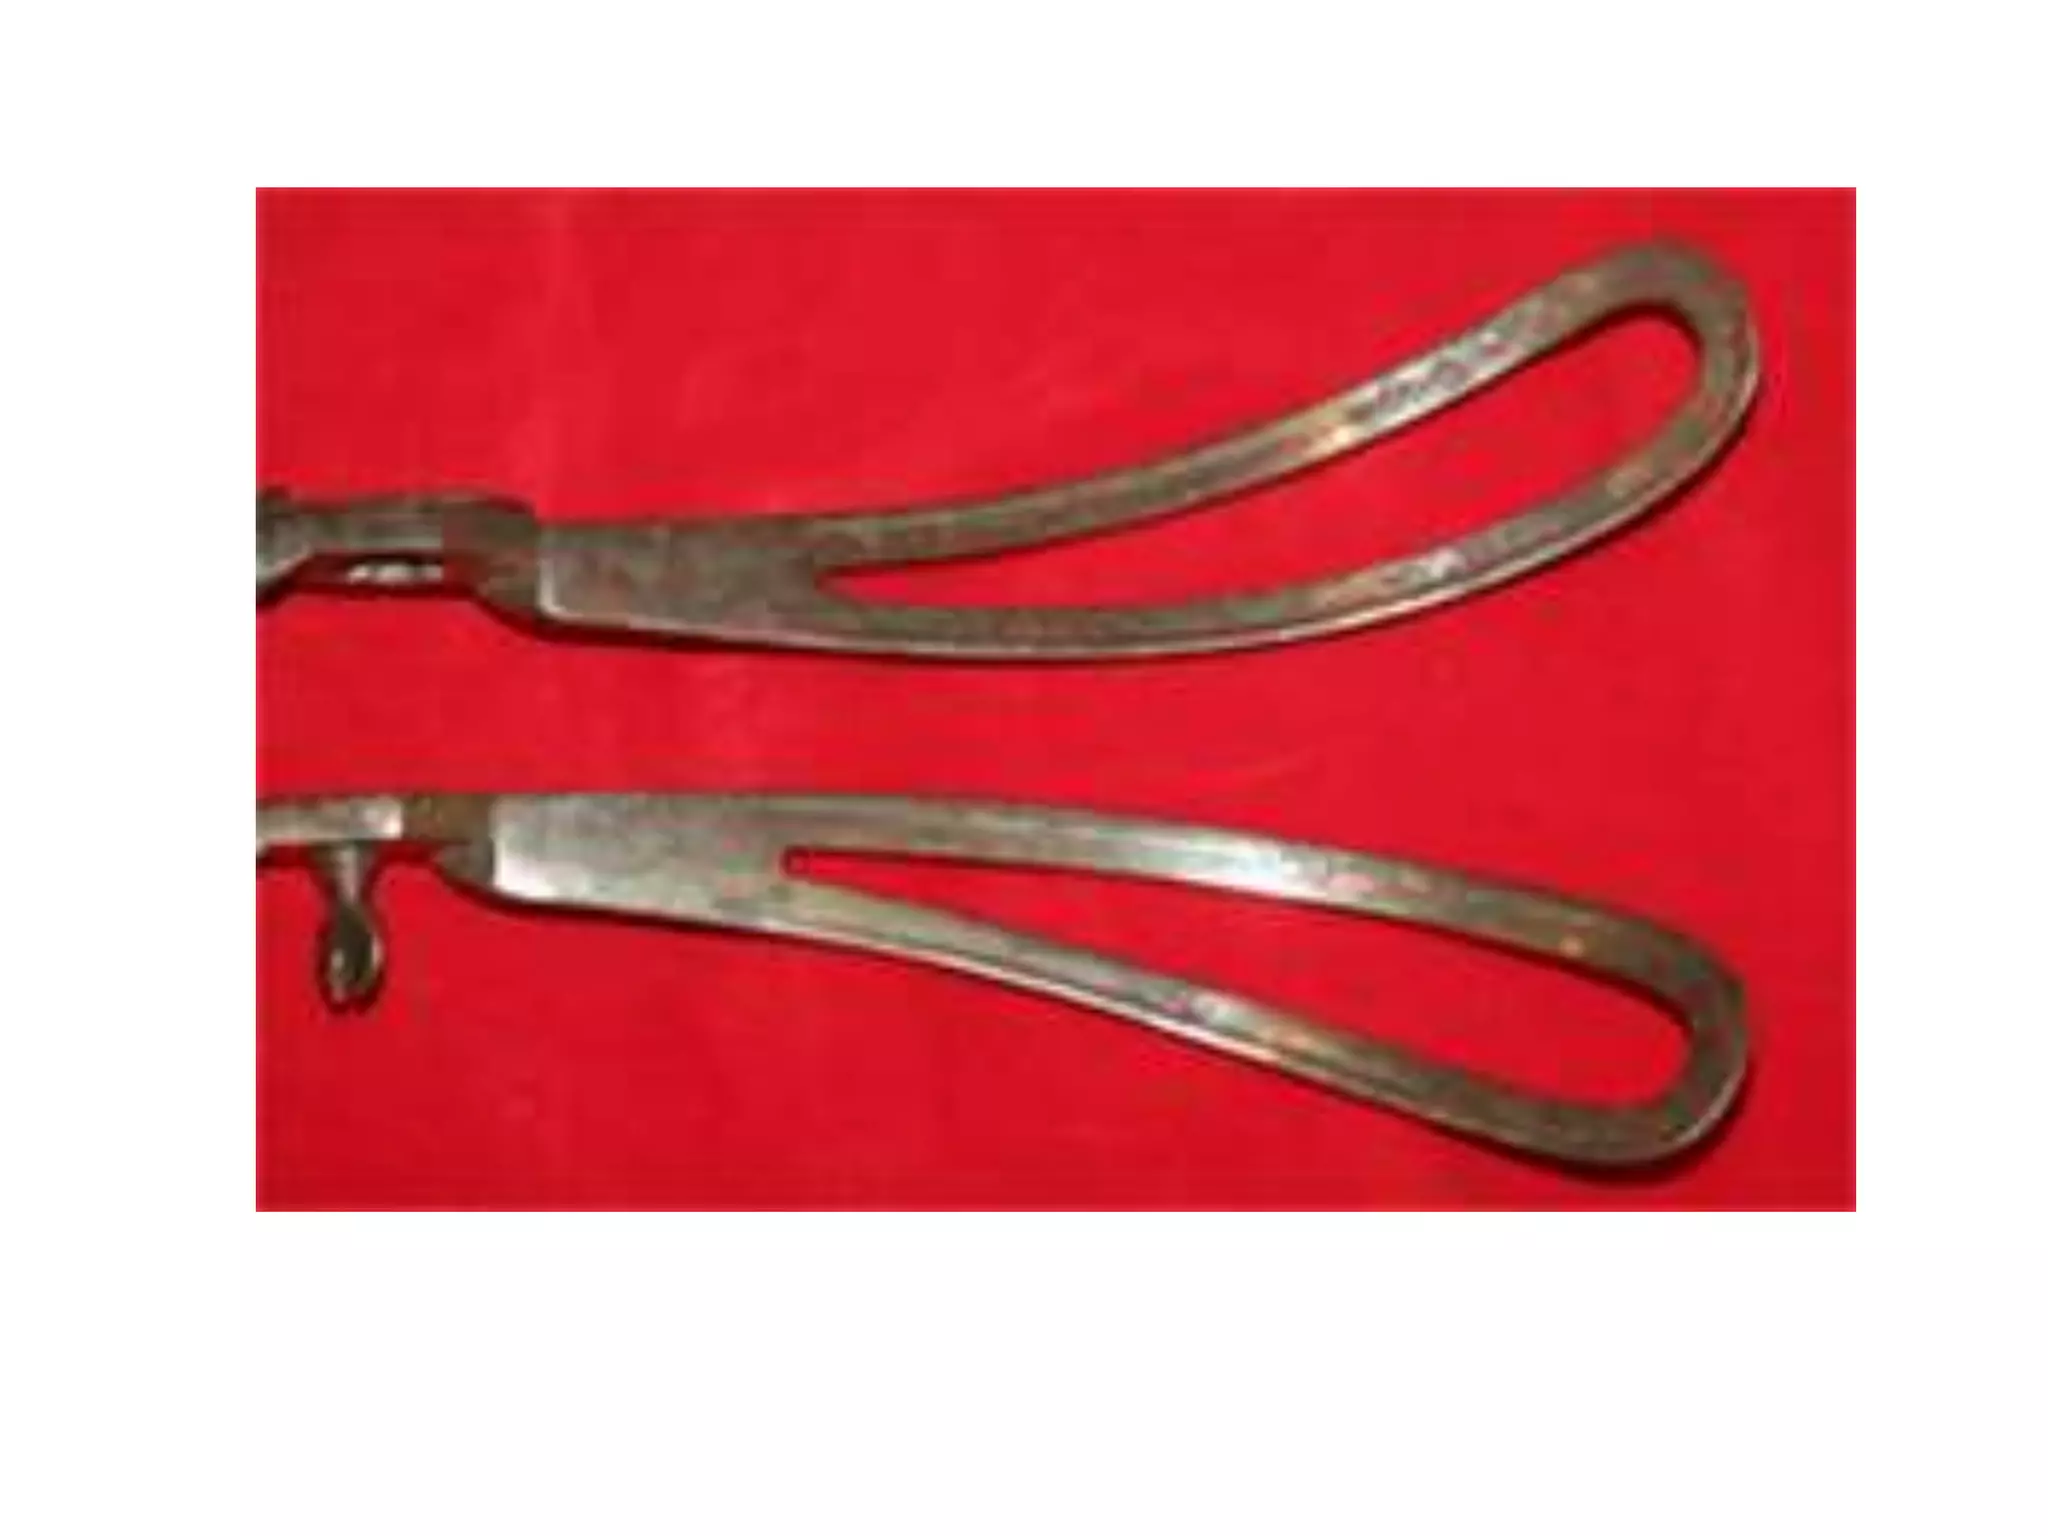


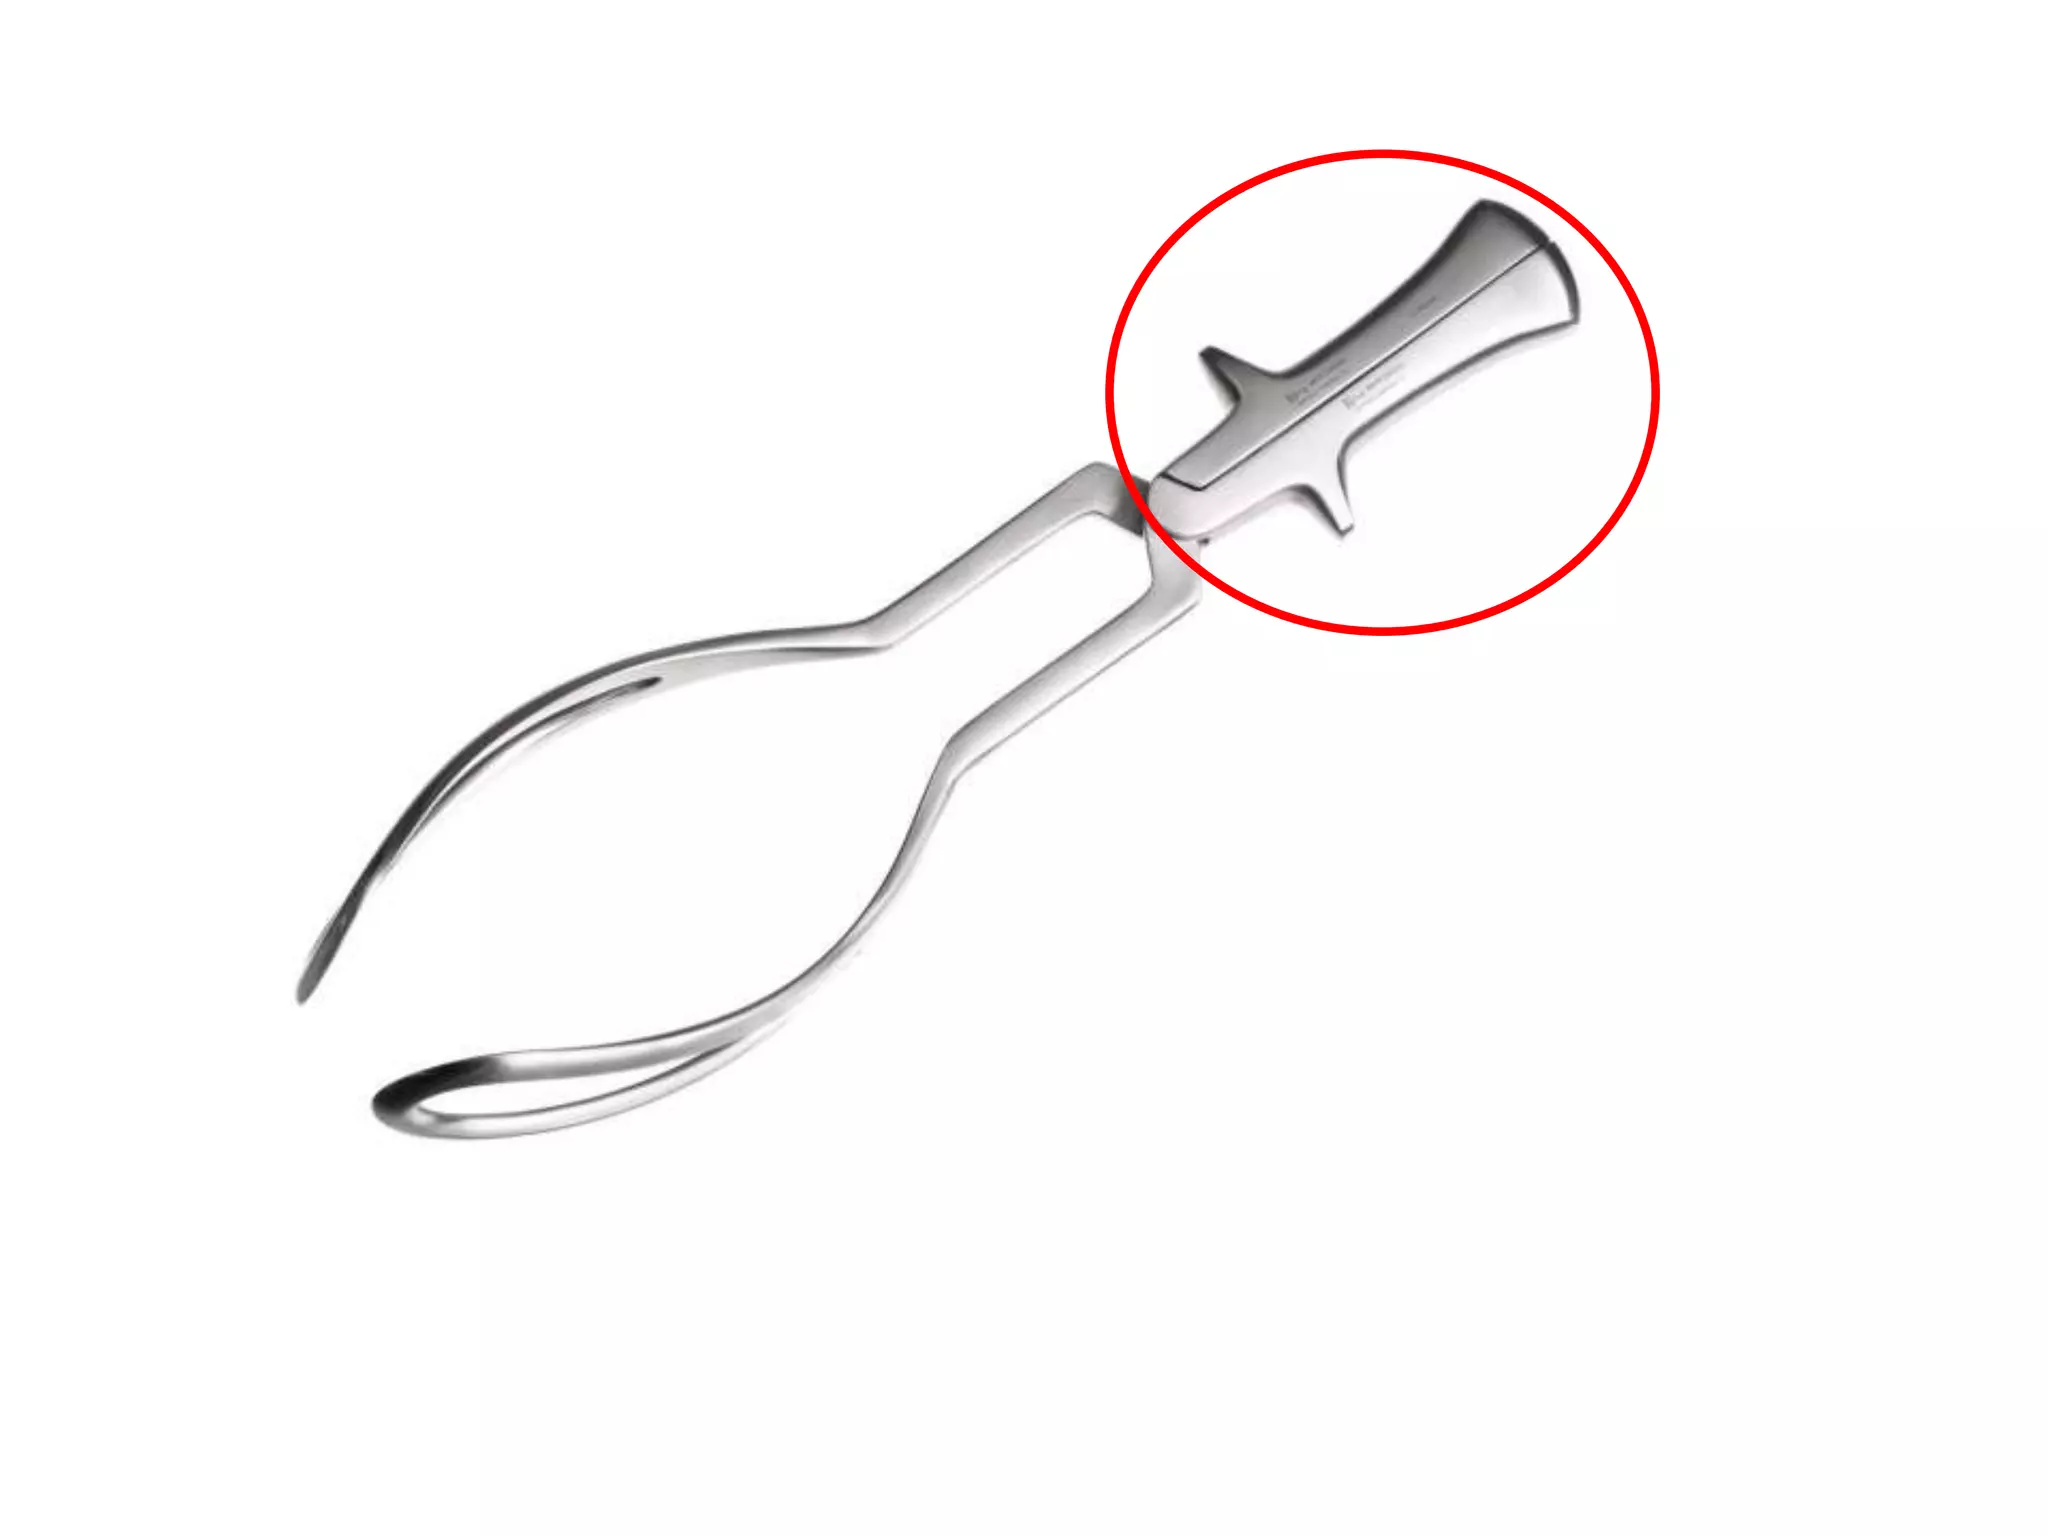

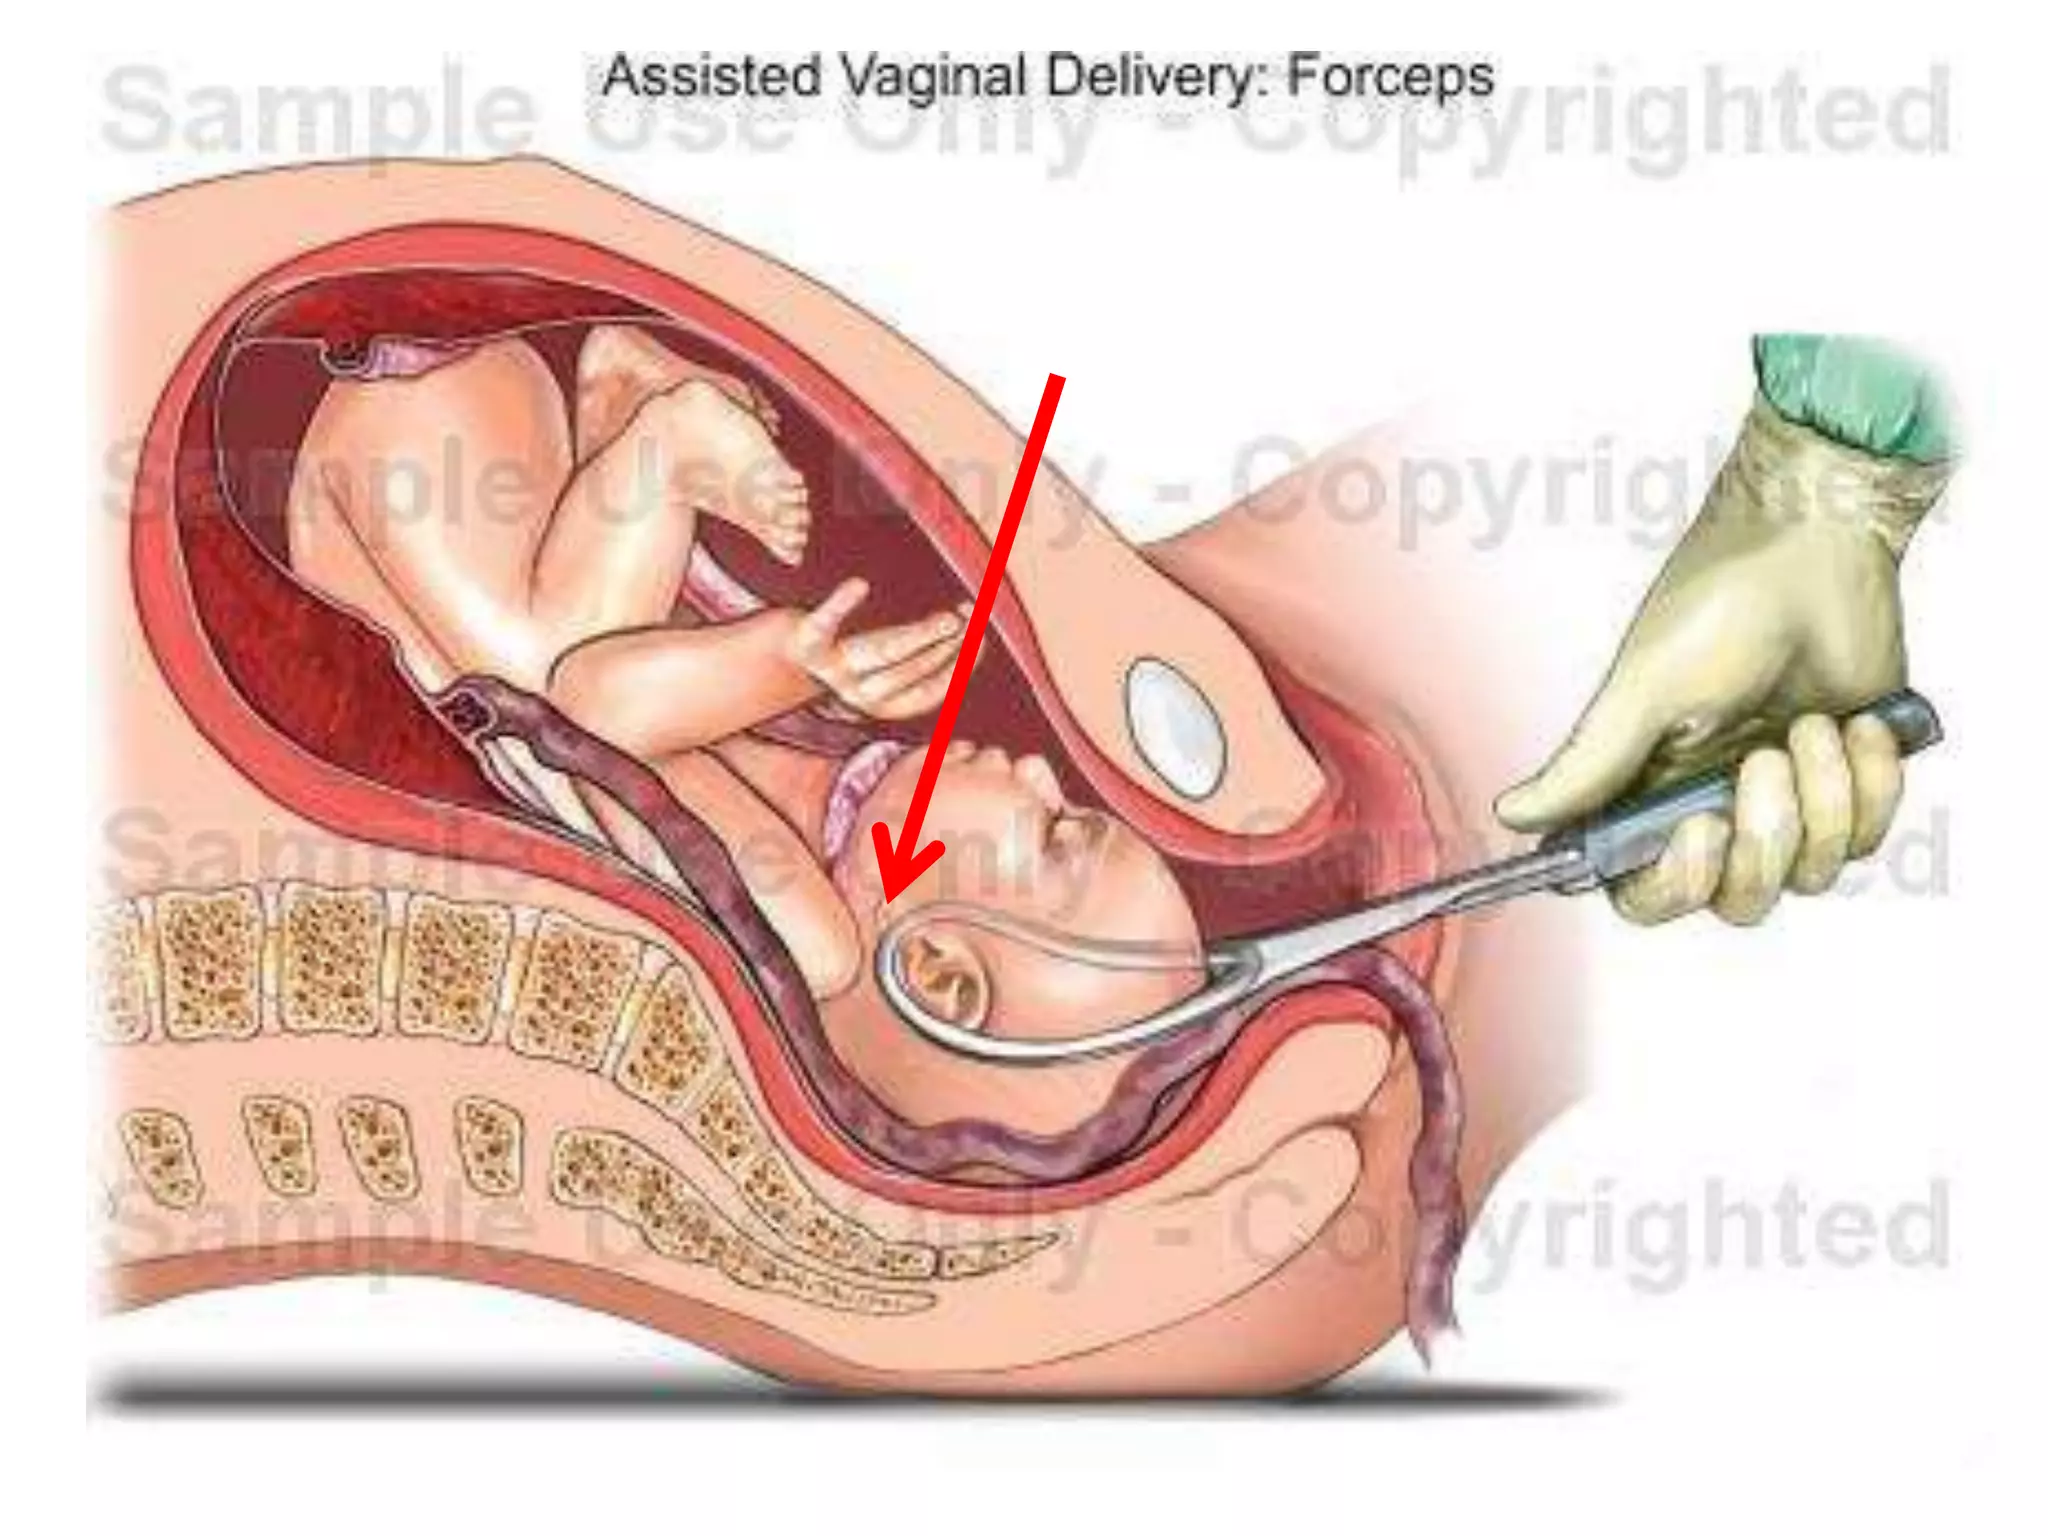

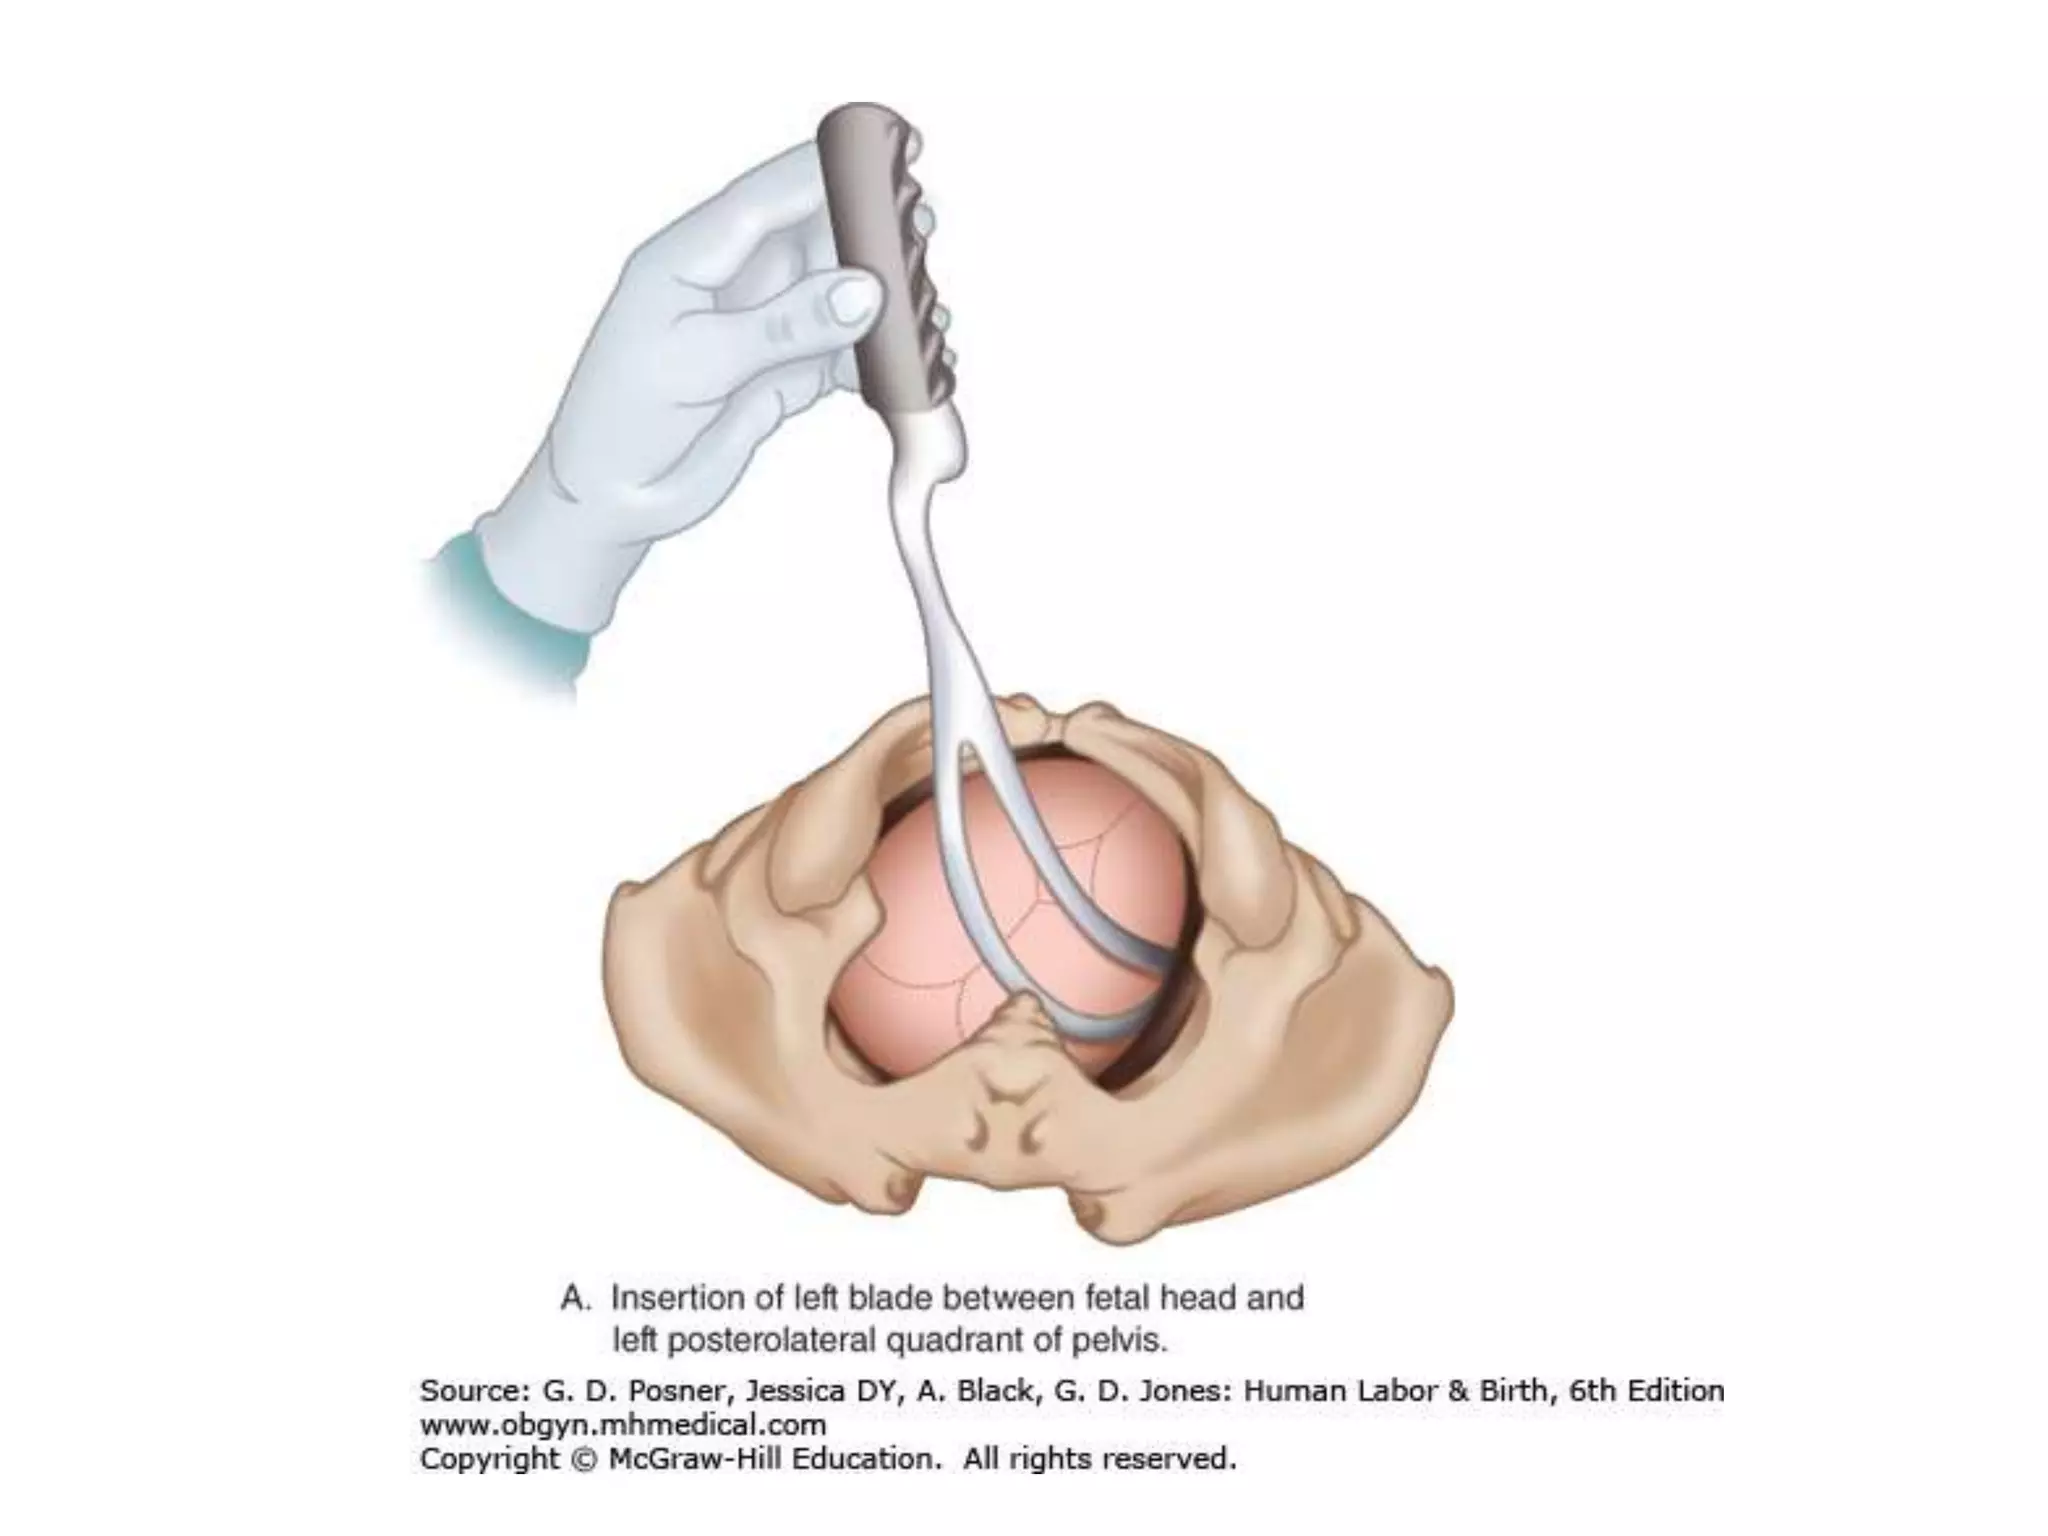


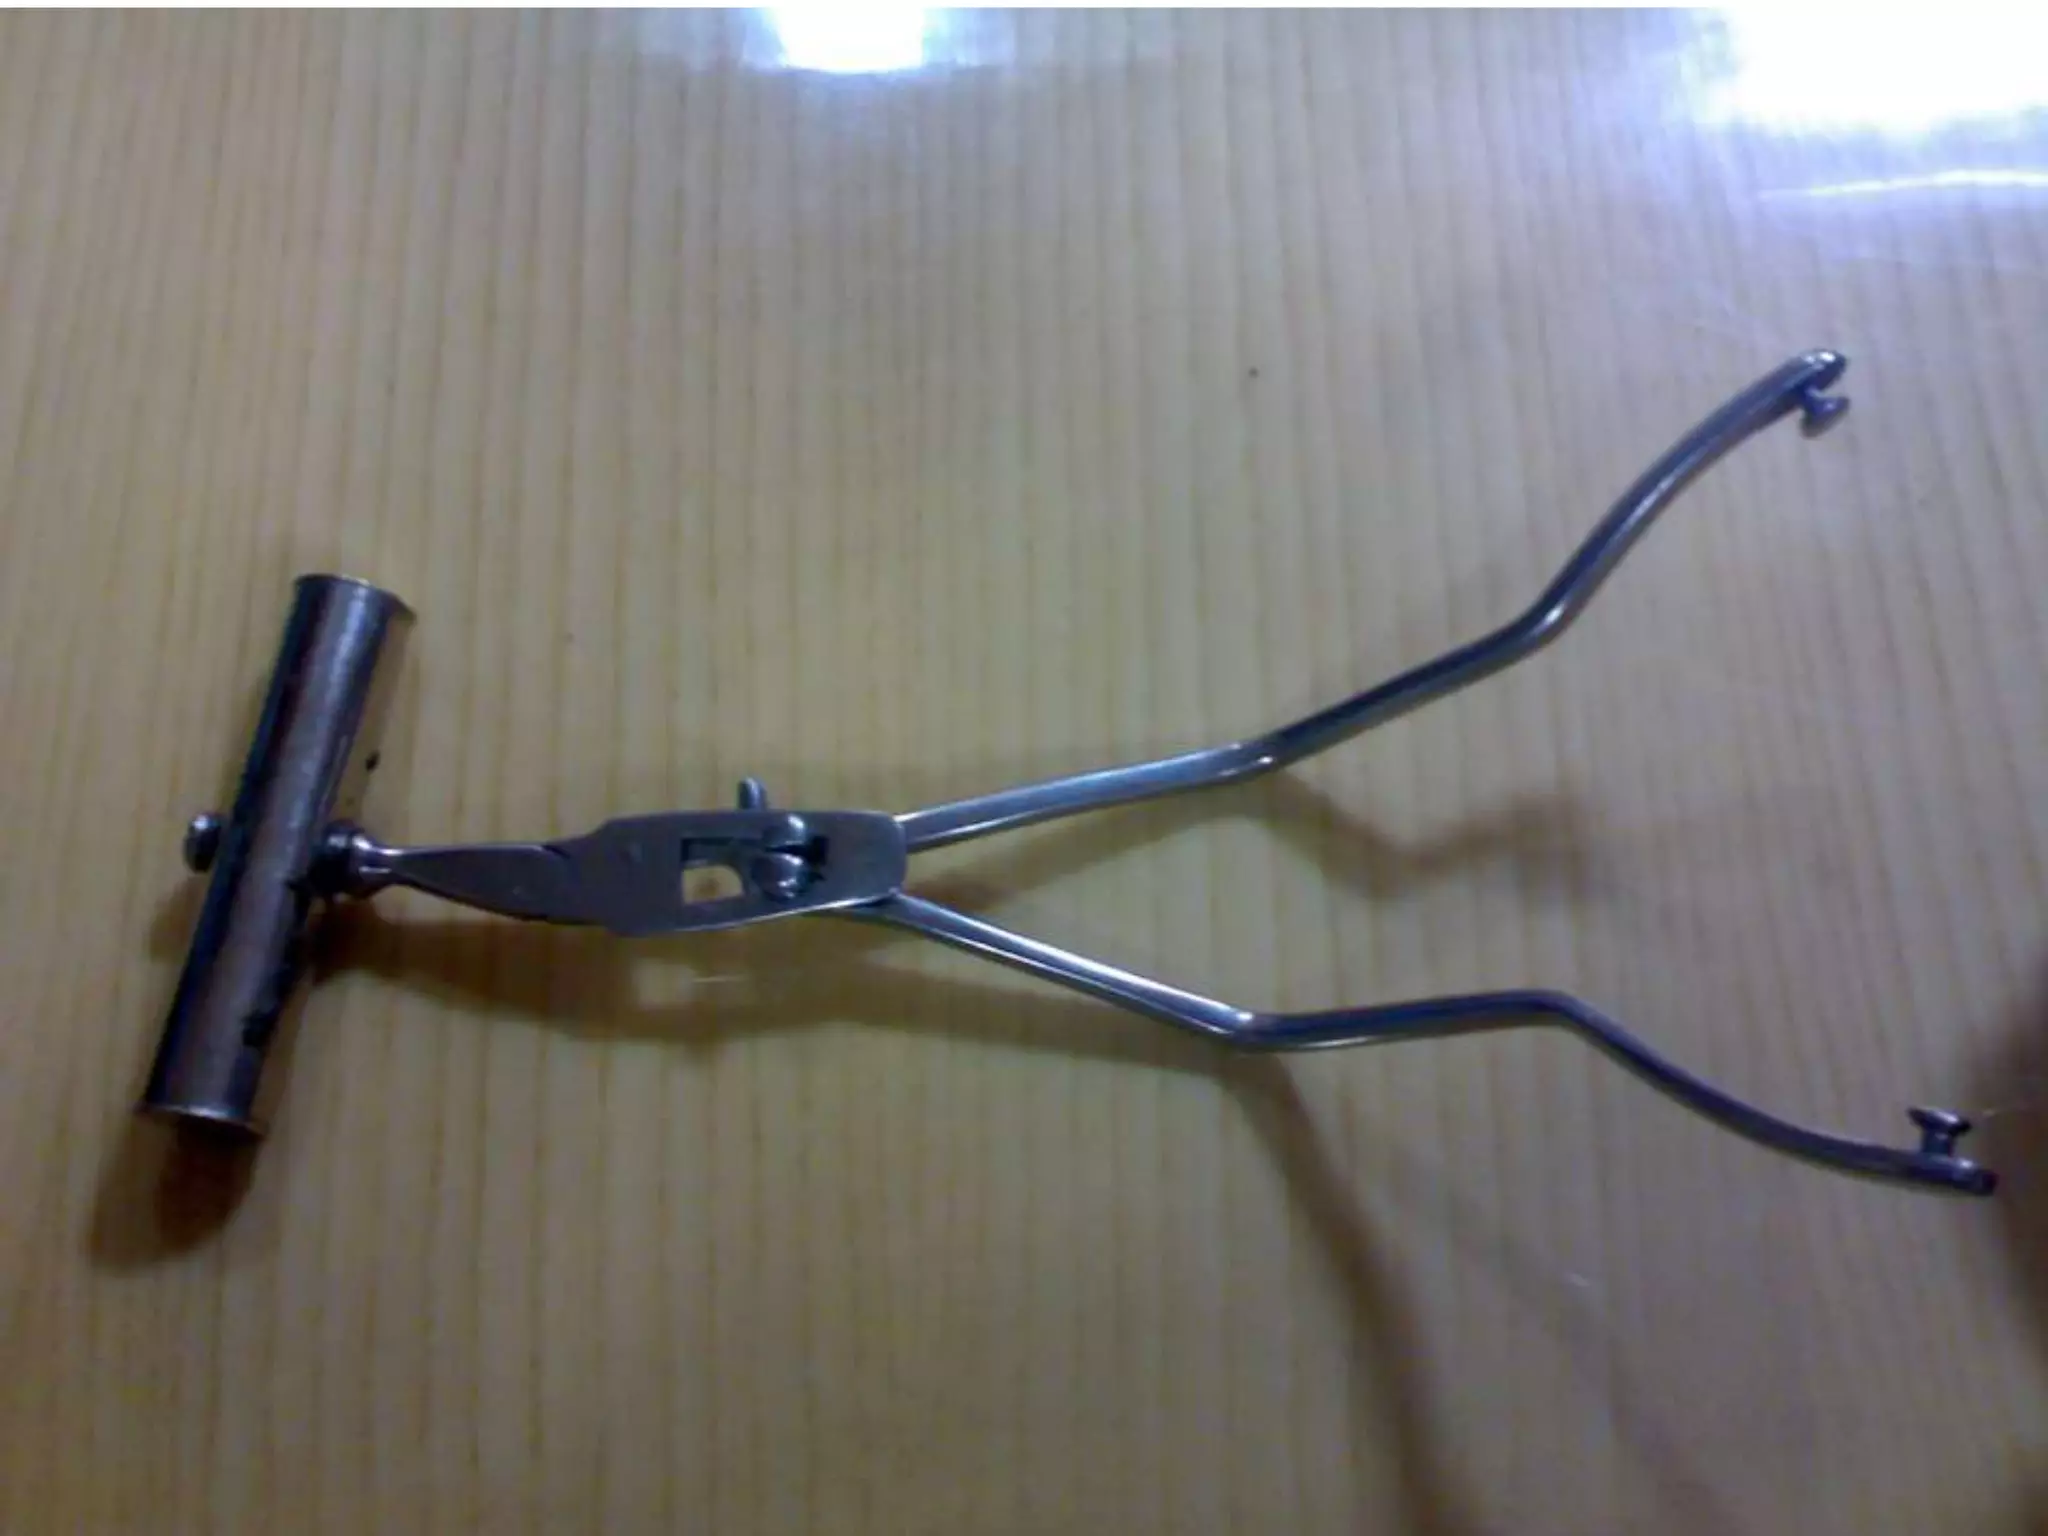

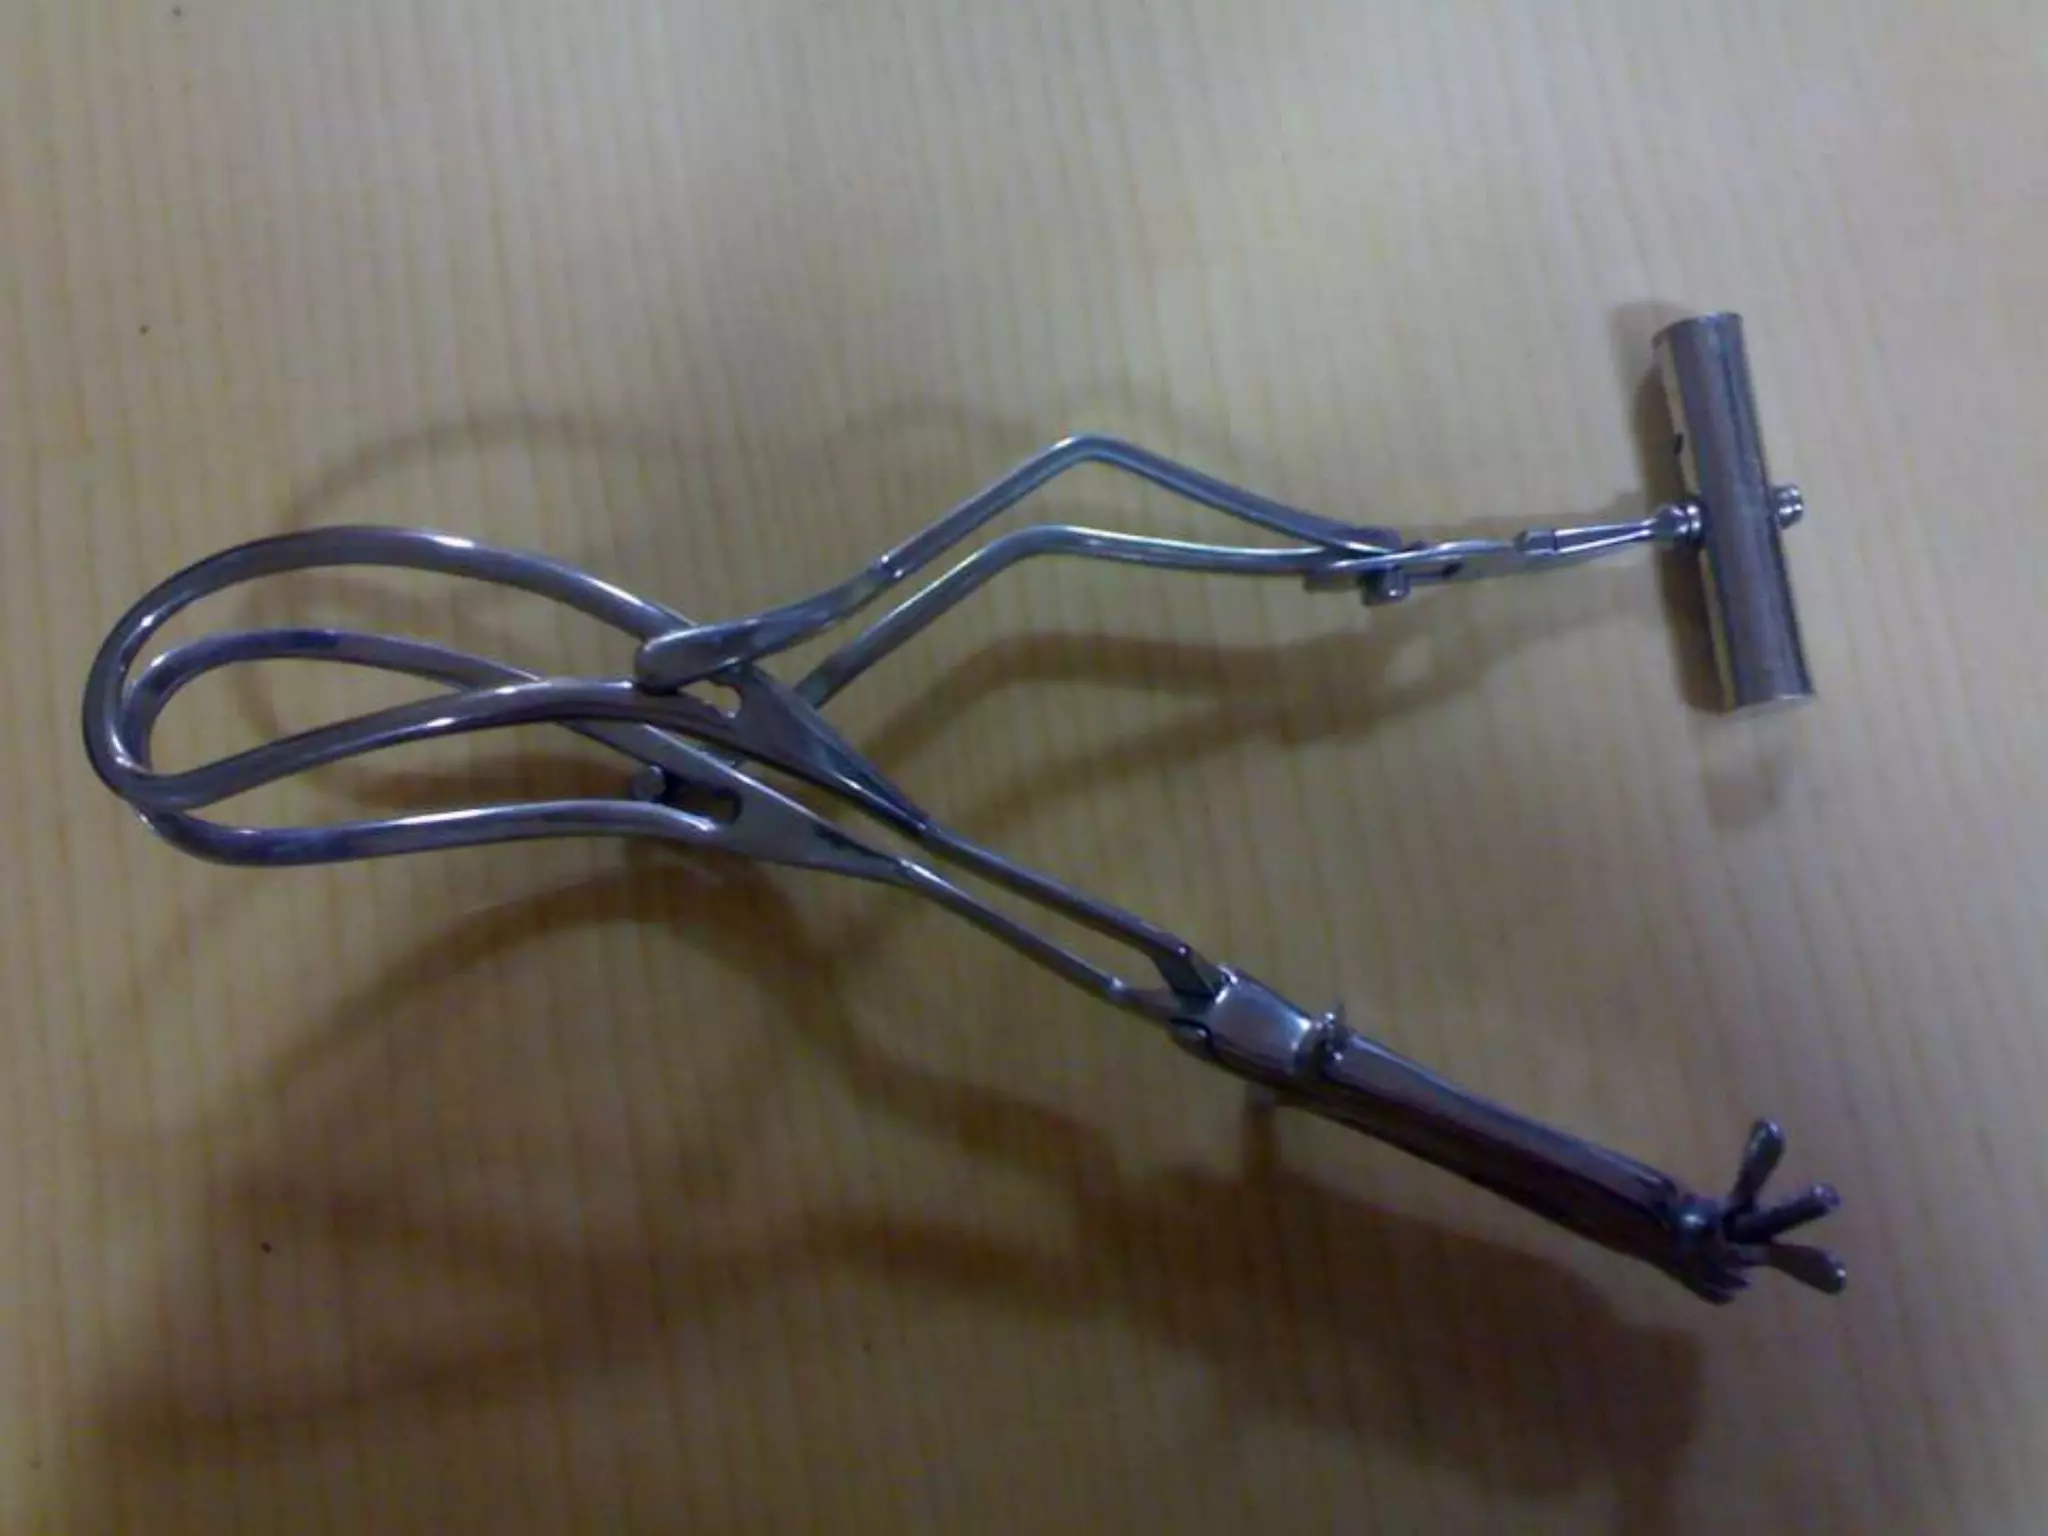


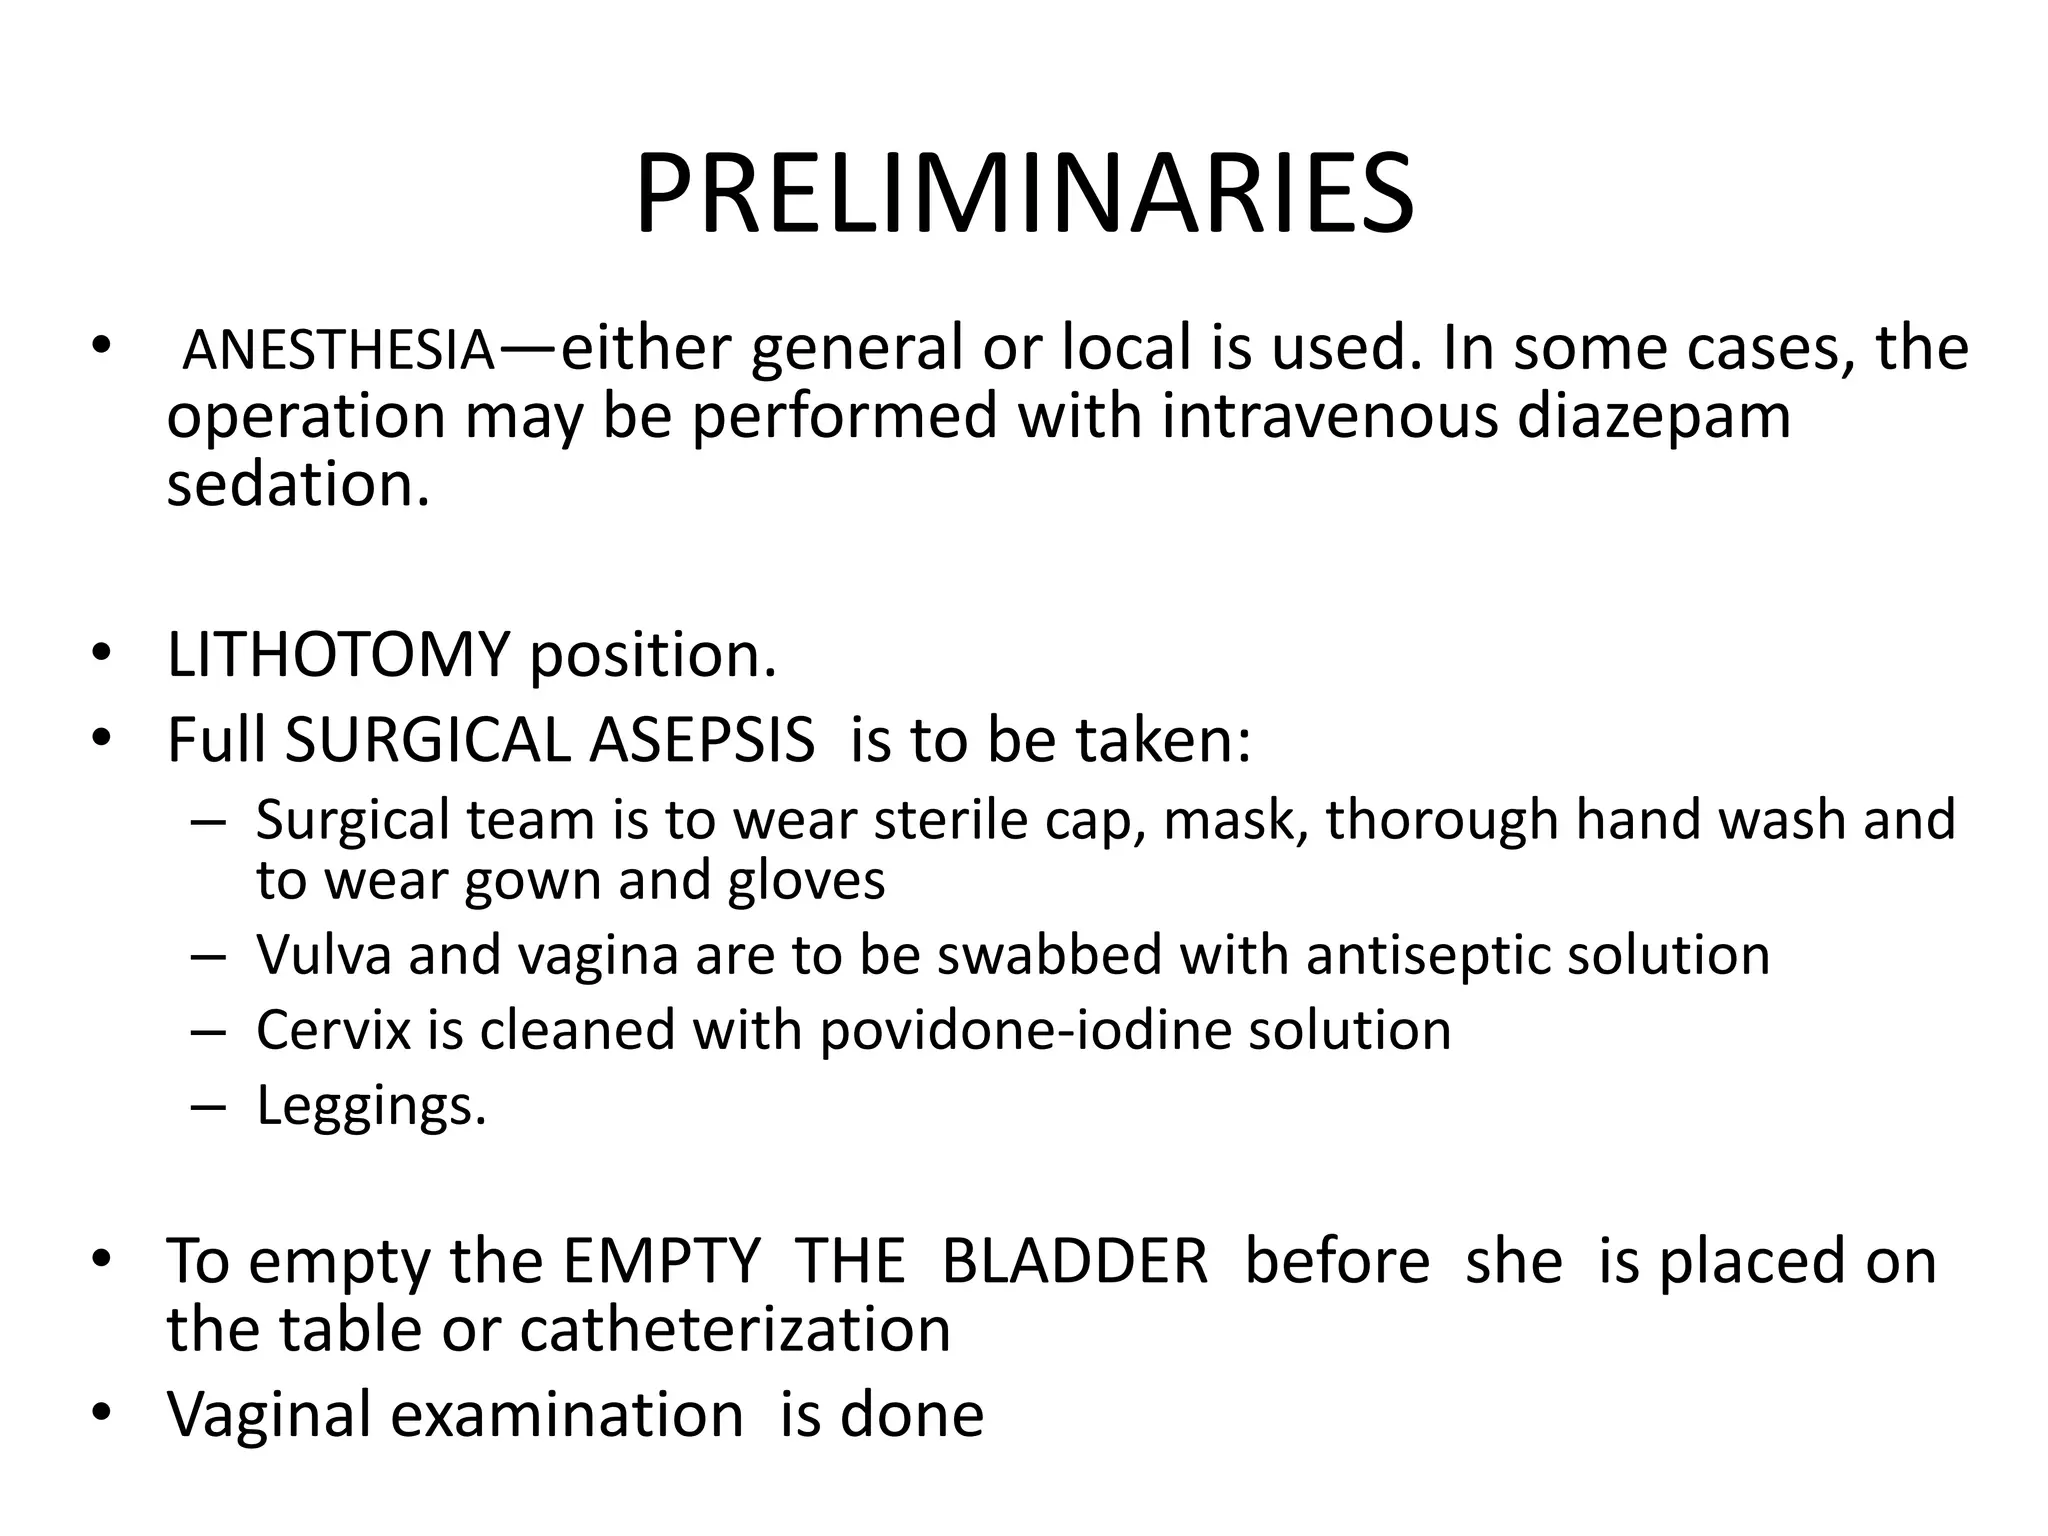

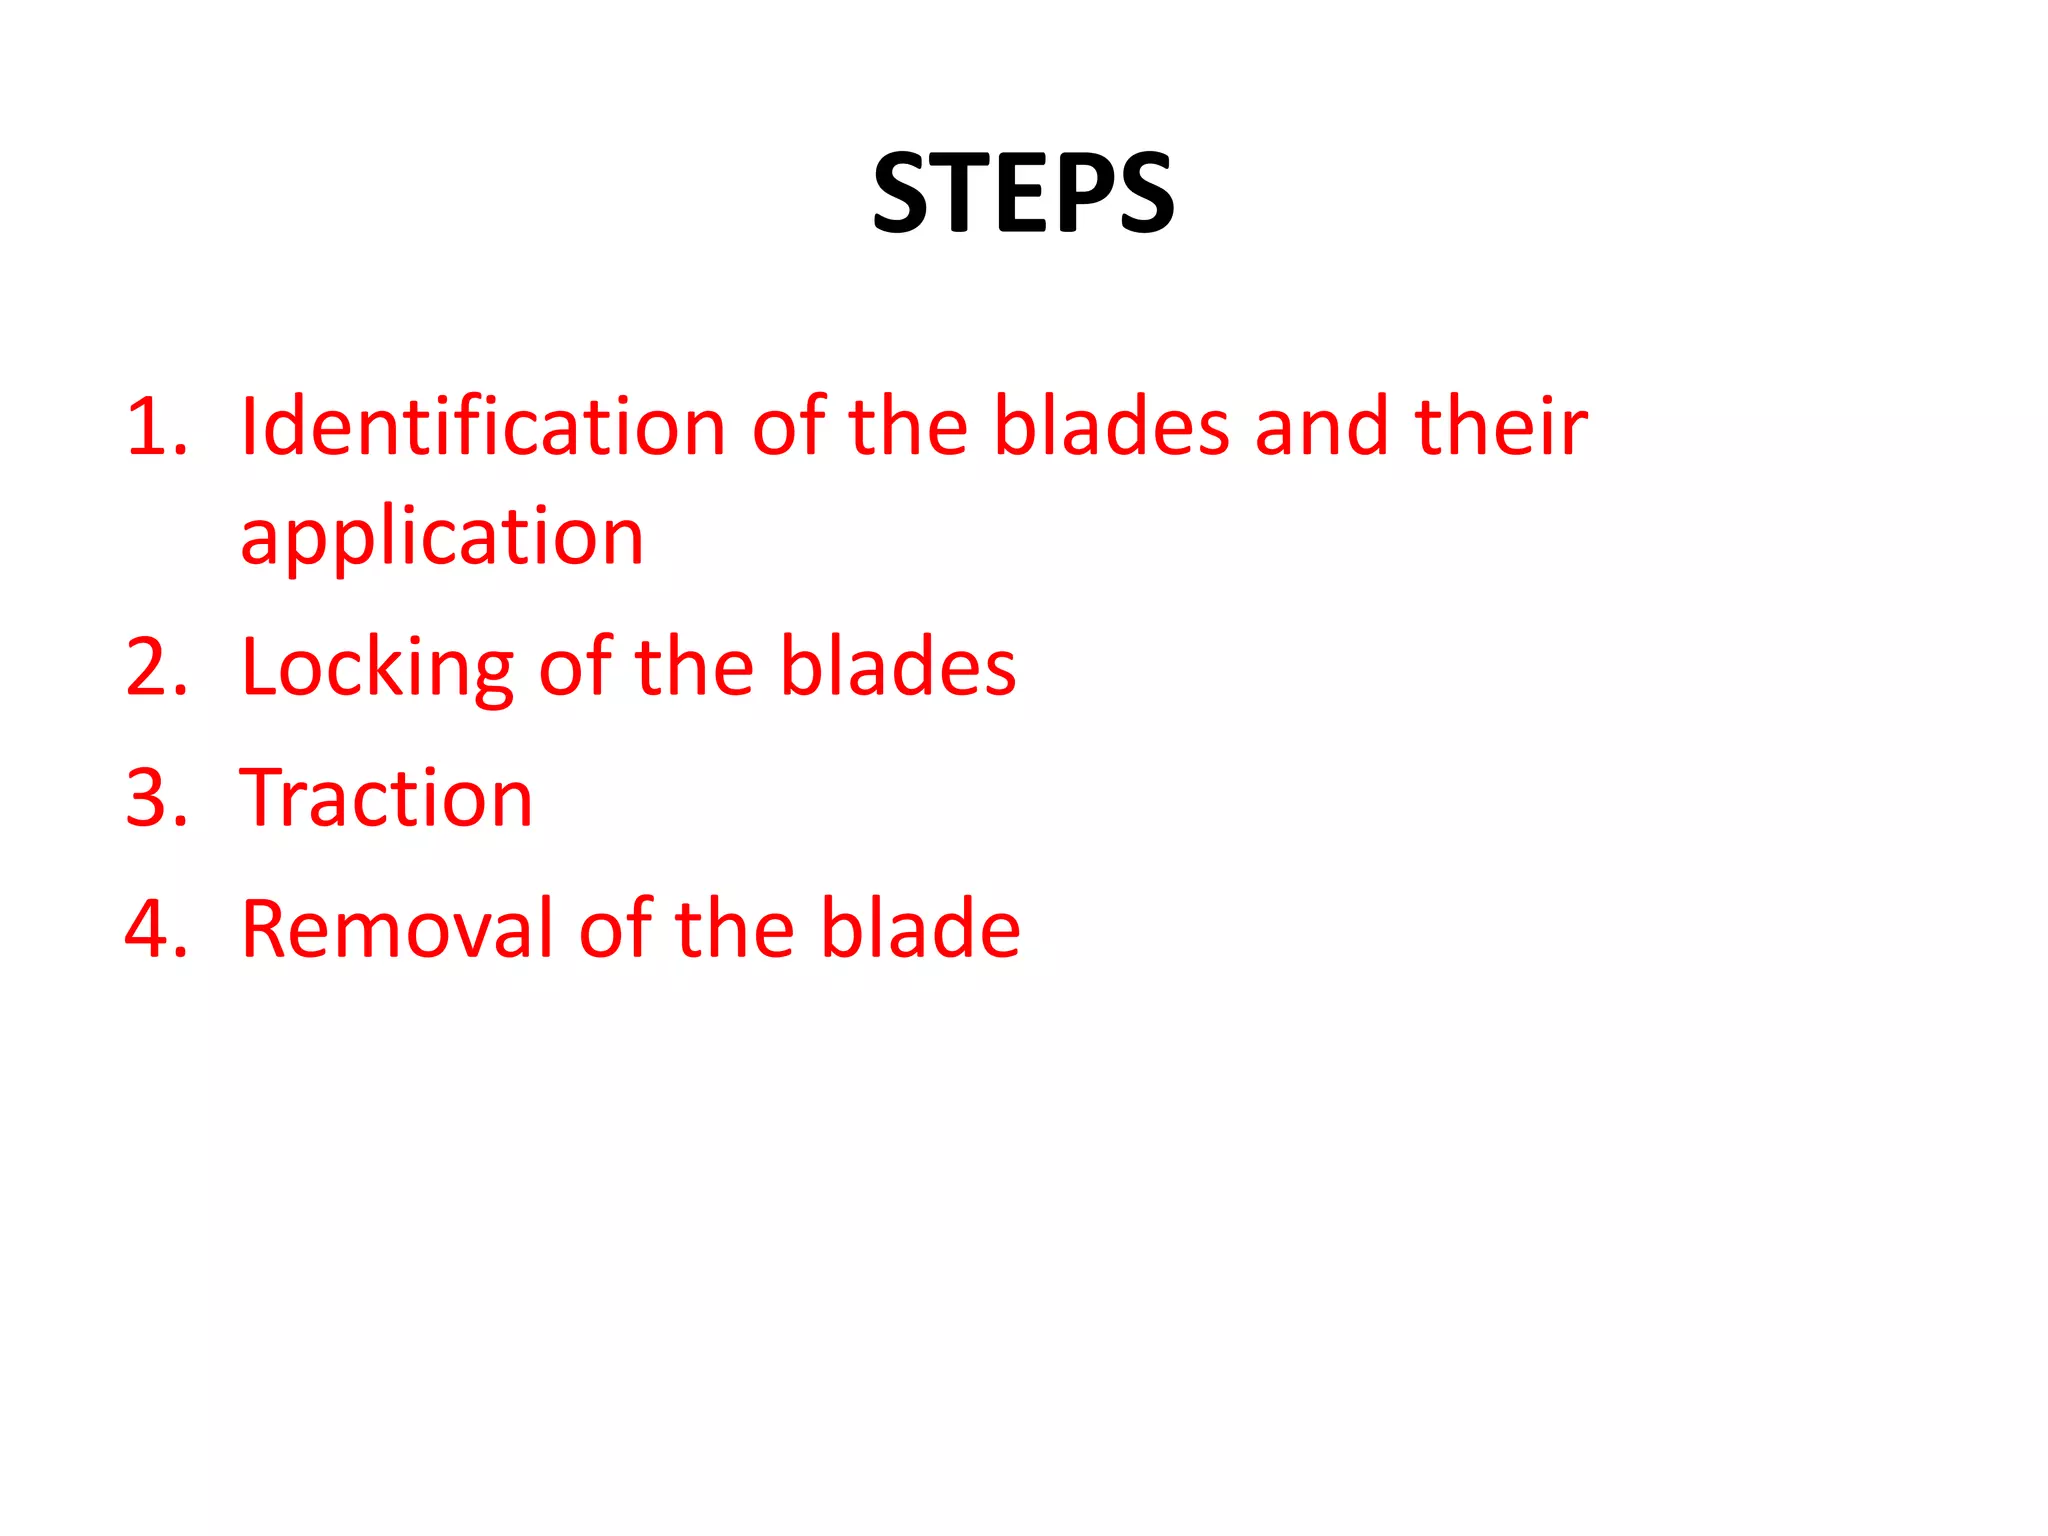


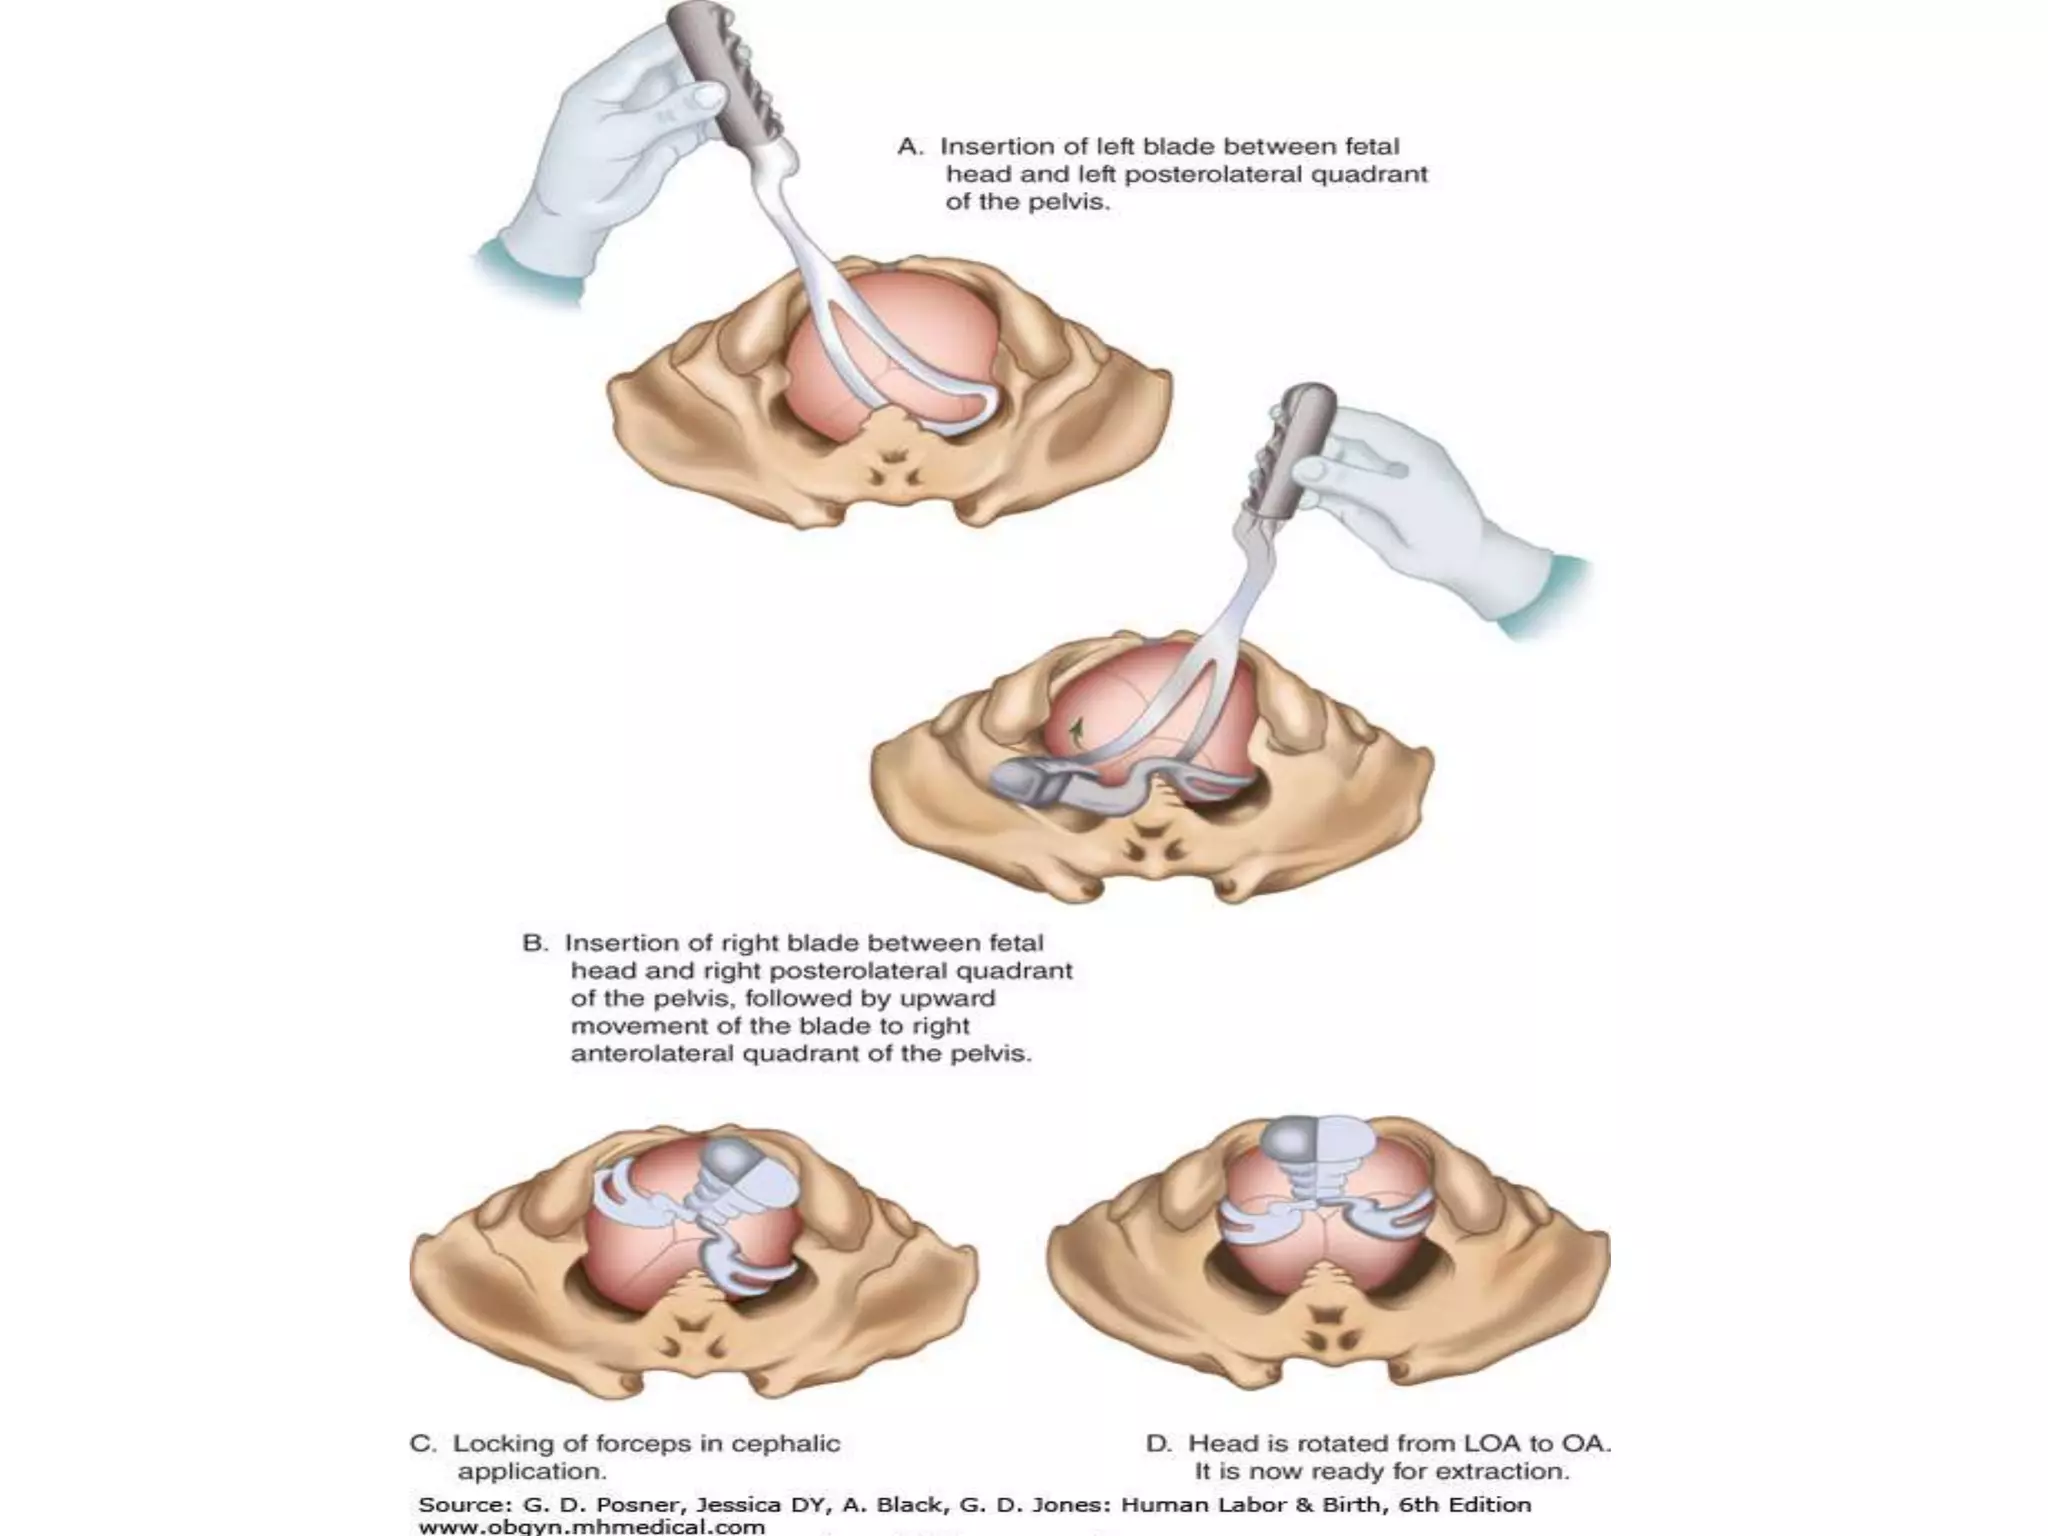
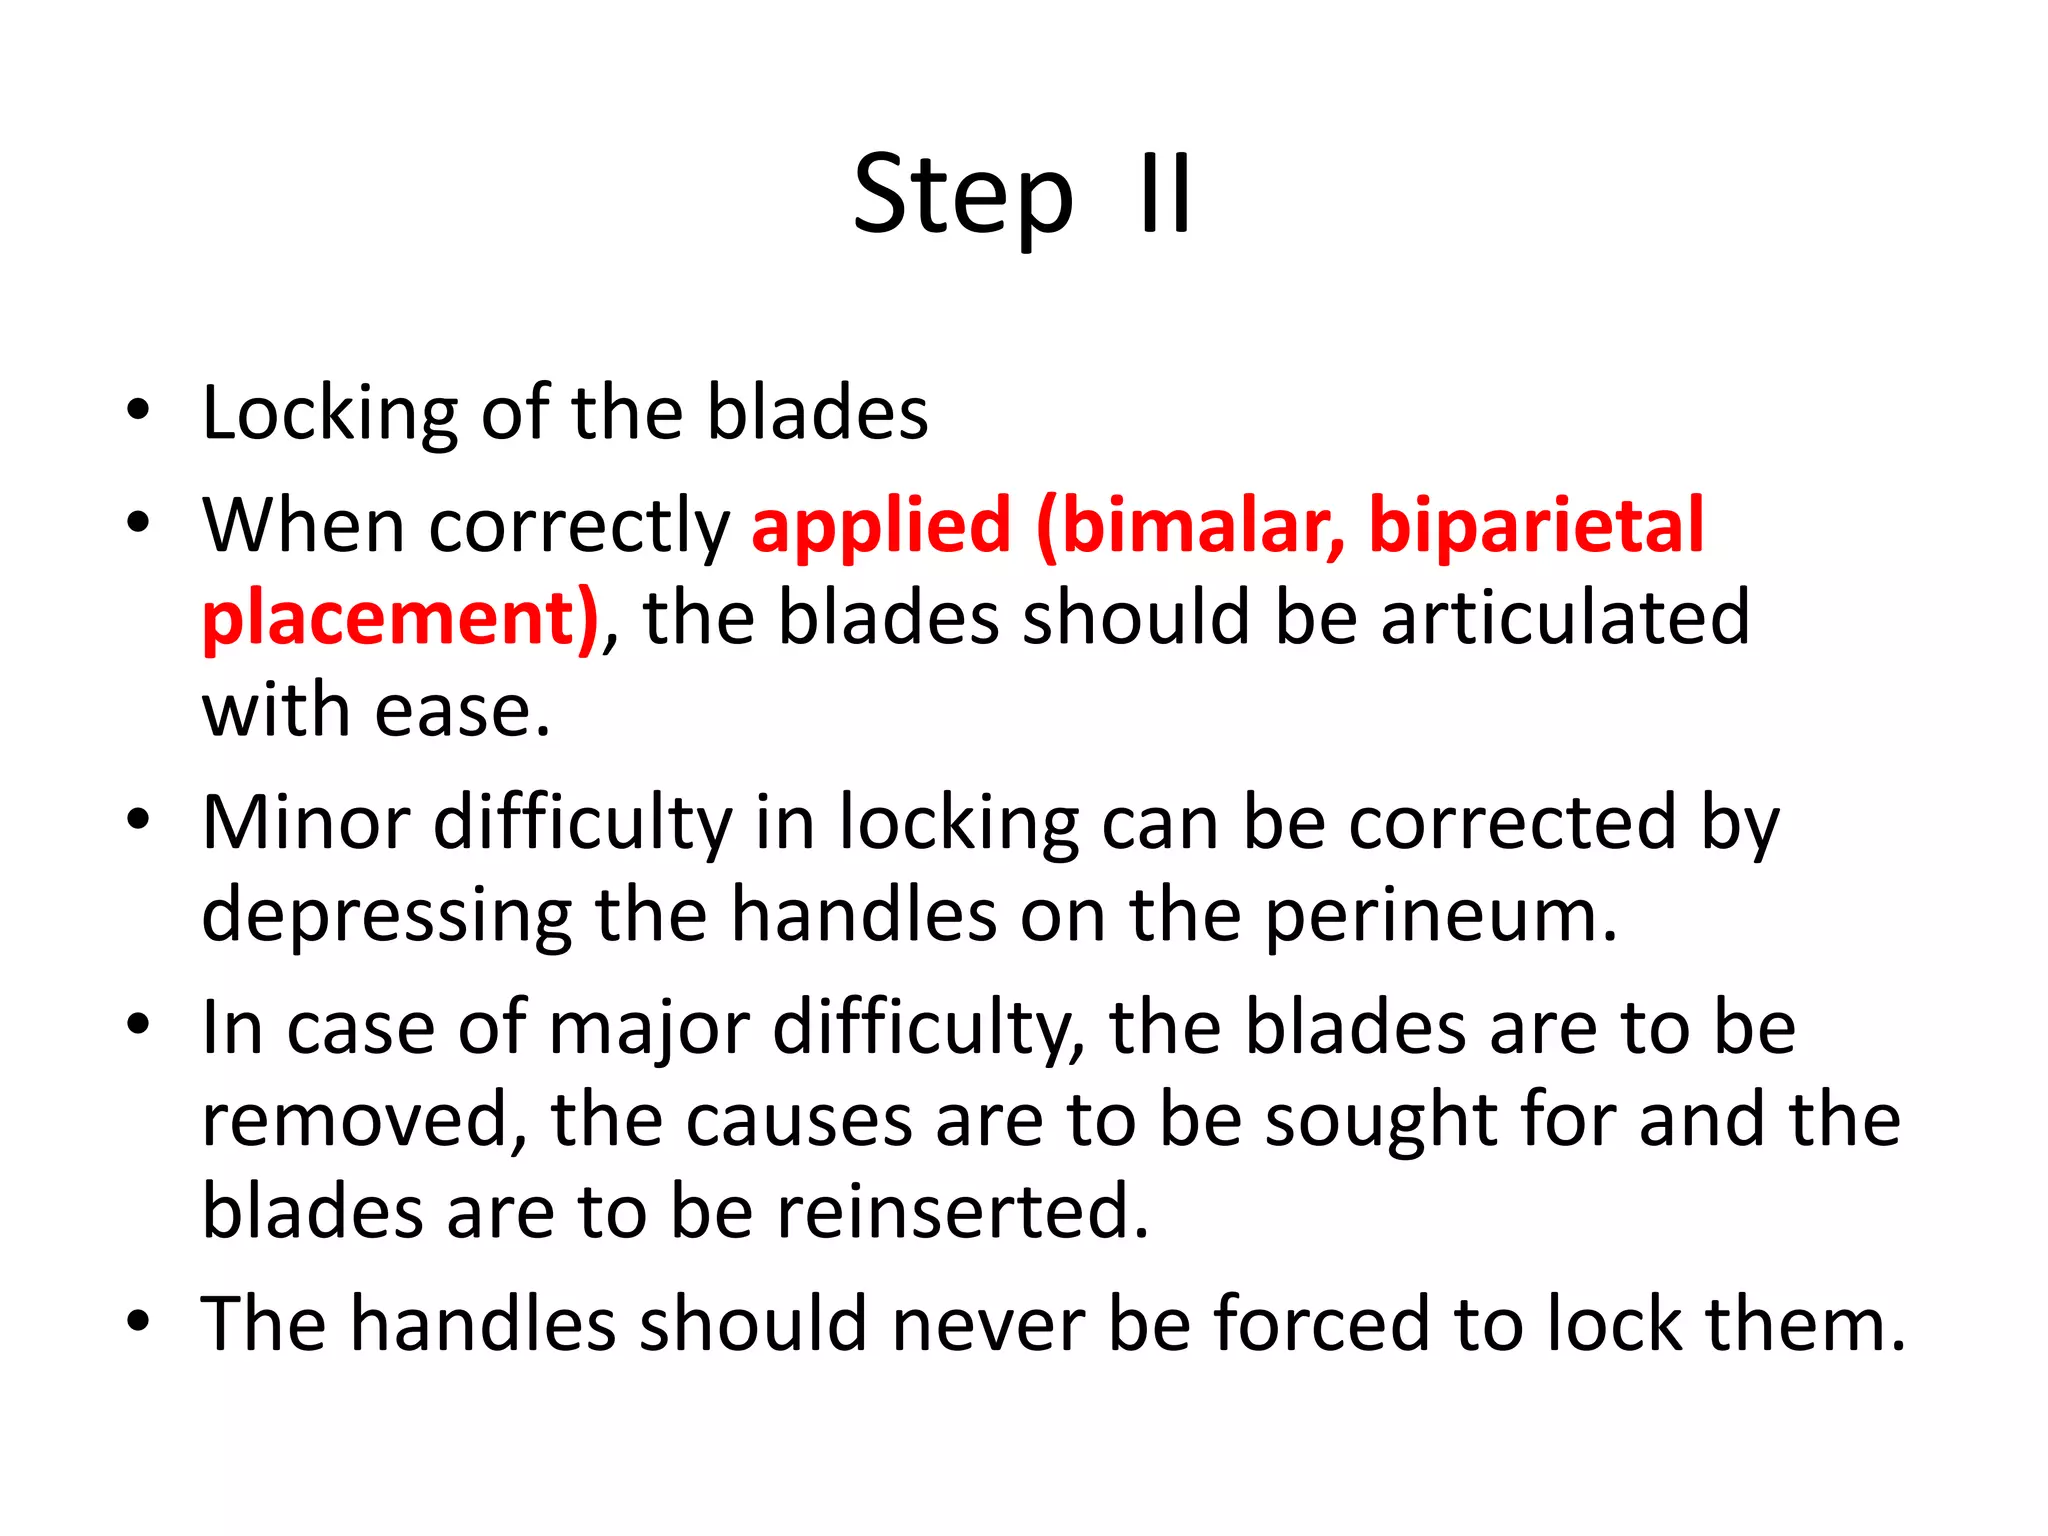
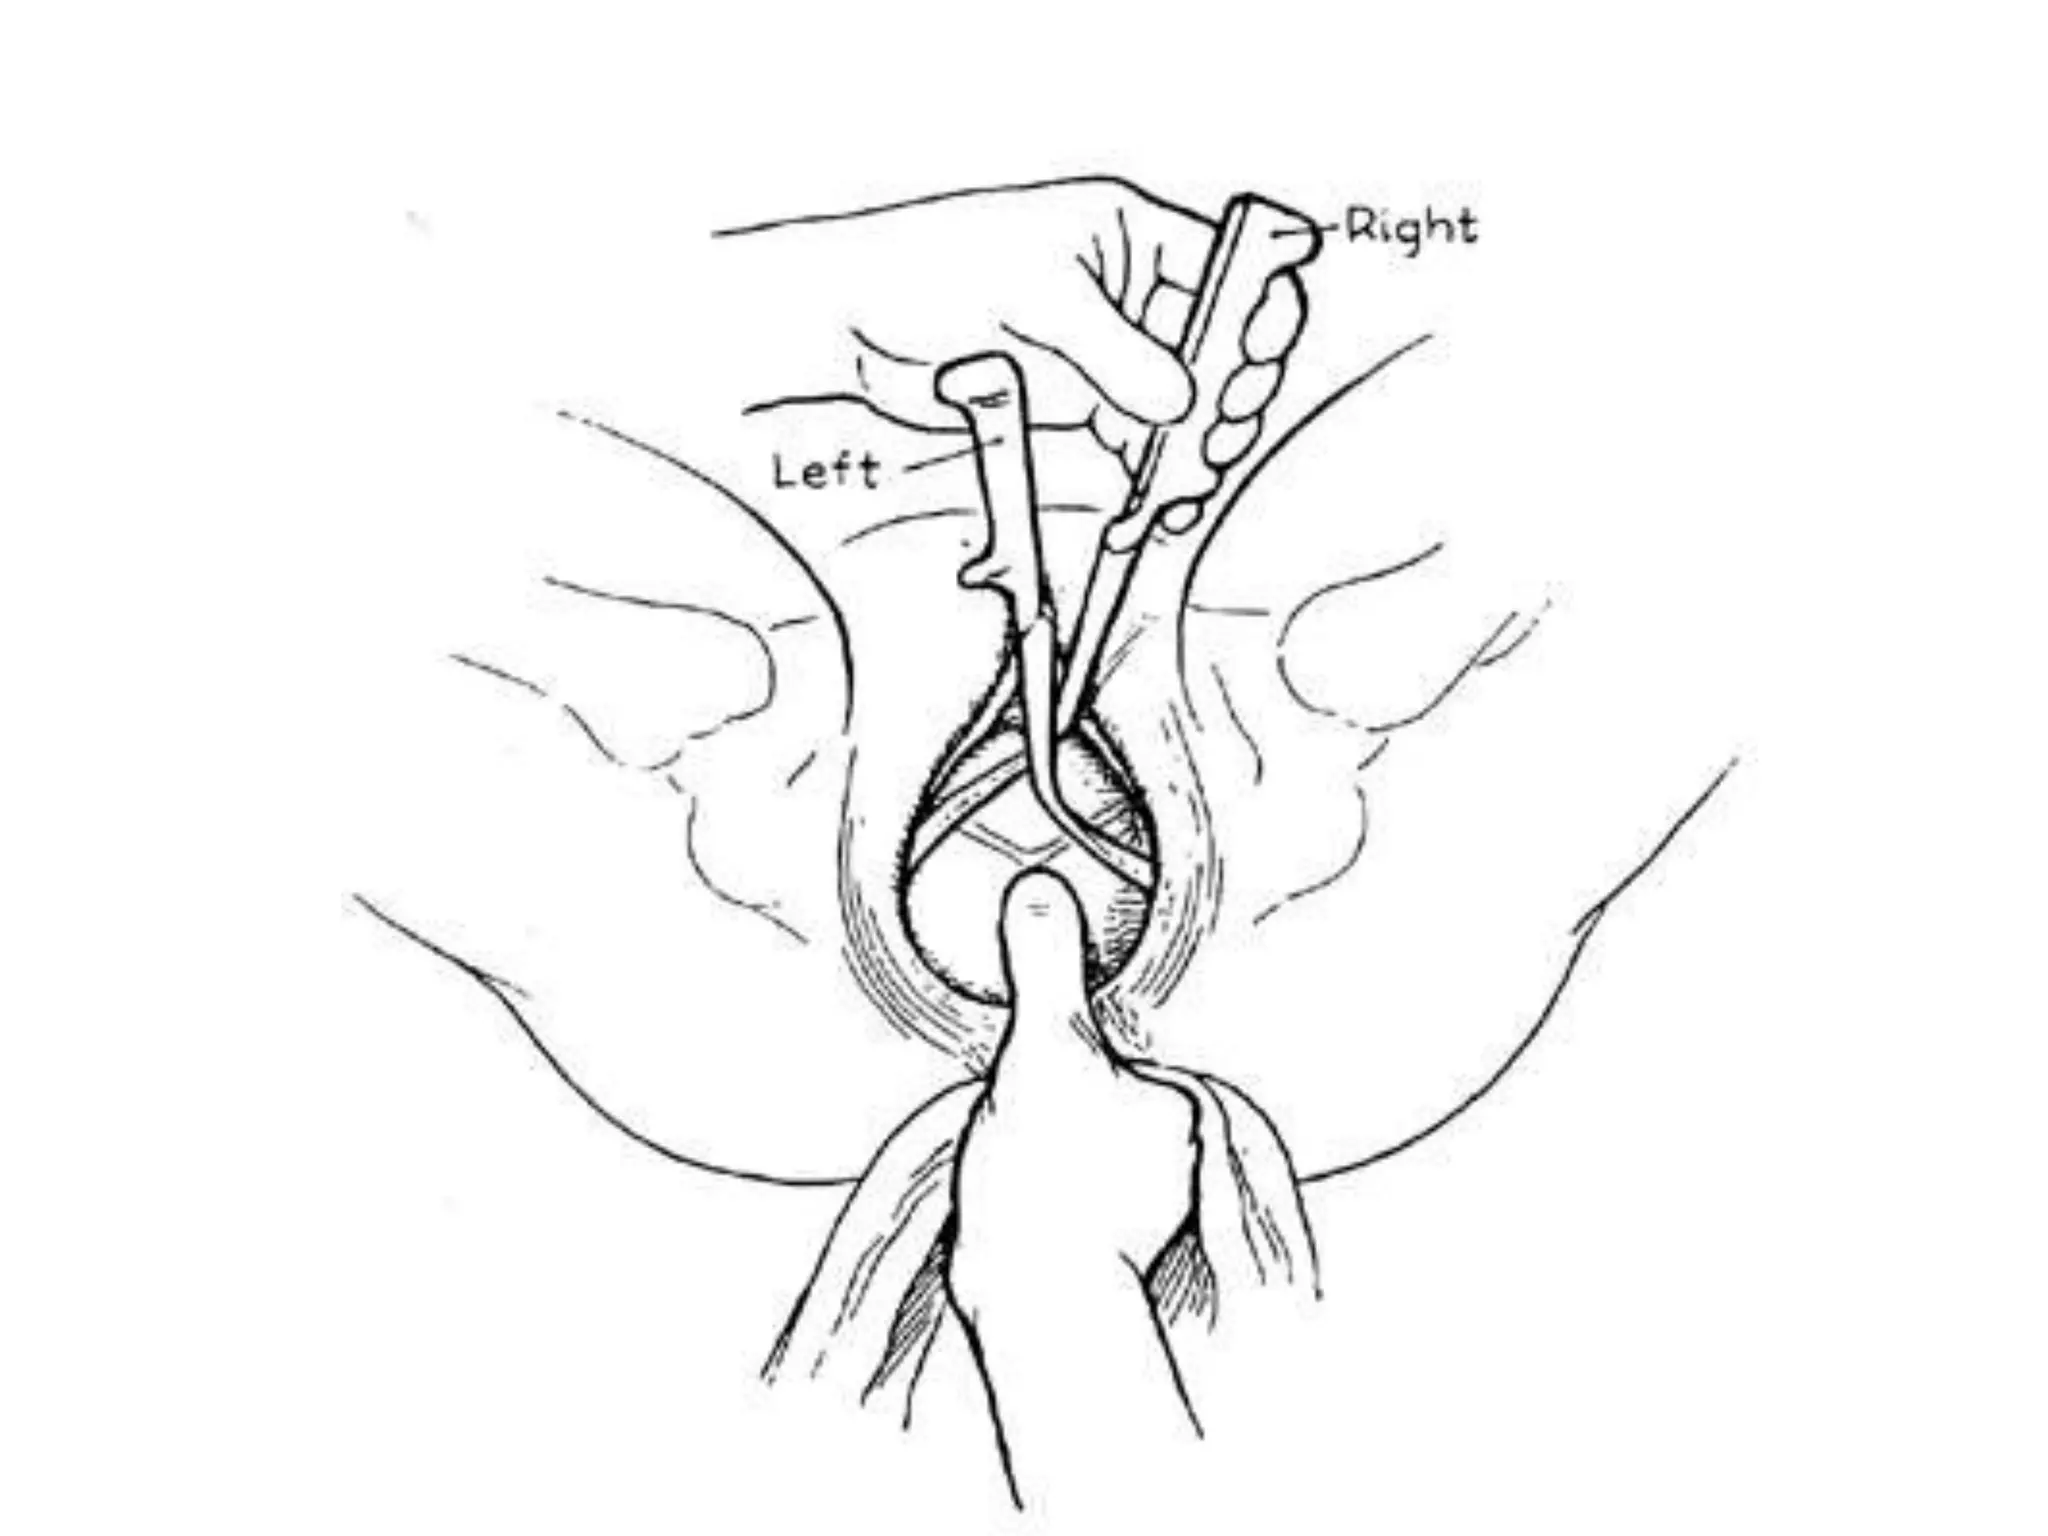


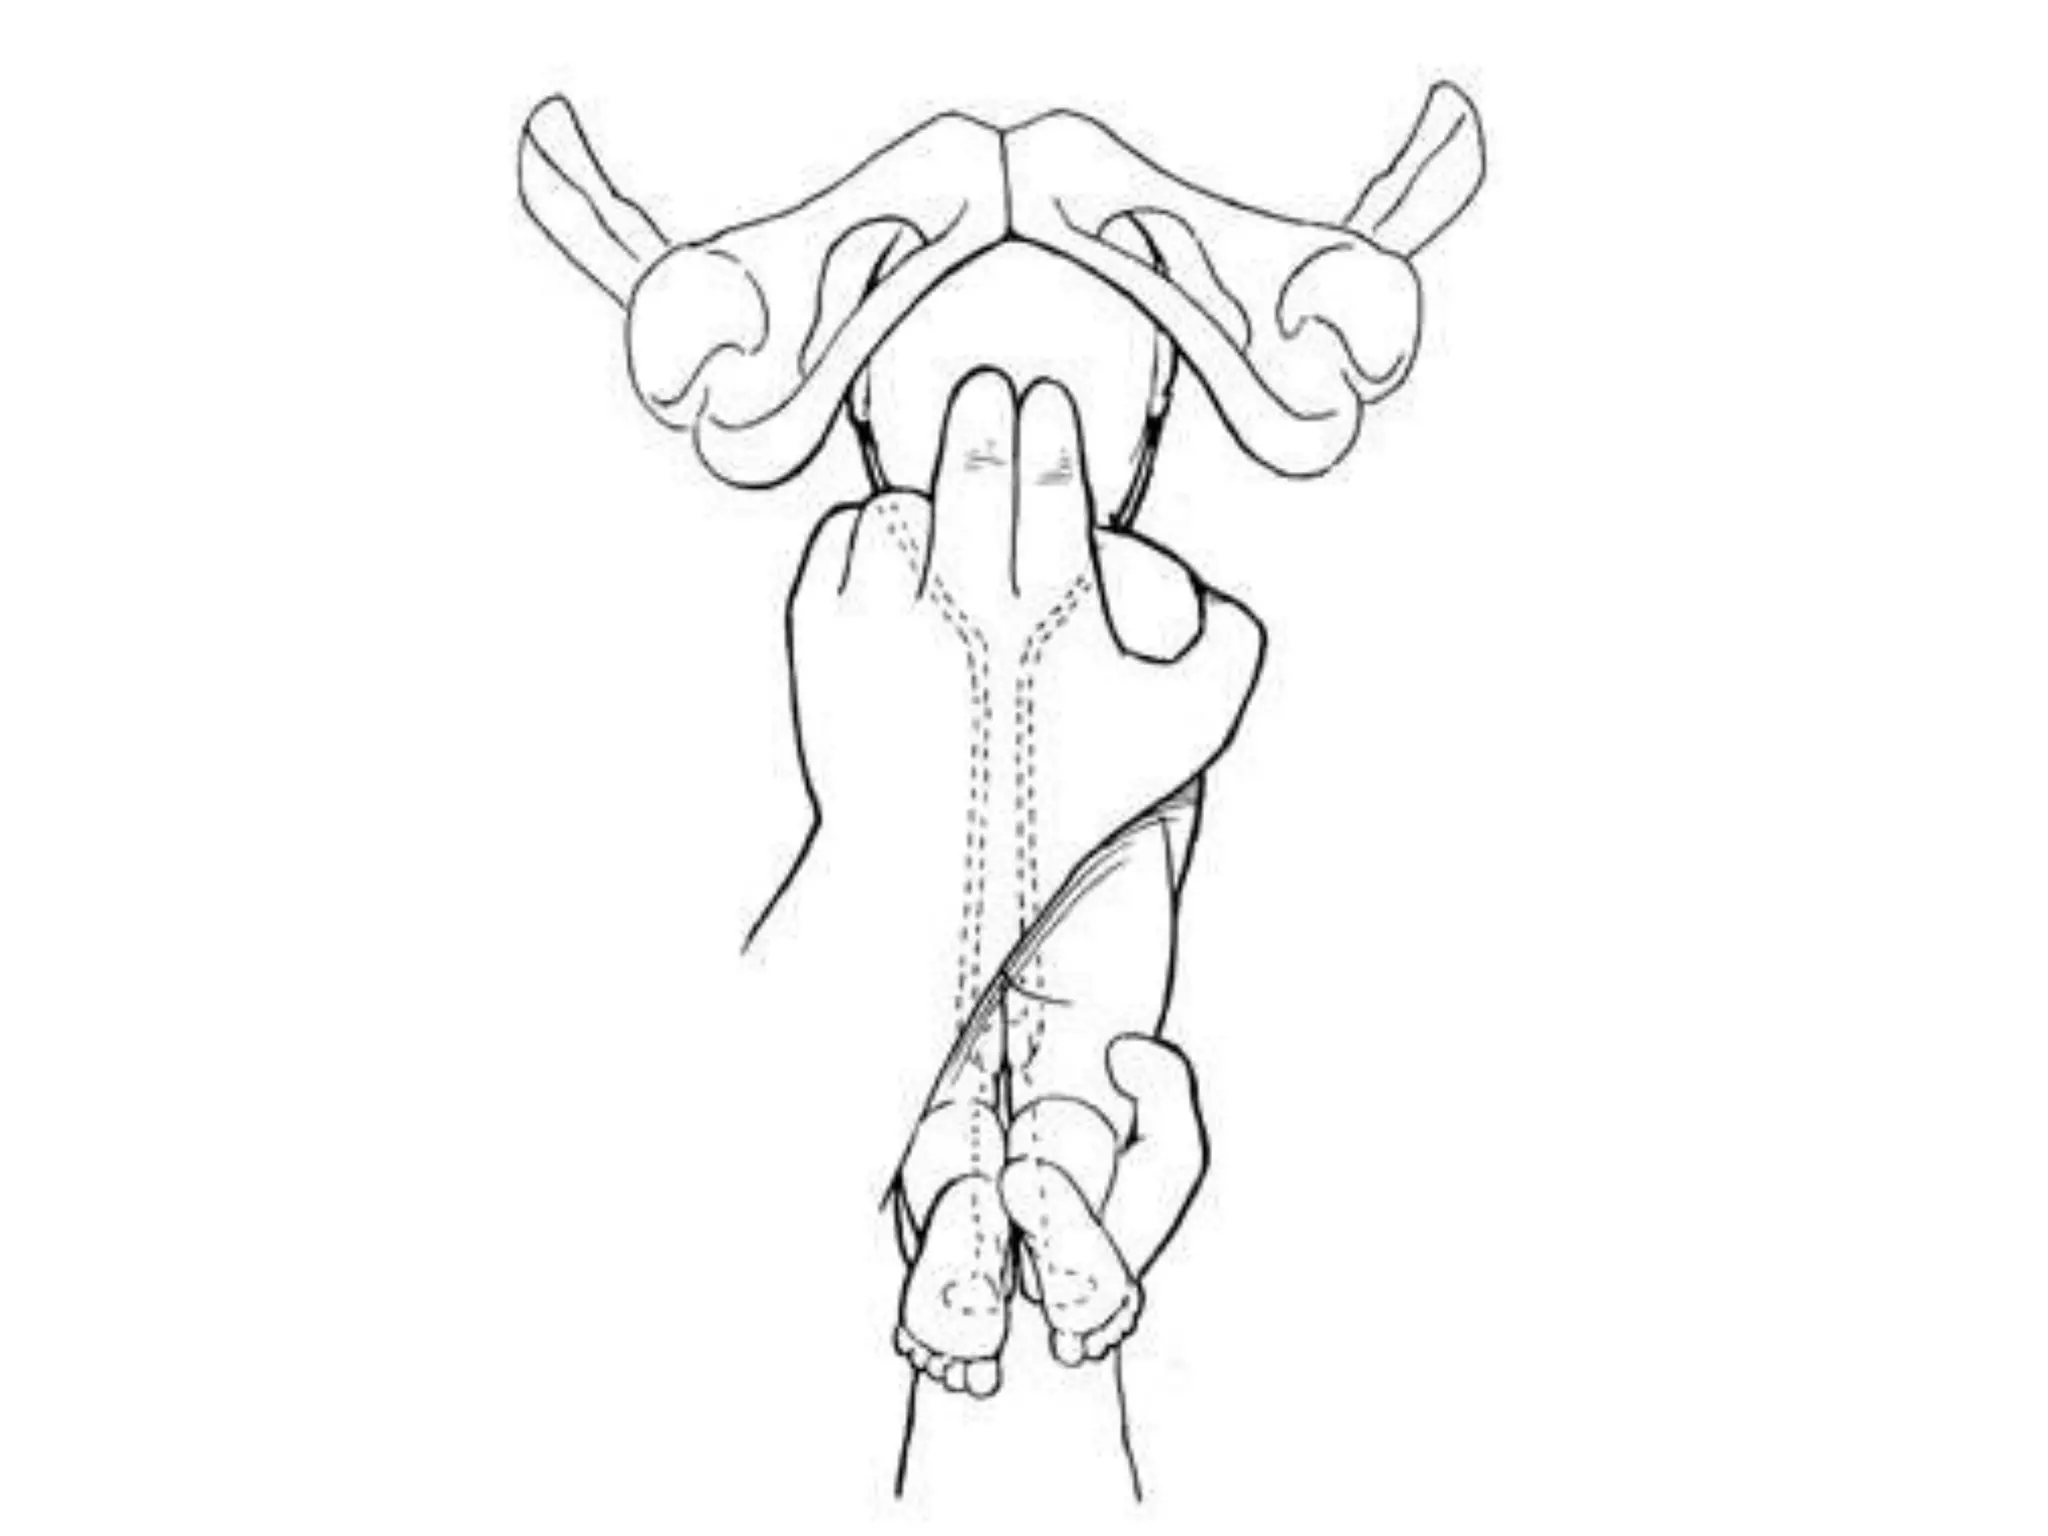


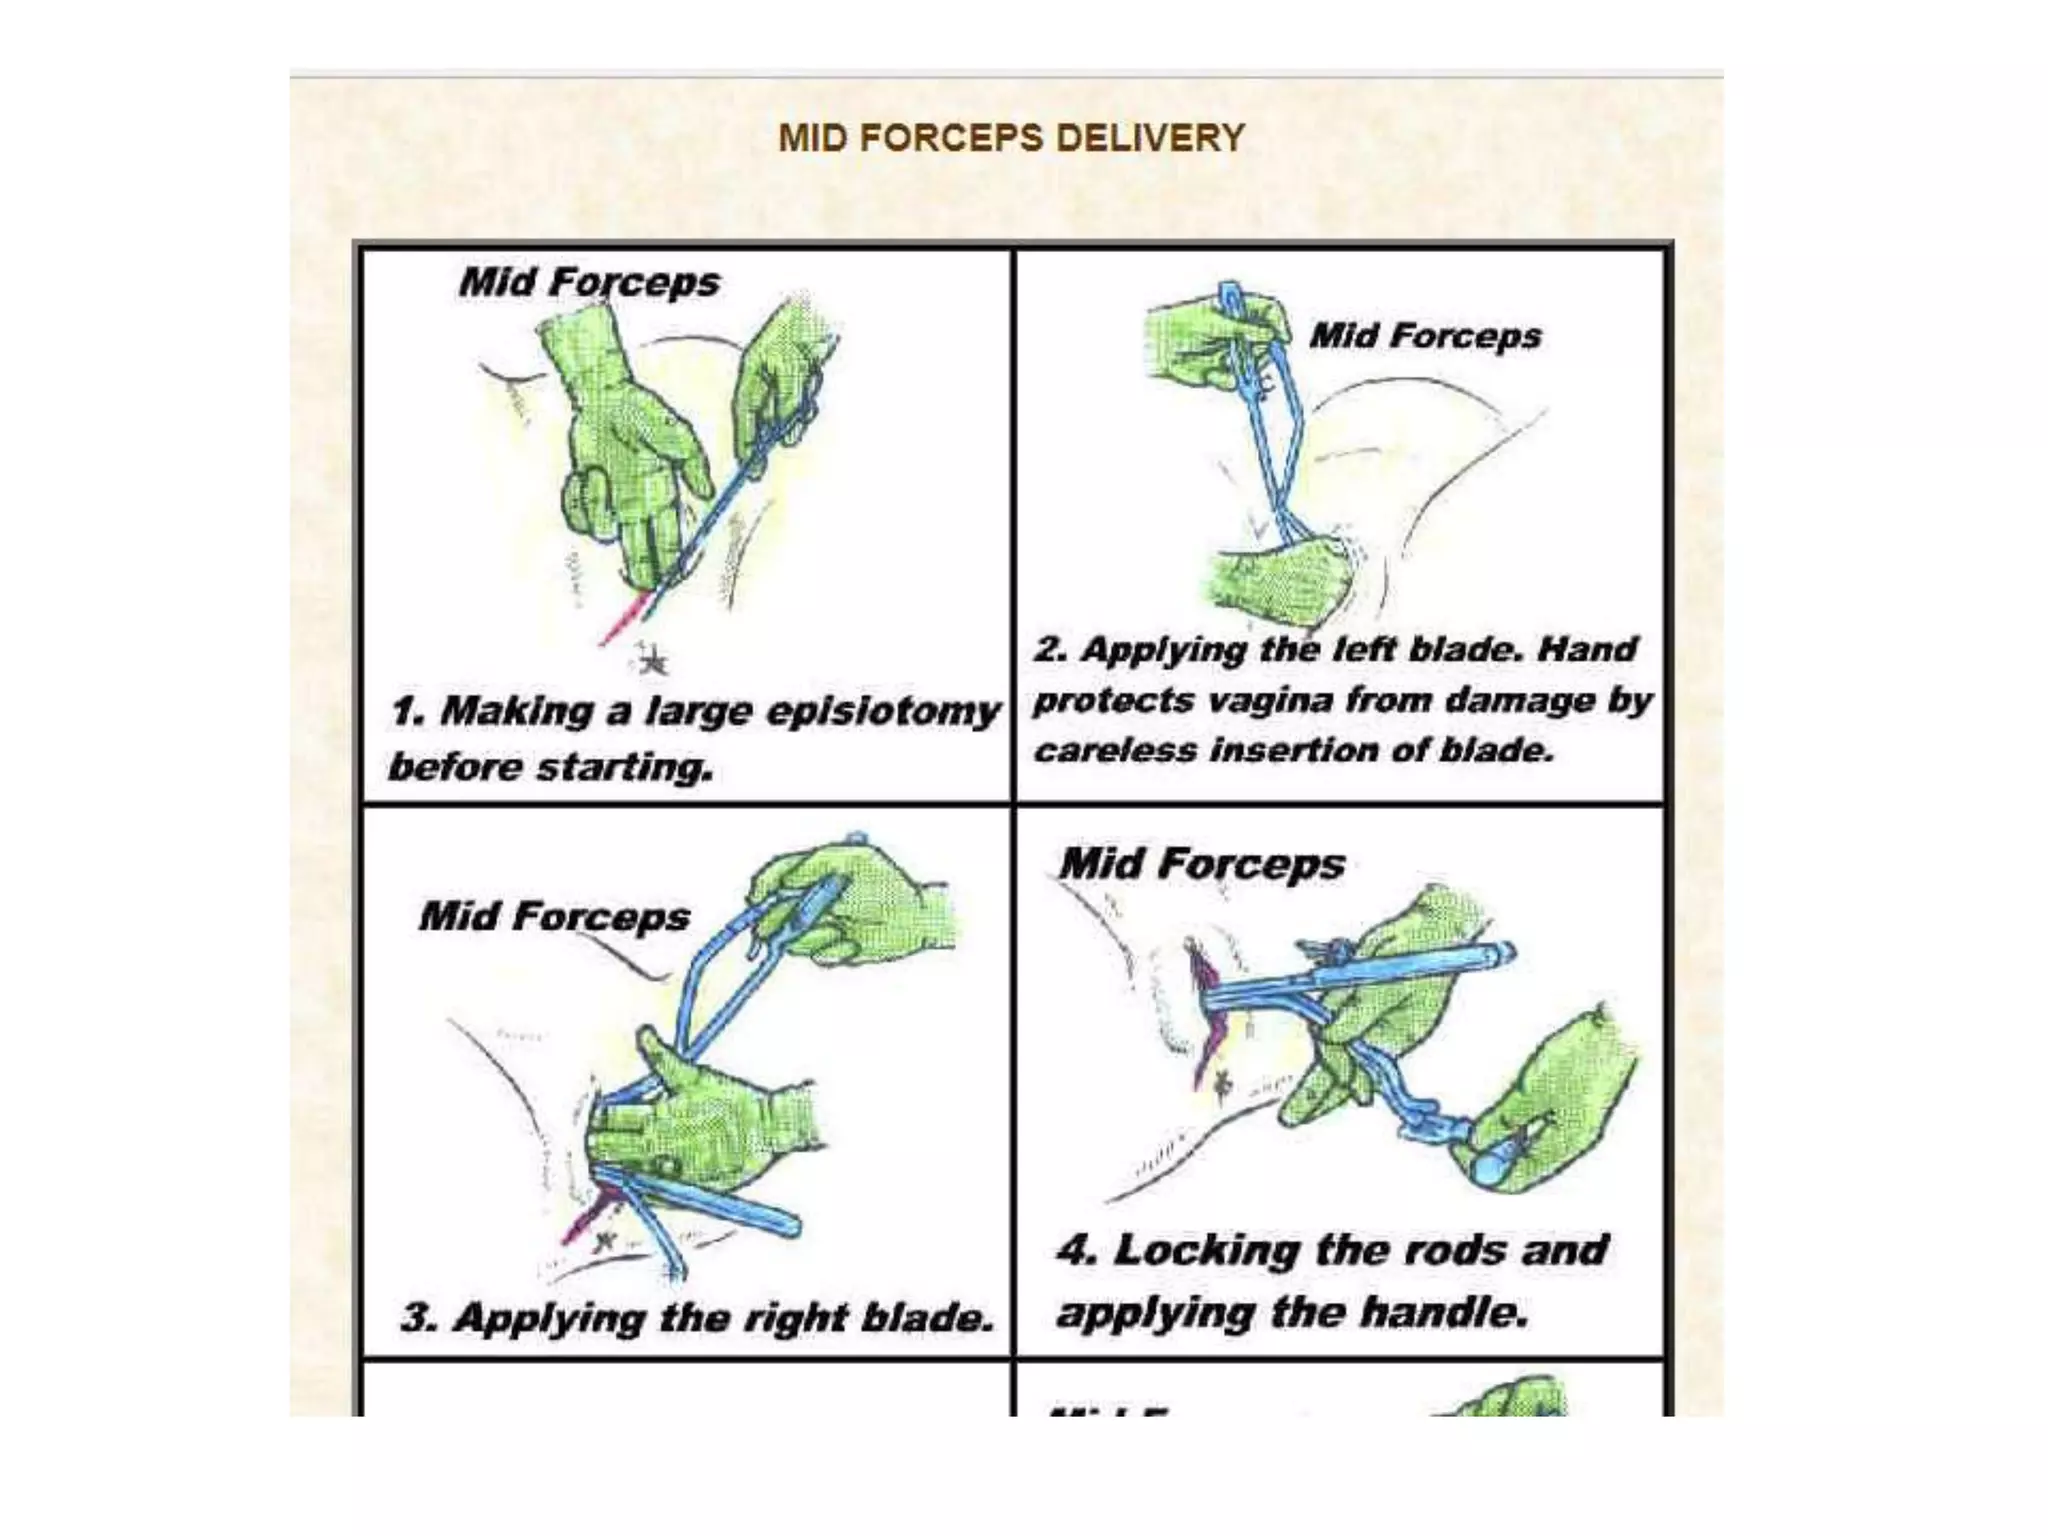
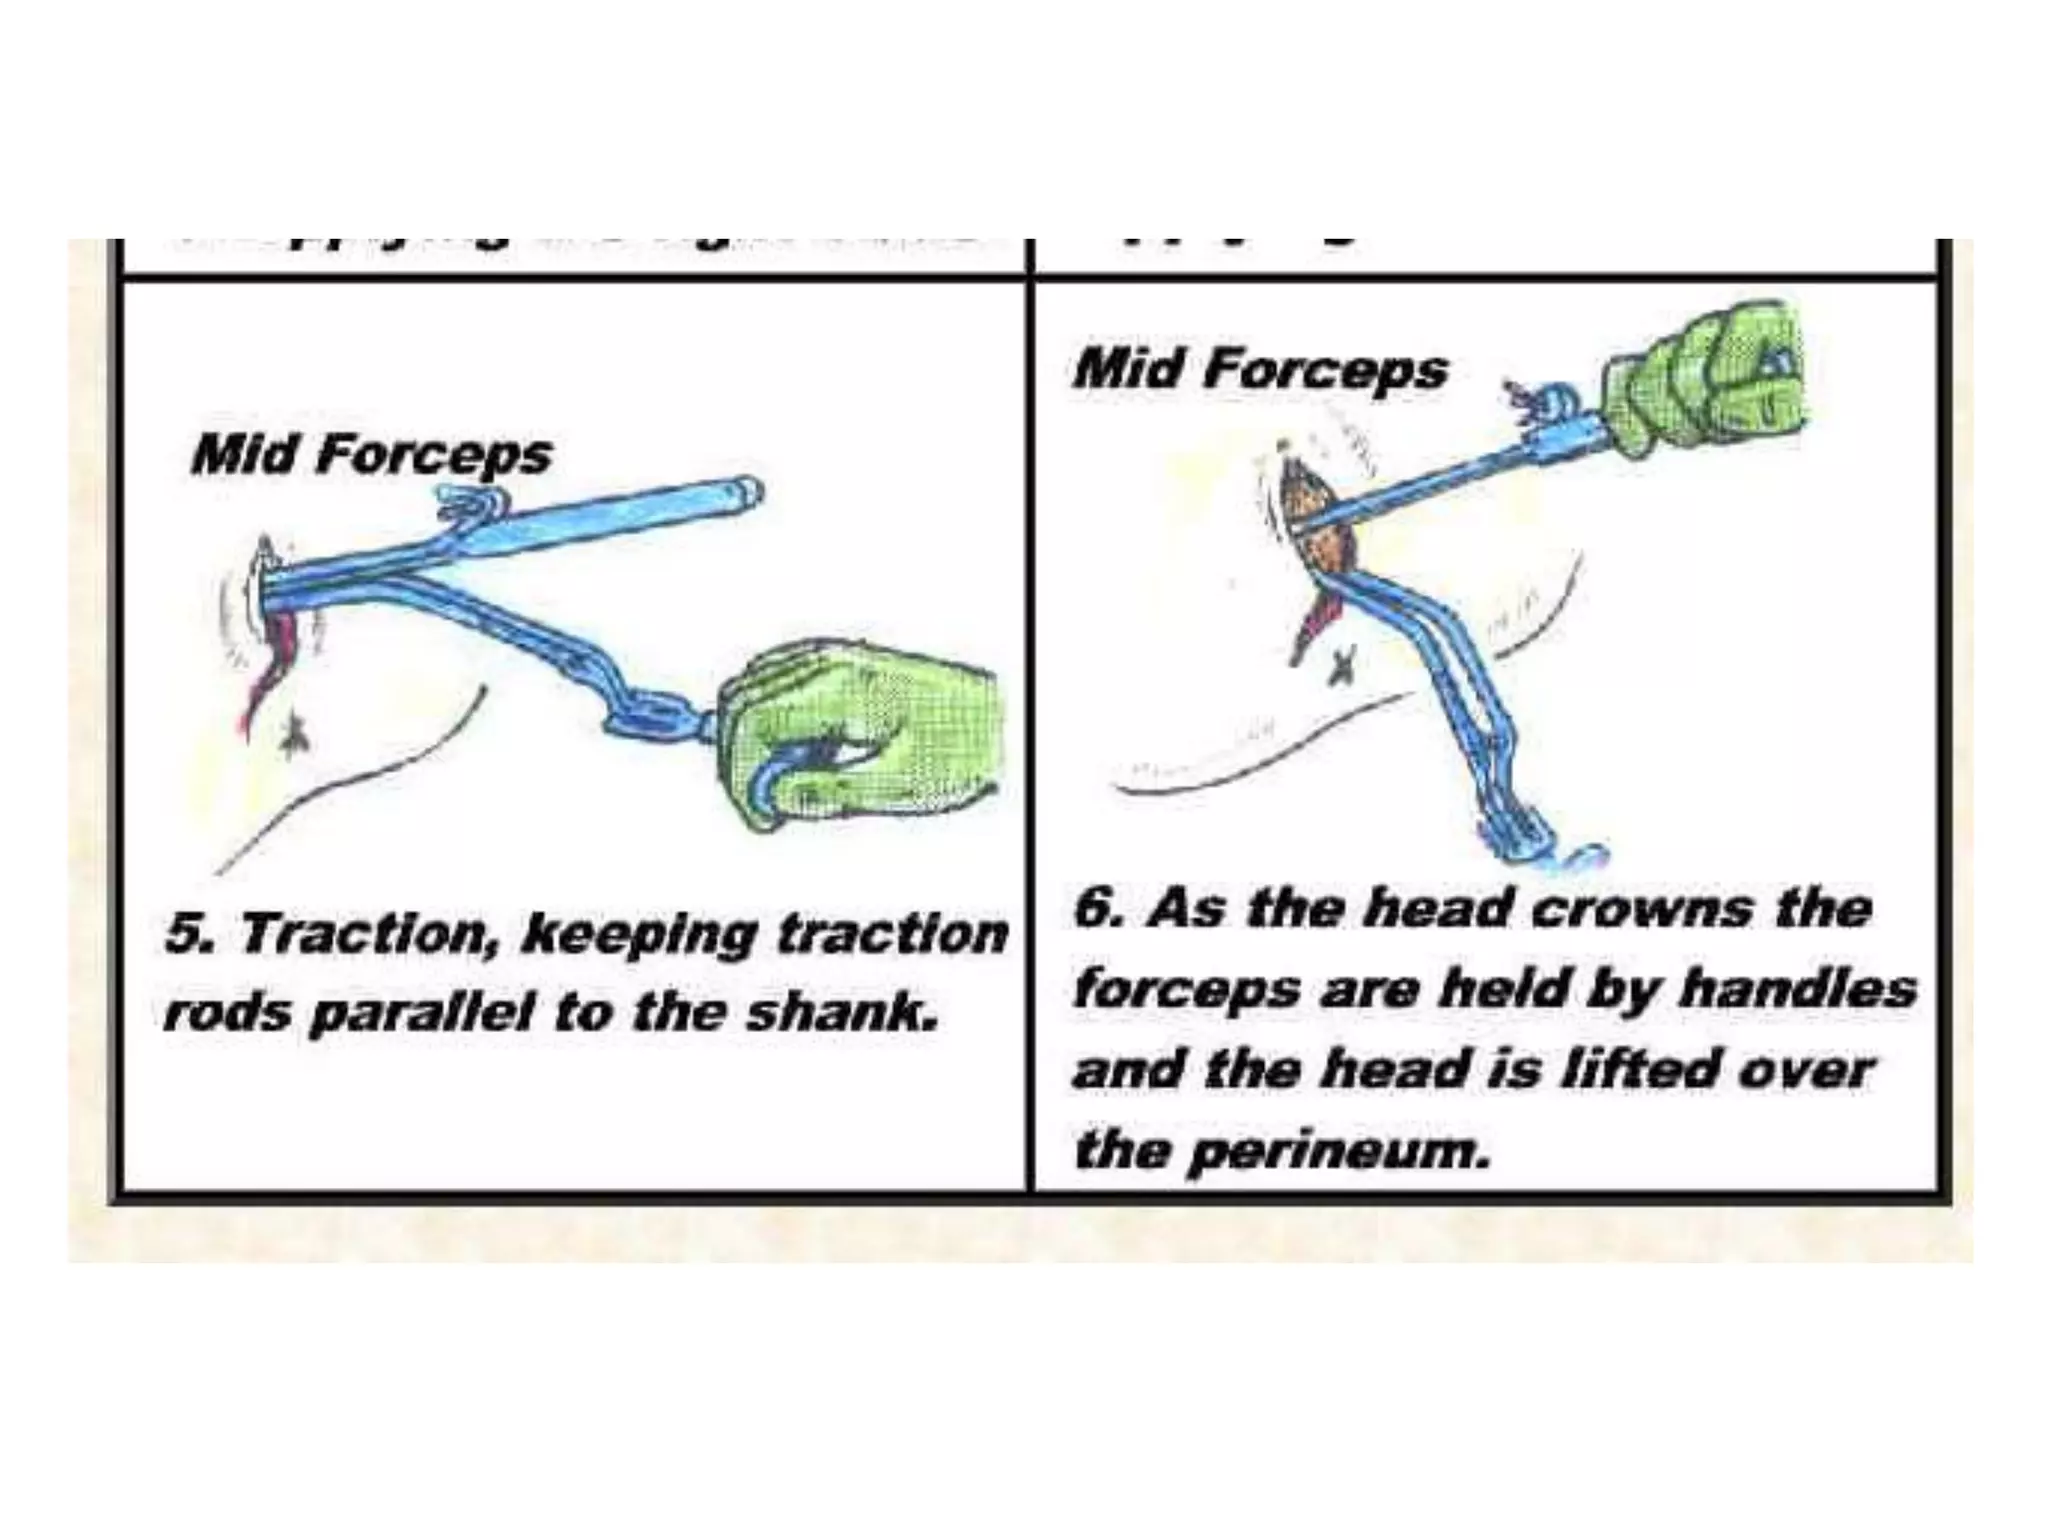


This document provides information on operative vaginal delivery using forceps. It describes the types of forceps including long curved forceps, short curved forceps, and Kielland's forceps. It details the parts of the forceps including the blades, shanks, locks, handles, and screws. It explains how to identify and apply the forceps blades for low forceps delivery. The steps taken are identification and application of the blades, locking the blades, applying traction, and removing the blades. Precautions and techniques are outlined to ensure a safe operative vaginal delivery using forceps.


![Operative_obstetrics_Presentation3[1].pptx](https://cdn.slidesharecdn.com/ss_thumbnails/operativeobstetricspresentation31-251210093149-f8512b7d-thumbnail.jpg?width=640&height=640&fit=bounds)


