Download to read offline

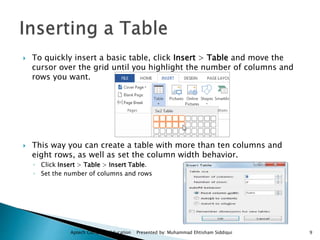
![ Create a SmartArt graphic to quickly and easily make a visual representation
of your information.
Insert a SmartArt graphic and add text to it
On the Insert tab, in the Illustrations group, click SmartArt.
In the Choose a SmartArt Graphic dialog box, click the type and layout that you want.
Click [Text] in the Text pane, and then type your text.
Aptech Computer Education Presented by: Muhammad Ehtisham Siddiqui 19](https://image.slidesharecdn.com/officesession7-180221154928/85/Office-session7-19-320.jpg)
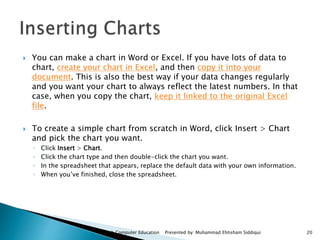
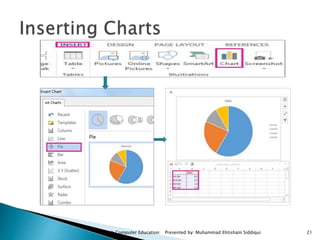


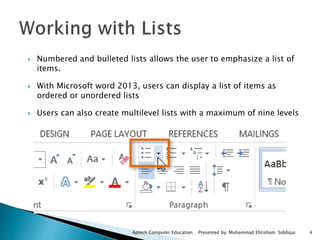
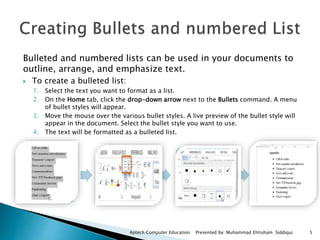
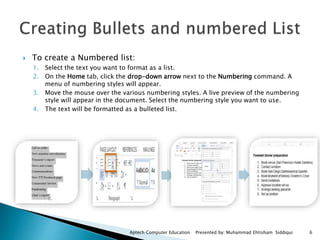
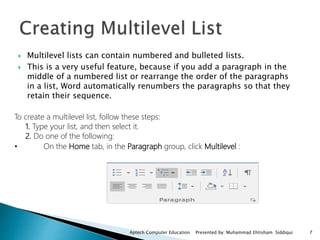
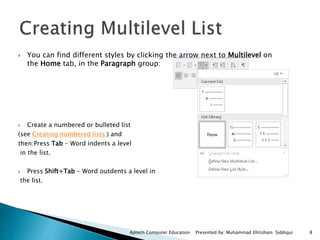
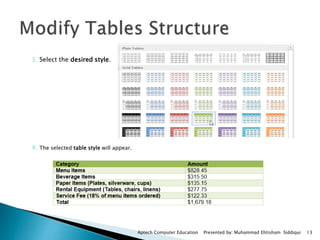
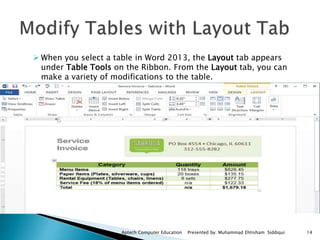
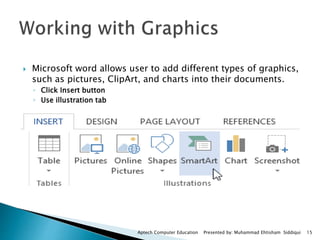
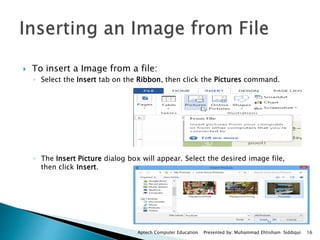
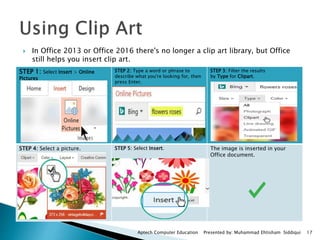
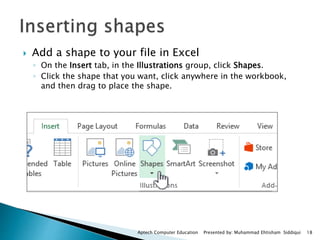
The document discusses various formatting features in Microsoft Word, including lists, tables, images, and charts. It explains how to create bulleted and numbered lists, as well as multilevel lists. Tables can be inserted and modified by adding or deleting rows and columns. Images can be inserted from files or online clipart galleries. Charts can be created in Word or copied from Excel. SmartArt graphics, shapes, and screenshots can also be inserted to enhance documents.