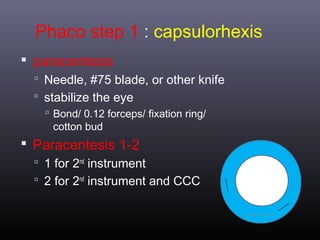
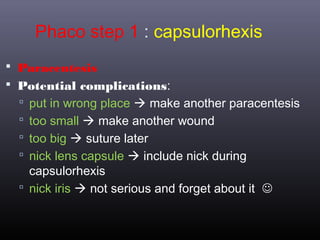
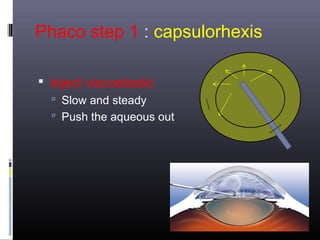
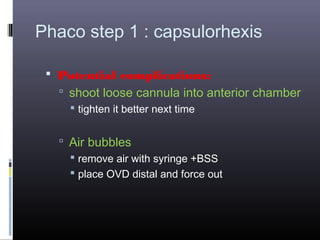
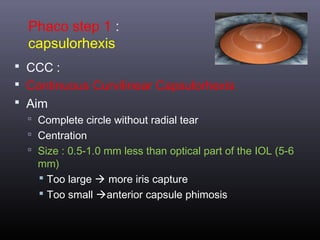
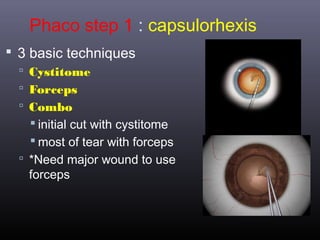
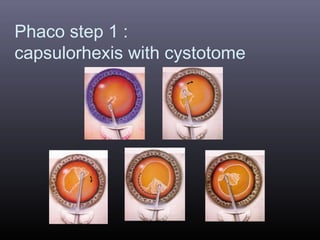
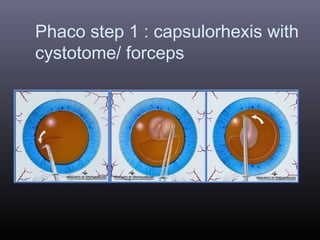
Downloaded 1,208 times


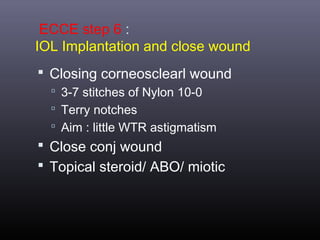


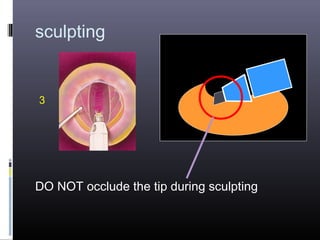
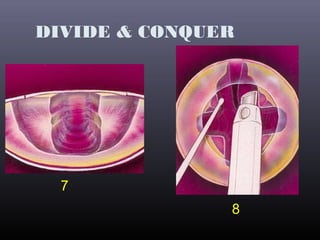
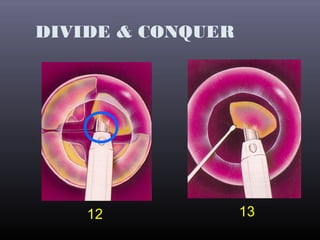
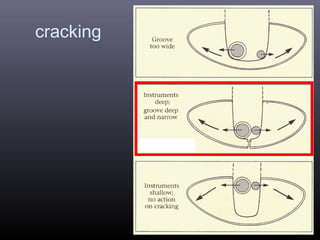
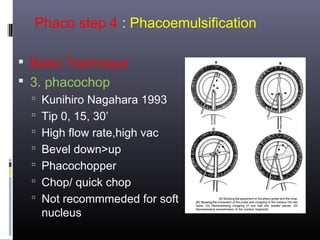
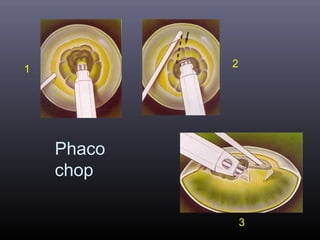
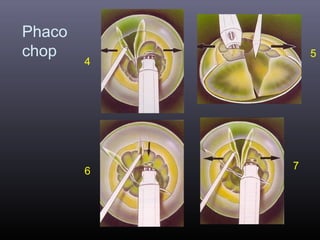
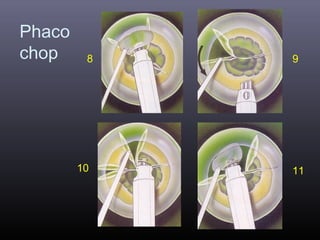
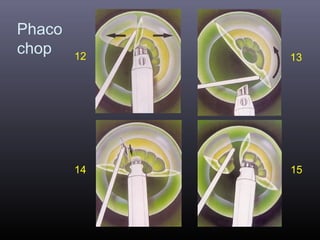
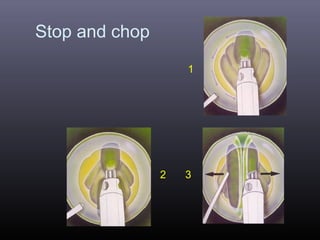


Irrigation! Surgeon: Thank you! 9 10 Phaco step 4 : Phaco Basic Technique 2. Phaco chopping Chopping the nucleus into small pieces Tips NO occlusion Each stroke depth~1/3-1/2 phacotip Chop into small pieces Irrigate frequently Phaco chopping 1 2 3 4 5 6 7 8 9 10 11 12 13 14


![PHACO ;Cataract_Surgery_Detailed_Presentation[1].pptx](https://cdn.slidesharecdn.com/ss_thumbnails/phacocataractsurgerydetailedpresentation1-250819213245-fd400528-thumbnail.jpg?width=640&height=640&fit=bounds)


![CTEV [ clubfoot] DR ARUN LAL ,DR MOHAMED ASHRAF travancore medical college k...](https://cdn.slidesharecdn.com/ss_thumbnails/ctevclubfootdrarunlaldrmohamedashraftravancoremedicalcollegekollamkeralaindia-260208063247-18fc466c-thumbnail.jpg?width=640&height=640&fit=bounds)


