Downloaded 1,501 times

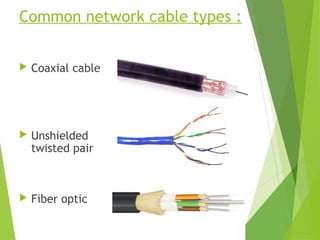


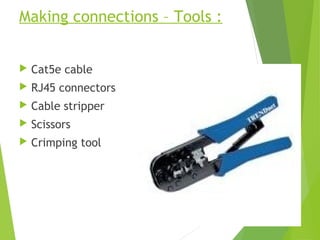
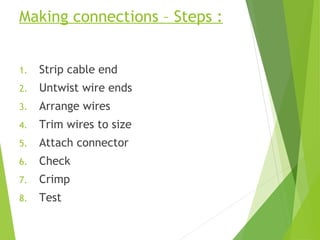


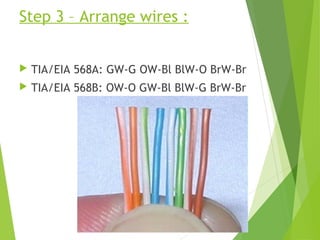


This document discusses network cabling and making connections with Cat5 cable. It defines common cable types like coaxial, UTP and fiber optic cables. UTP cable characteristics and categories are described, with Cat5e listed as supporting data transfers up to 1000Mbps. The document outlines the tools and 8 steps to making a connection, including stripping, arranging wires according to the 568A or 568B standard, crimping an RJ45 connector onto the cable, and testing the connection.


