Downloaded 248 times
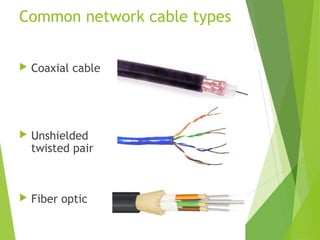
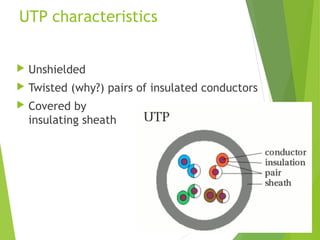
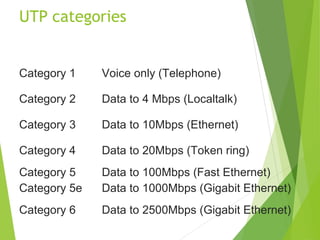
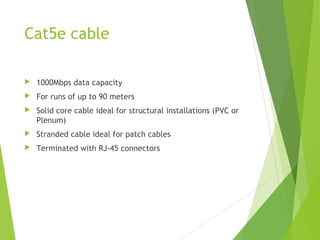
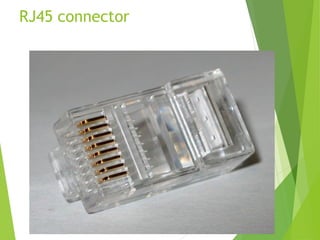
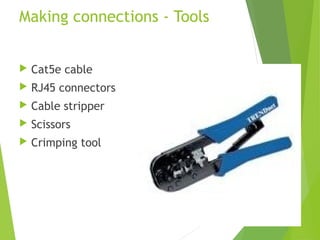
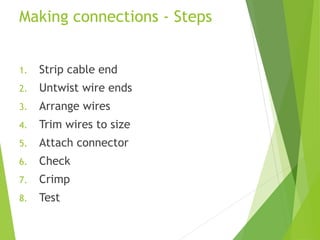
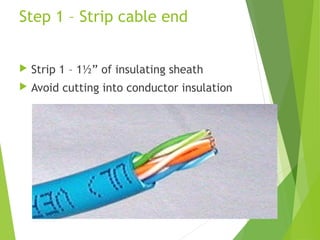
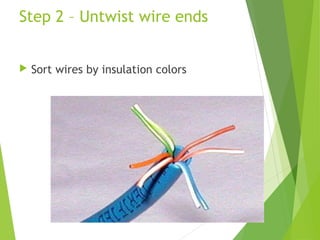
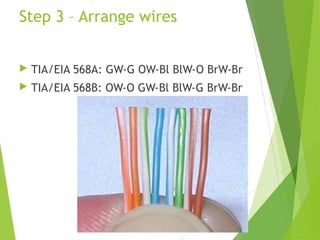
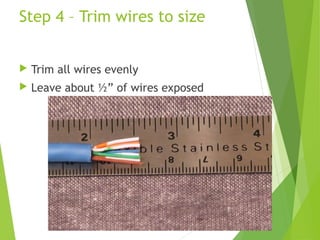
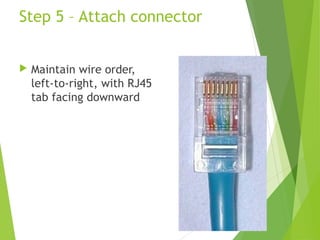
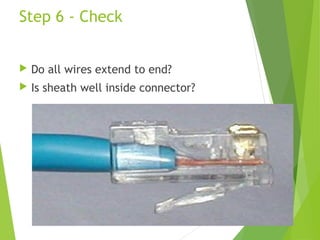
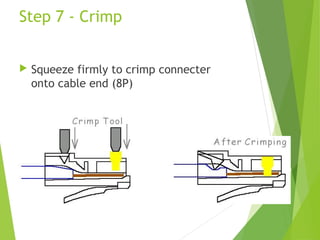
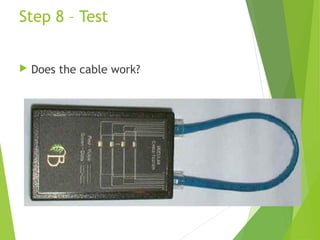


The document discusses network cabling and making connections with Cat5 cable. It describes different types of network cables like coaxial, UTP, and fiber optic cables. UTP cable characteristics and categories are explained, with Cat5e being suitable for Gigabit Ethernet connections up to 1000Mbps for runs under 90 meters. The steps for making a patch cable connection are outlined, including stripping the cable, arranging the wires according to the TIA/EIA 568A or 568B standard, crimping an RJ45 connector onto the cable, and testing the connection.


