Downloaded 1,026 times
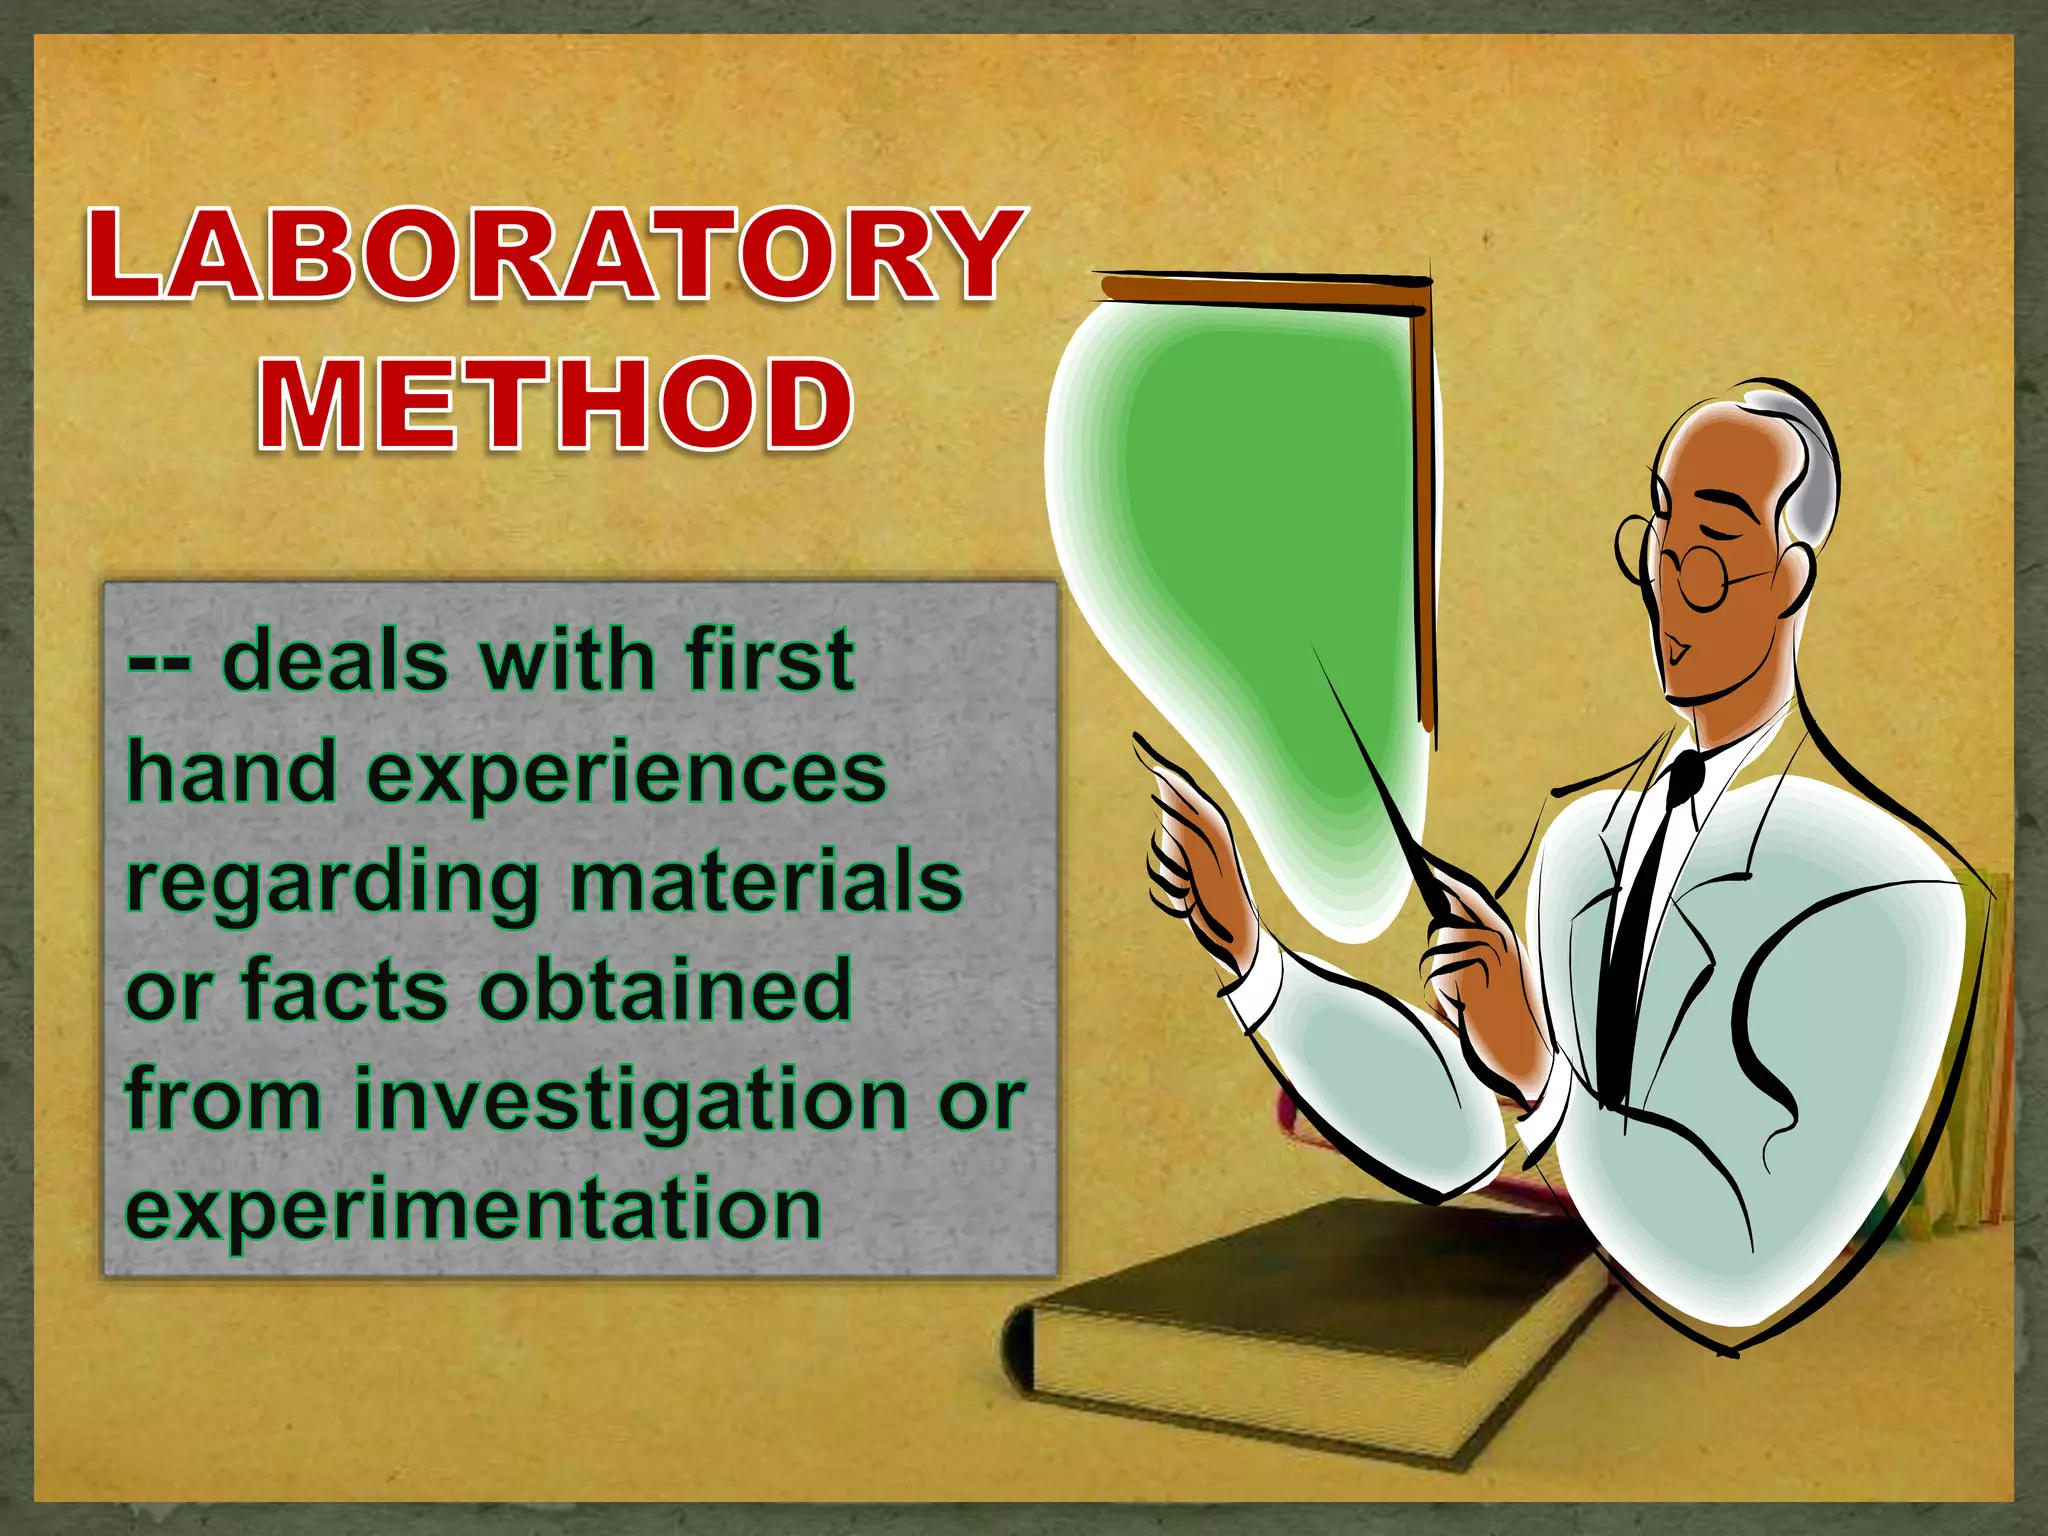

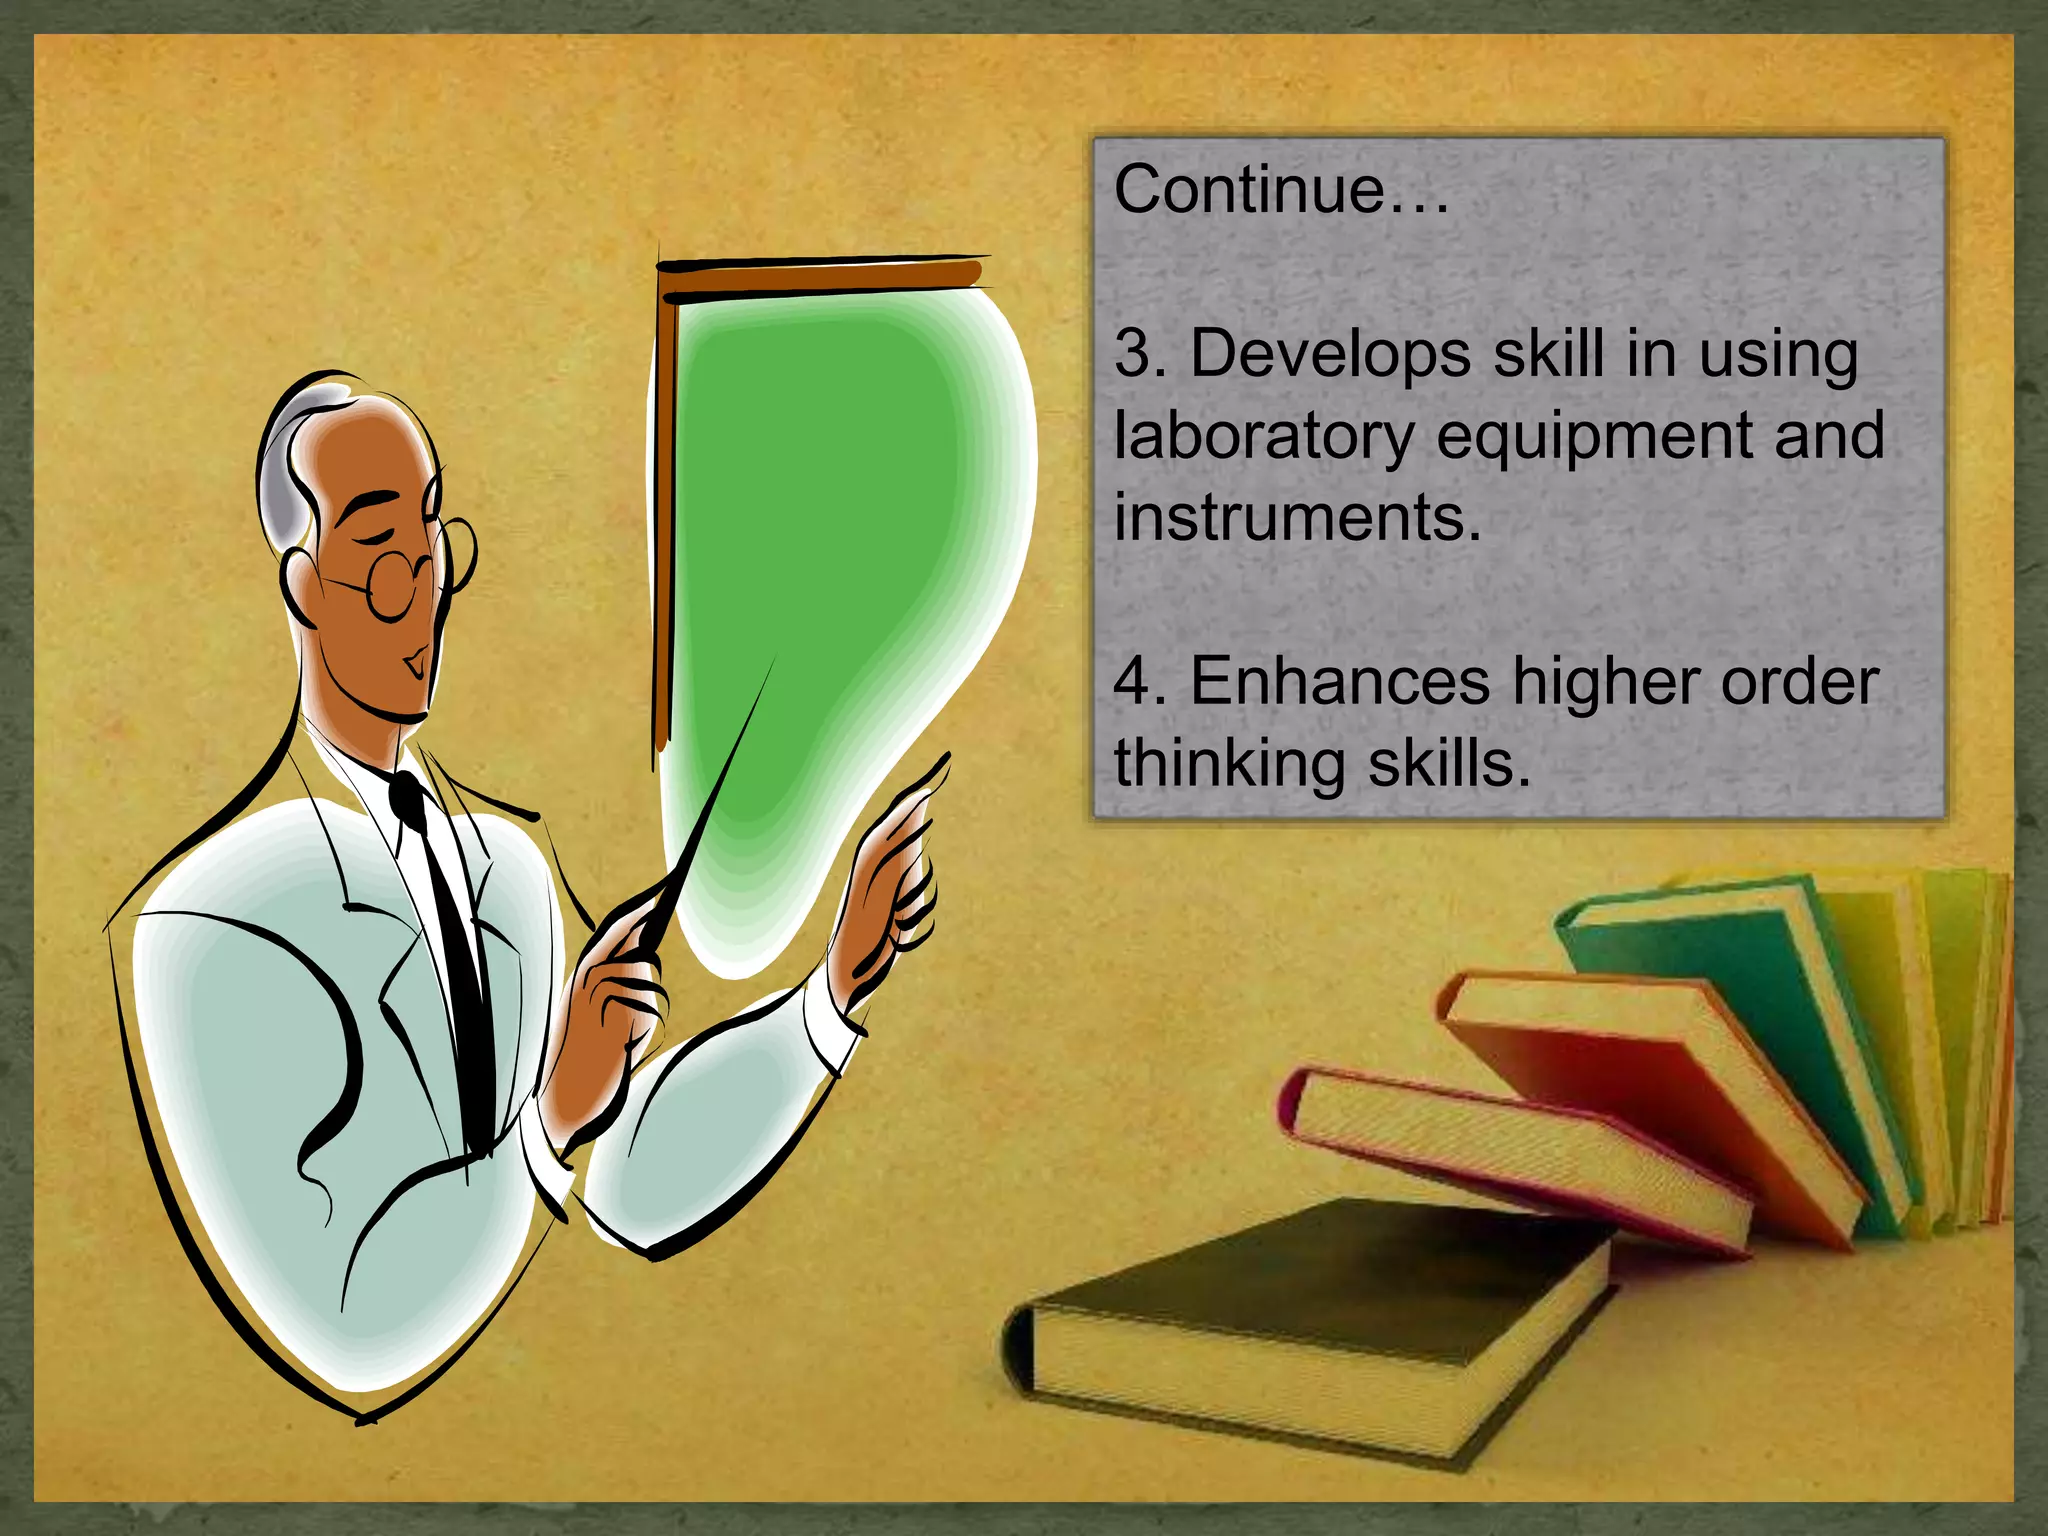

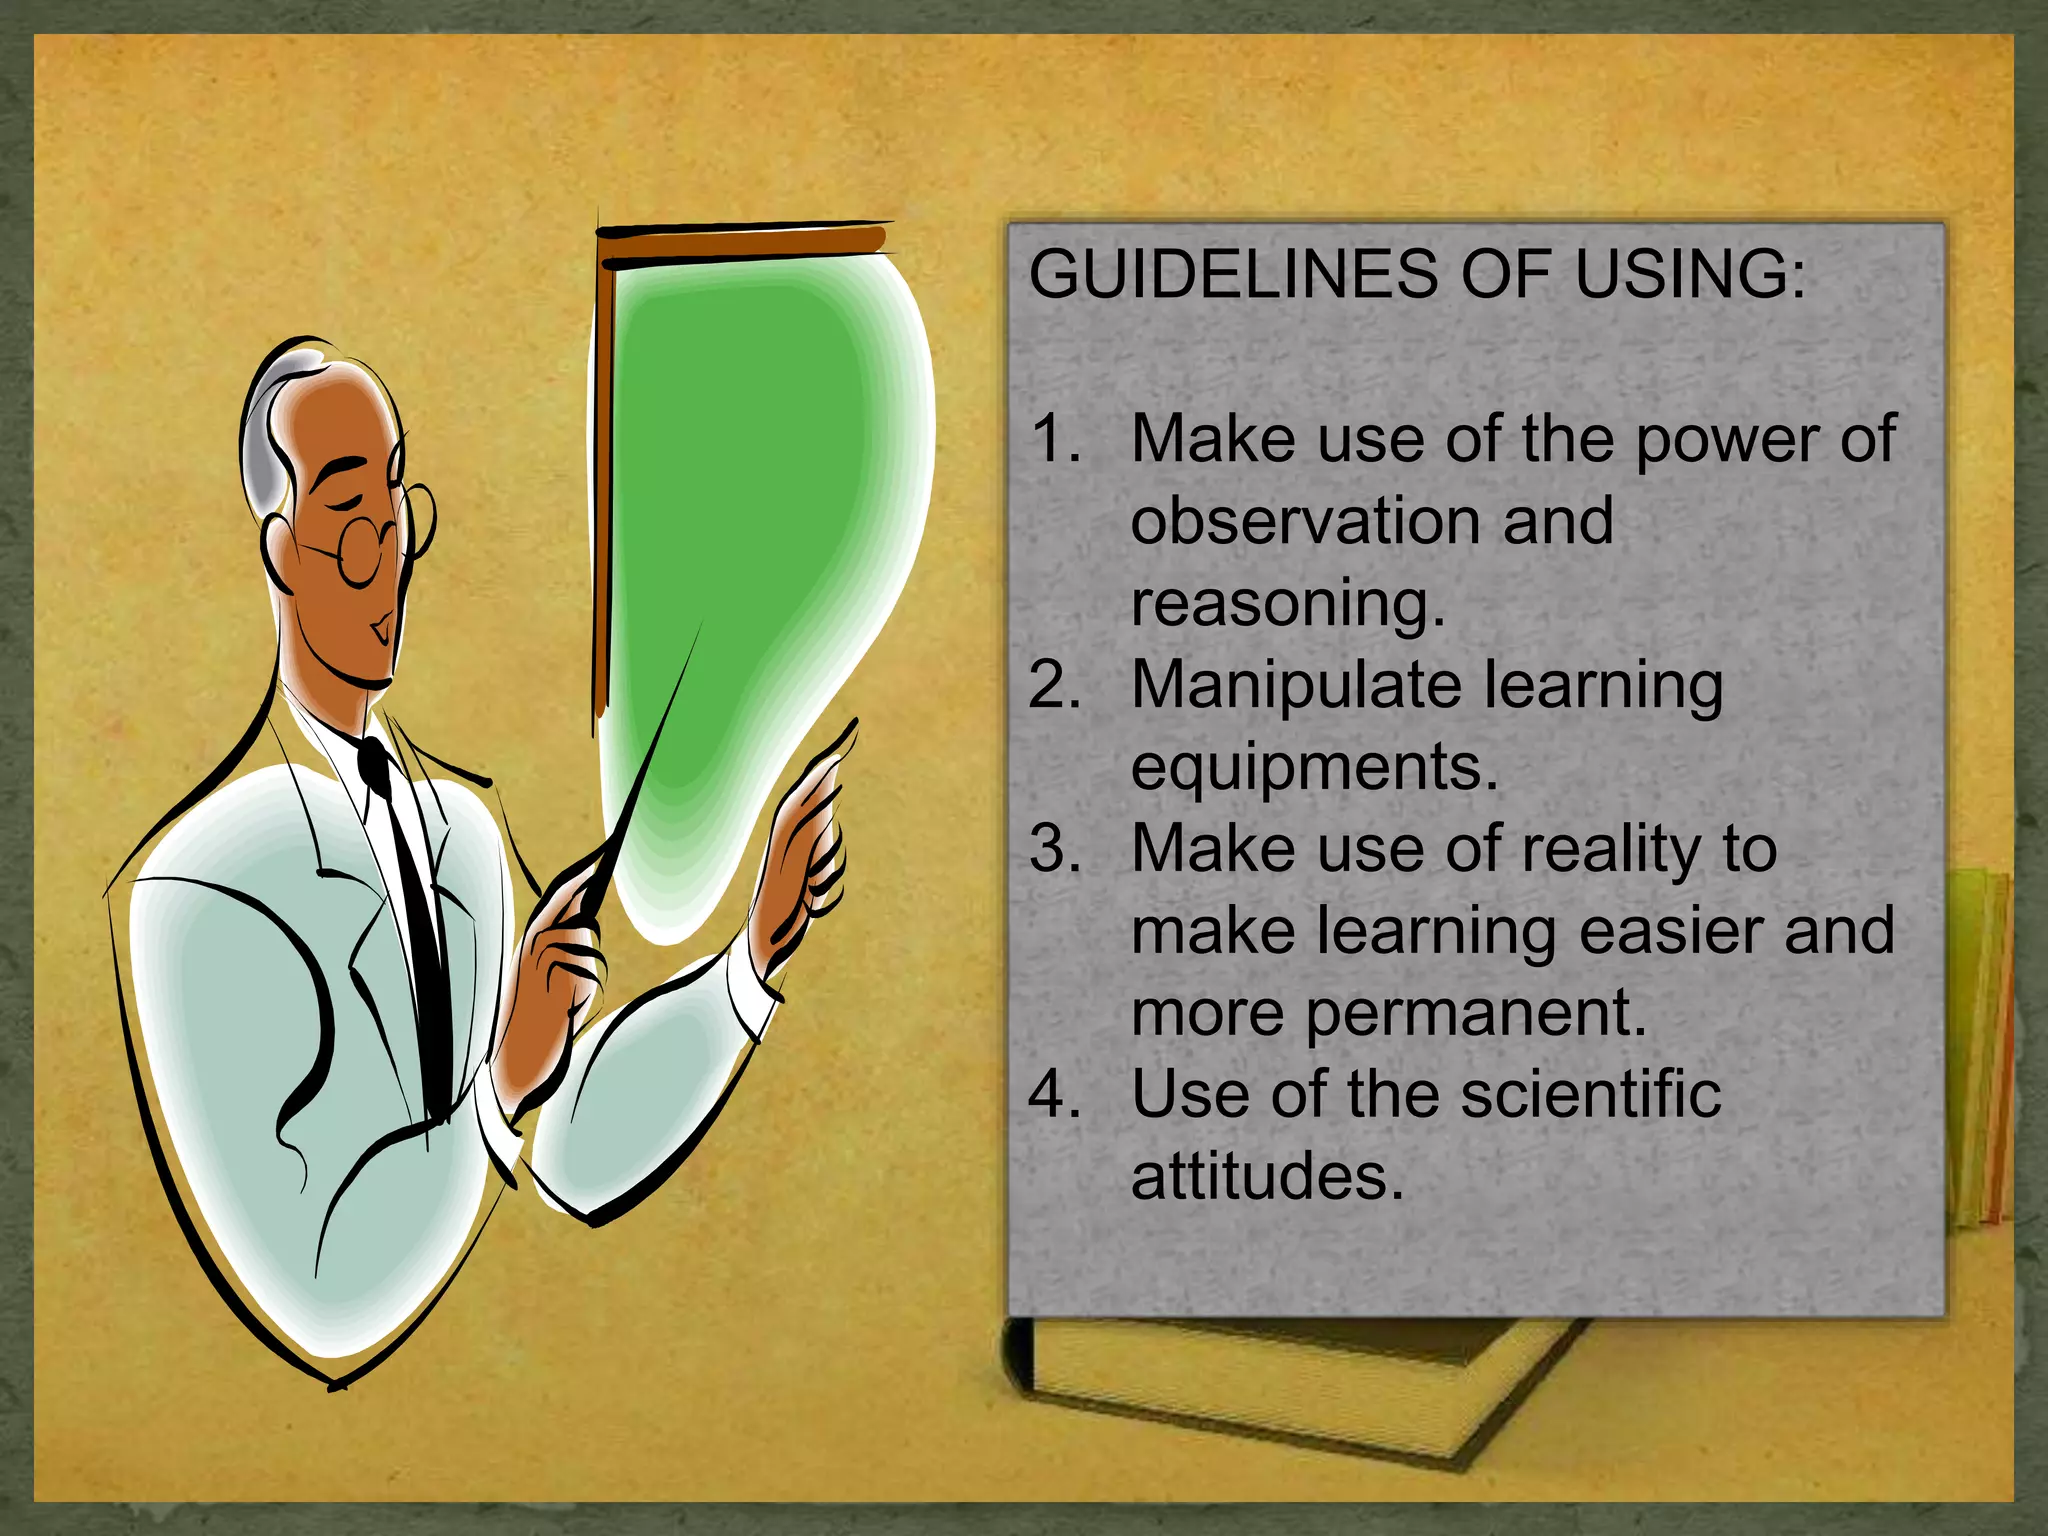
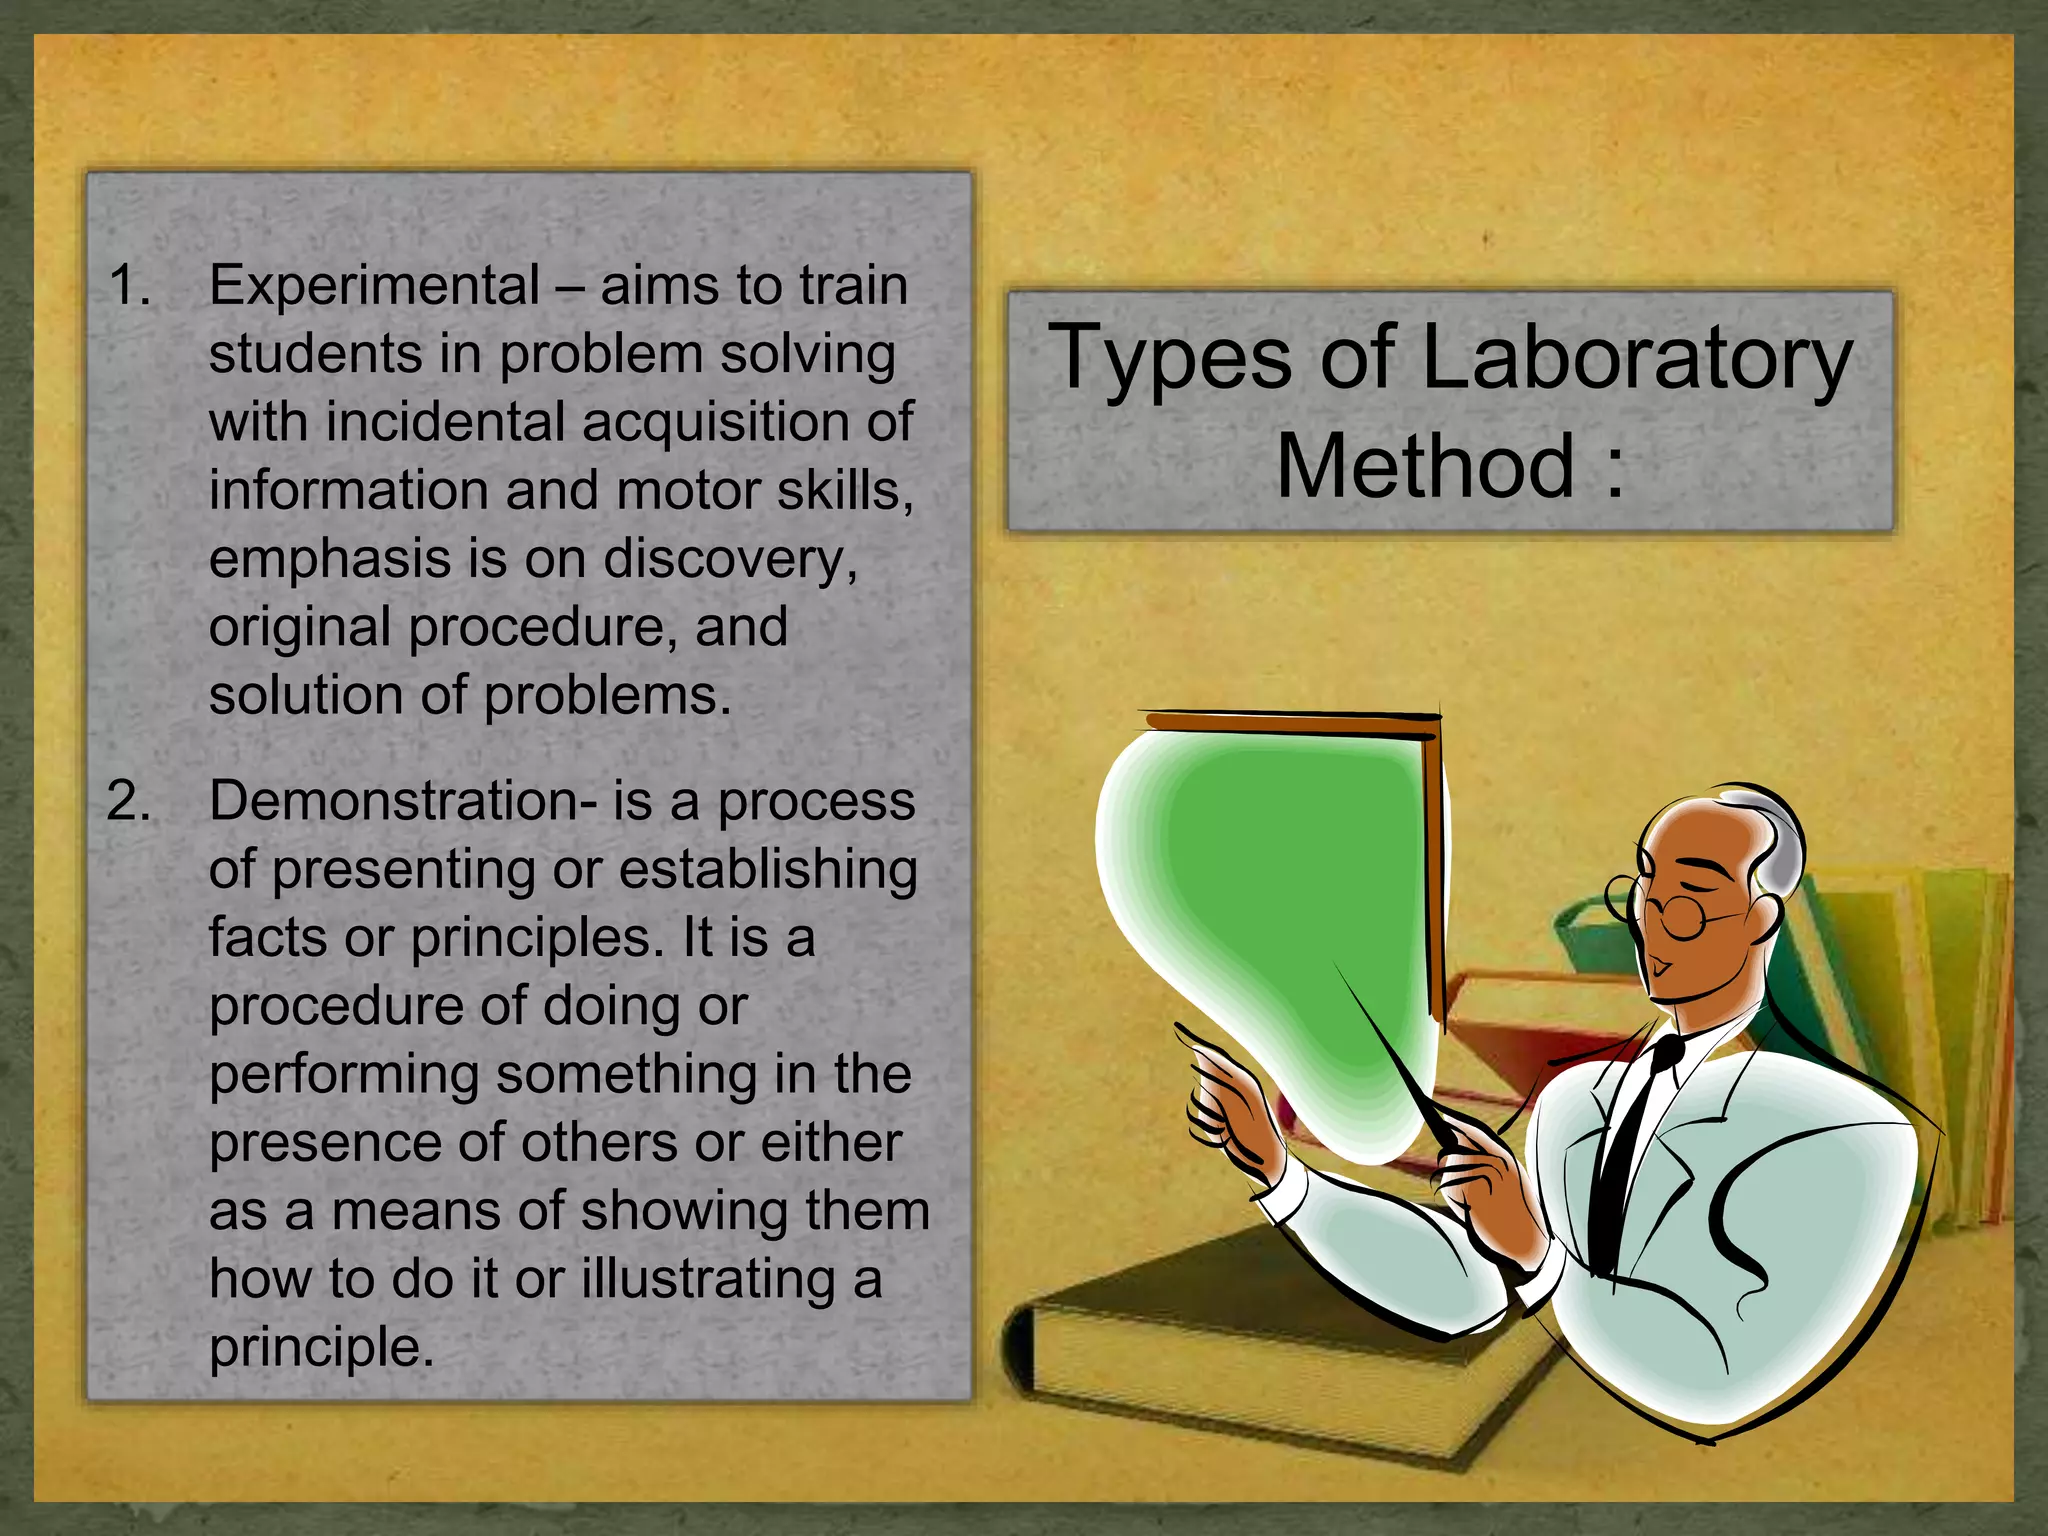
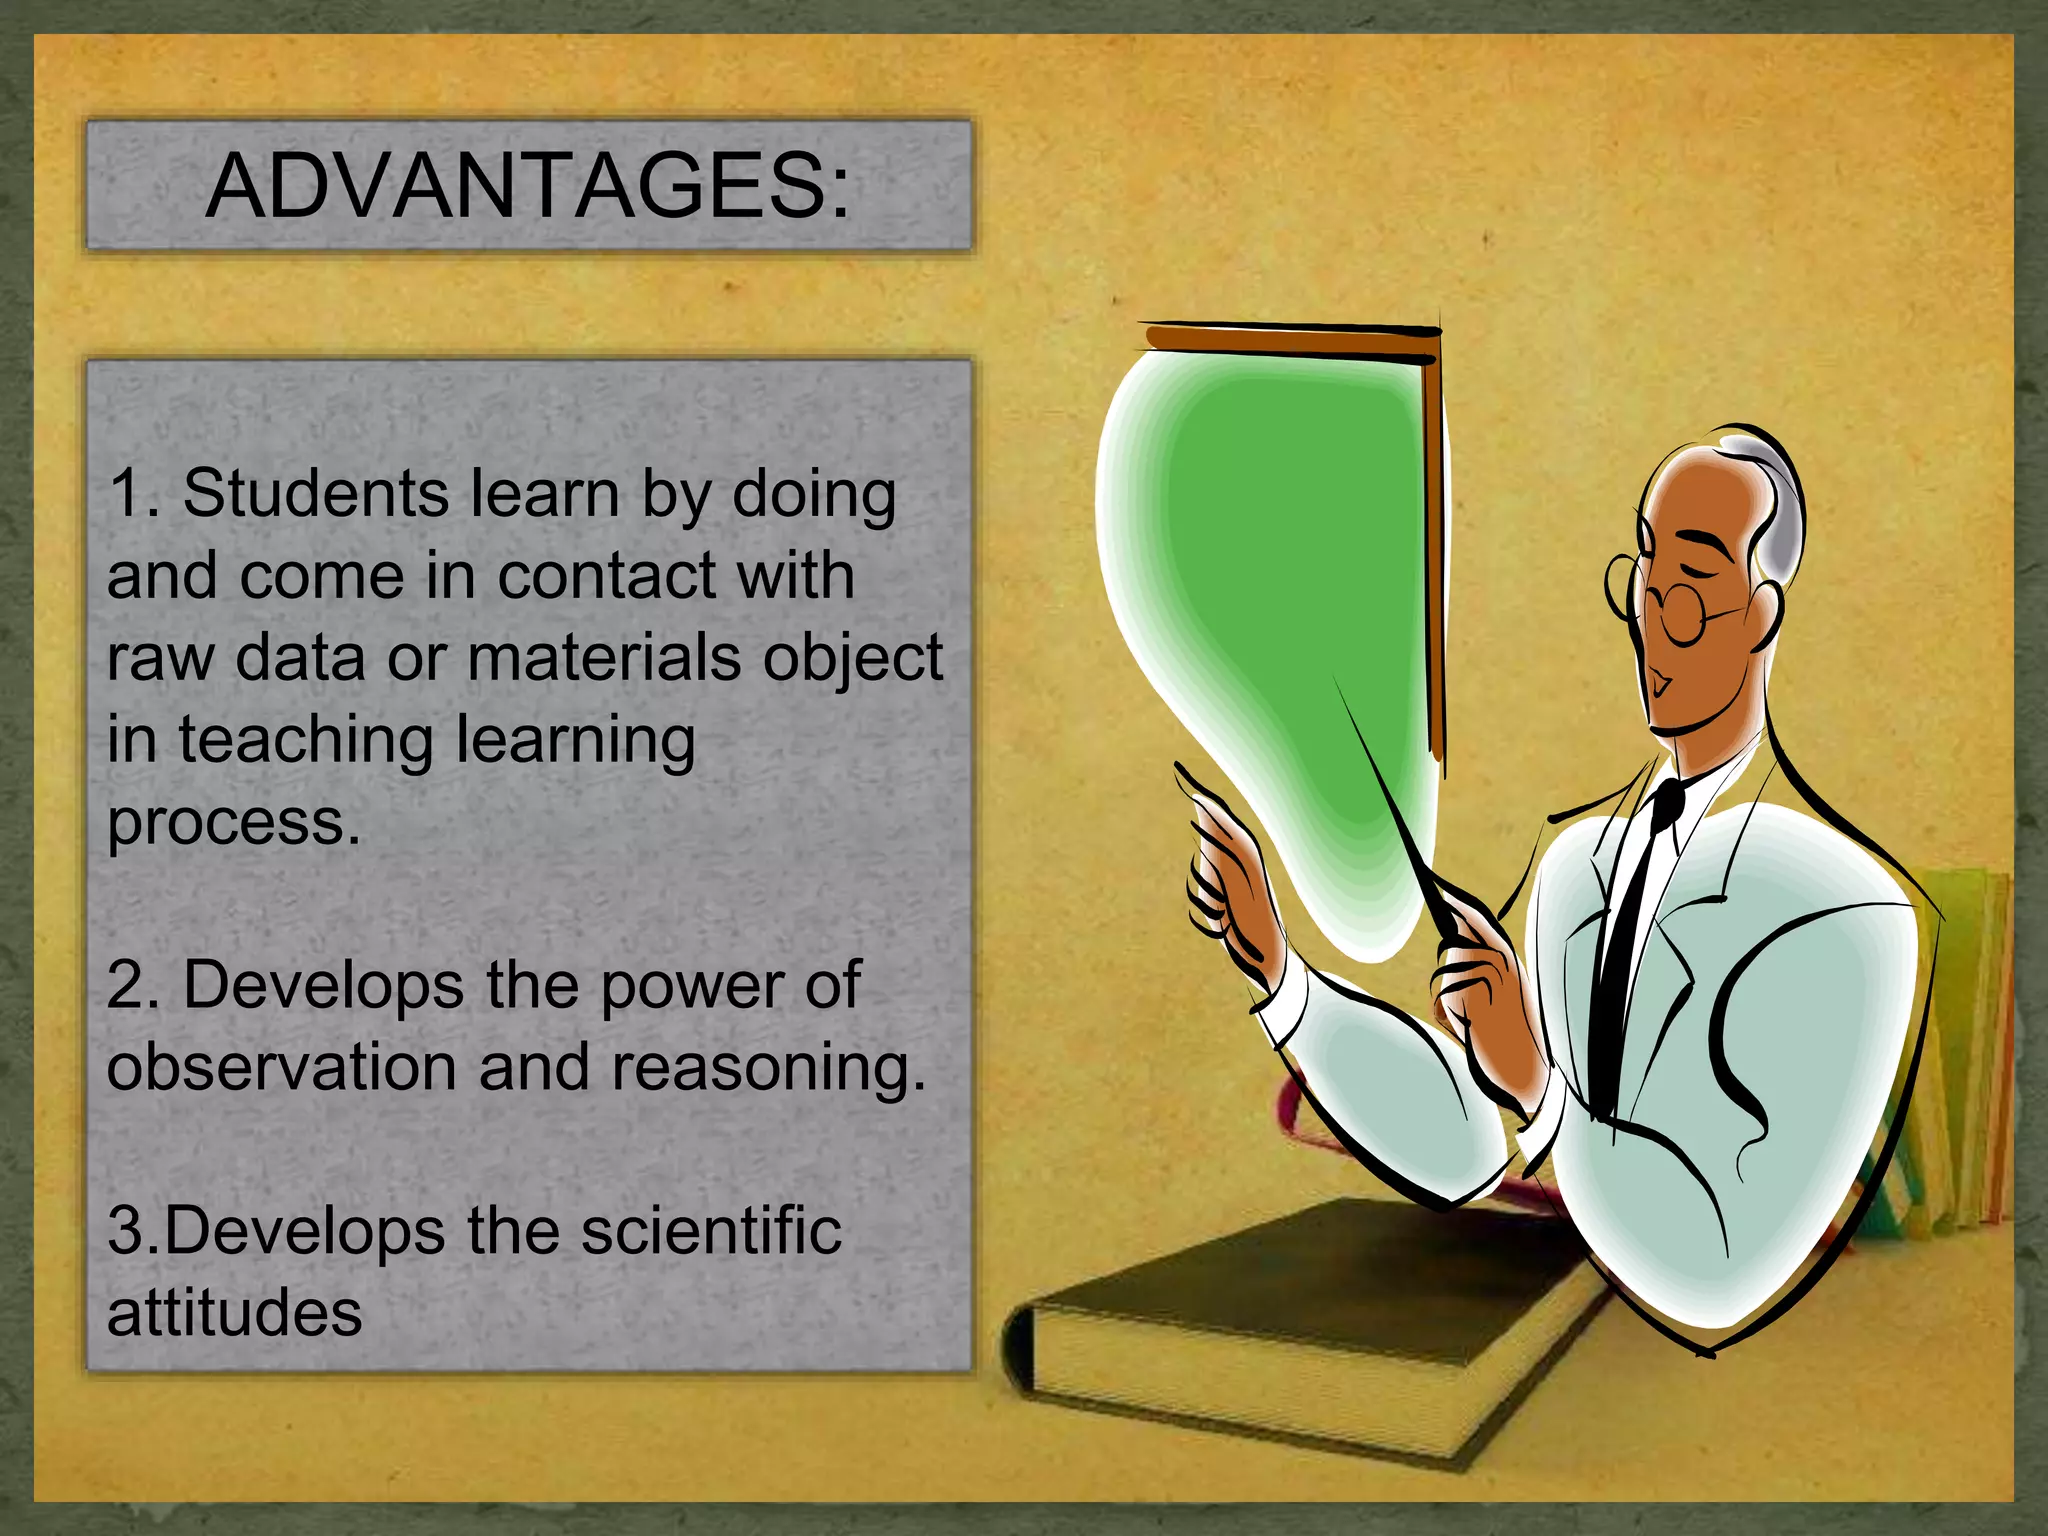
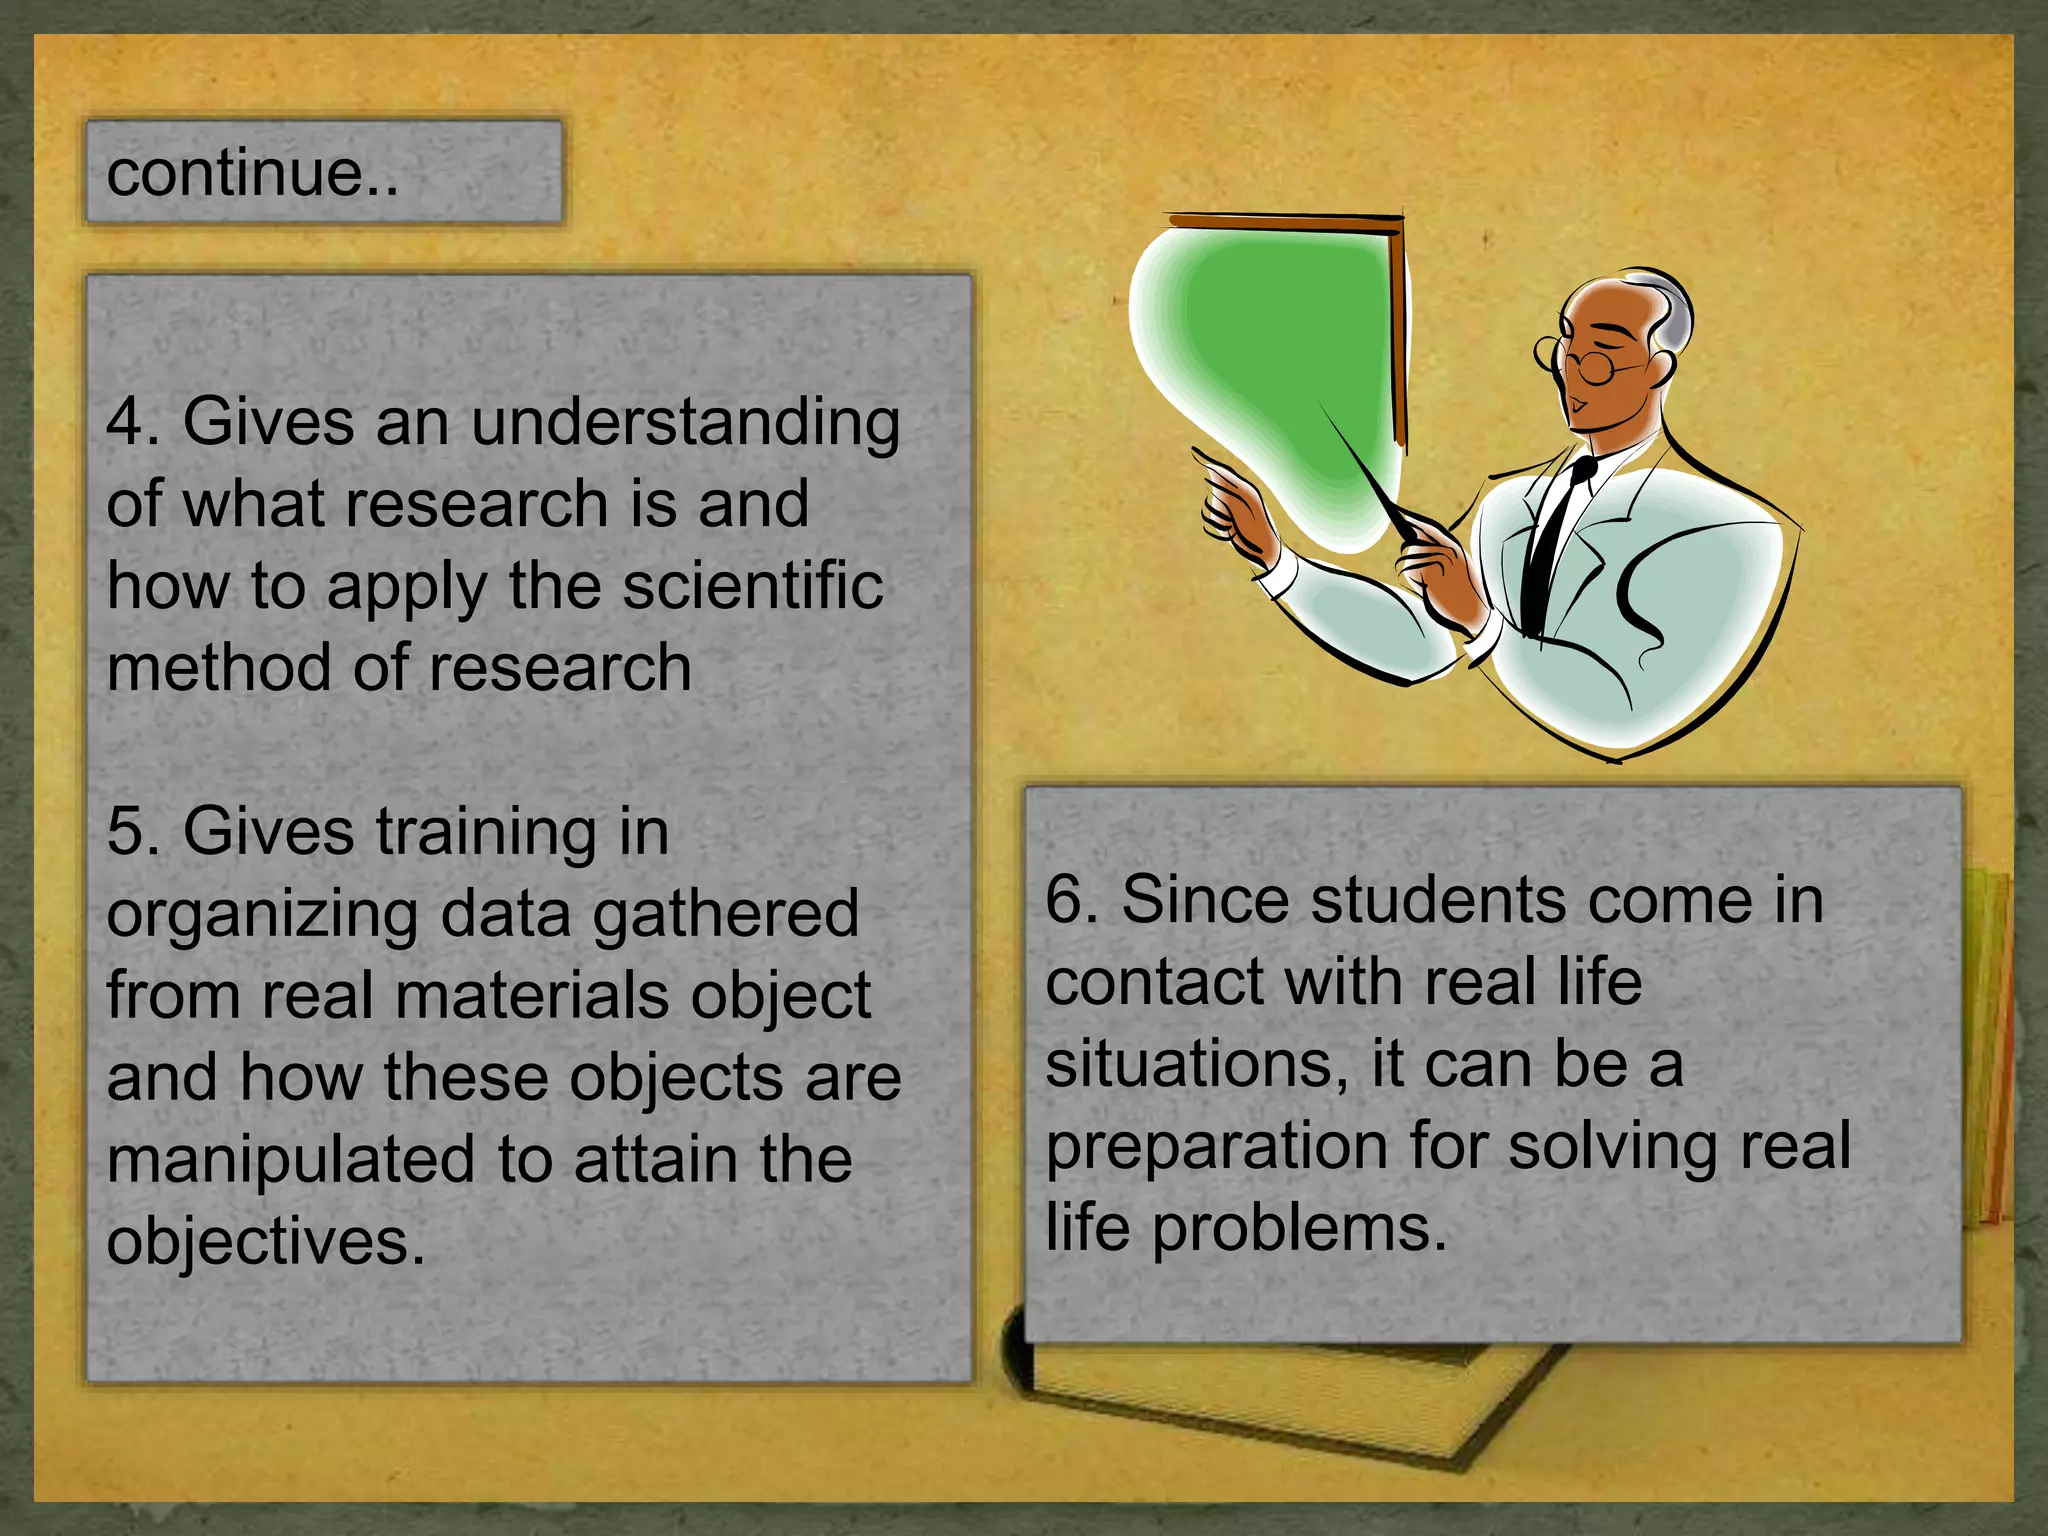
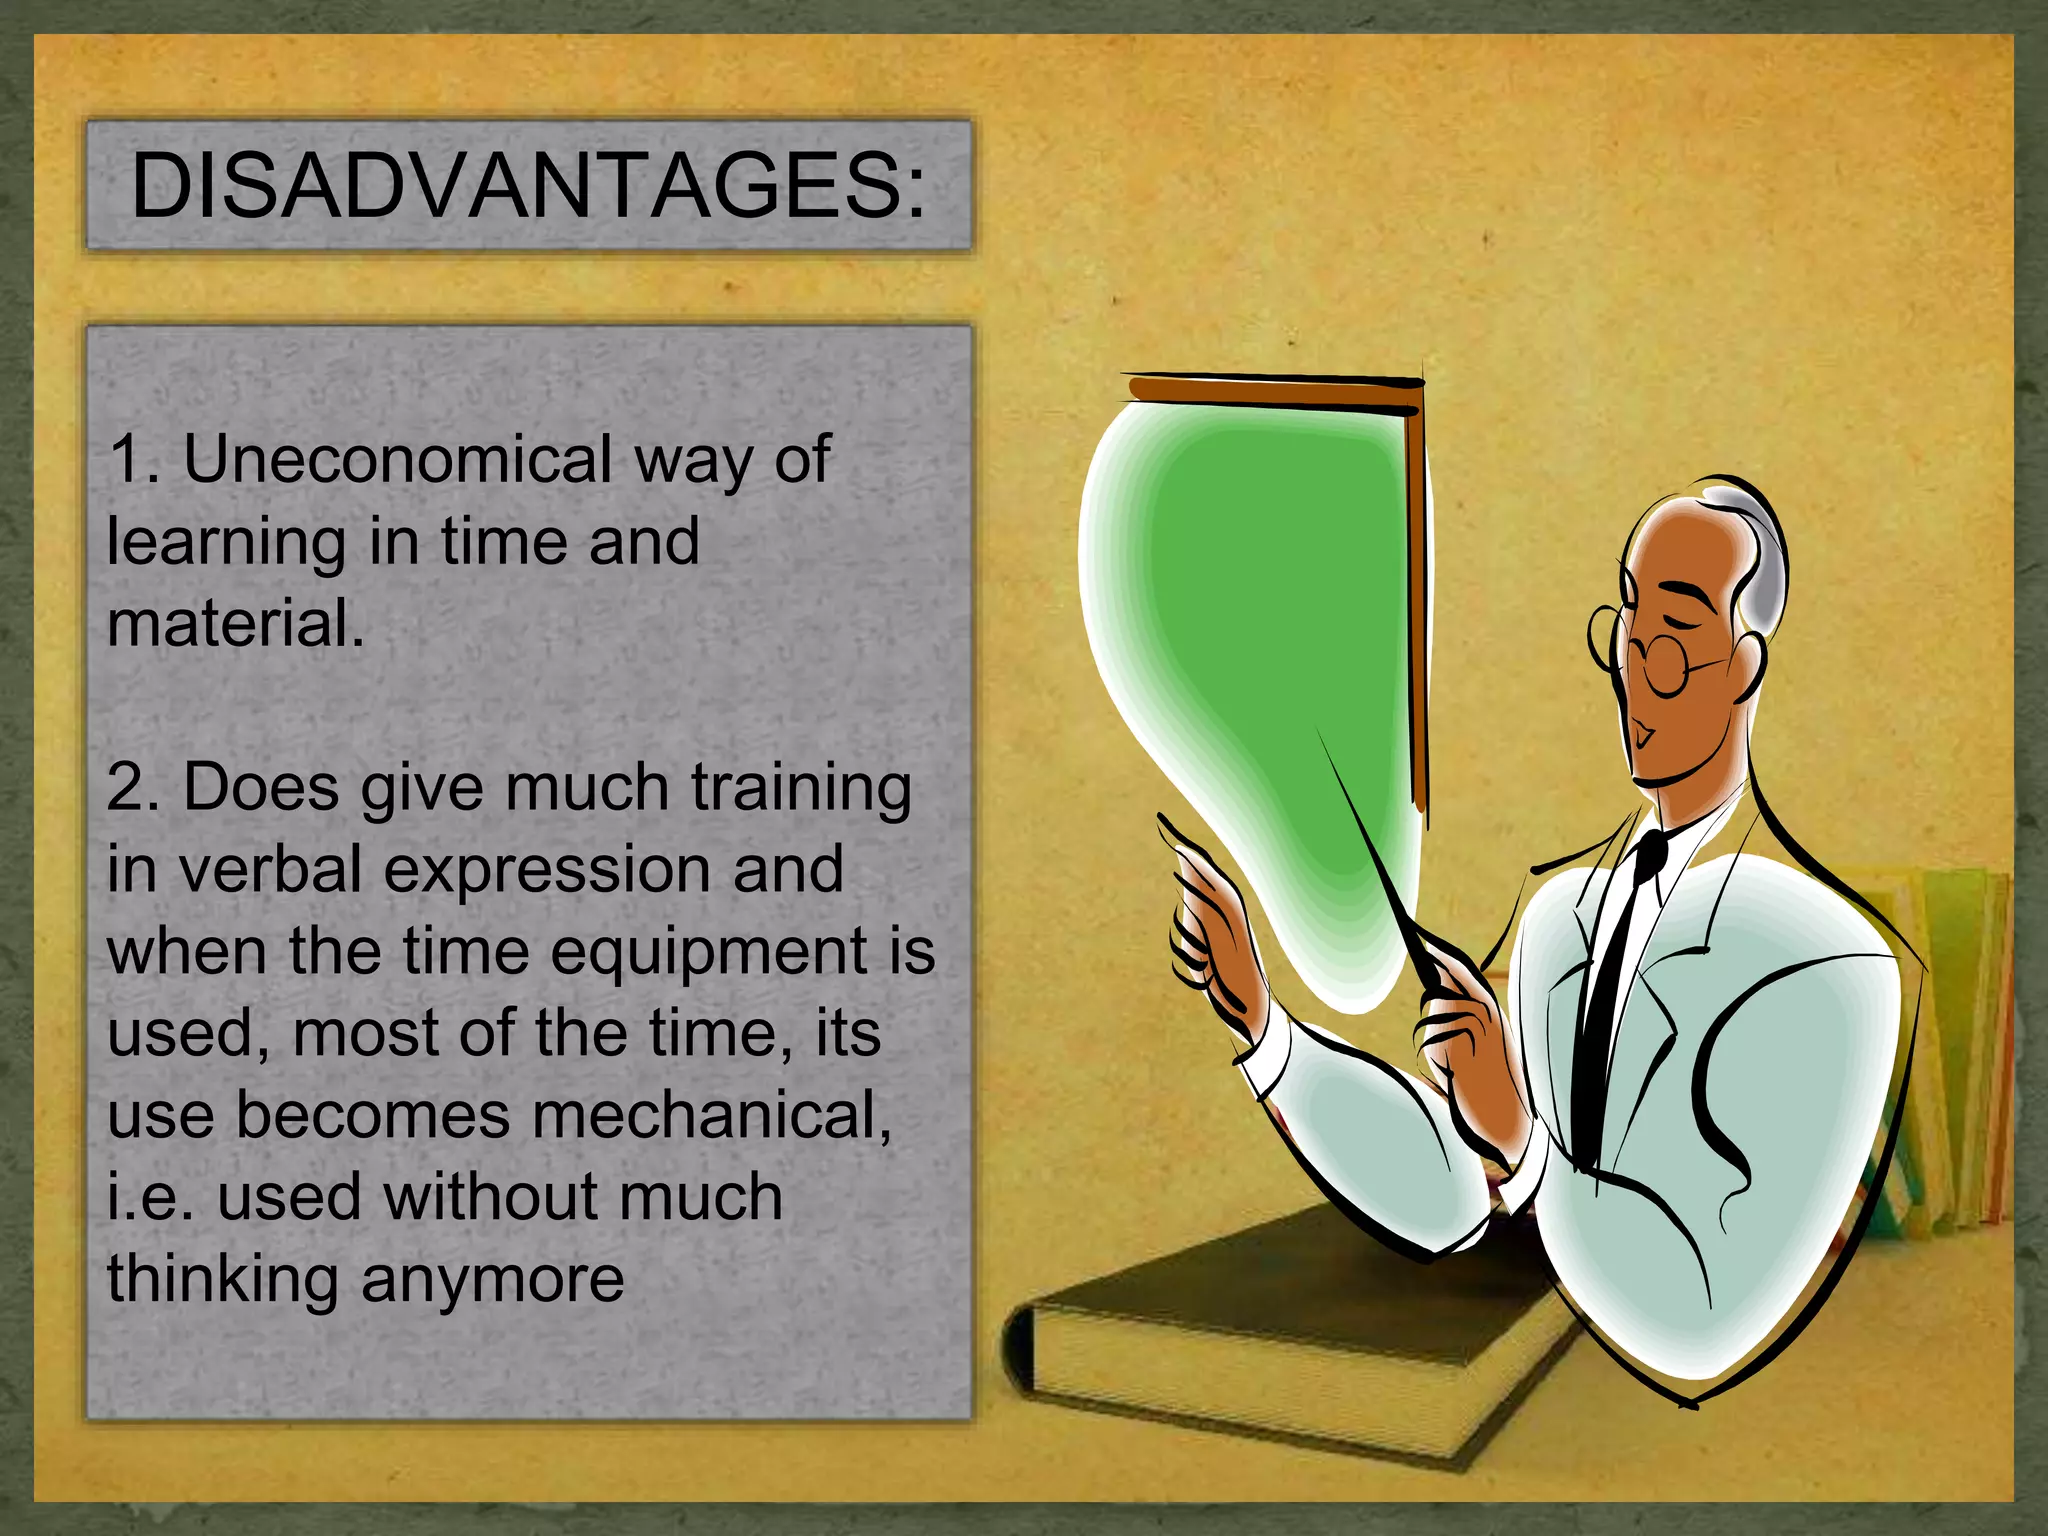

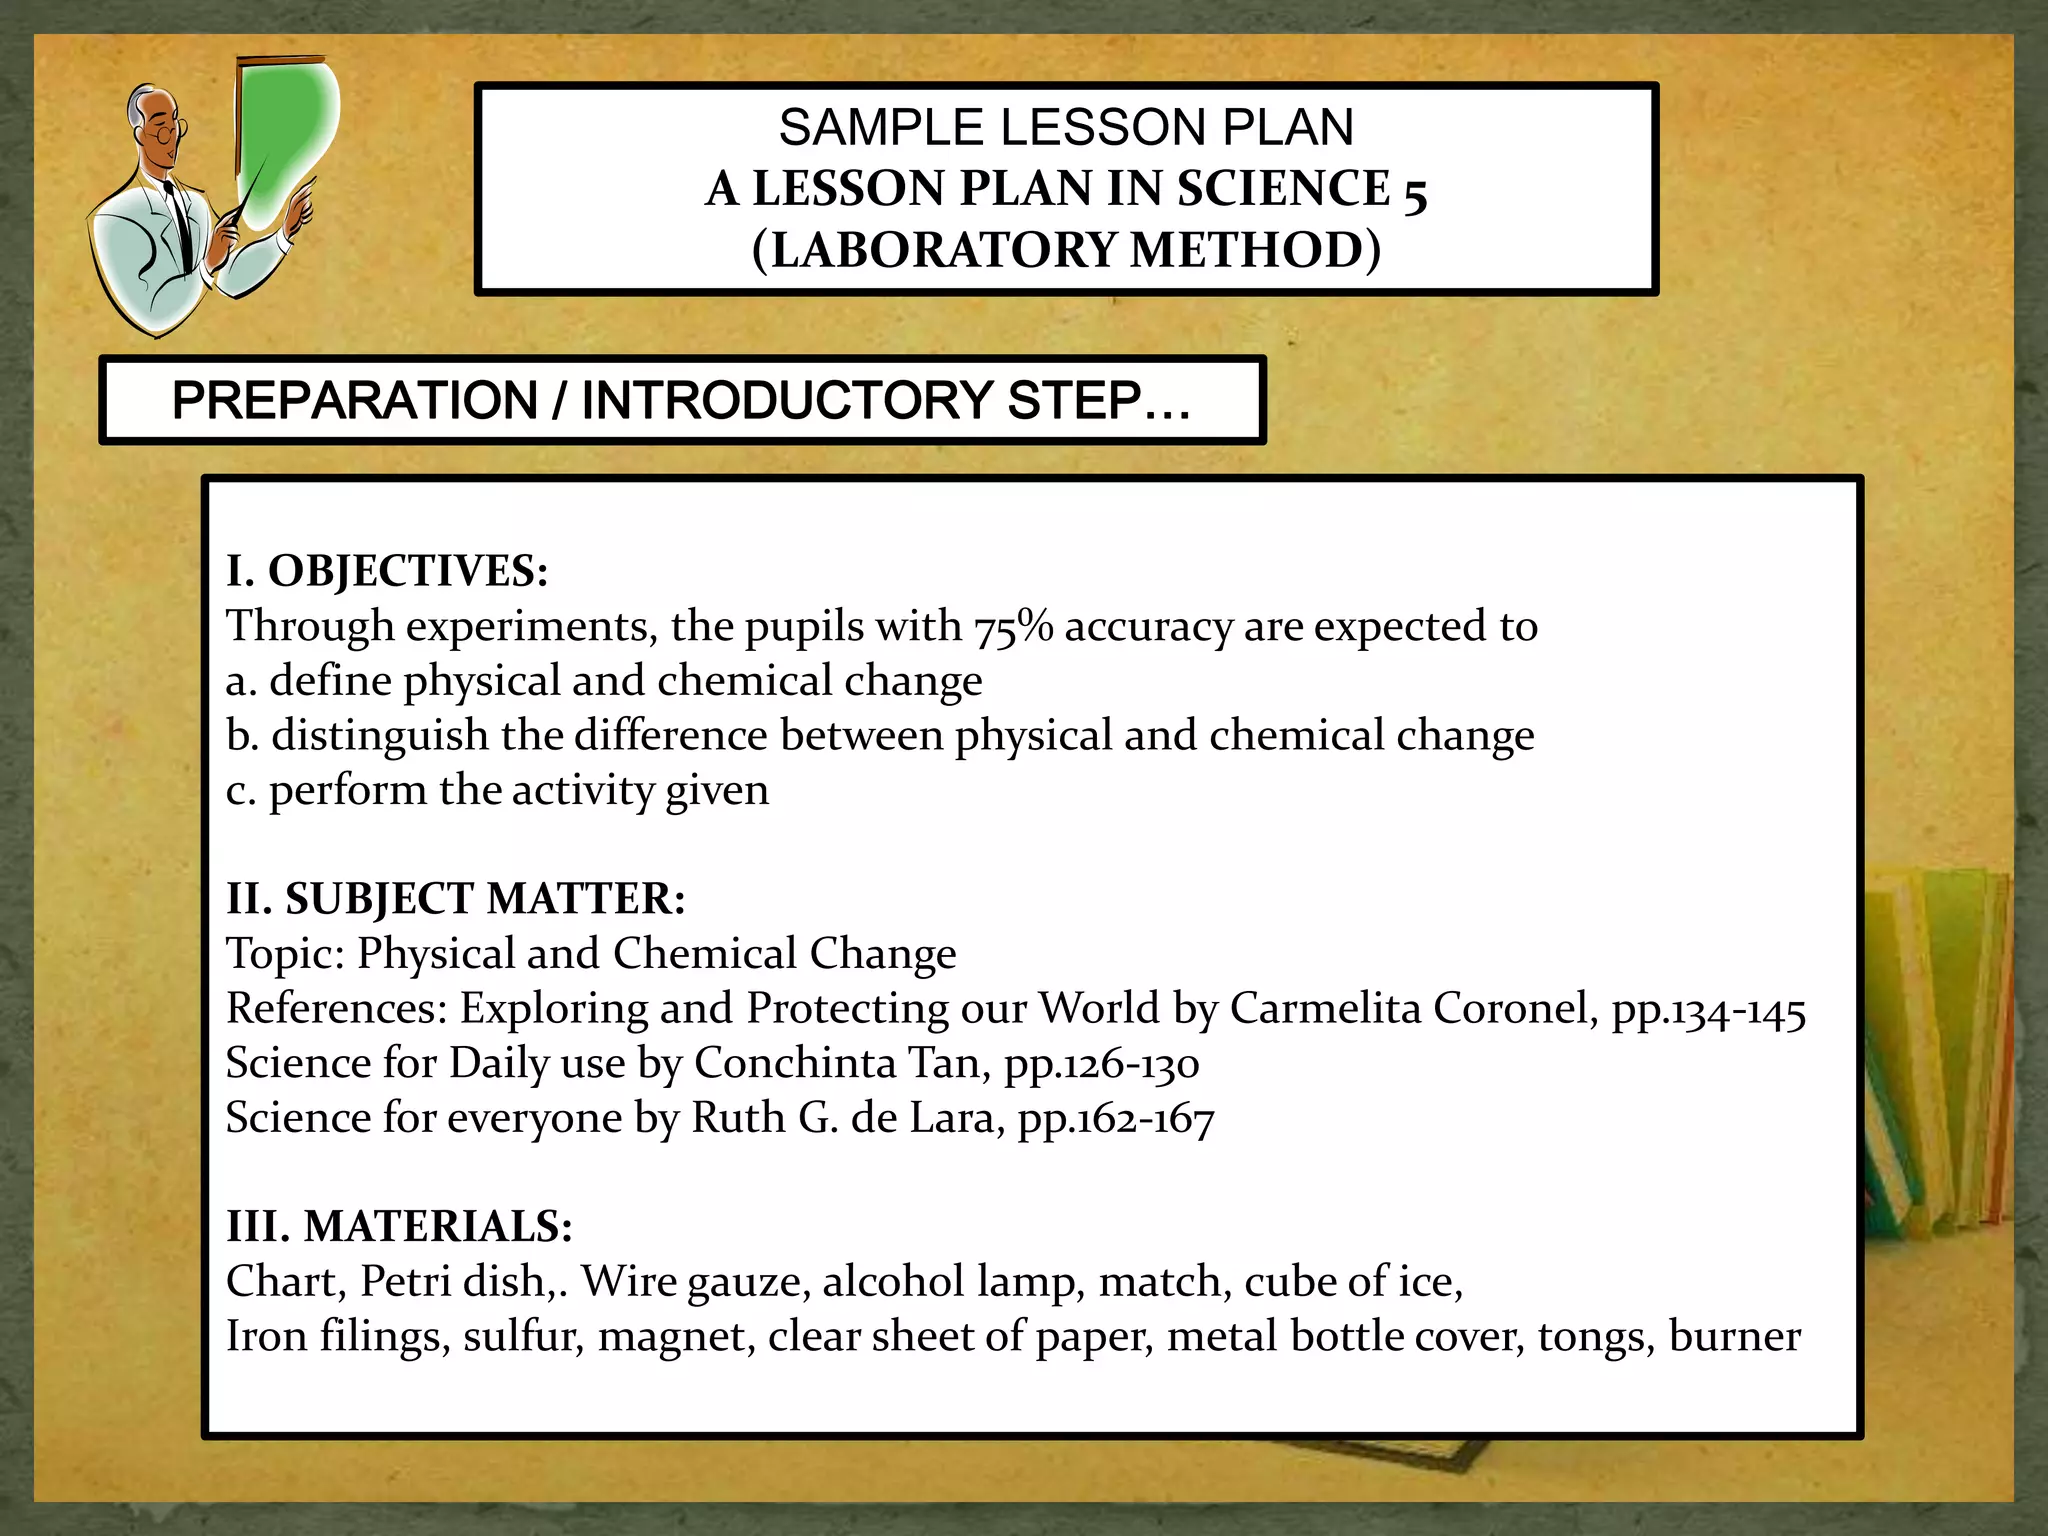
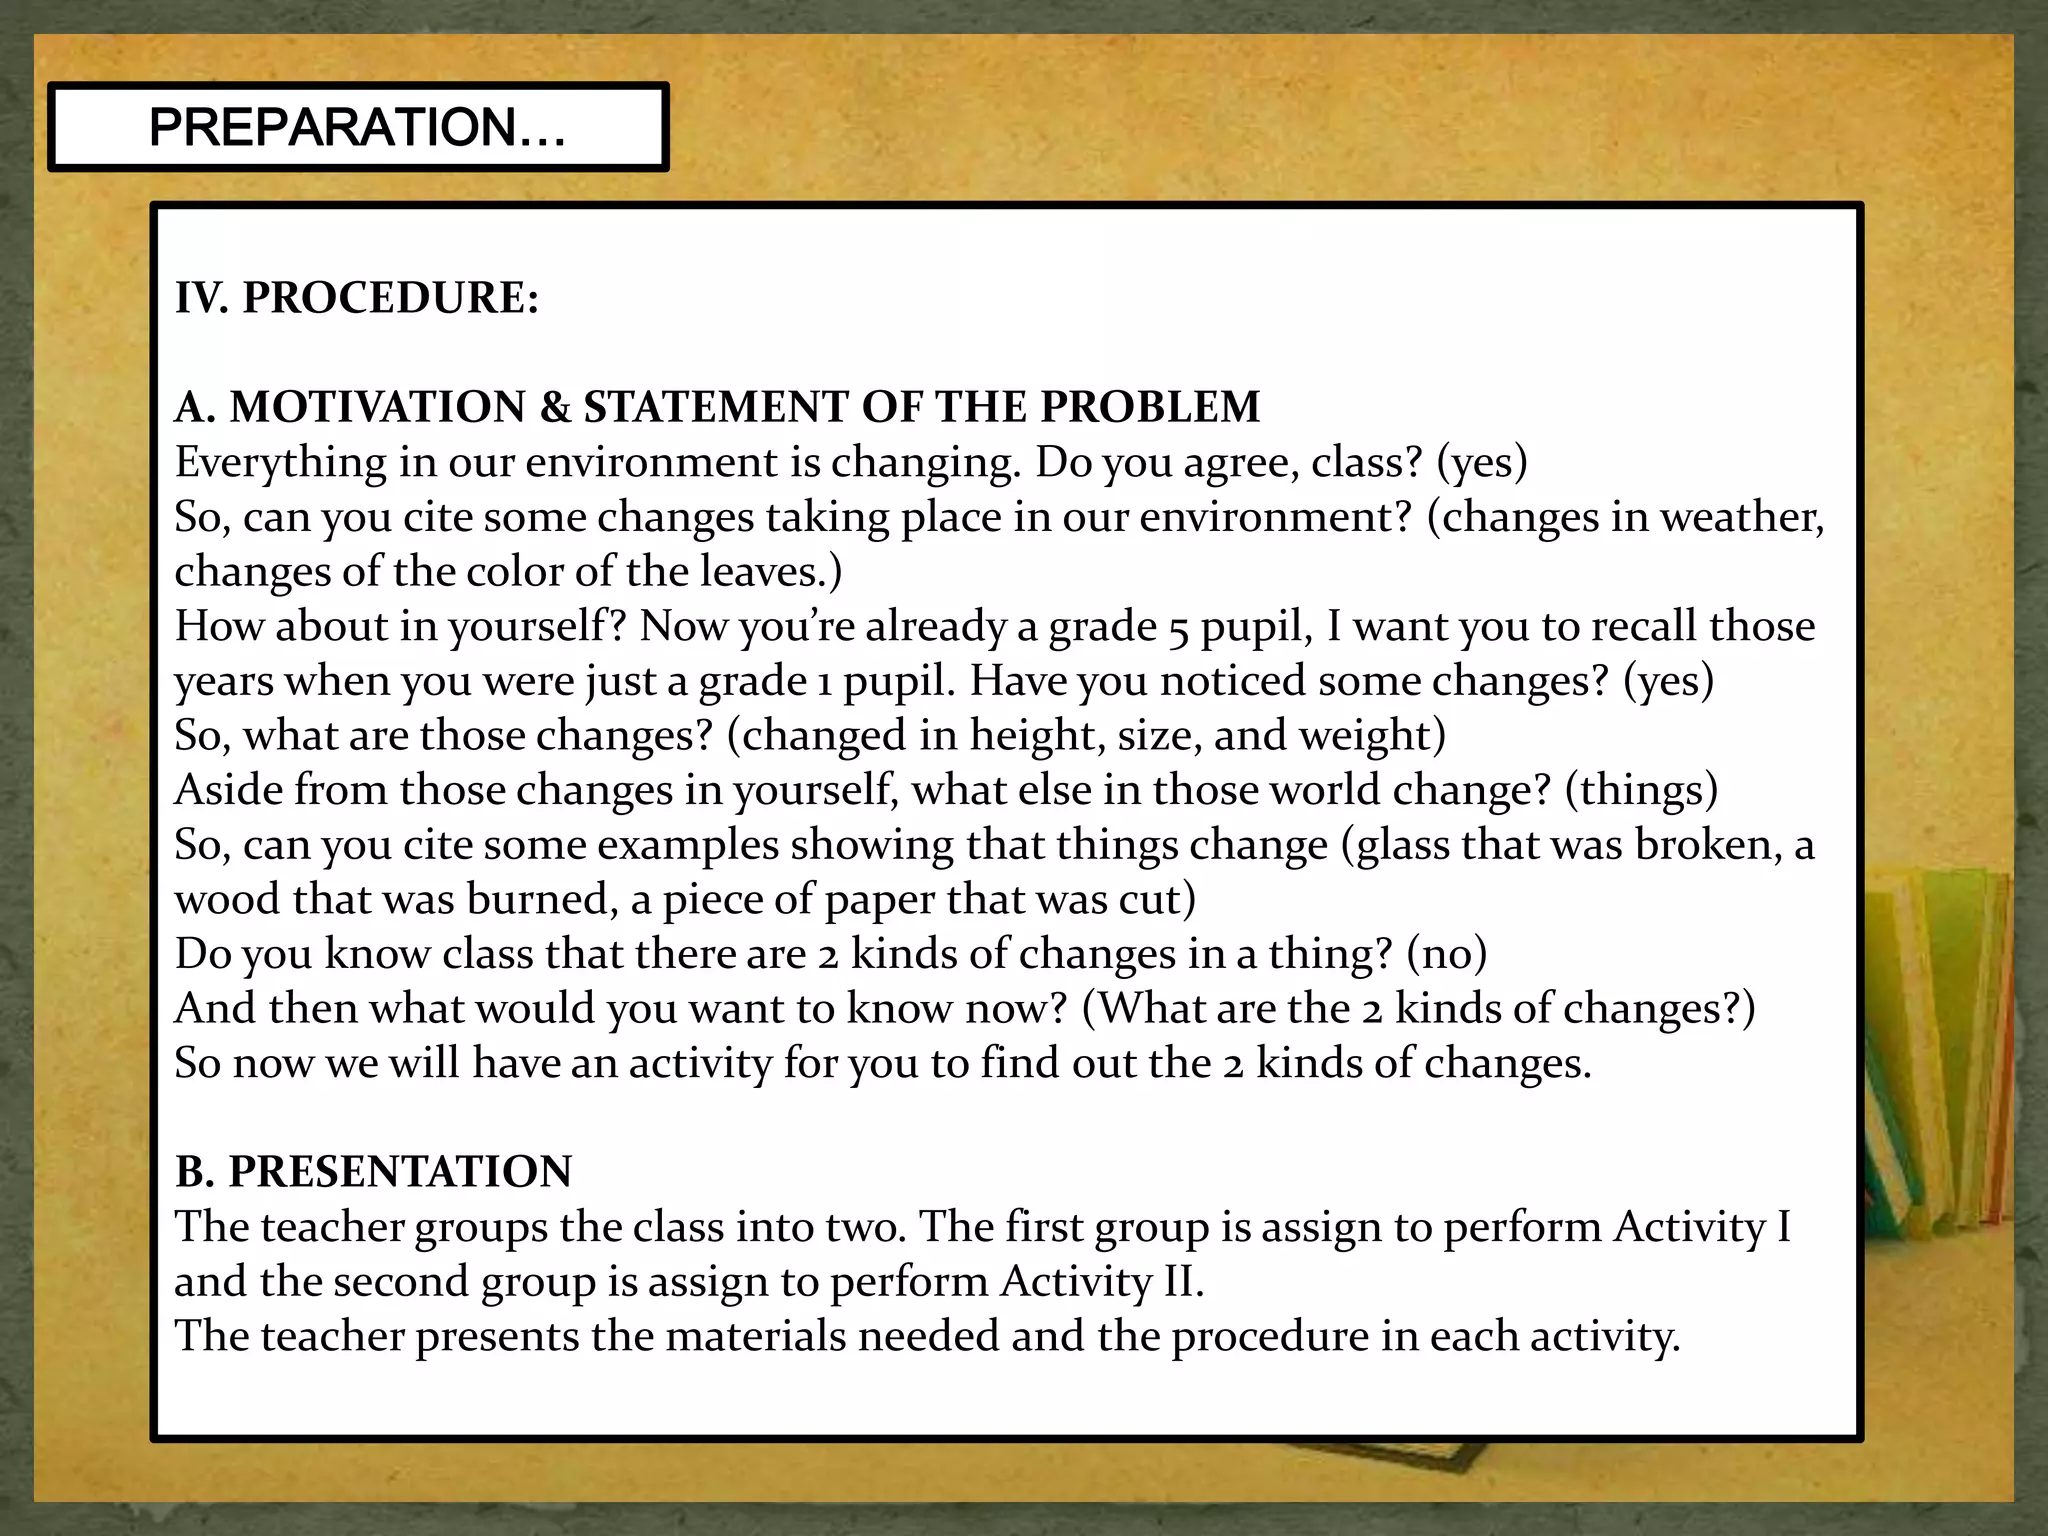
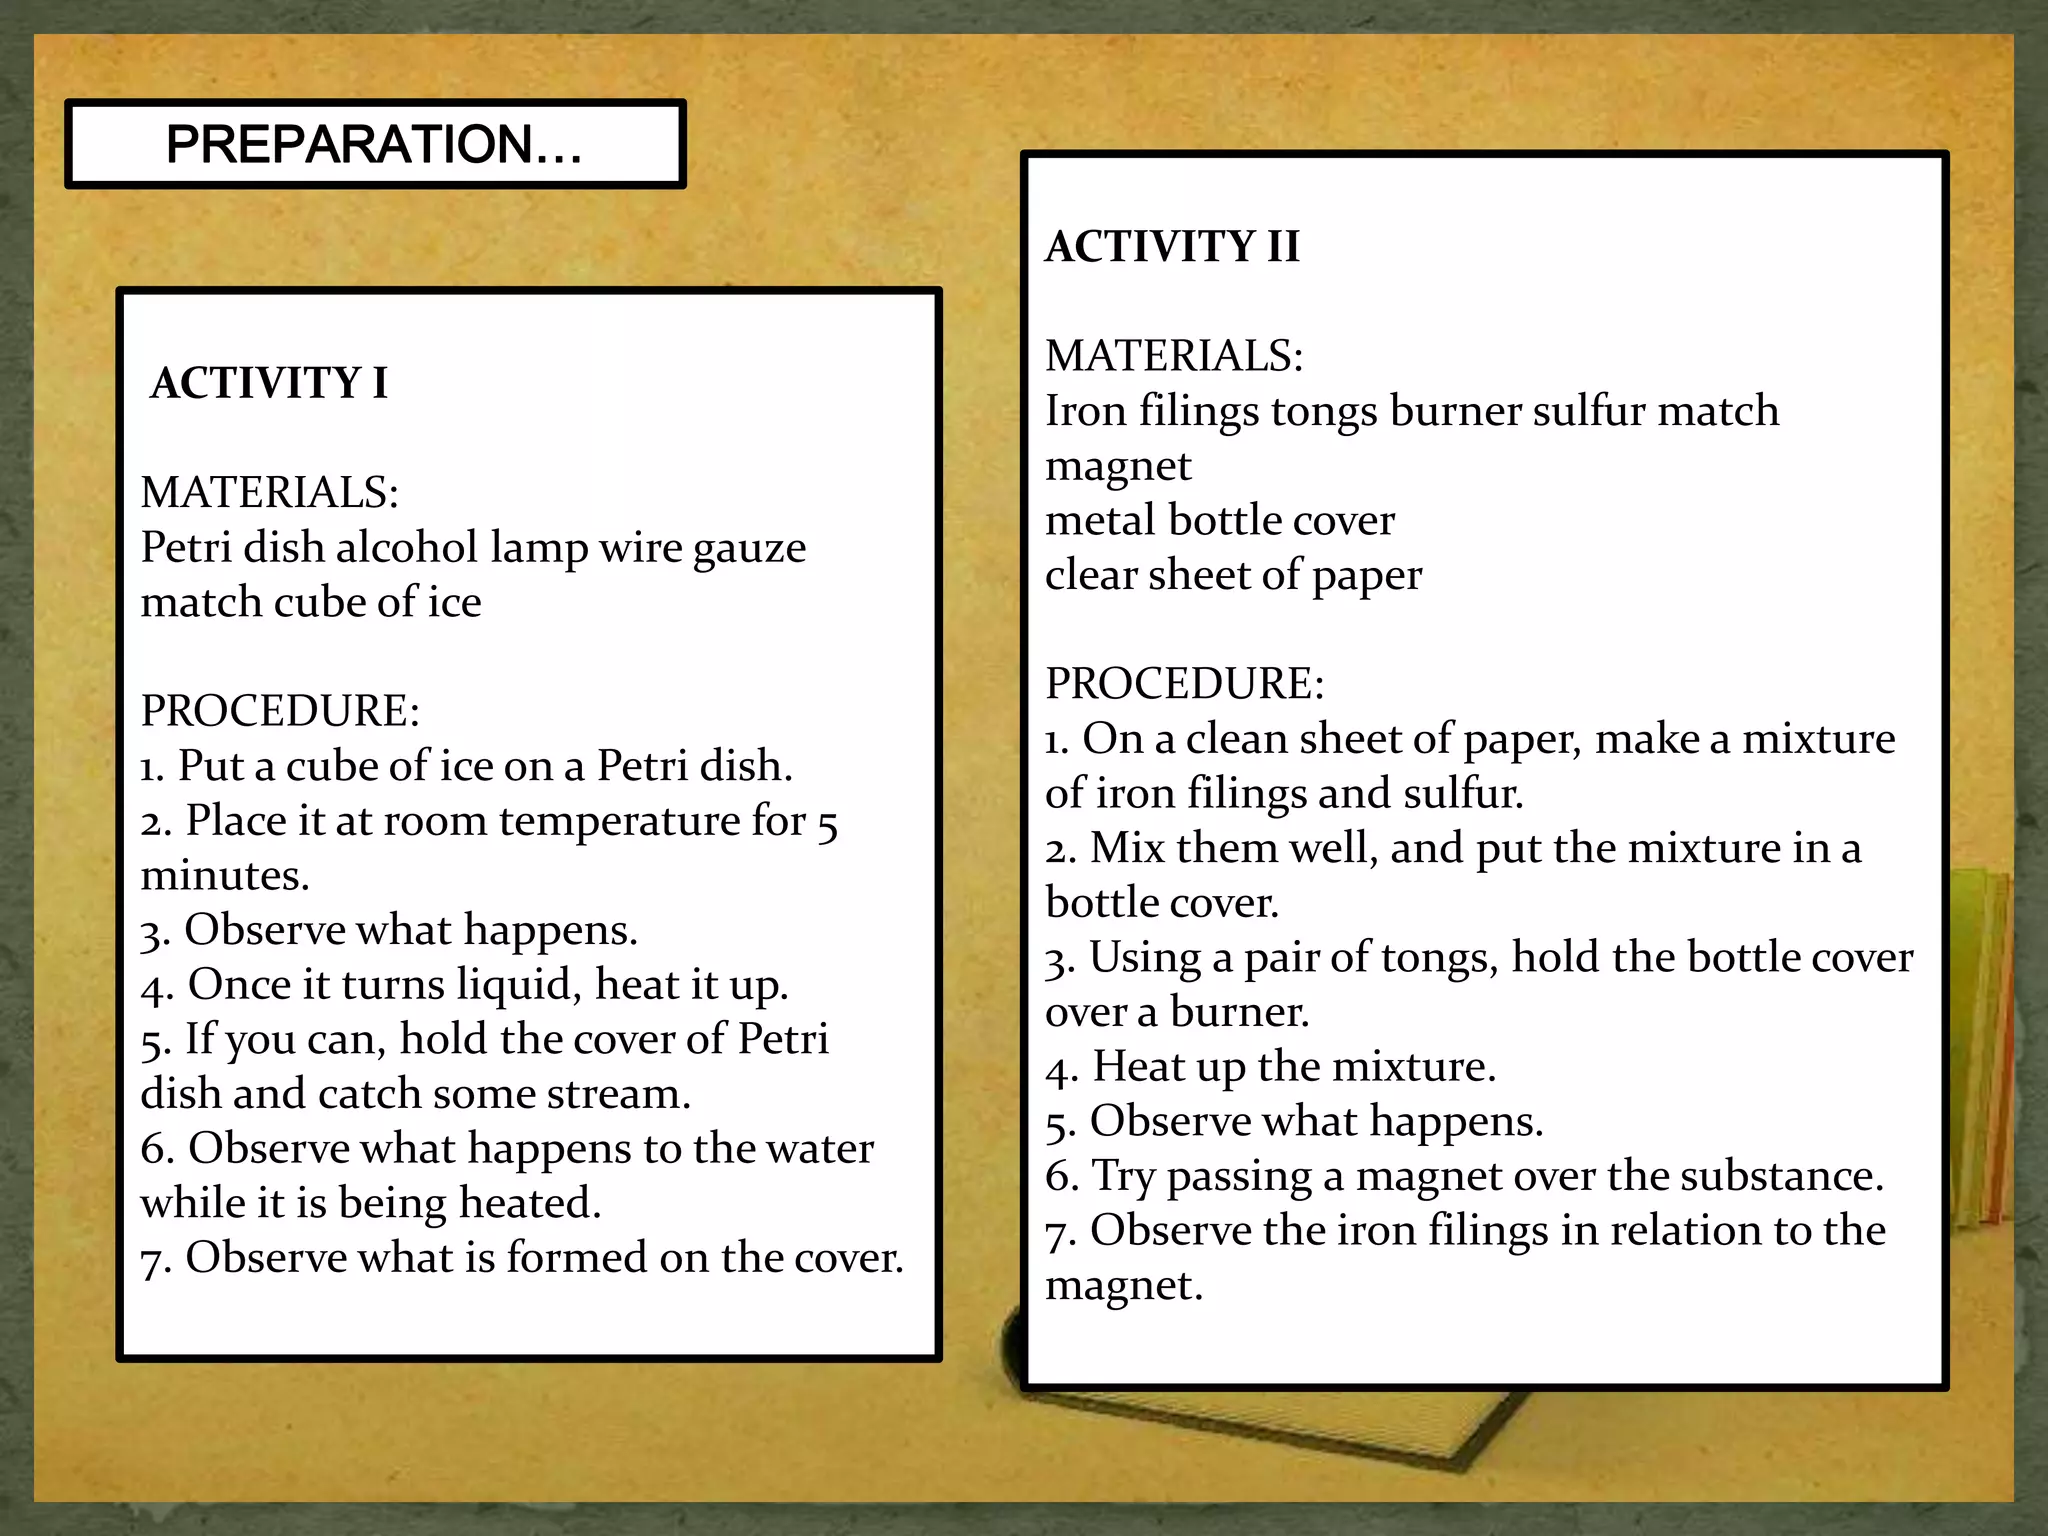
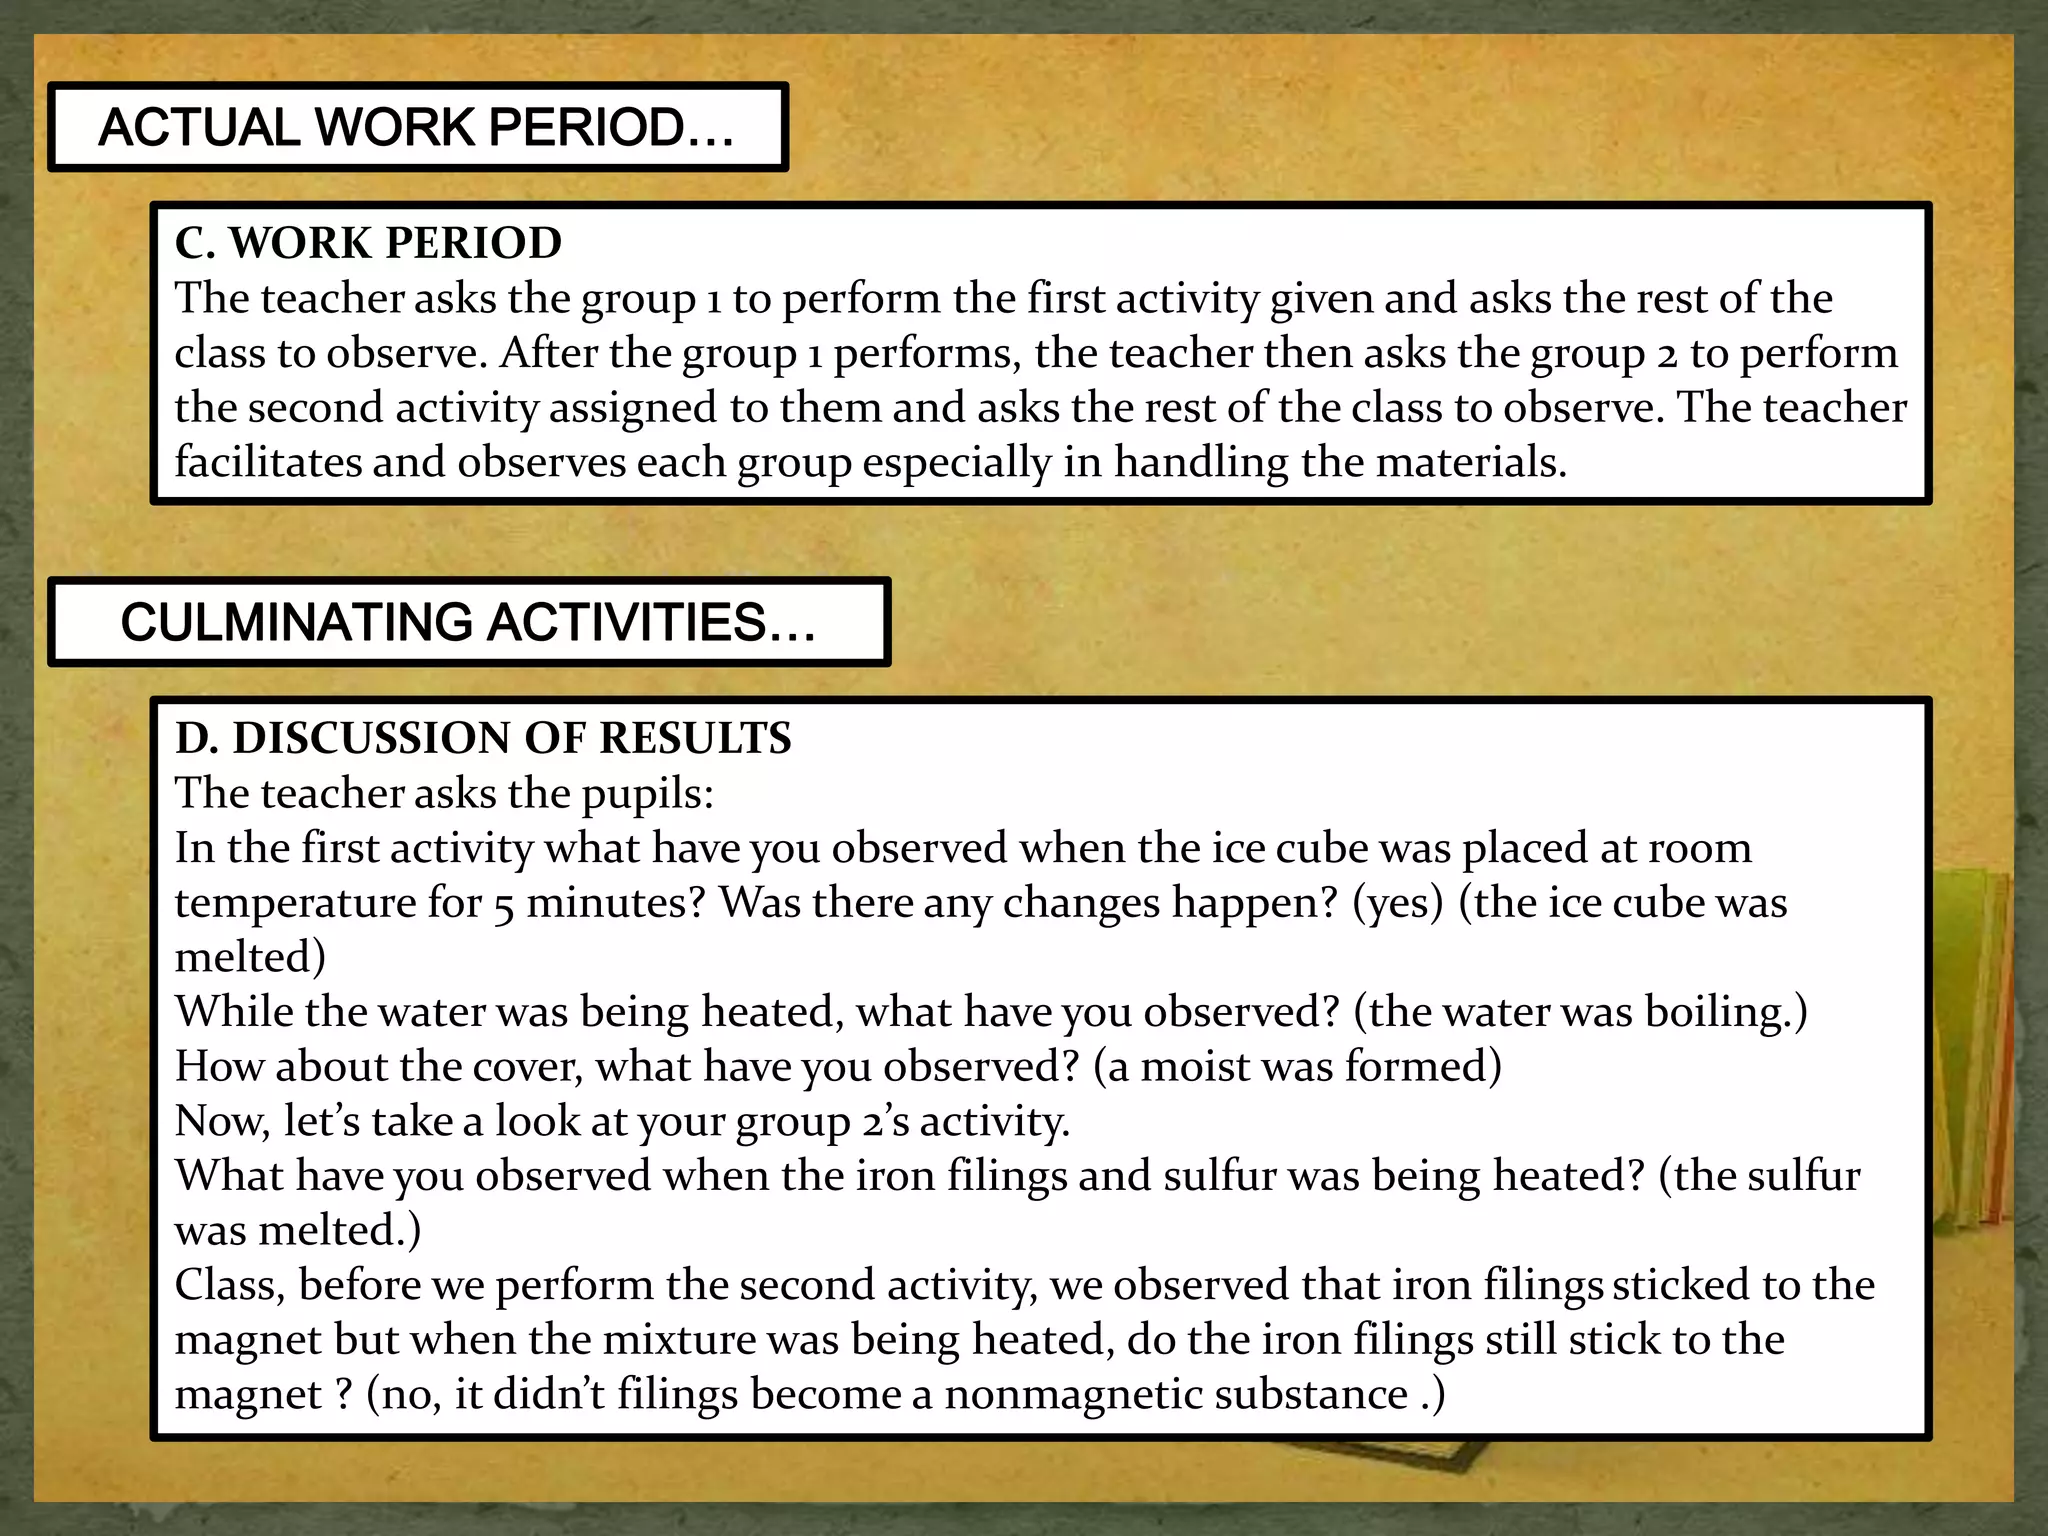


This document outlines the goals and procedures for laboratory work in education. It discusses: - The major goals of laboratory work are to teach observational and manual skills, improve understanding of scientific inquiry, and develop problem-solving abilities. - Laboratory methods include experimental and demonstration approaches to promote discovery, problem-solving, and mastery of concepts and skills. - Key steps in the laboratory method are preparation, work periods where students conduct experiments or activities, and culminating activities where results are discussed. - Benefits are that students learn by doing and develop observation, reasoning, and scientific thinking, while disadvantages include time and cost ineffectiveness.


