This document provides information on evaluating knee pain through history taking and physical examination. Key points include:
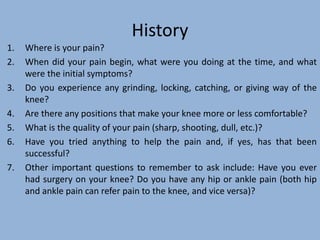
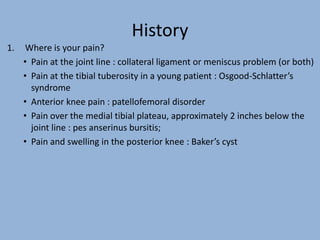
1. During history taking, questions should focus on pain location and characteristics, mechanisms of injury, and associated symptoms like locking or giving way.
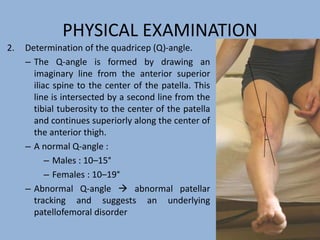
2. The physical exam evaluates gait, joint stability via stress tests, meniscal integrity using McMurray's test, and signs of conditions like pes anserine bursitis.
3. Imaging like x-rays can detect fractures or arthritis while arthrography and arthroscopy allow direct evaluation of internal knee structures like the menisci. A thorough exam is important to diagnose causes of knee pain like ligament injuries or meniscal tears.


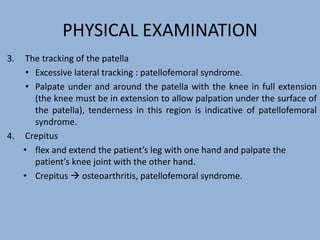


![PERI-PROSTHETIC FRACTURE NAIL-PLATE CONSTRUCT [NPC].pptx](https://cdn.slidesharecdn.com/ss_thumbnails/drarunkumardrmohamedashrafperiprostheticfrasturenail-plateconstructnpc-260209164459-7e9d15a1-thumbnail.jpg?width=640&height=640&fit=bounds)


