Download to read offline

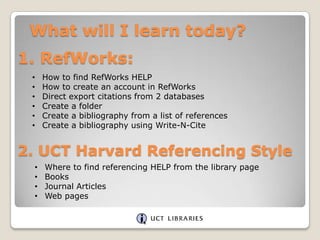
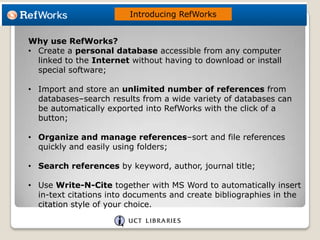
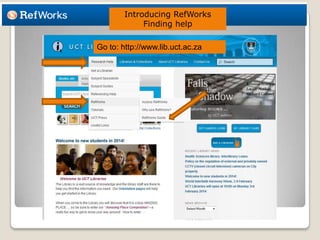
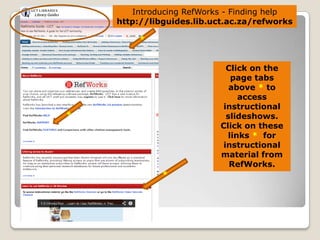
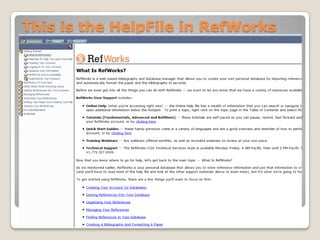
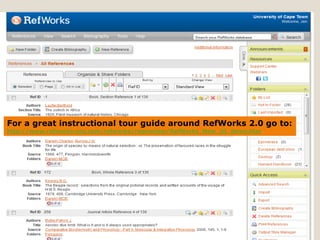
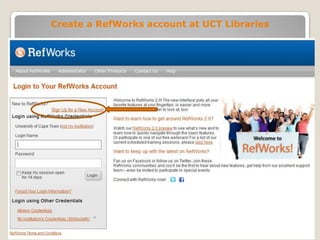
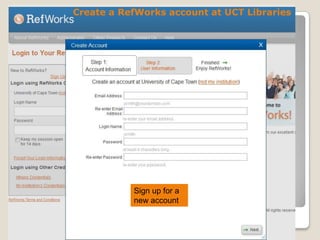
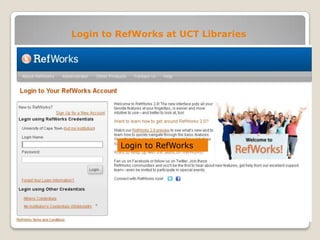
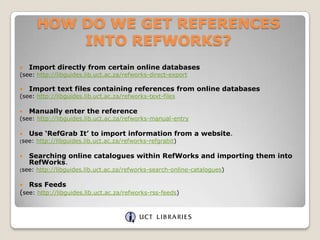
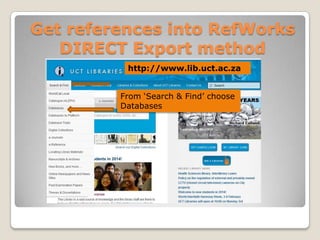
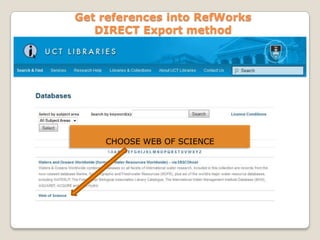
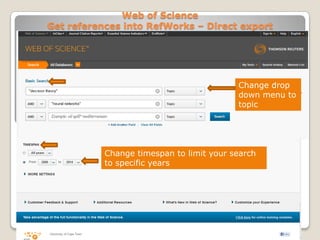
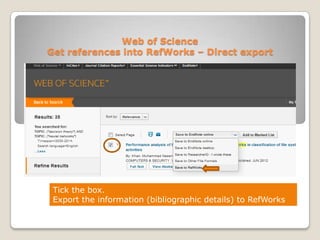
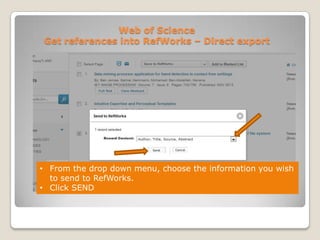
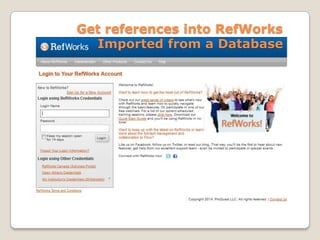
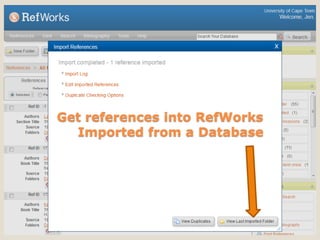
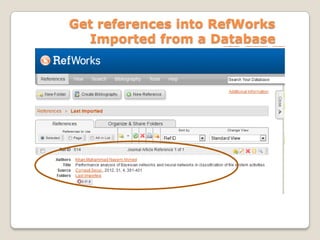
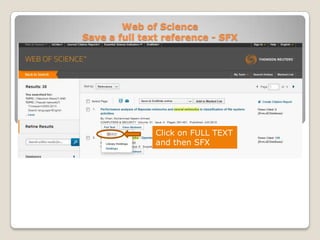
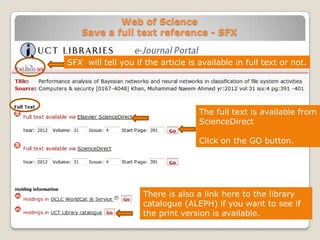

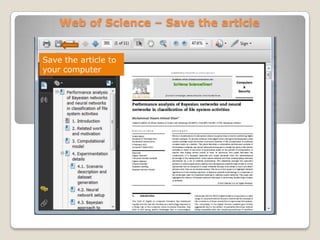
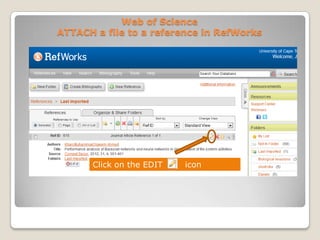
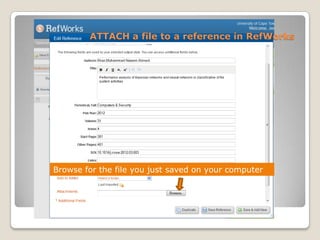
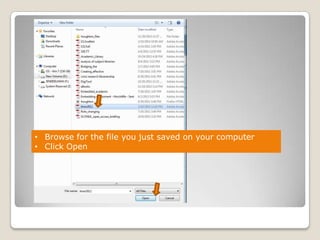
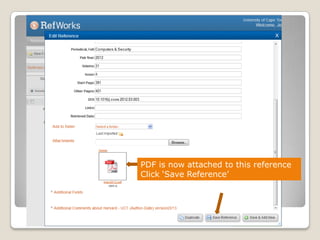
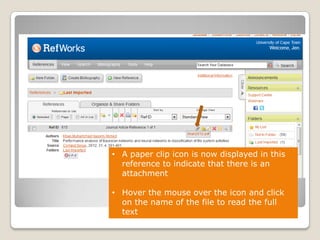
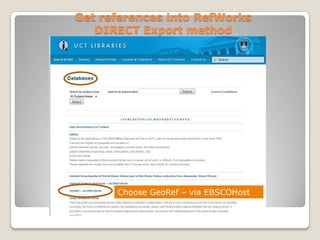
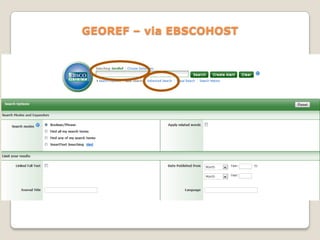
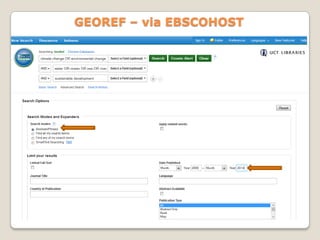
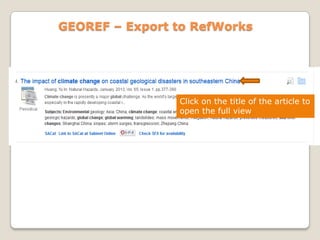
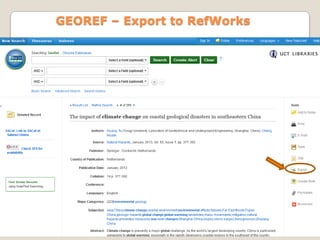
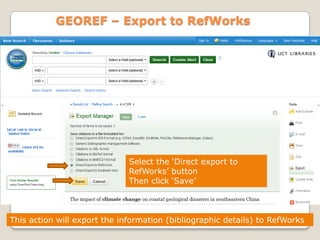
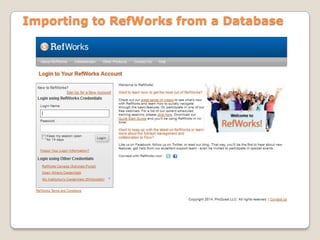
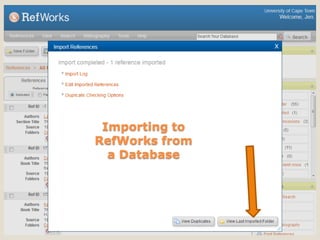
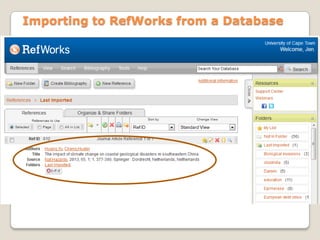
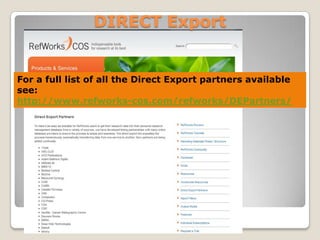
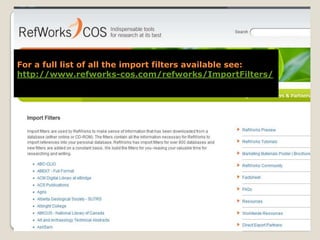

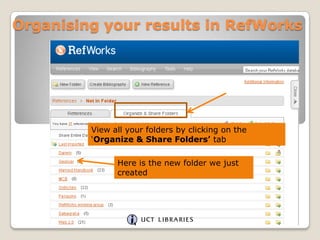
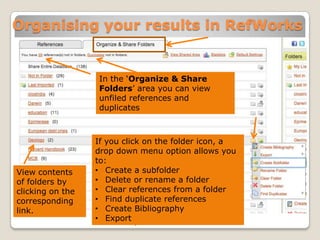
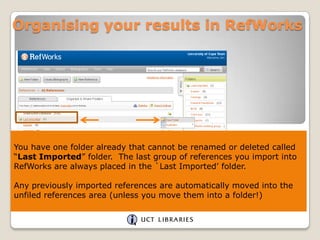
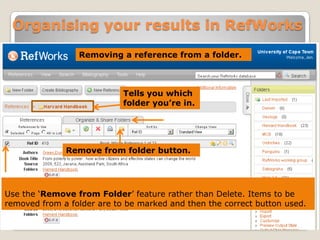
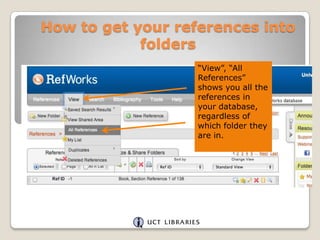
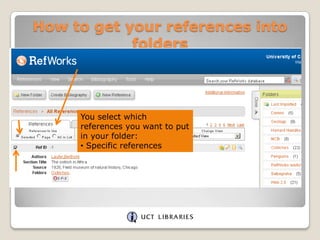
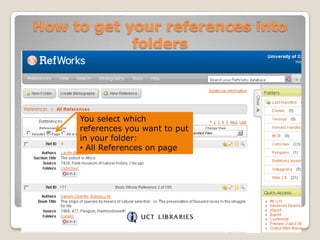
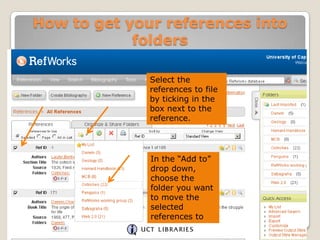
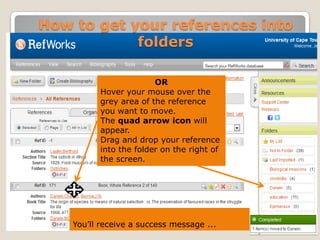
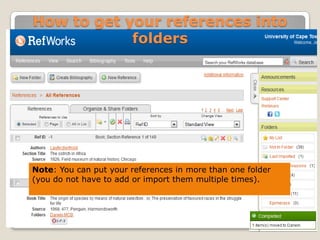
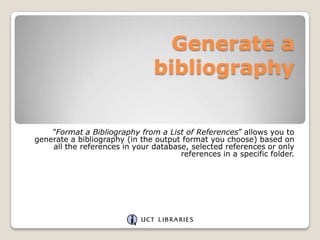
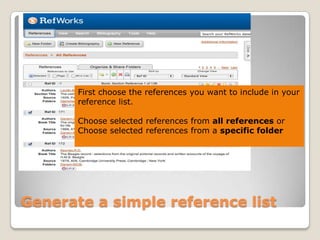
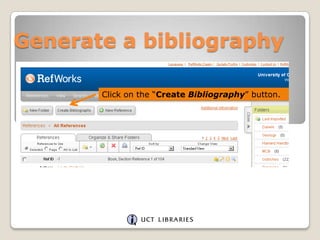
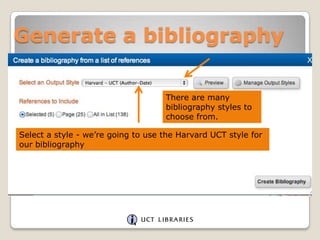
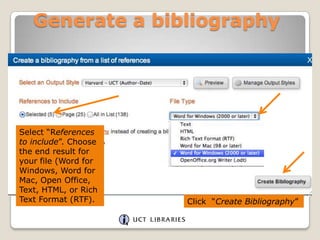
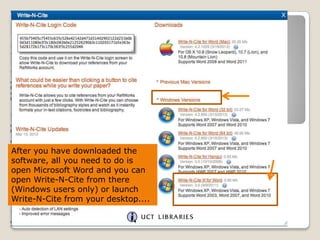
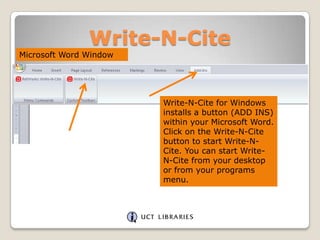
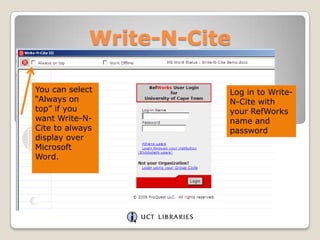
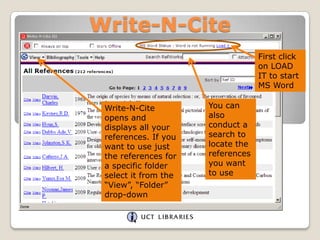
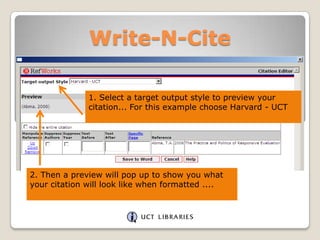
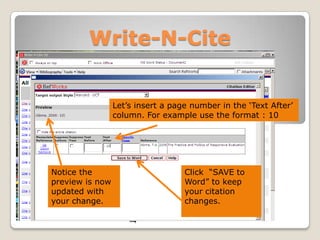
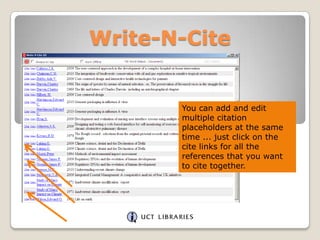
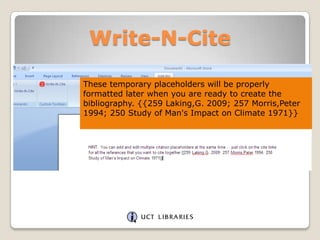
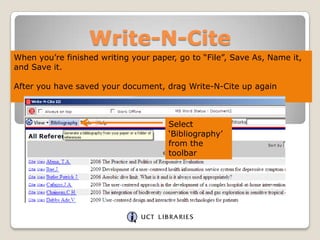
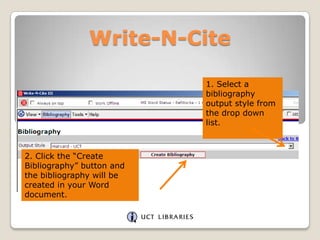
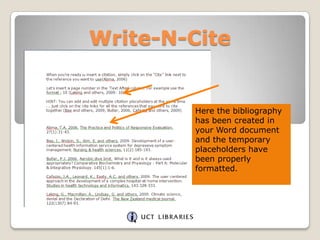
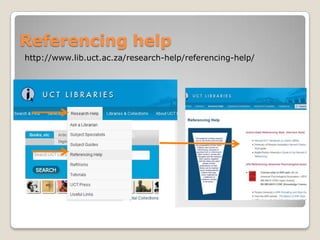

This document provides an overview and instructions for using RefWorks, a citation management tool, and the UCT Harvard referencing style. It begins with an agenda that outlines what will be covered, including how to create a RefWorks account, directly export citations from databases into RefWorks, organize references into folders, create bibliographies from reference lists, and use Write-N-Cite to insert citations into Microsoft Word documents. The document then demonstrates how to find help resources for RefWorks and the referencing style. It provides step-by-step instructions for direct export of citations from databases like Web of Science and GeoRef and importing PDFs. It also shows how to organize references into folders, generate bibliographies from selected references or