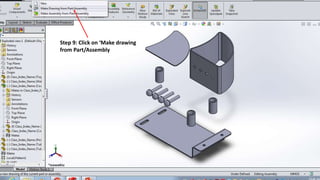
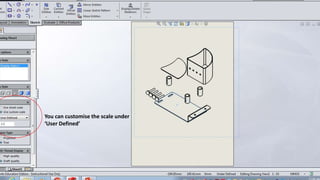
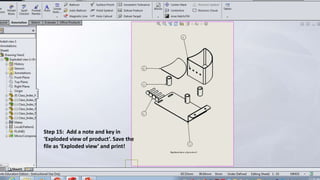
To create an exploded view in Solidworks:
1. Open an assembly document and go to the Assembly tab.
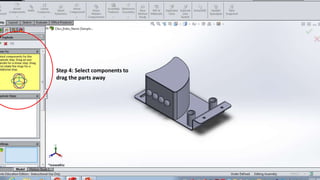
2. Click on the Exploded view button and select components to drag parts away from each other.
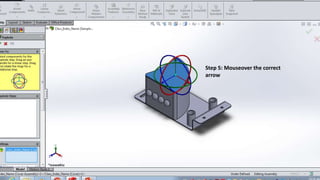
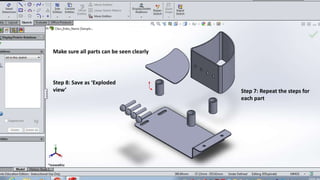
3. Use the highlighted arrows to drag parts upwards, repeating for each part, and save as "Exploded view" when all parts can be seen clearly.