The document provides help and instructions for using an electronic engineering data book. It explains that the data book has been converted to an electronic format using Adobe Acrobat and contains enhanced search functionality. It provides tips for navigating through the data book, including how to use bookmarks to jump between sections, search for specific terms, and view references and figures. The help file also provides recommendations for optimal monitor settings when viewing the electronic book.

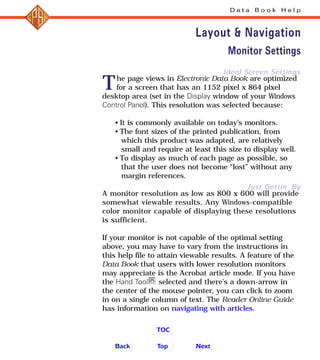

![From a Data Book Menu Bar
You can immediately launch a
search when you start the GPSA
Electronic Data Book from either the
Main screen or the Table of
Contents screen.
Click on the [Search] button at
the bottom of the screen. The
Search dialog will open.
Type a search string, select the
desired options and click on the
[Search] button. Acrobat will
jump to the first occurrence, if
it is found.
Press [Ctrl]+U to go to the next
occurrence.
To Search All Sections
On the Acrobat Reader menu,
select Tools> Search> Query. The
Search dialog will pop up.
Place your mouse pointer over
the Find Results Containing Text
window and click once to get a
blinking cursor in the window.
Type a search string, select the
desired options and click on the
[Search] button.
Press [Ctrl]+U to go to the next
occurrence of a search string.
To Search the Current
Section Only
On the Acrobat Reader menu,
select Tools> Find.
Type a search string in the box,
select the desired options and
click on the [Find] button.
Press [Ctrl]+G to go to the next
occurrence of a “Find” phrase.
D a t a B o o k H e l p
Search
Trouble
If the [Search] button is grayed out
when the dialog box opens, the
probable cause is that the links to the
index files are broken. To restore them,
see Re-linking Indexes, below.
Back NextTop
TOC](https://image.slidesharecdn.com/help-150521141753-lva1-app6891/85/Help-12-320.jpg)
![D a t a B o o k H e l p
Search
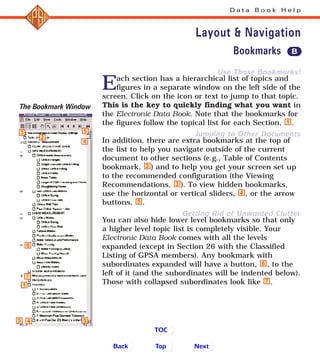
Re-linking Indexes
If you have attempted to search the
Data Book and found that you
didn’t have any indexes to search,
don’t panic. The index files (*.pdx)
are most likely still in the DataBook
Docs folder. A broken link is the
most likely cause. To reestablish
the link(s):
If the Adobe Acrobat Search
dialog is still open, go to the
next step. If not, select Tools>
Search> Query from the Acrobat
Reader menu.
Click on [Indexes]. The Index
Selection dialog will open.
Note the Available Indexes
window. There should be two
indexes listed, the Data Book and
Acrobat Help Files and the GPSA
Electronic Data Book. If the one(s)
you want to use are not shown,
click on the [Add] button.
Browse to the Data BookDocs
folder on the CD. Two PDX files
are listed, choose the one you
want and click [Open]. Repeat
these last two steps if you want
both indexes open.
Congratulations, your indexes are
now linked! Note that in the Adobe
Acrobat Search dialog, the [Search]
button is no longer grayed out. You
may now search all the files in the
Data Book collection for any phrase
that will point to information you’re
looking for. See To Search All
Sections for tips on using the
Search function.
For More Information
The Adobe Acrobat Search Online
Guide provides more detail. You can
get there by clicking on the title (in
blue, above), from an Electronic Data
Book menu bar, or at any time via
the Acrobat Reader menu:
Help> Plug-In Help> Using Acrobat Search
Back Top
TOC](https://image.slidesharecdn.com/help-150521141753-lva1-app6891/85/Help-13-320.jpg)


![[Deck] What's New in Spark-Iceberg Integration via DSV2.pptx](https://cdn.slidesharecdn.com/ss_thumbnails/deckwhatsnewinspark-icebergintegrationviadsv2-260210005337-25955b12-thumbnail.jpg?width=640&height=640&fit=bounds)


