This 3-sentence summary provides an overview of the key steps and features for creating a research project using NoodleTools:
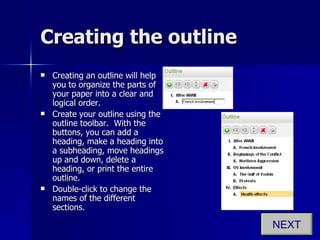
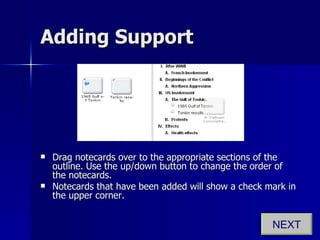
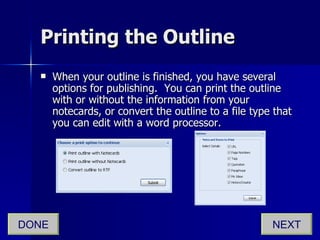
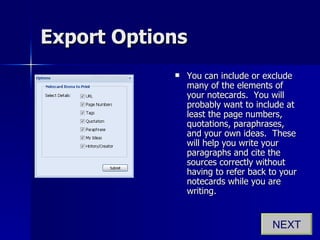
NoodleTools allows users to manage research sources, create citations and notecards, organize notecards into an outline, and export the outline to draft a research paper, with features including adding annotations, tagging notecards, sorting cards visually, and including source information and quotes in the exported outline. The tutorial walks through each step of setting up and using a NoodleTools project from choosing a citation style to drafting a paper using the organized information.