
Downloaded 265 times


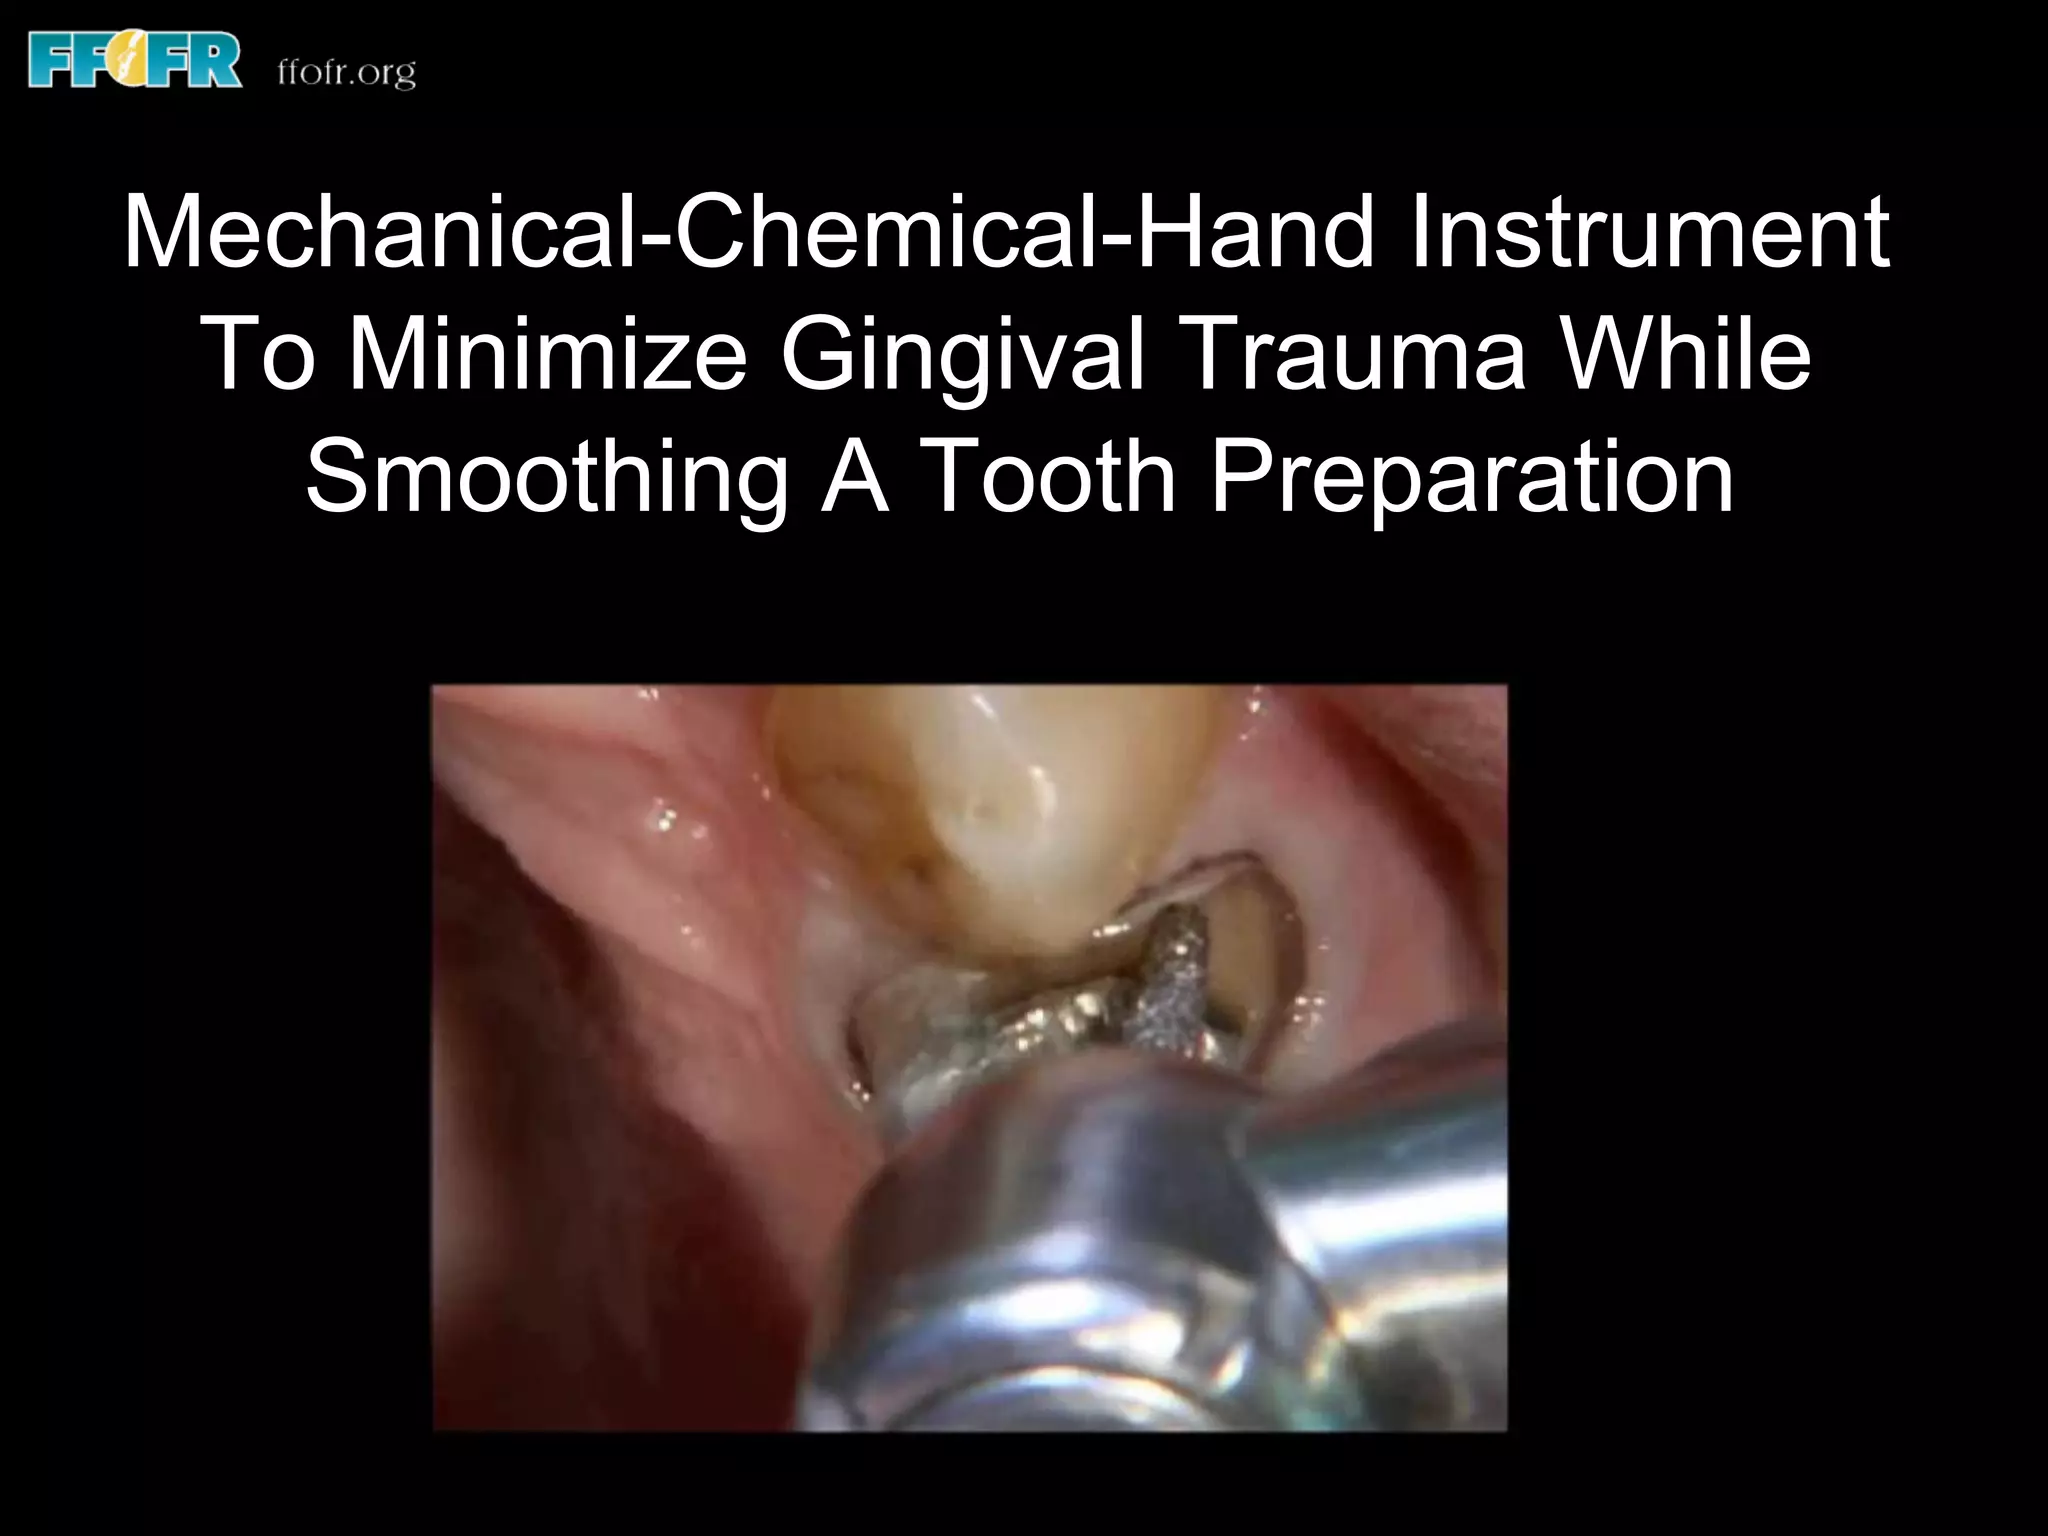
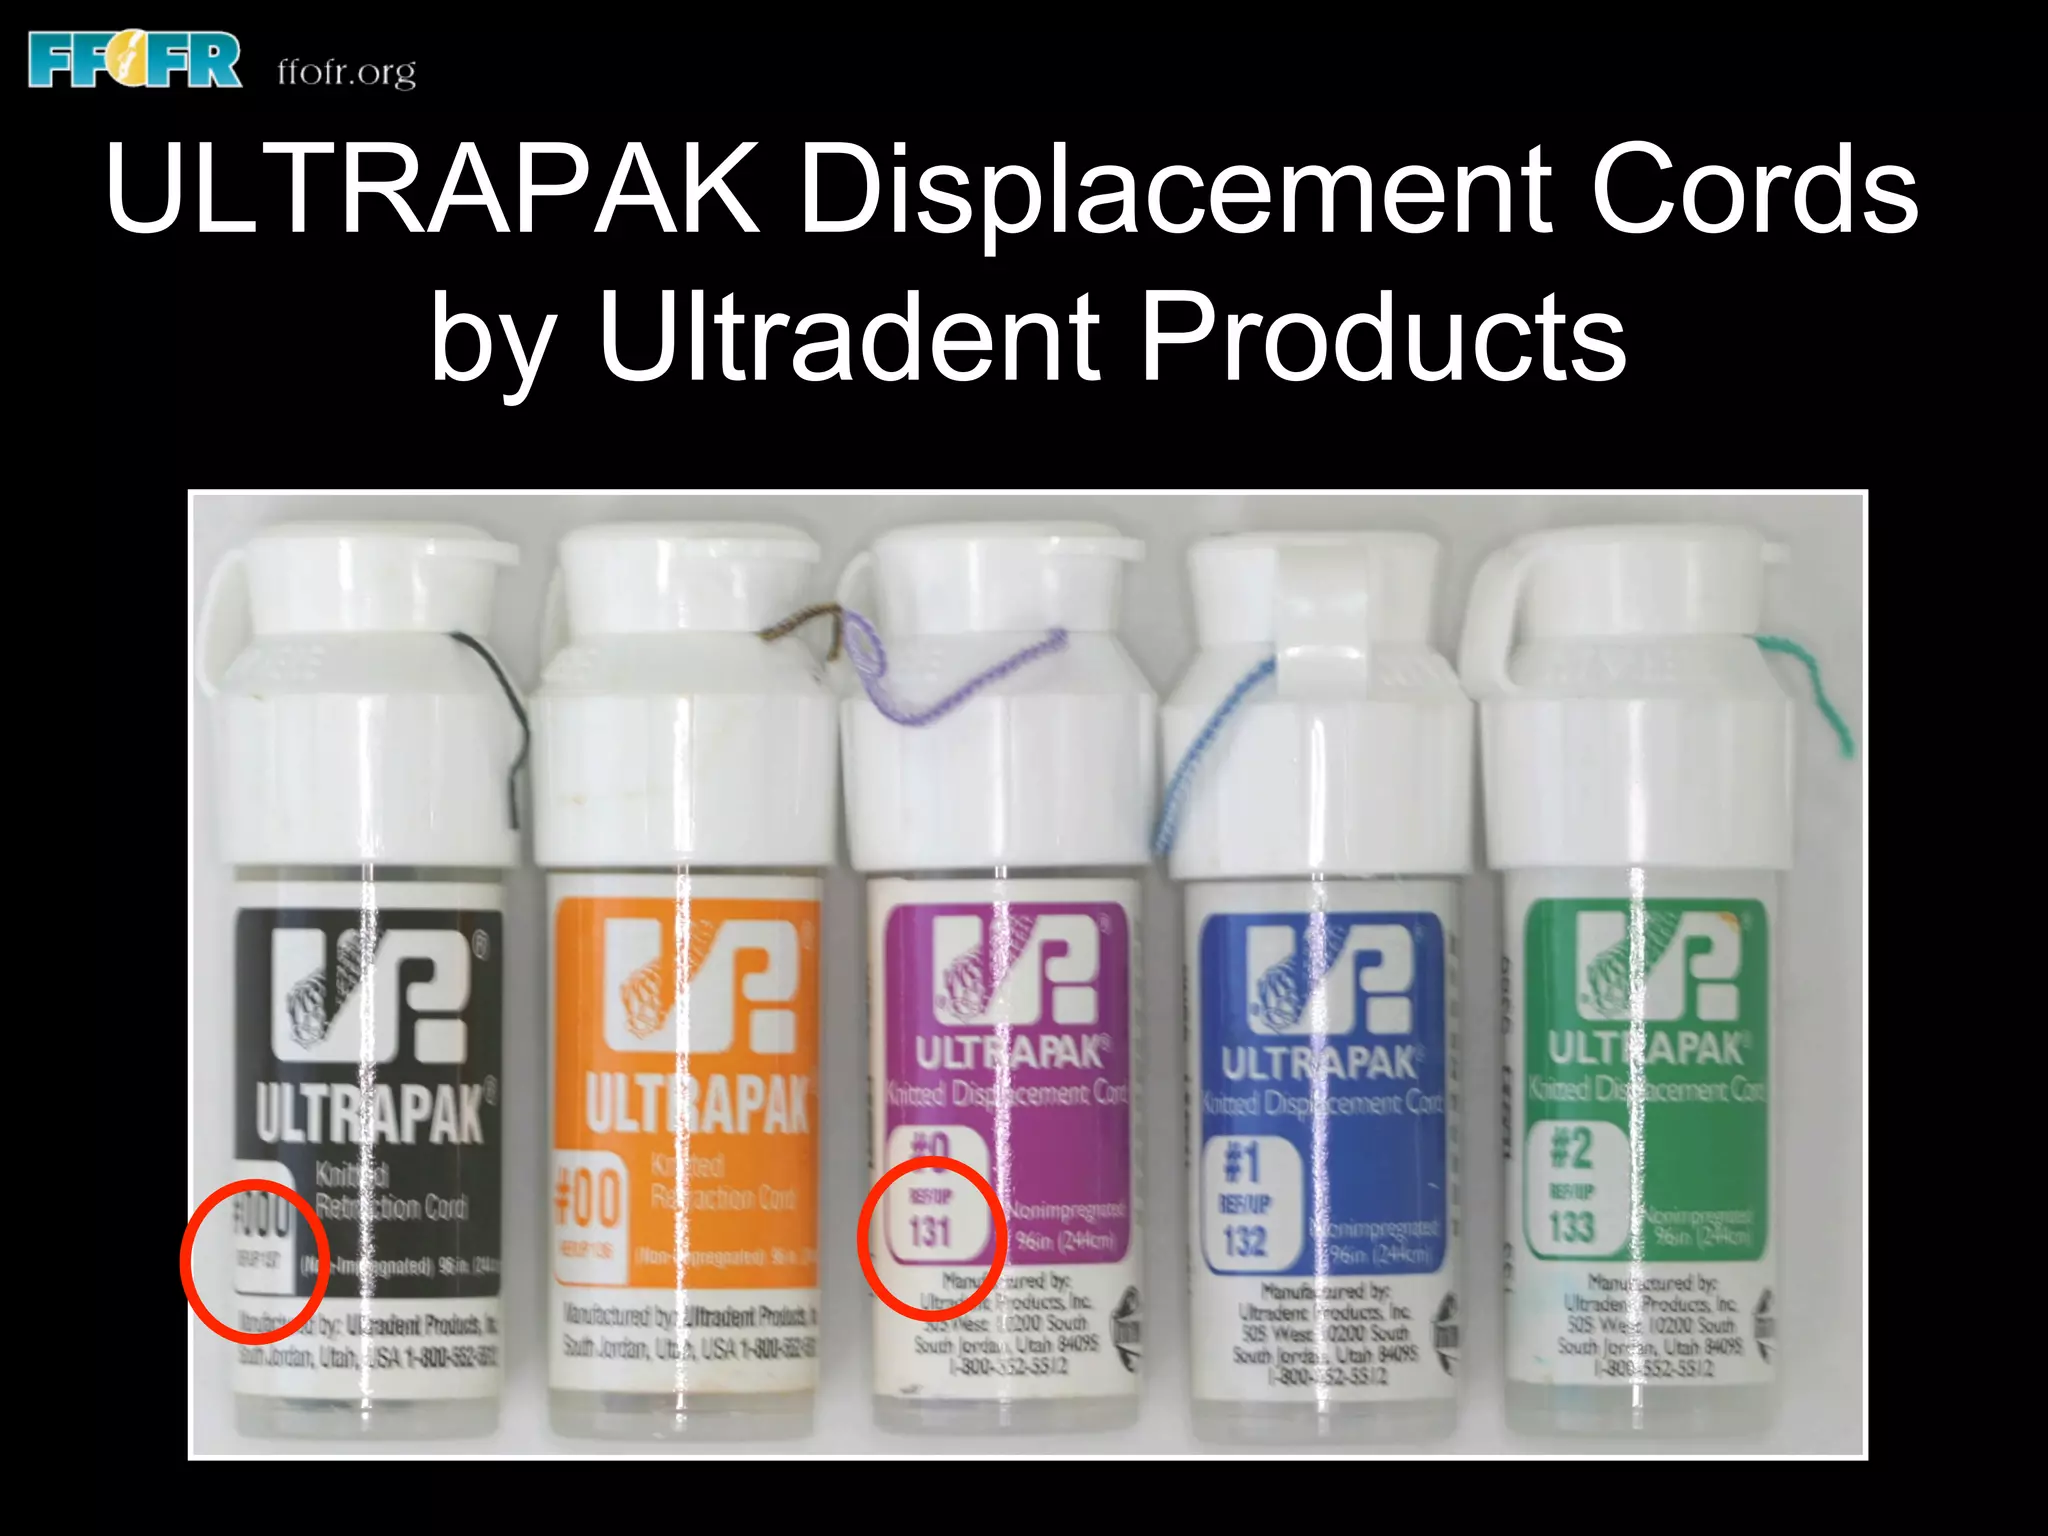
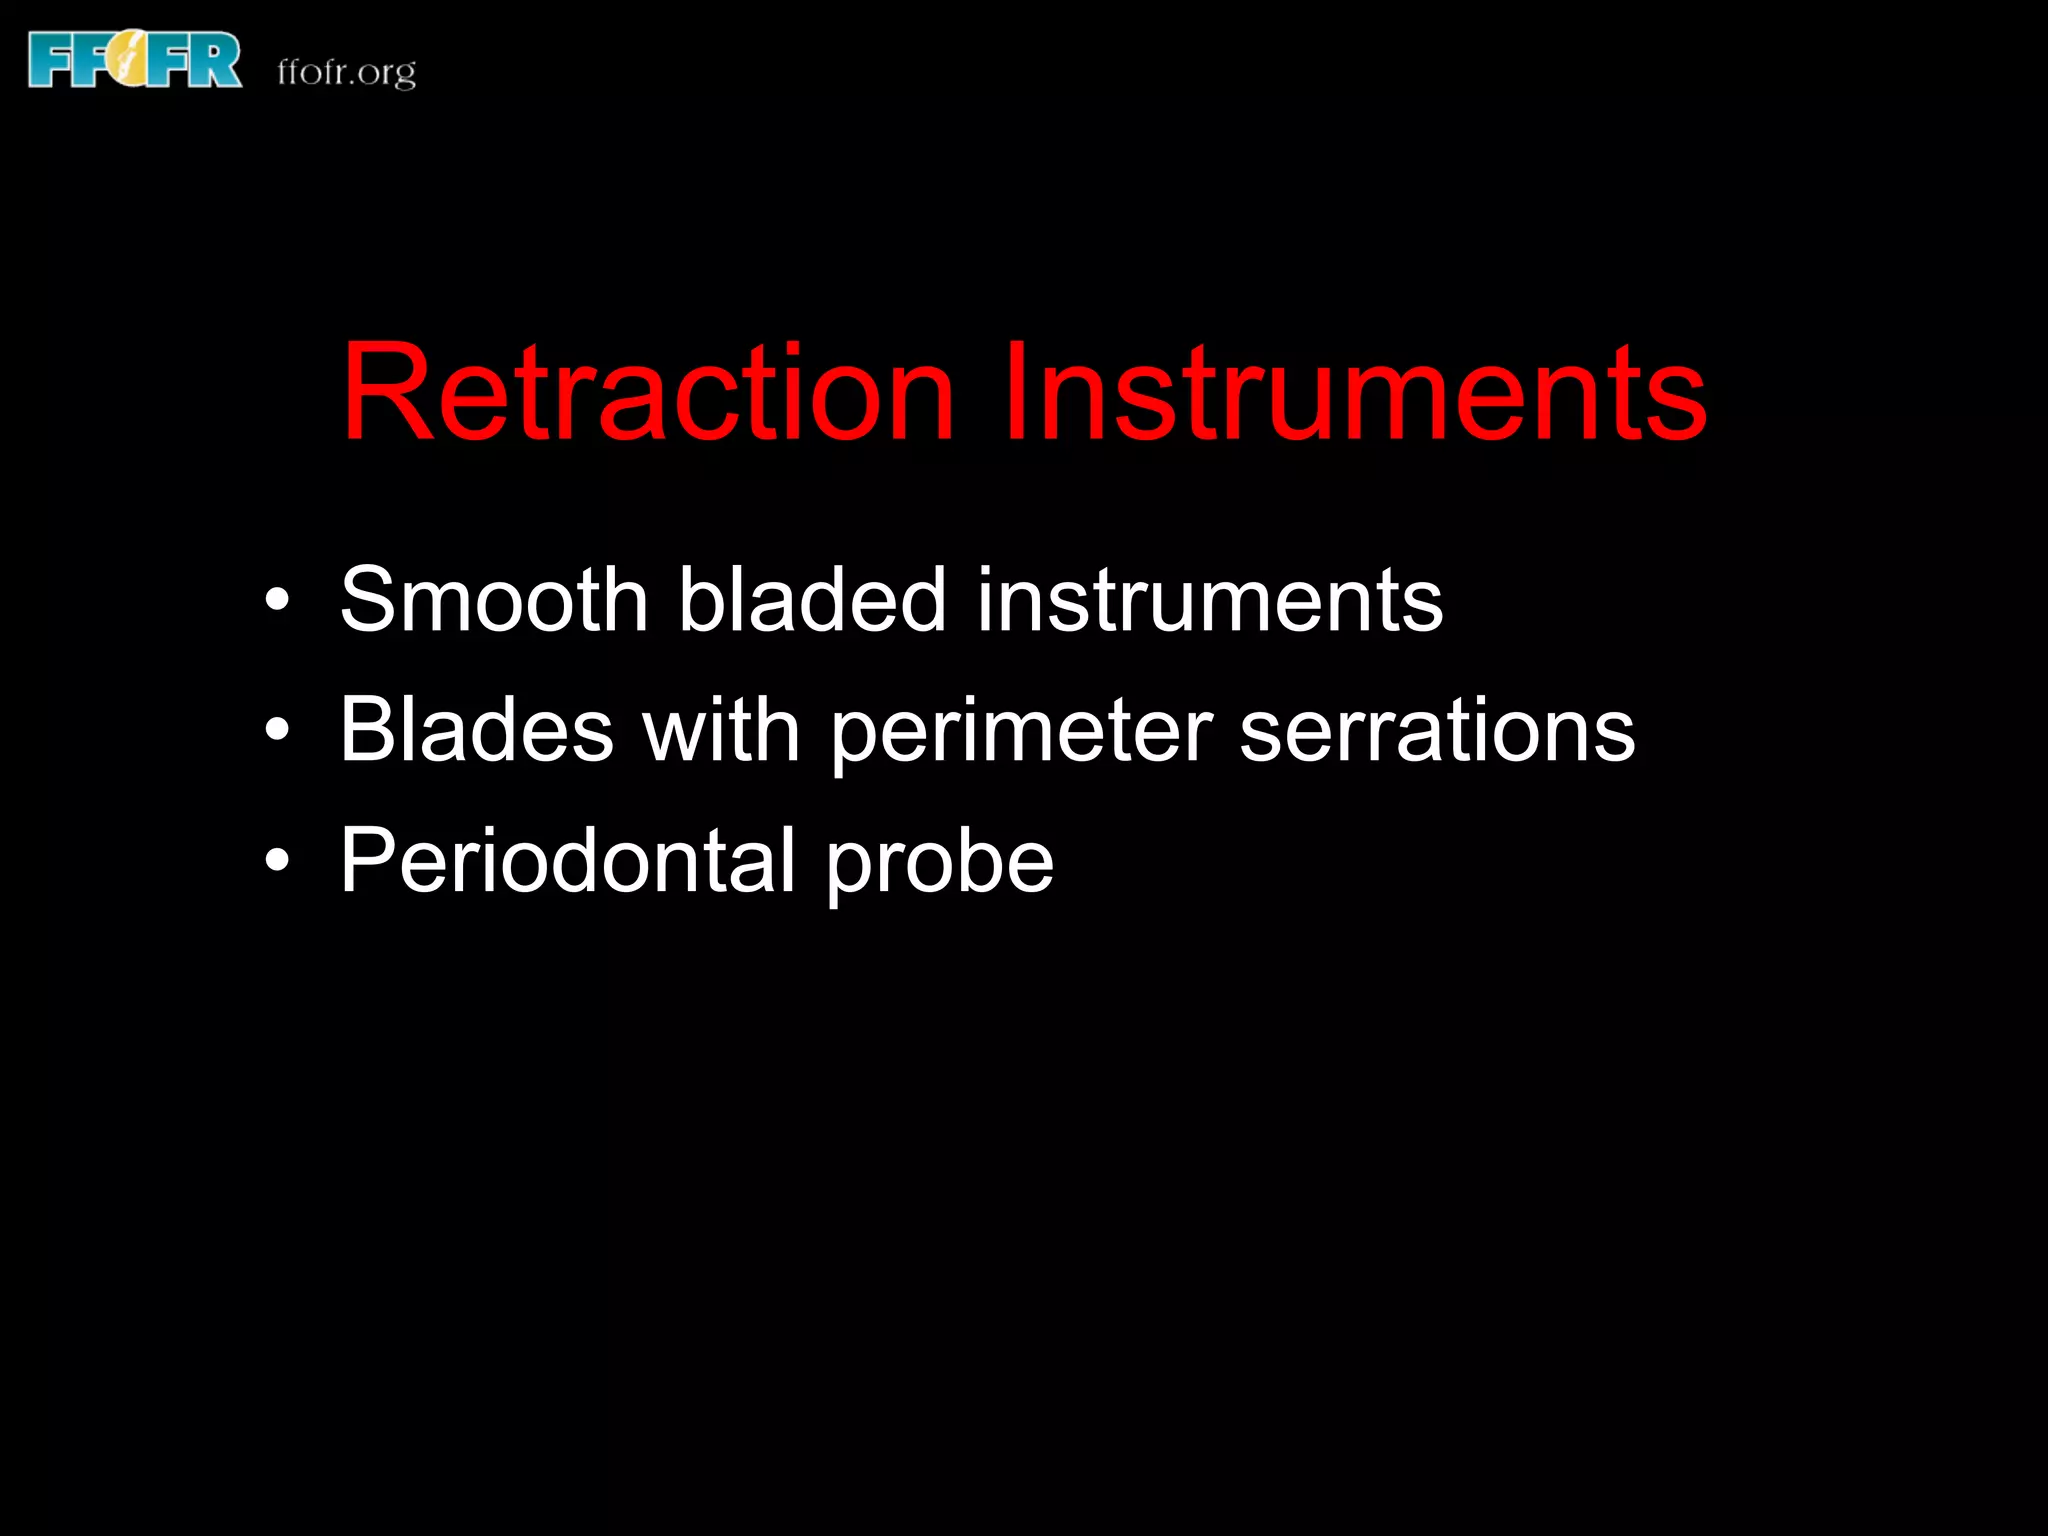

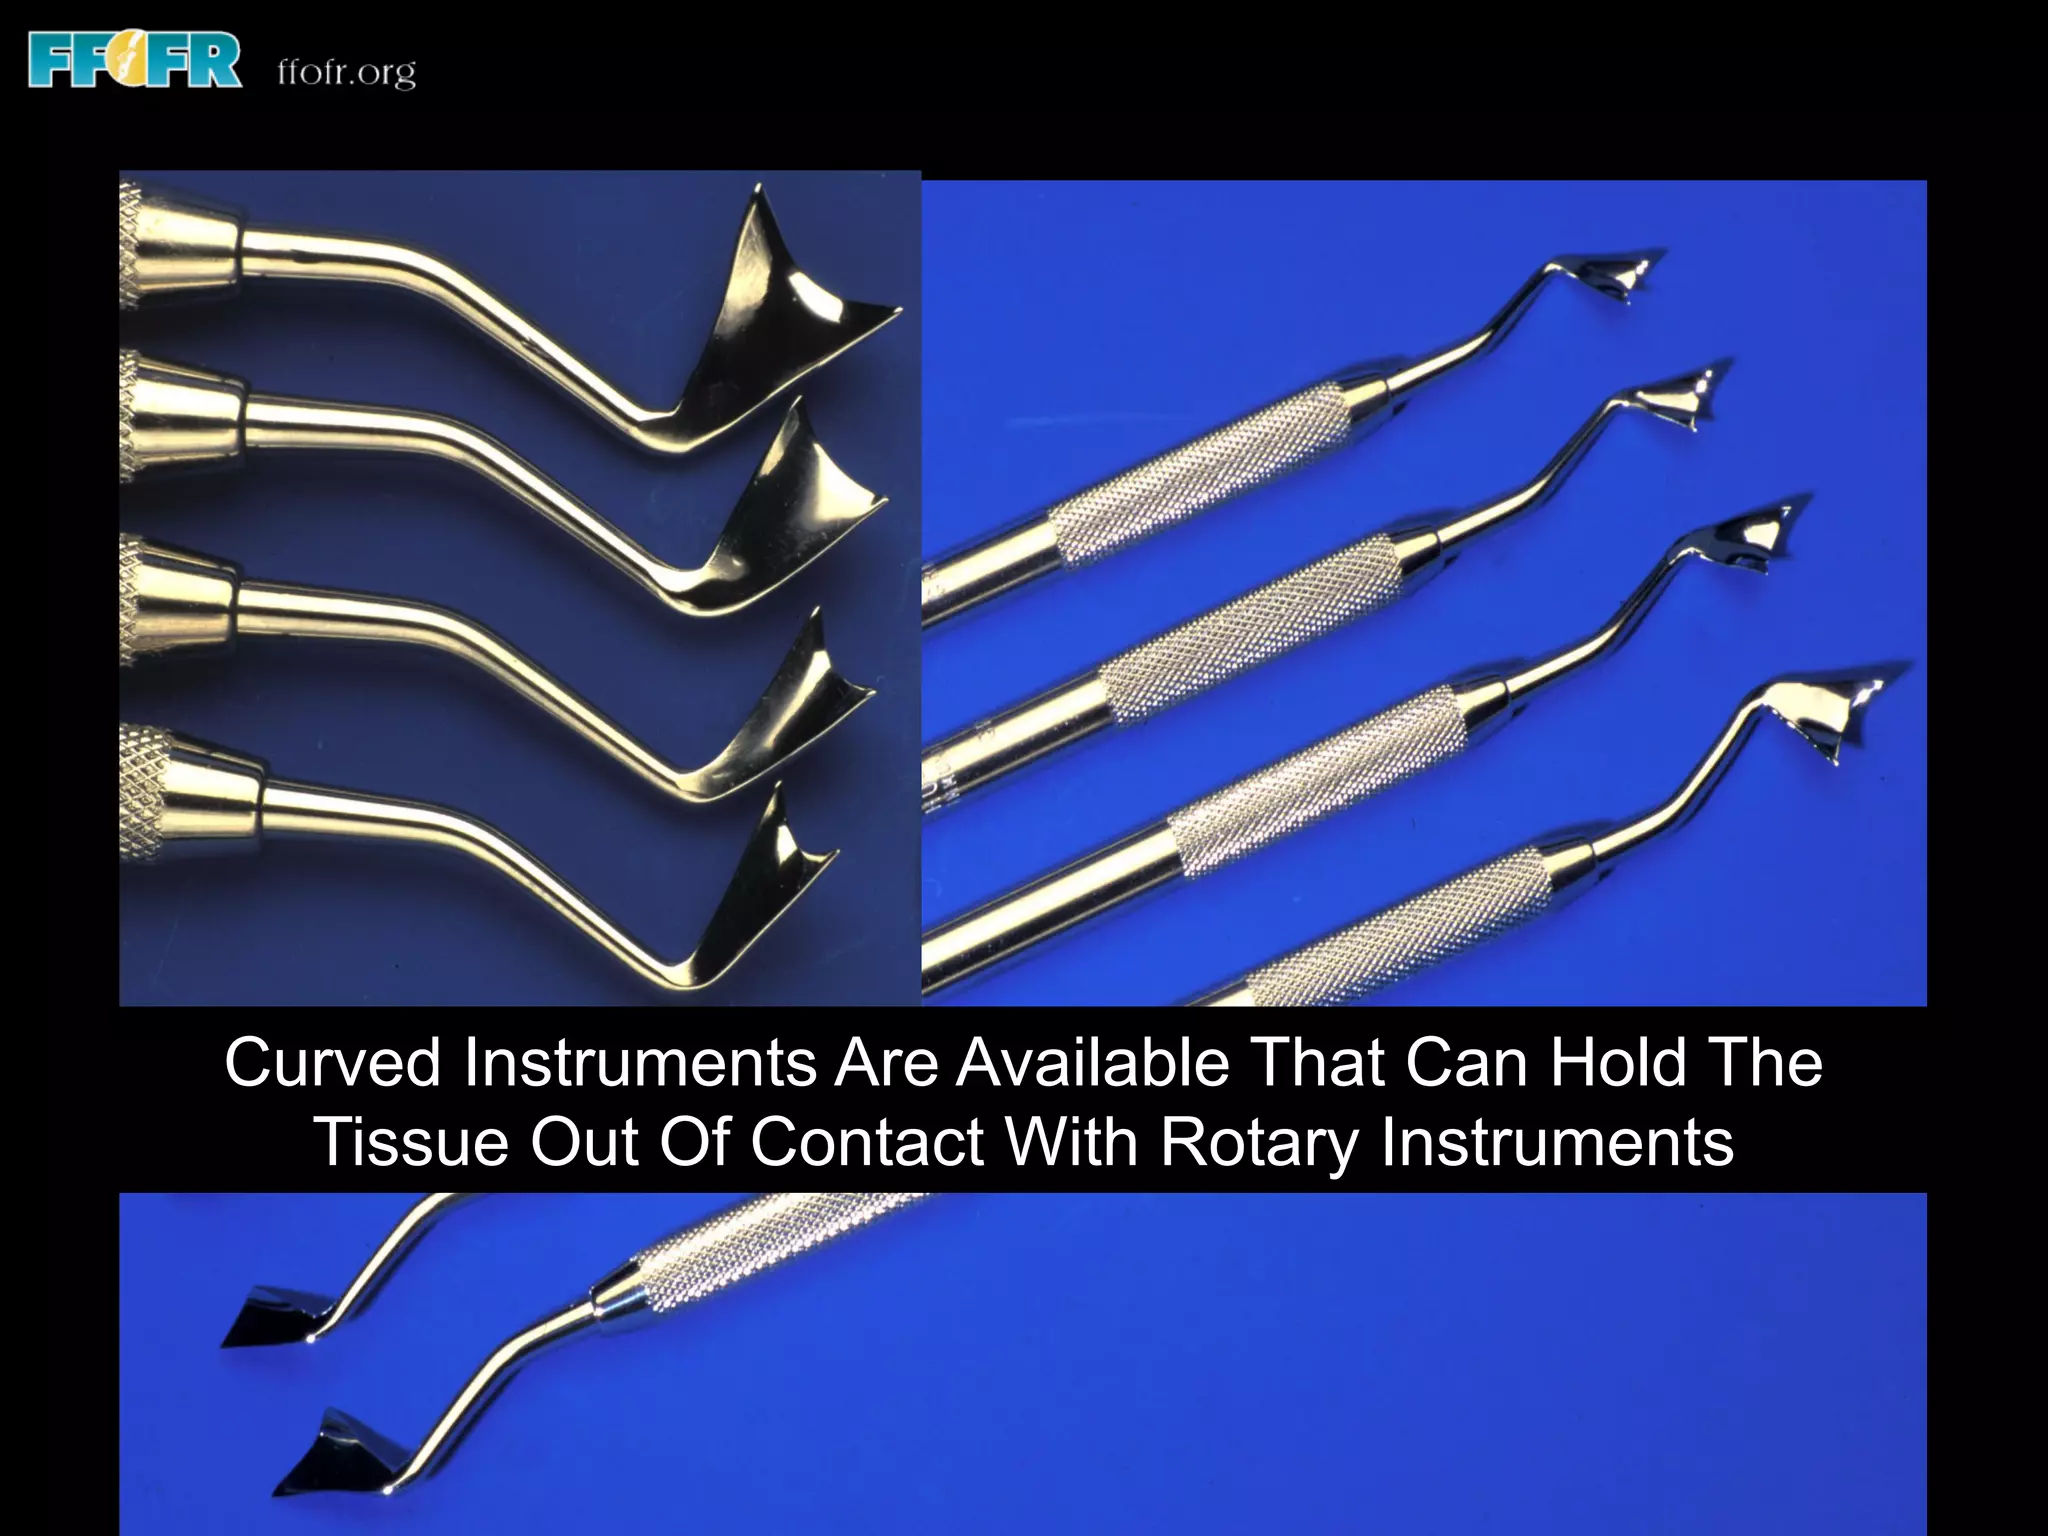
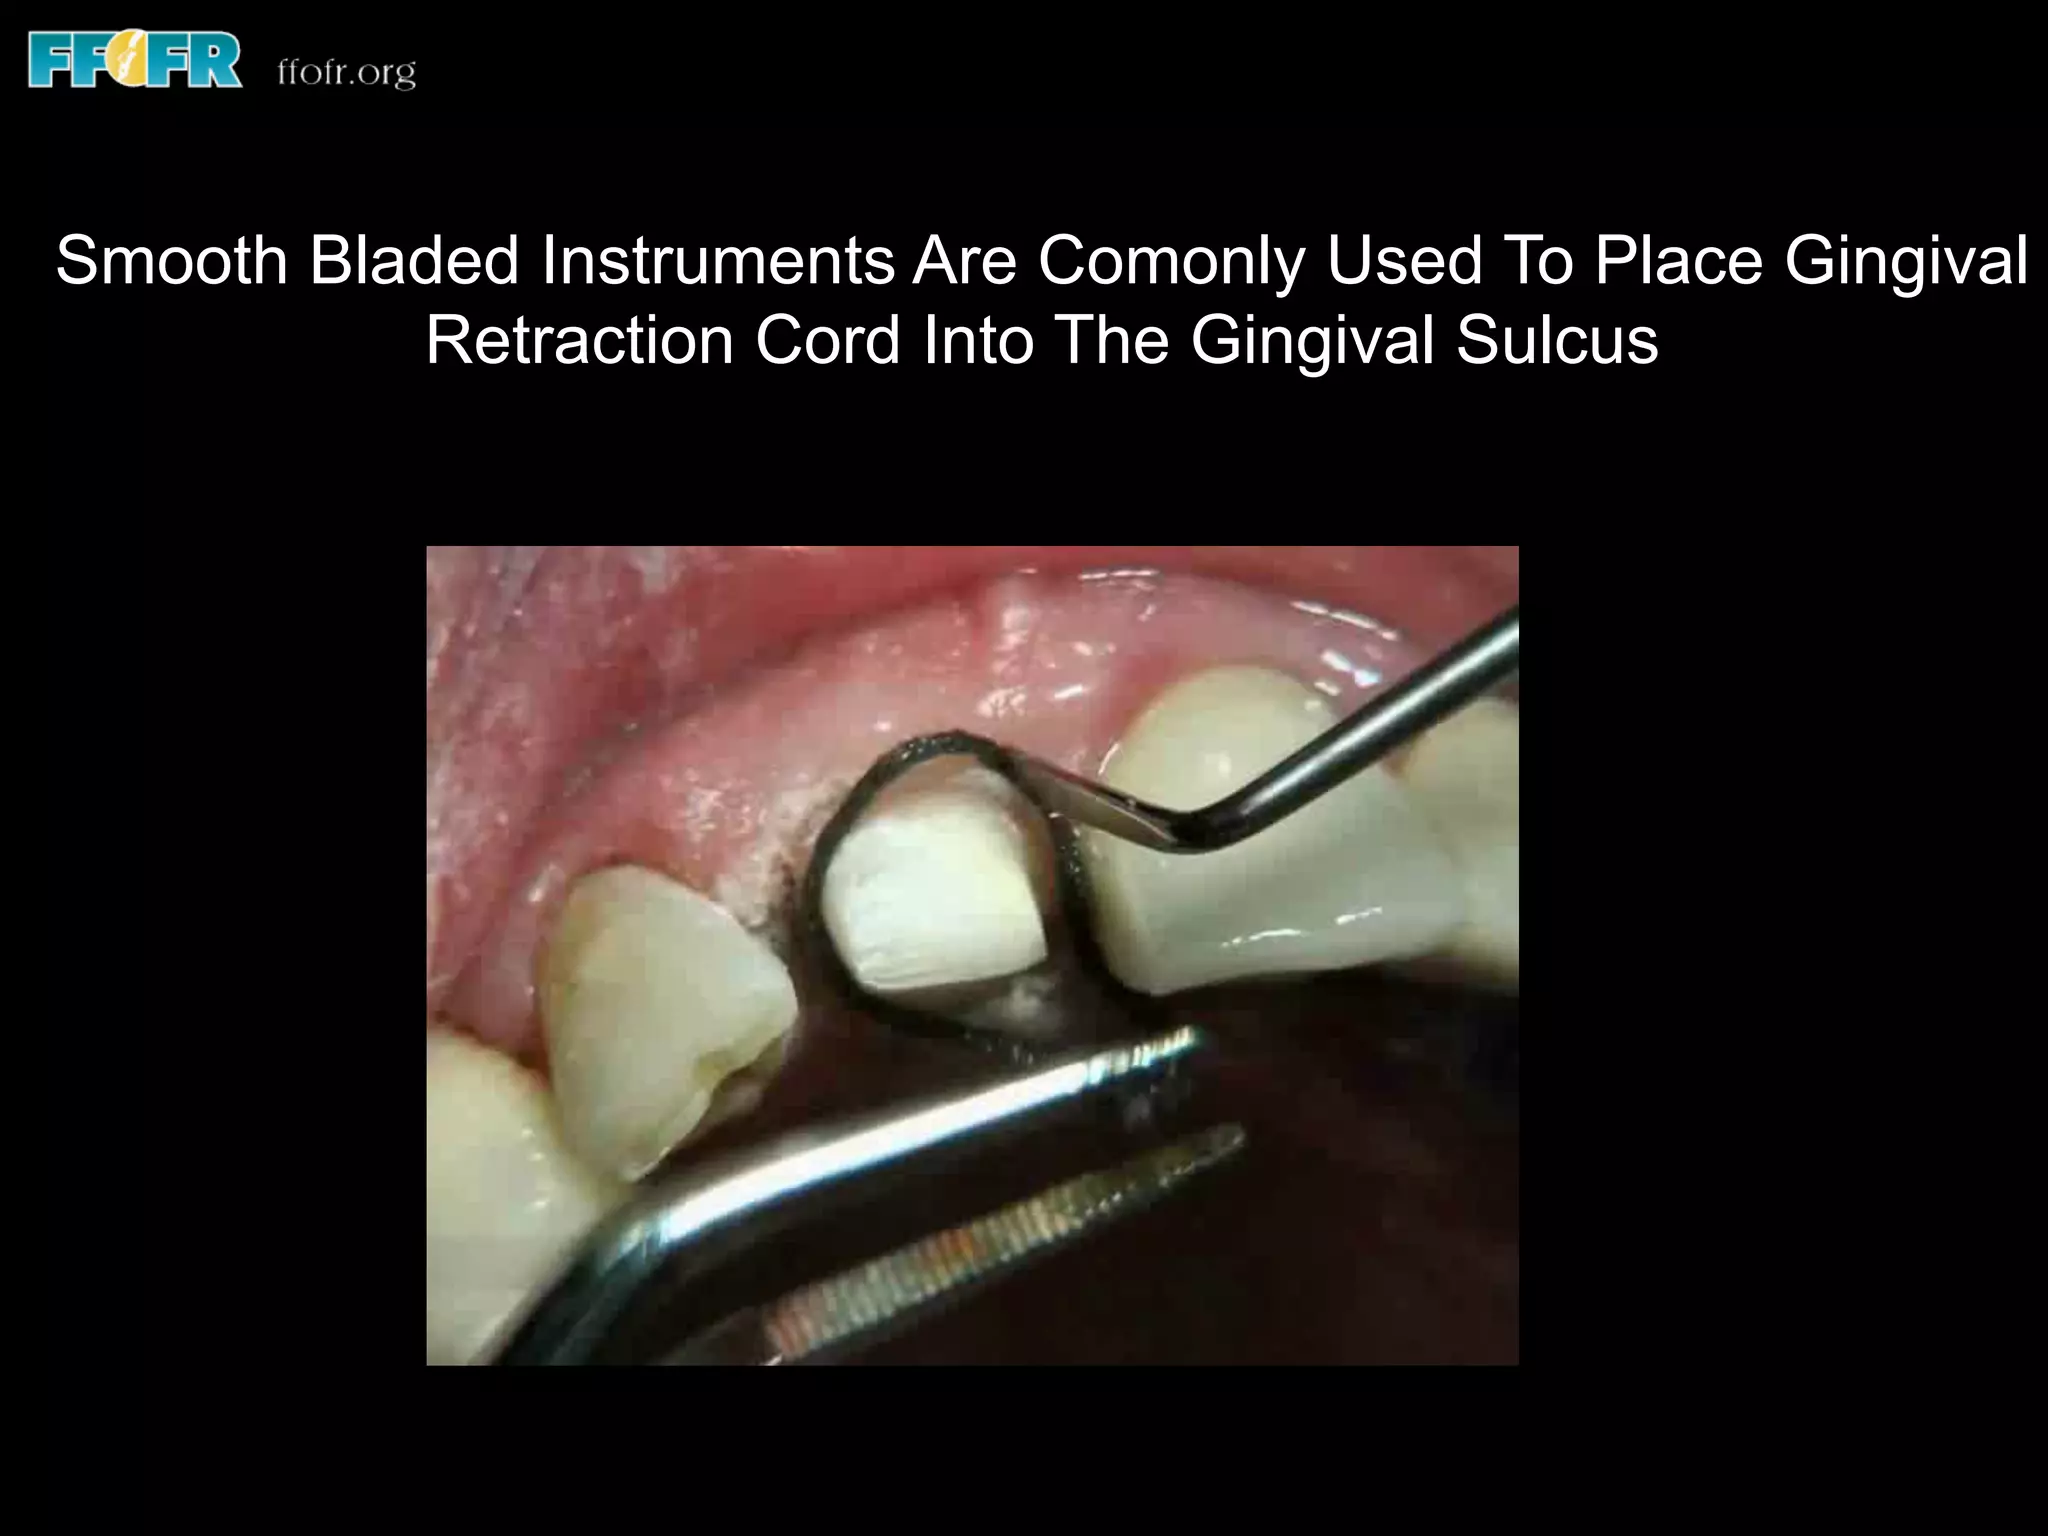


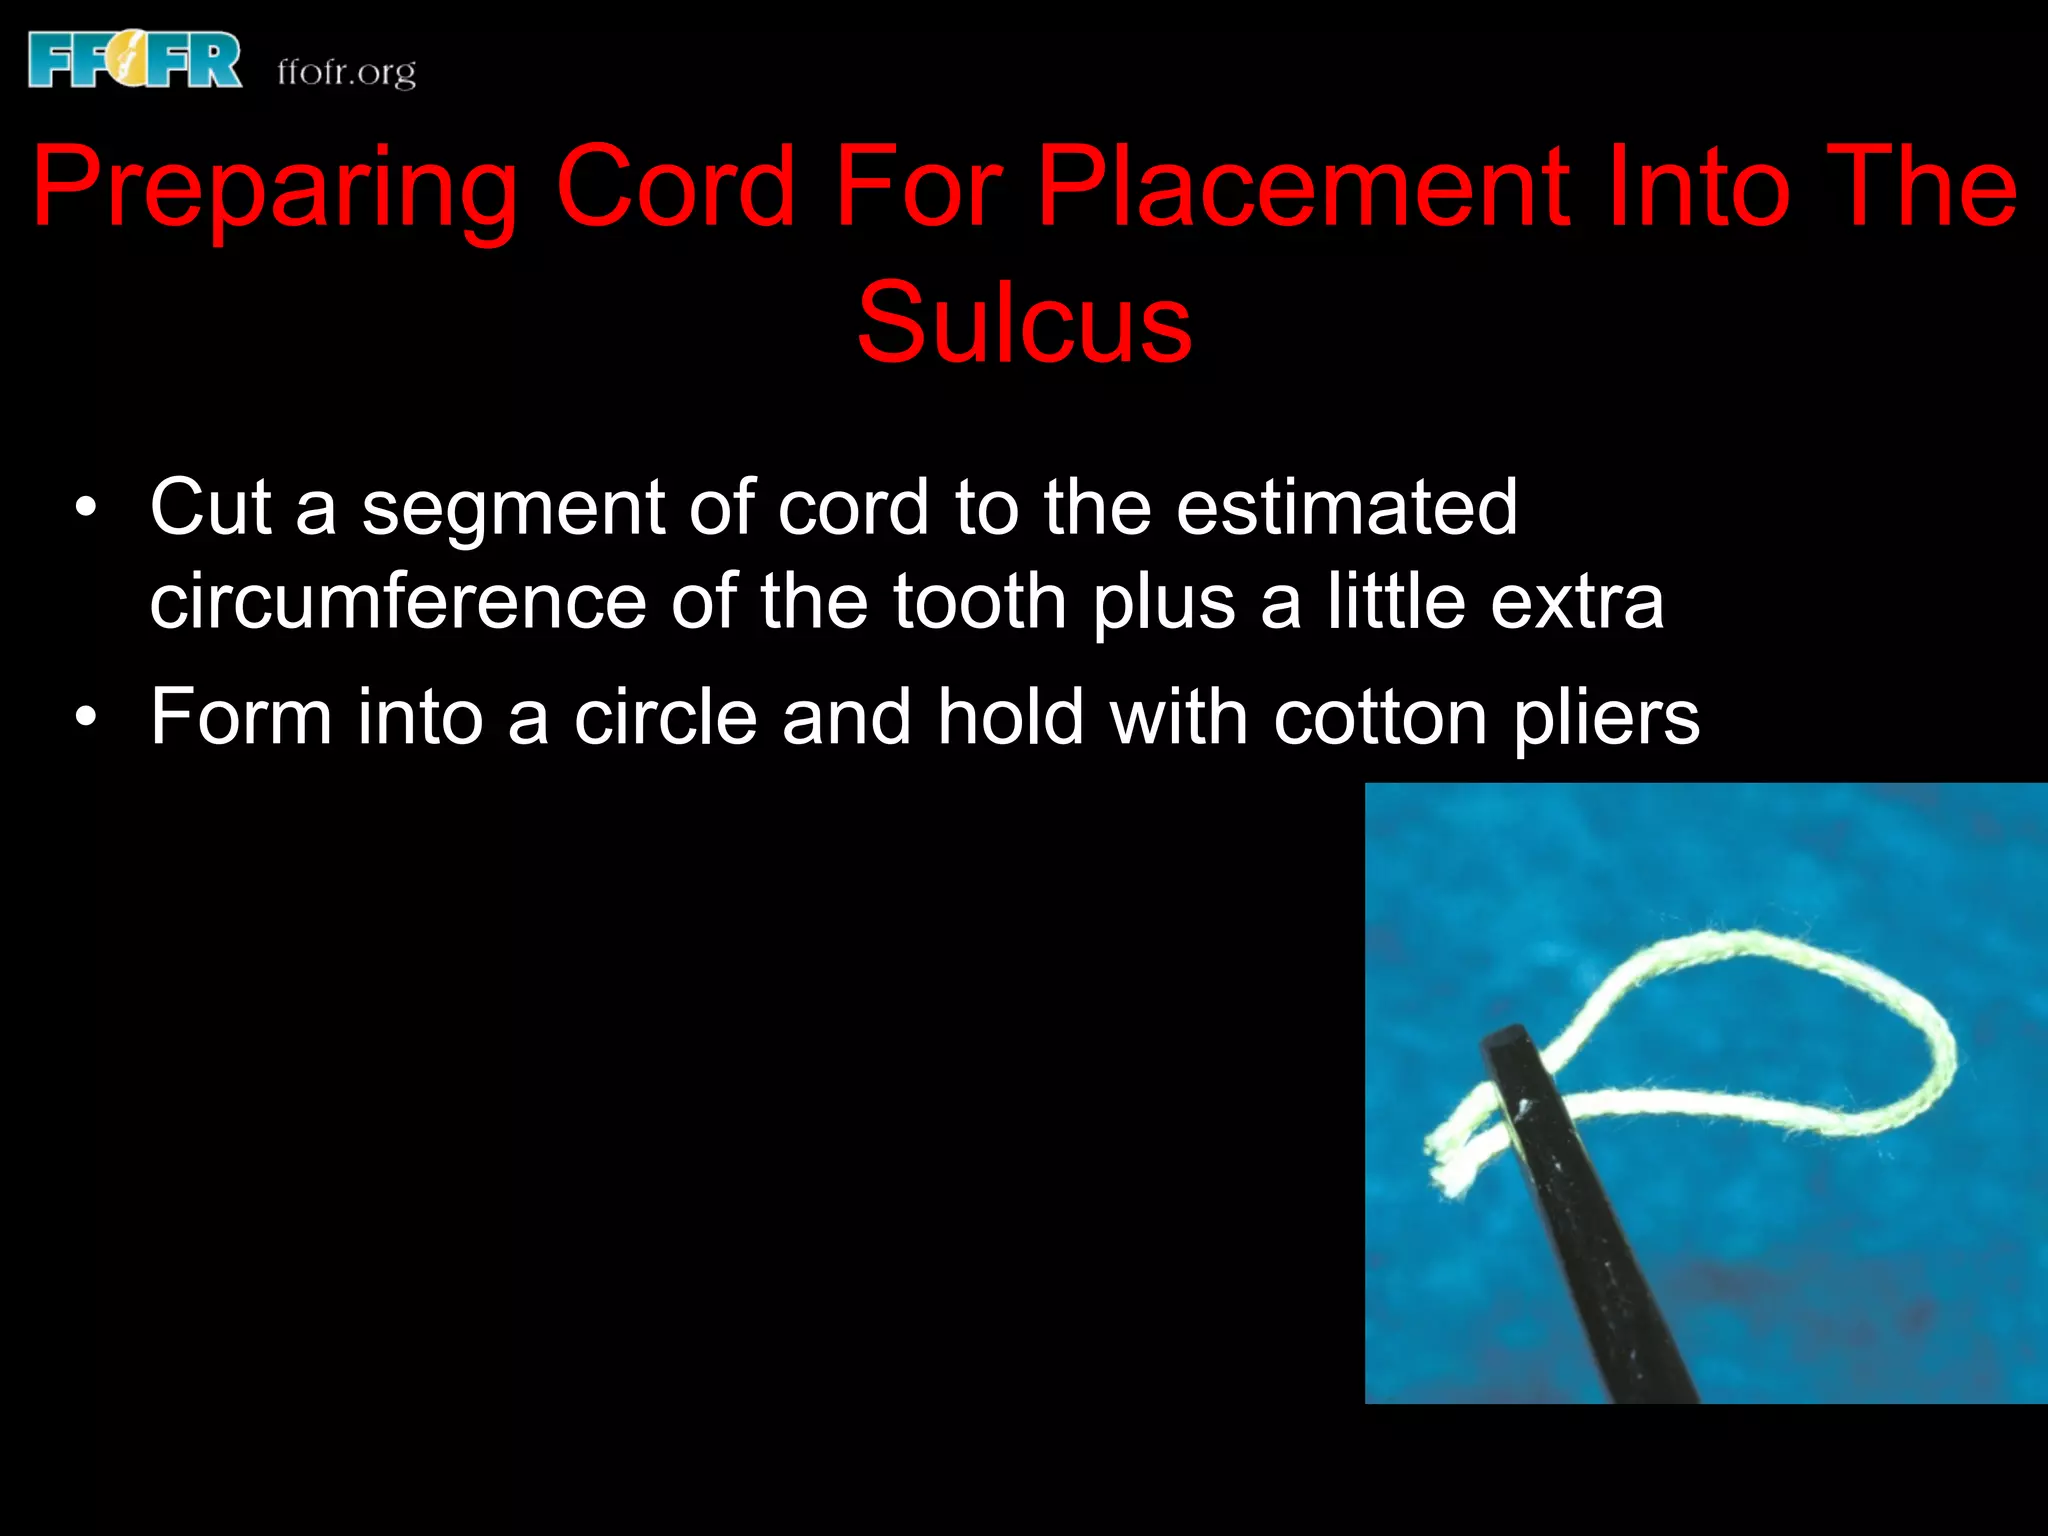
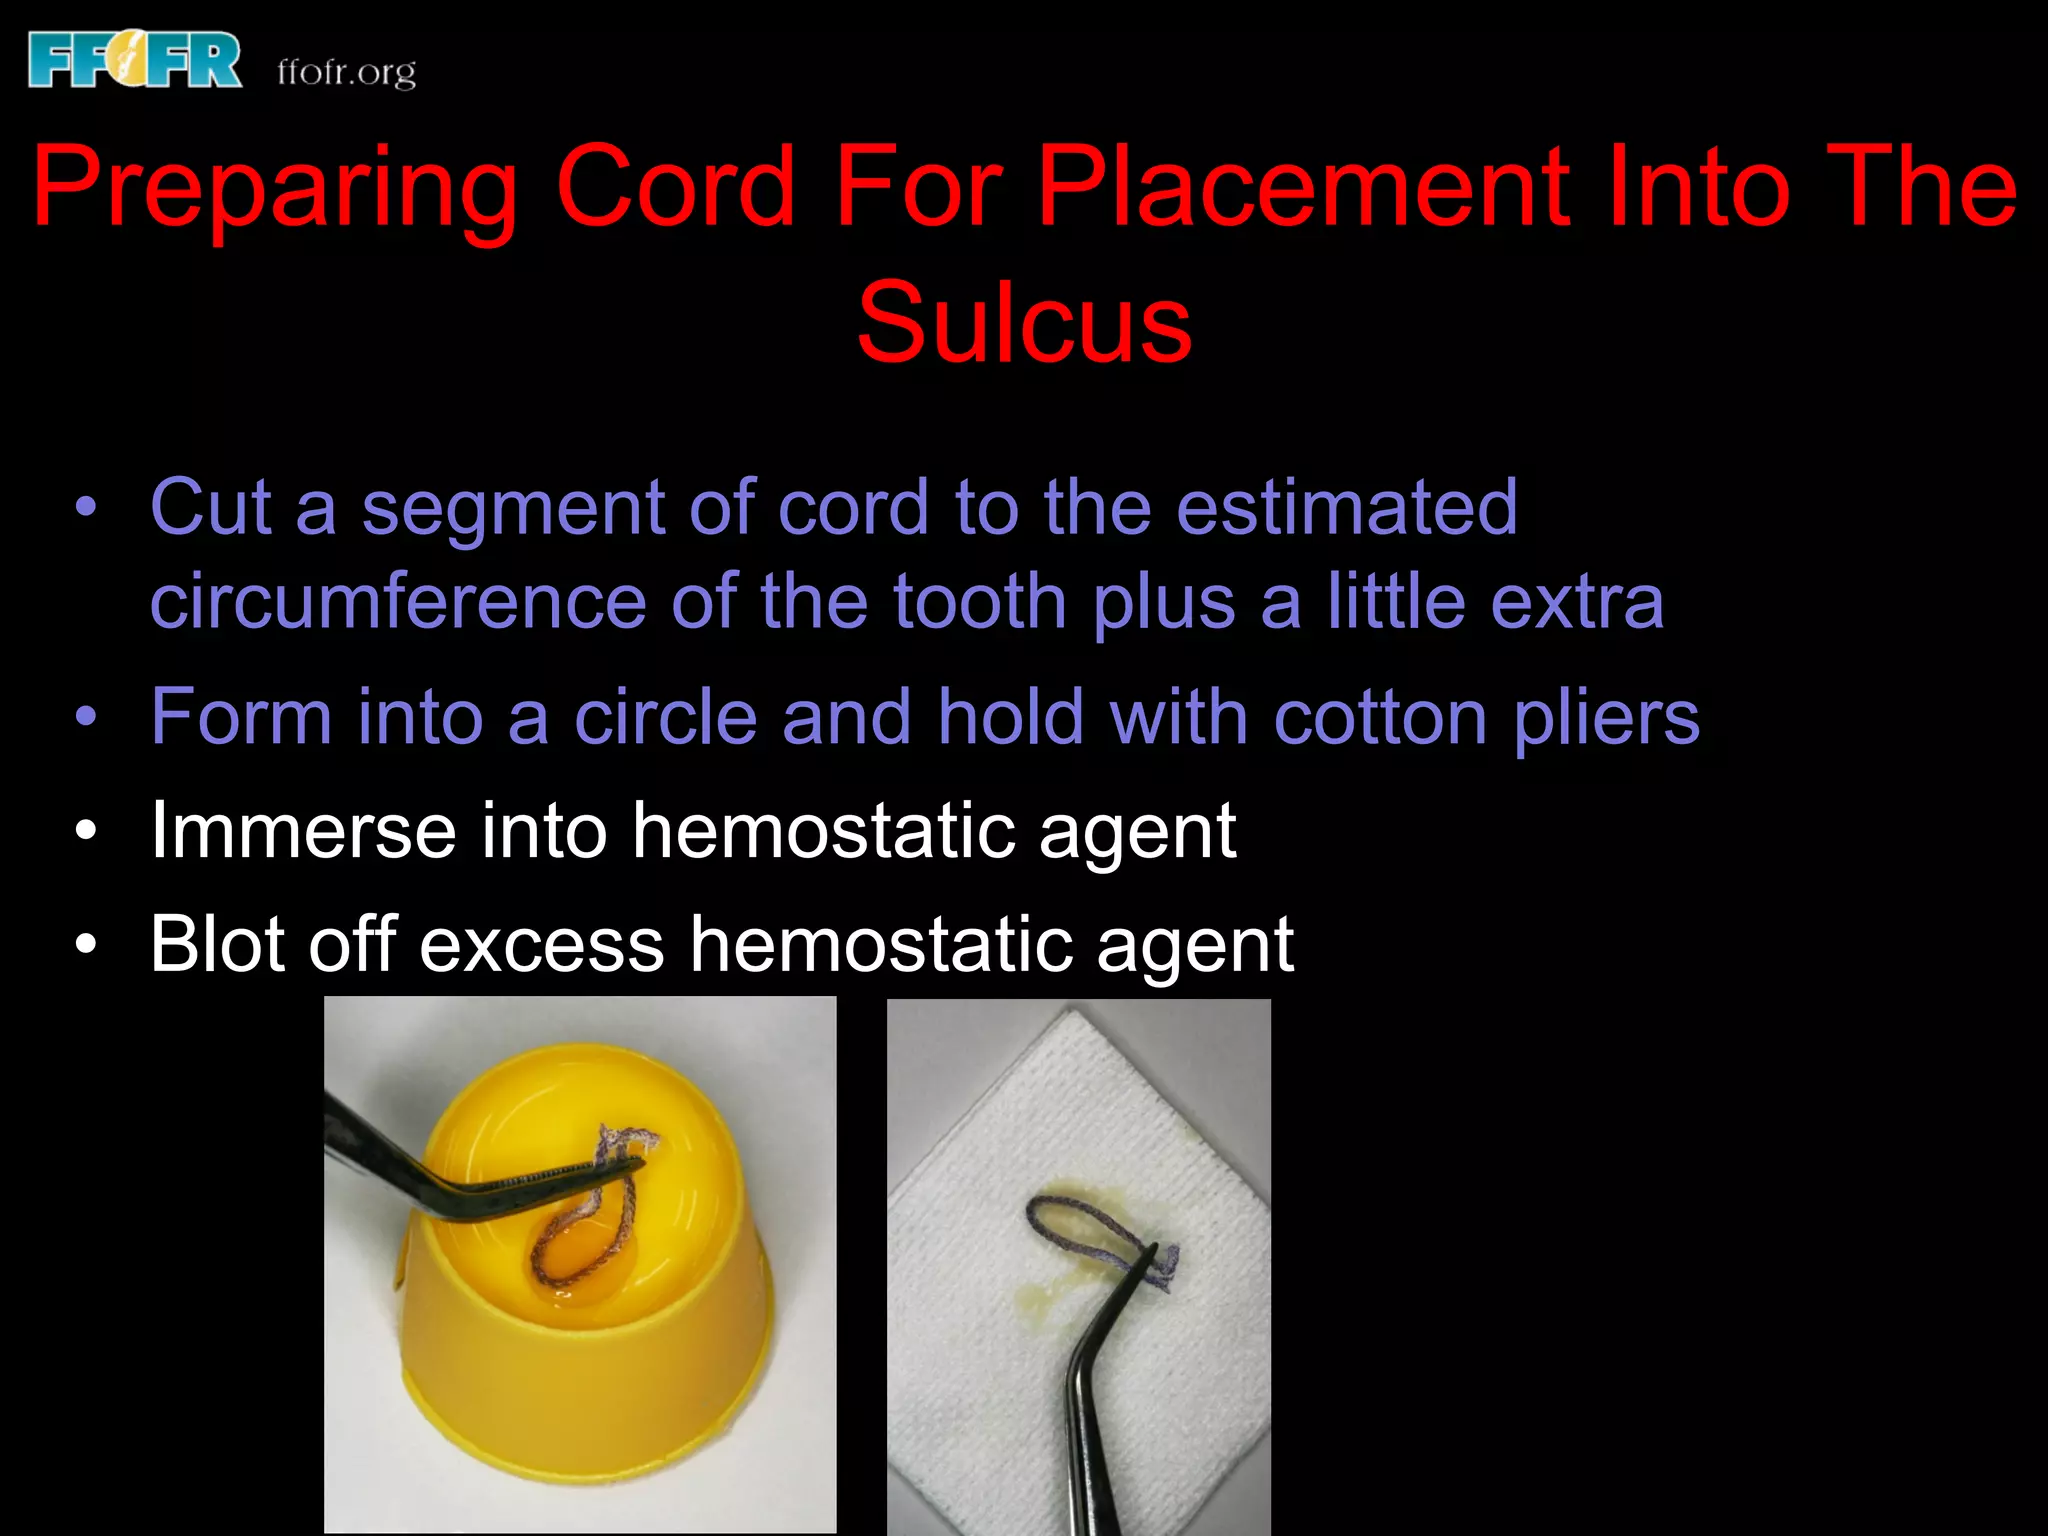
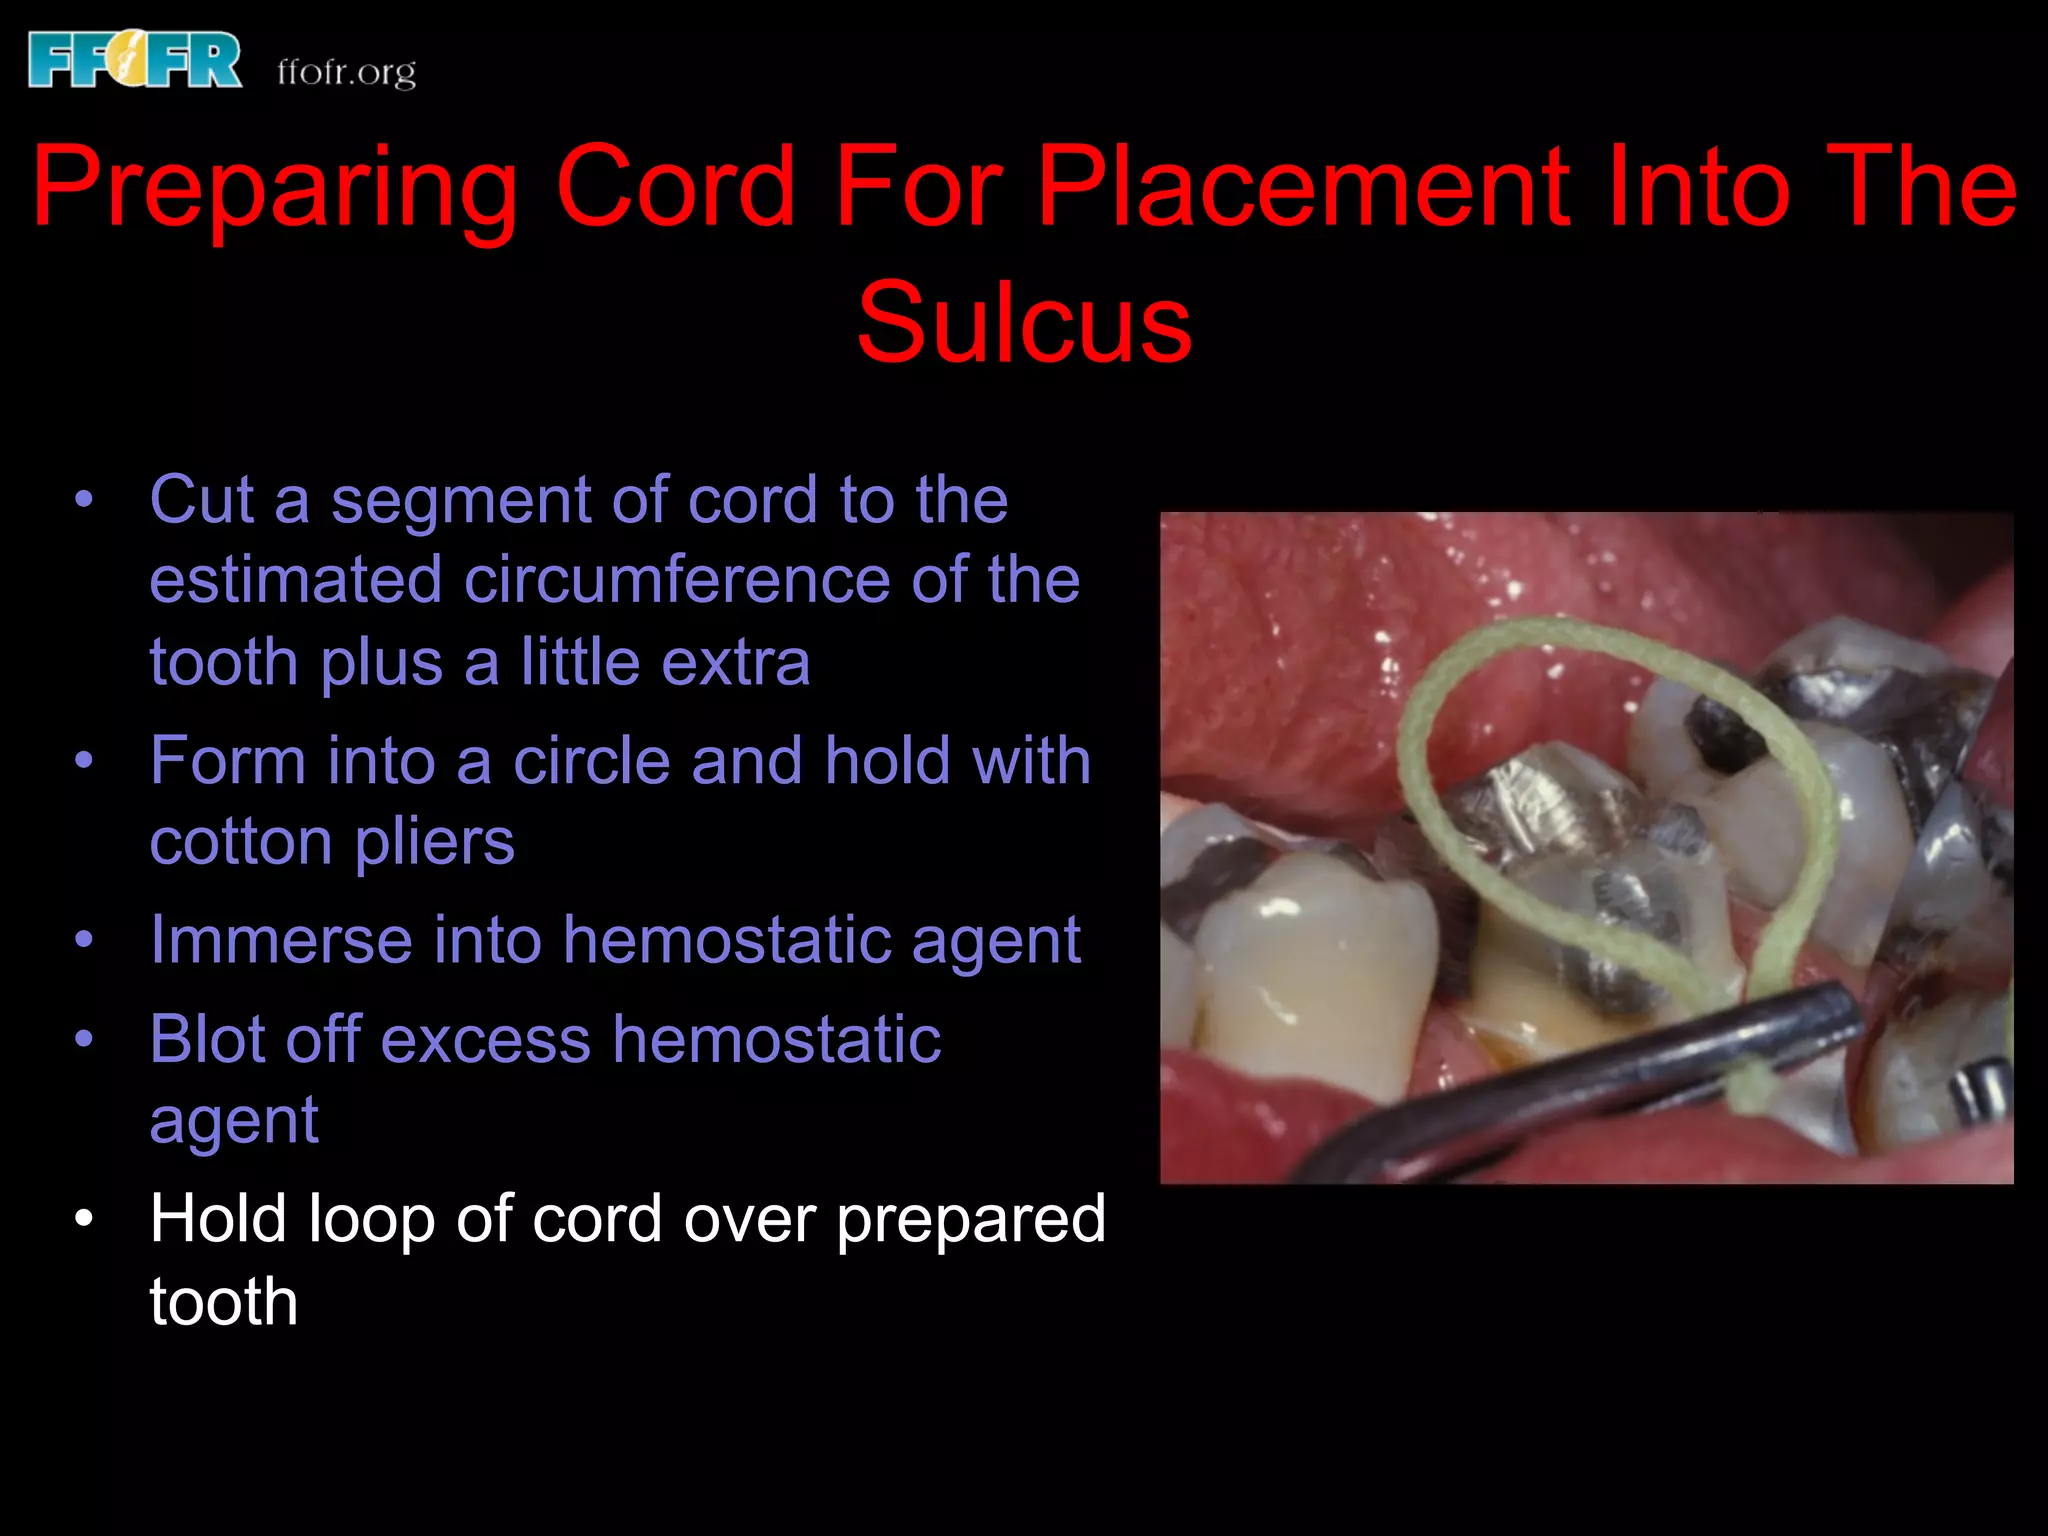

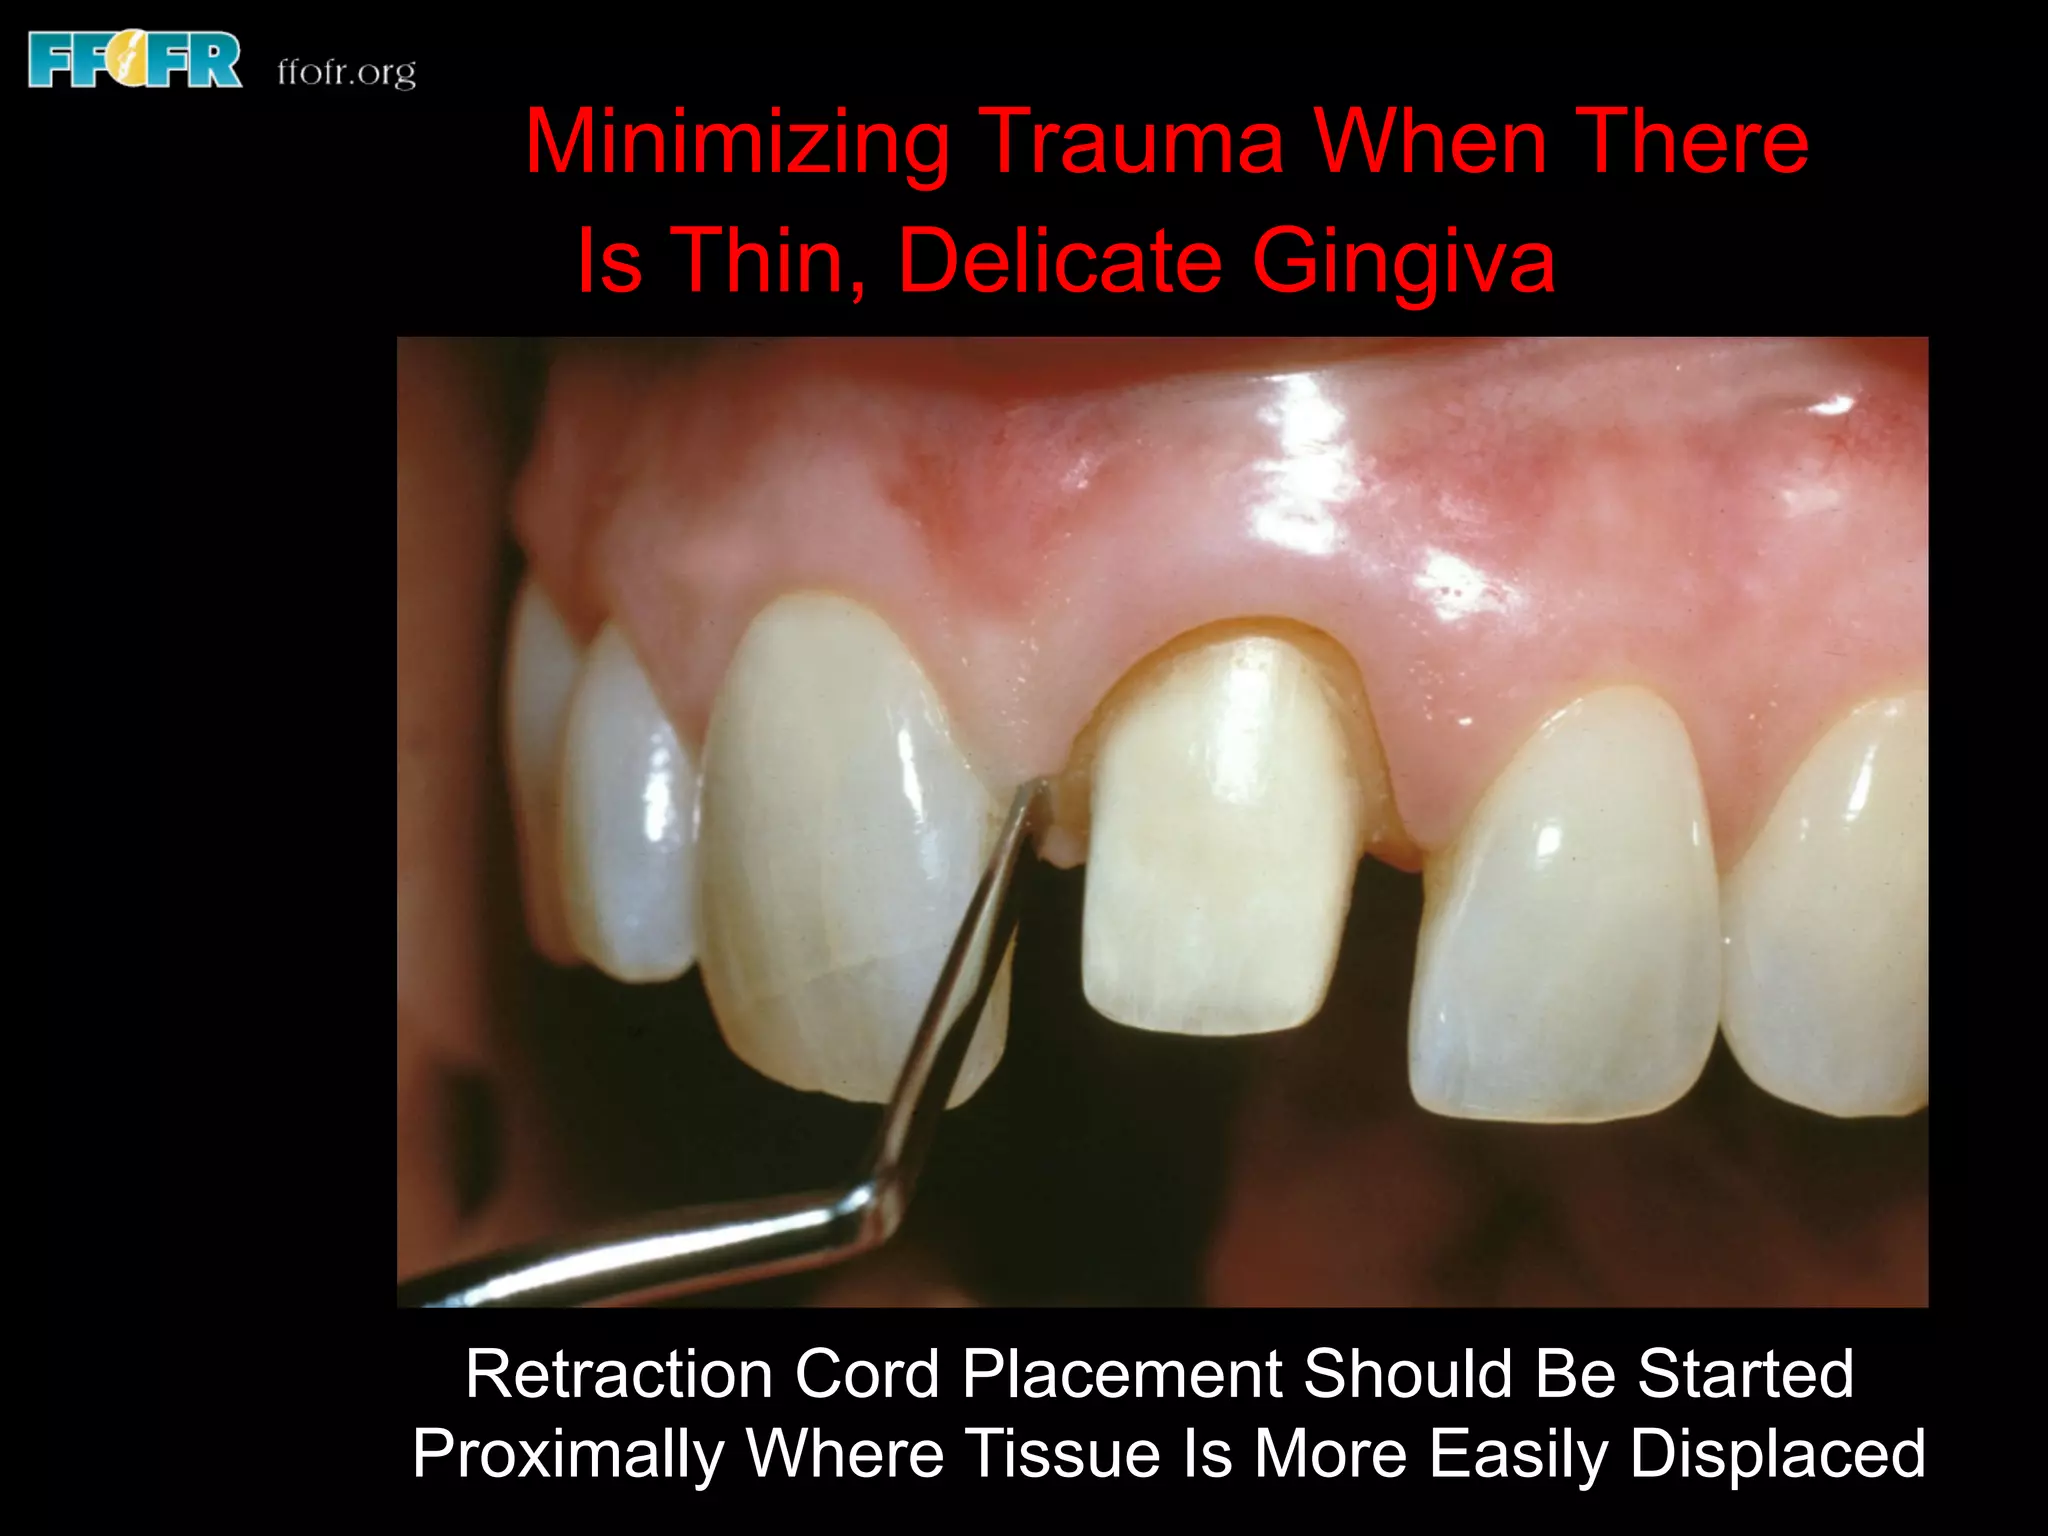
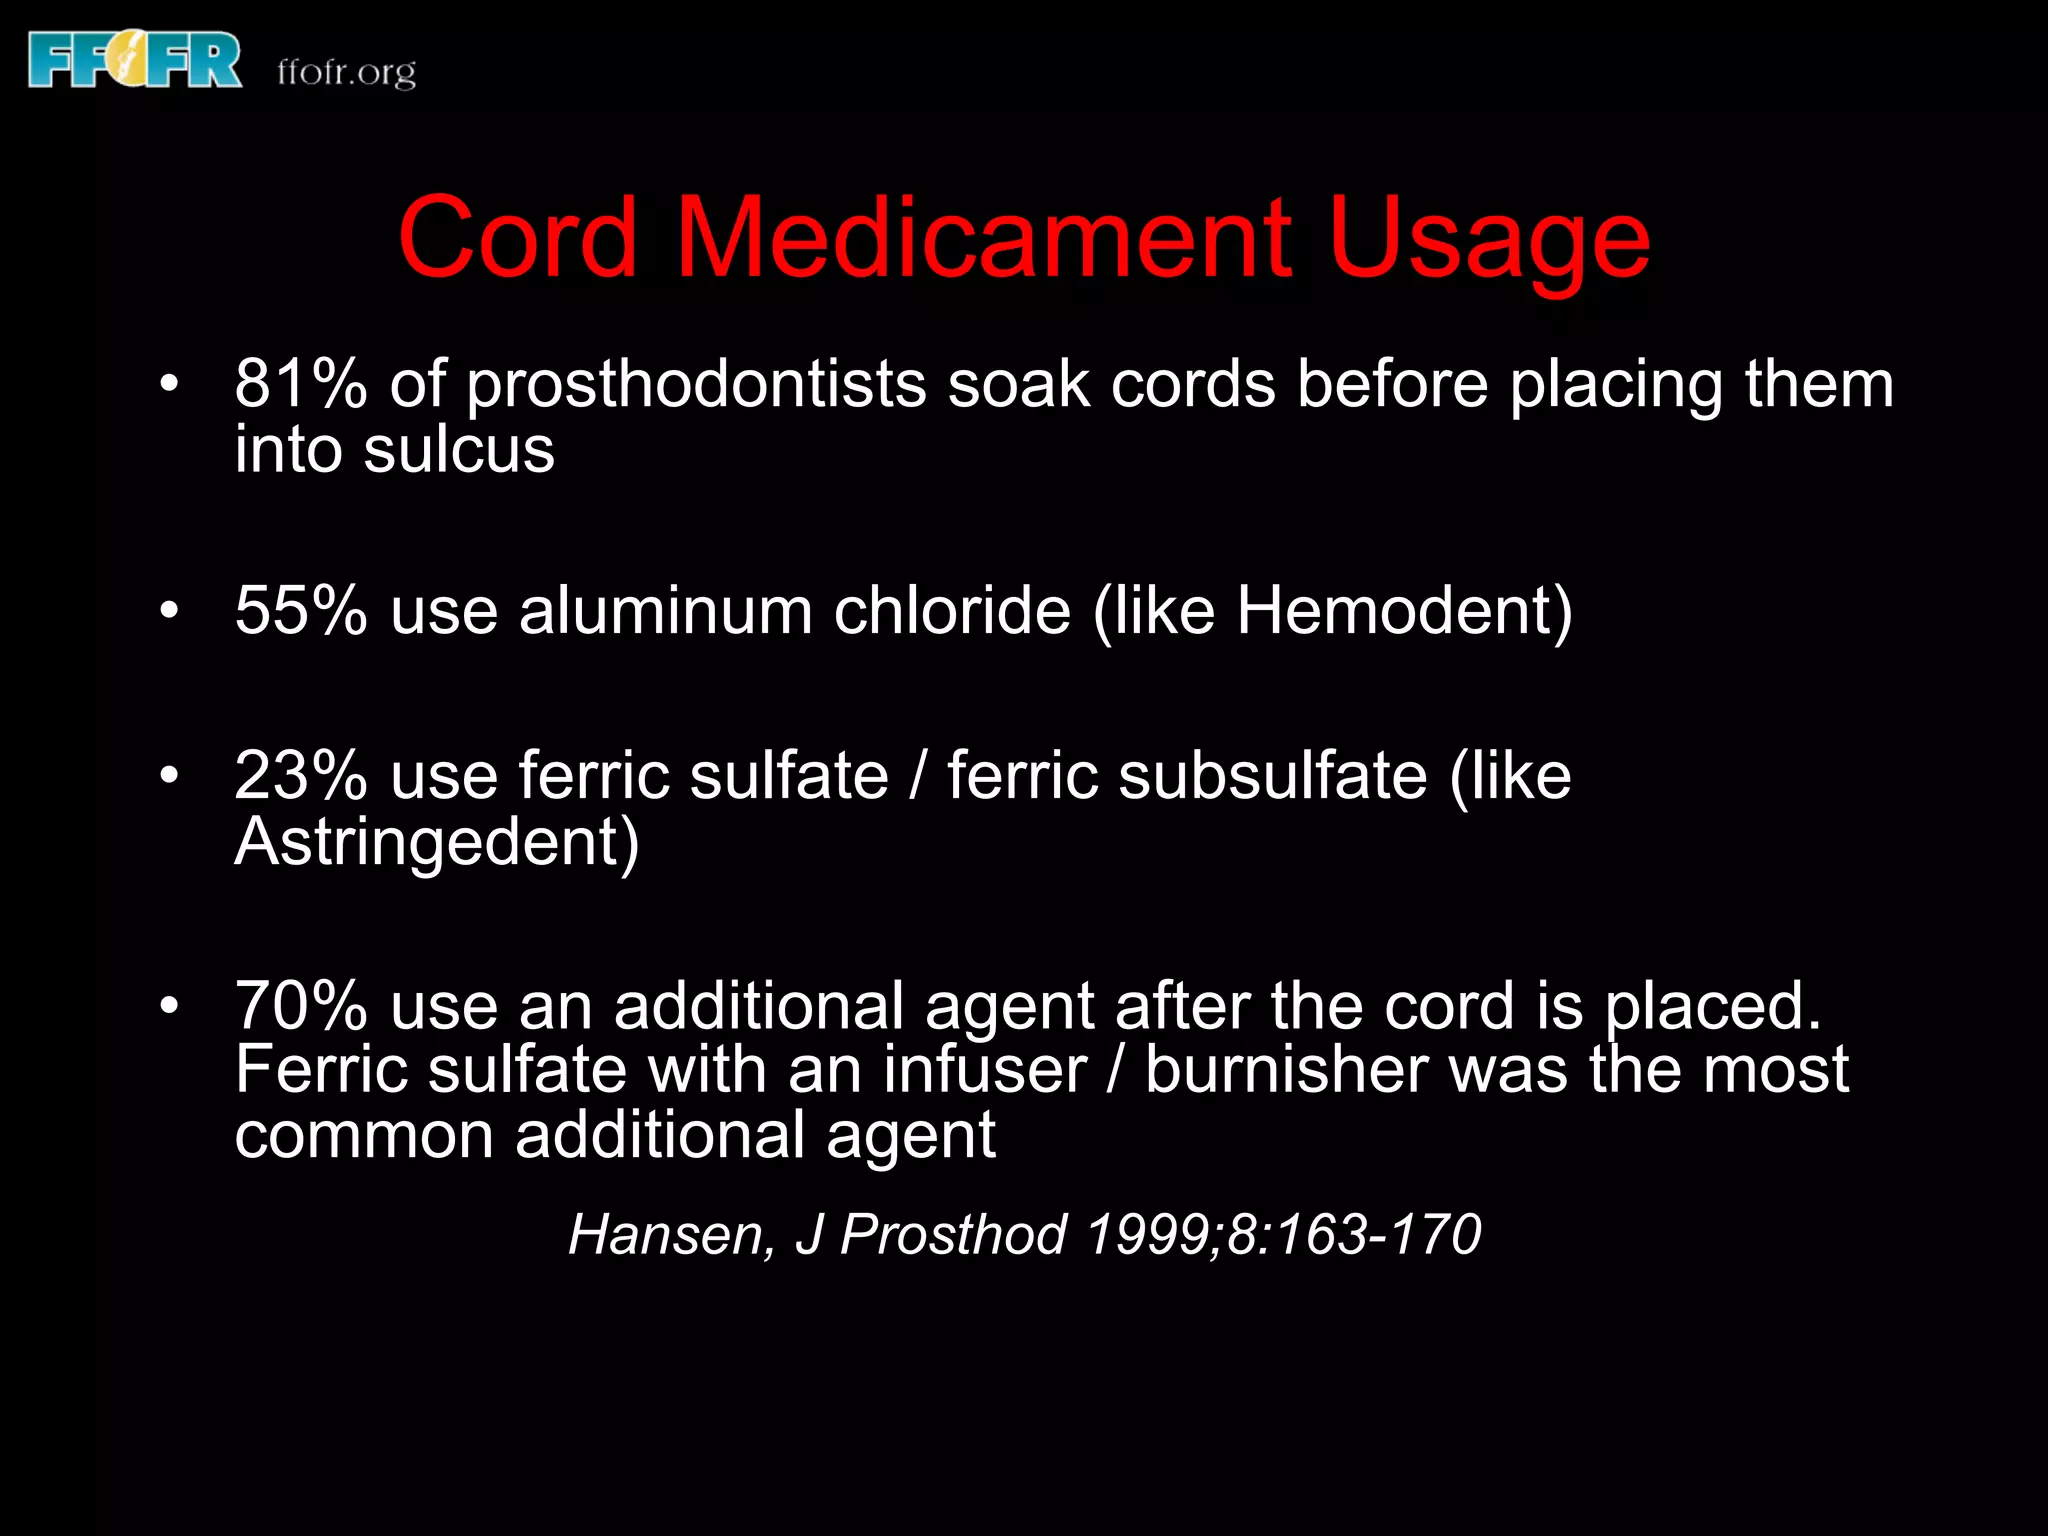


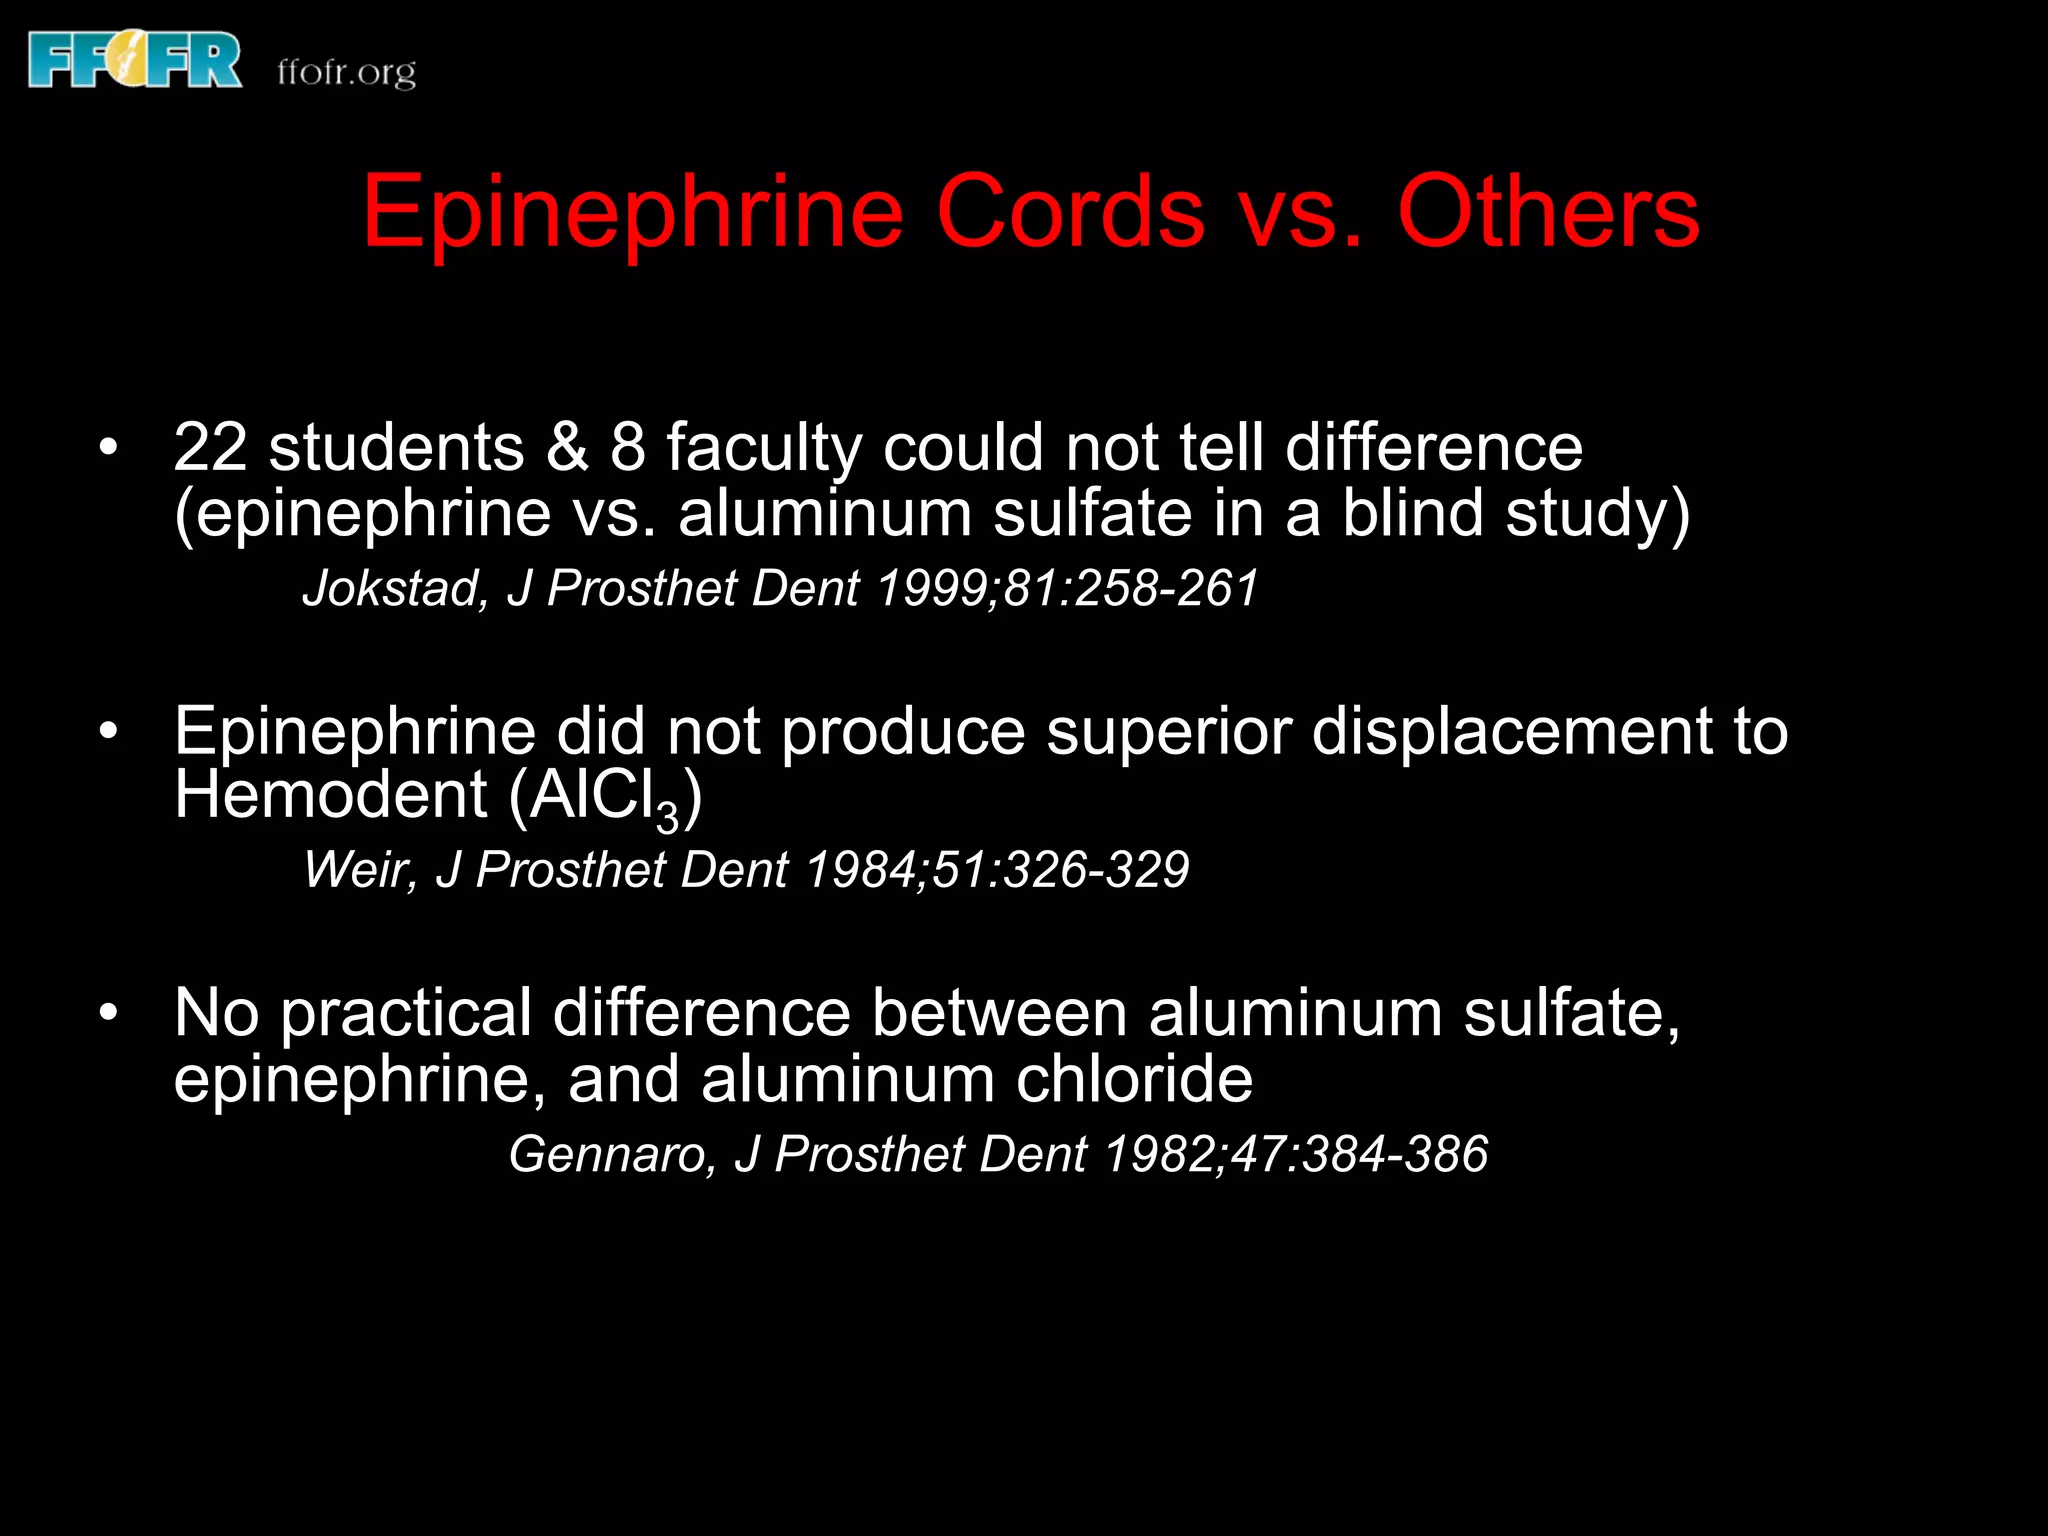


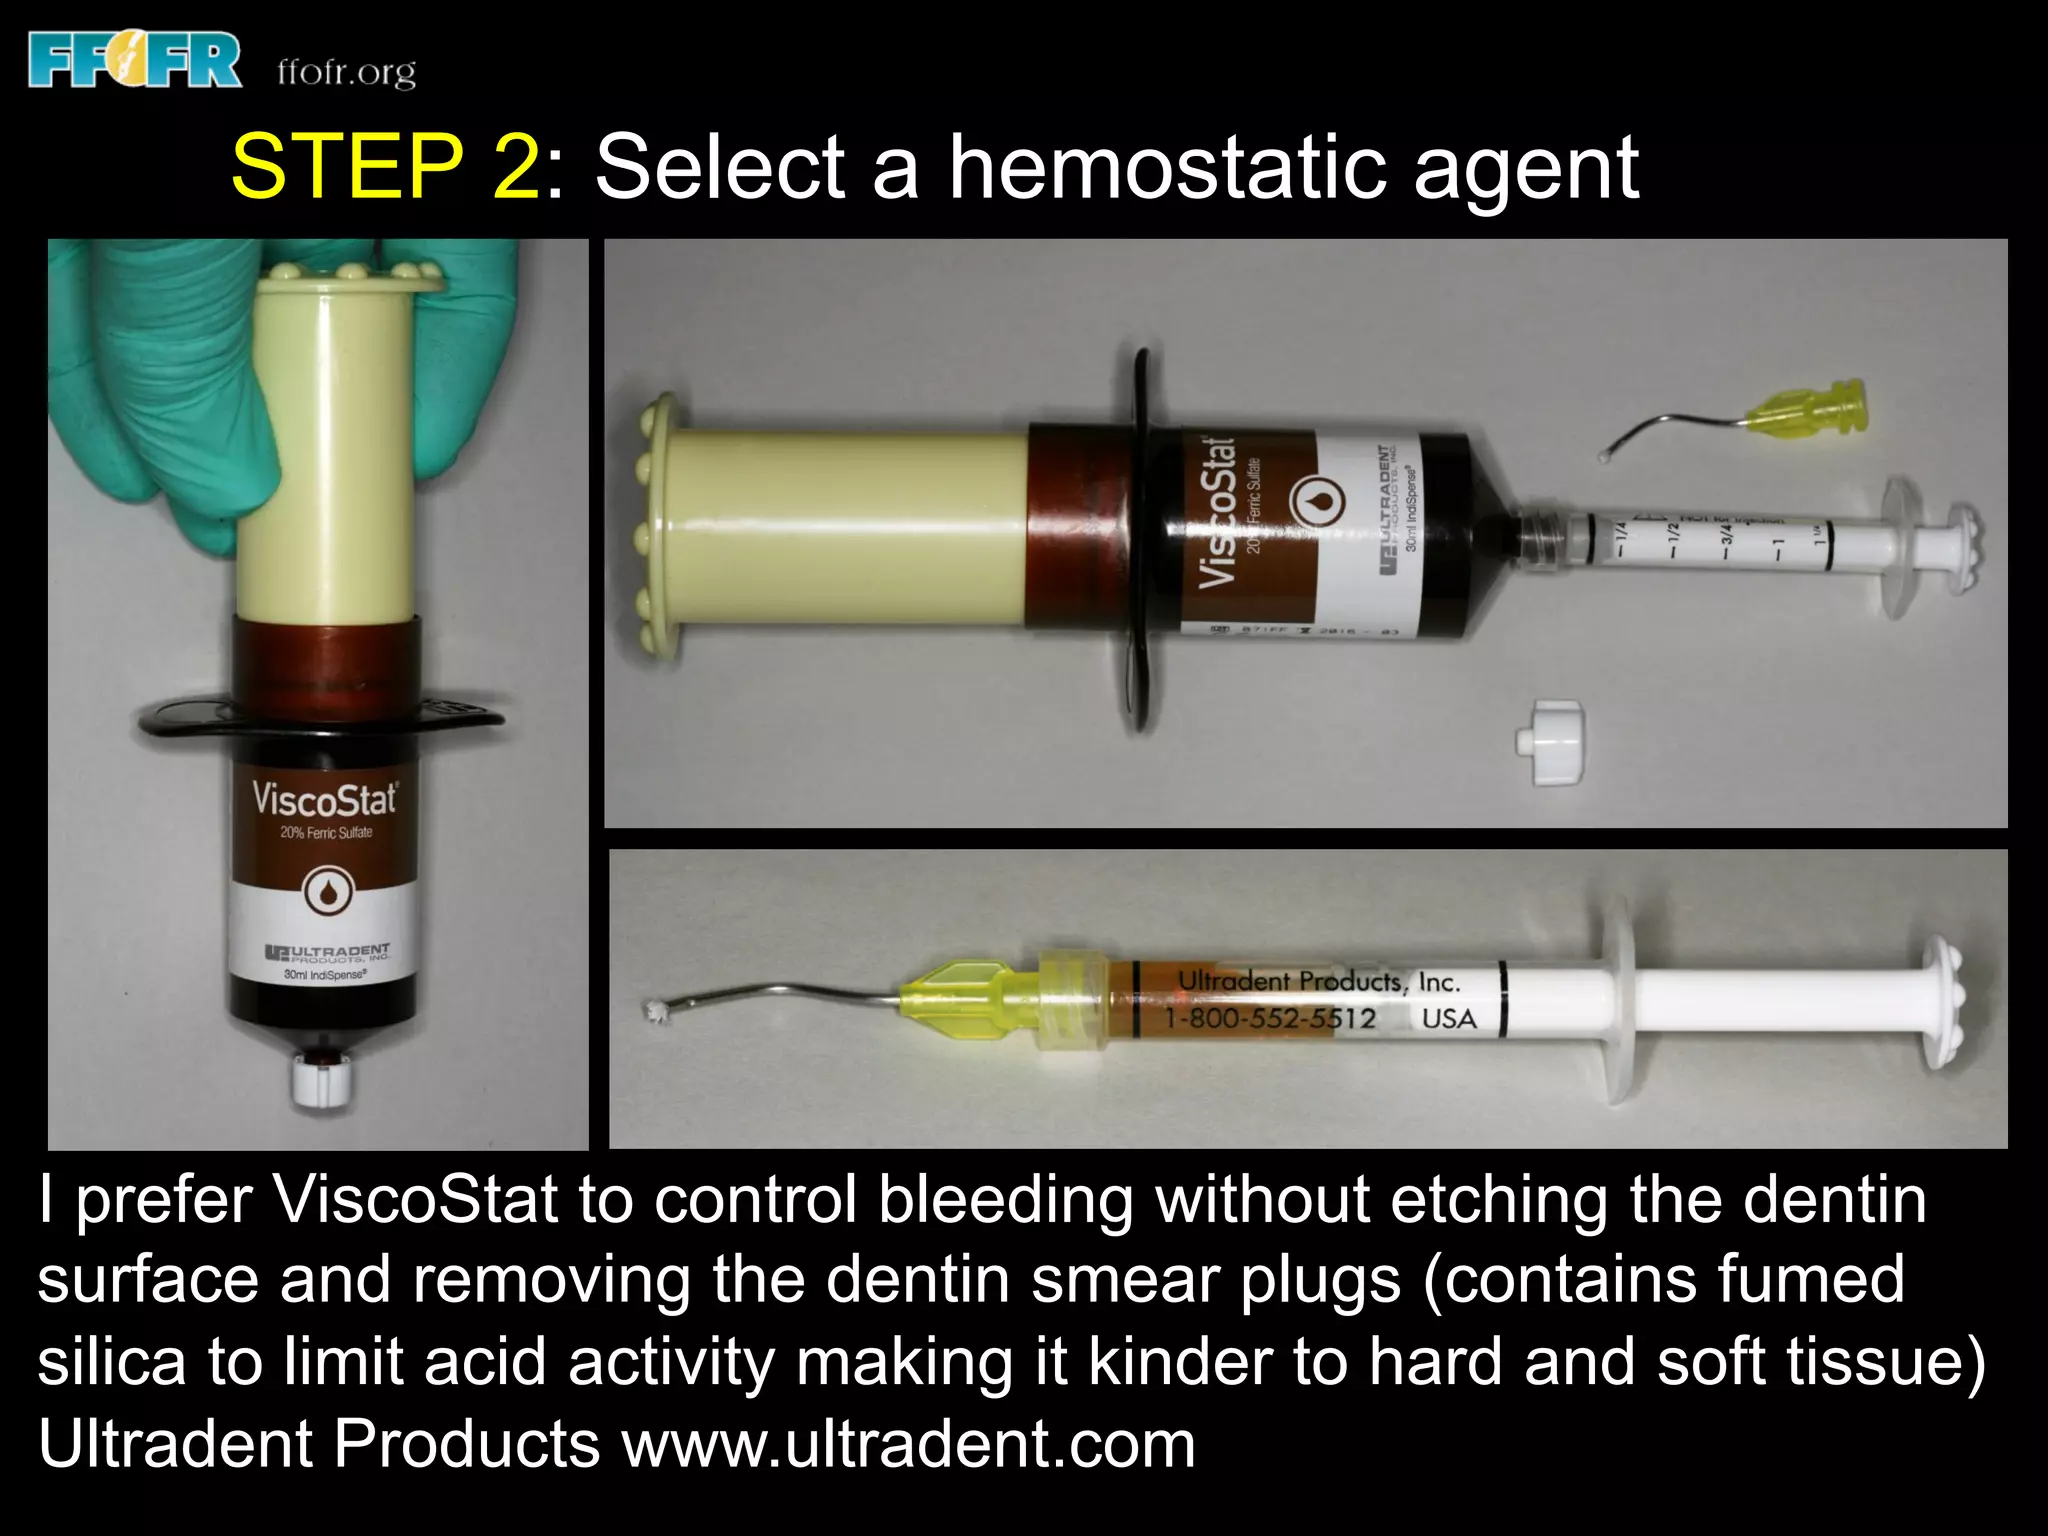


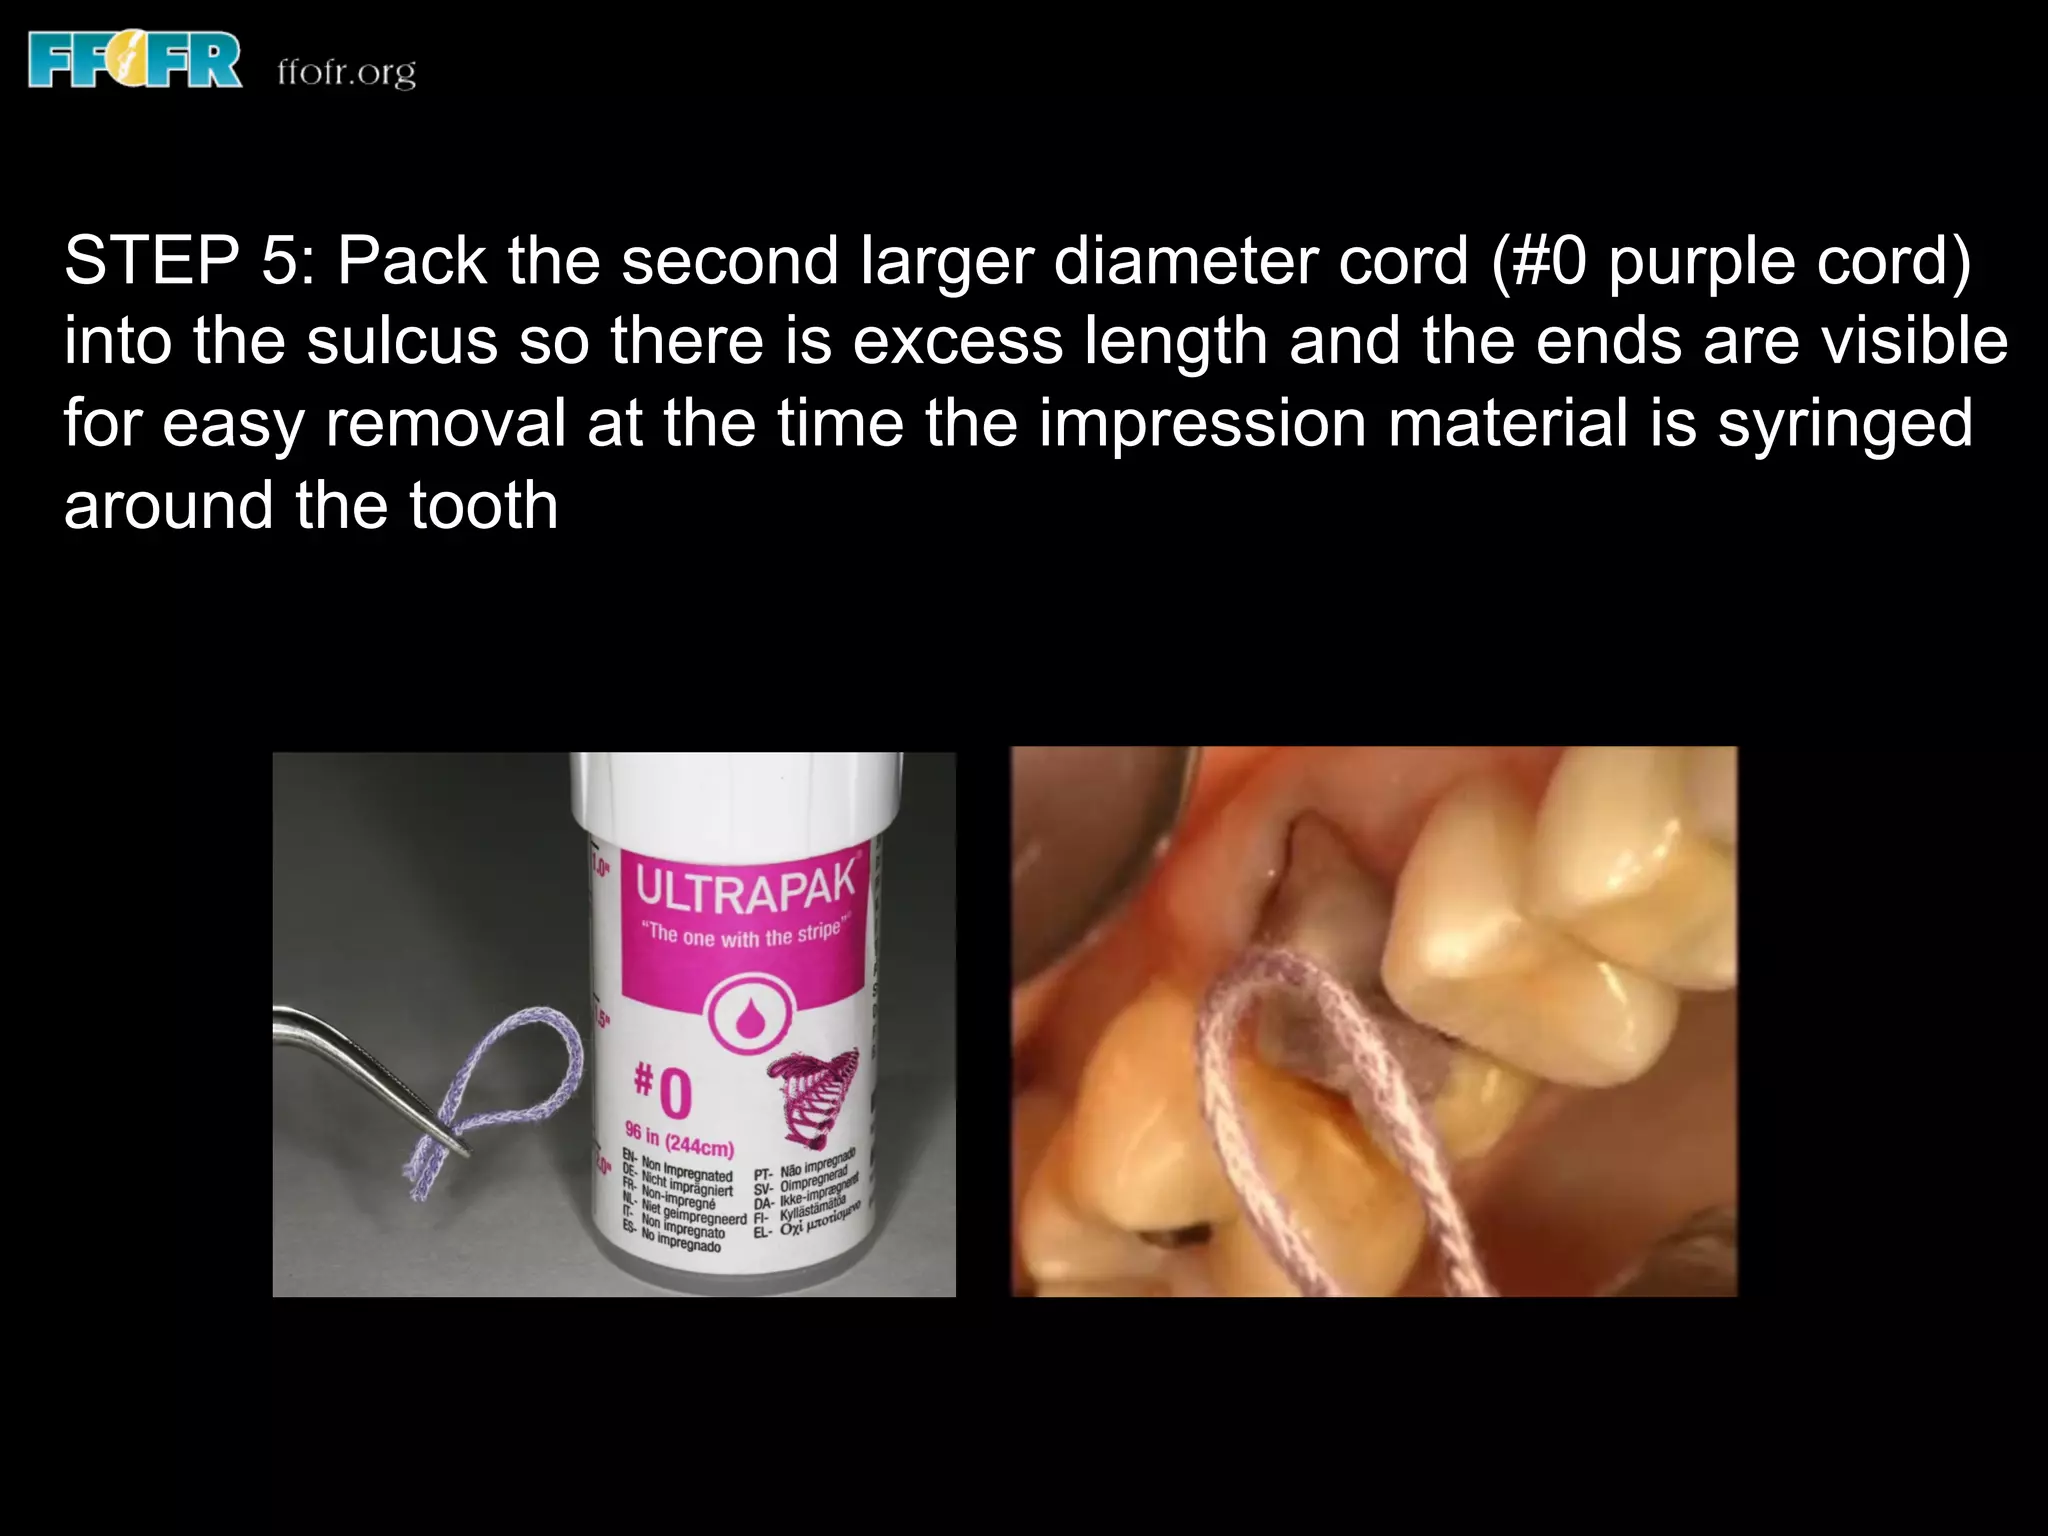
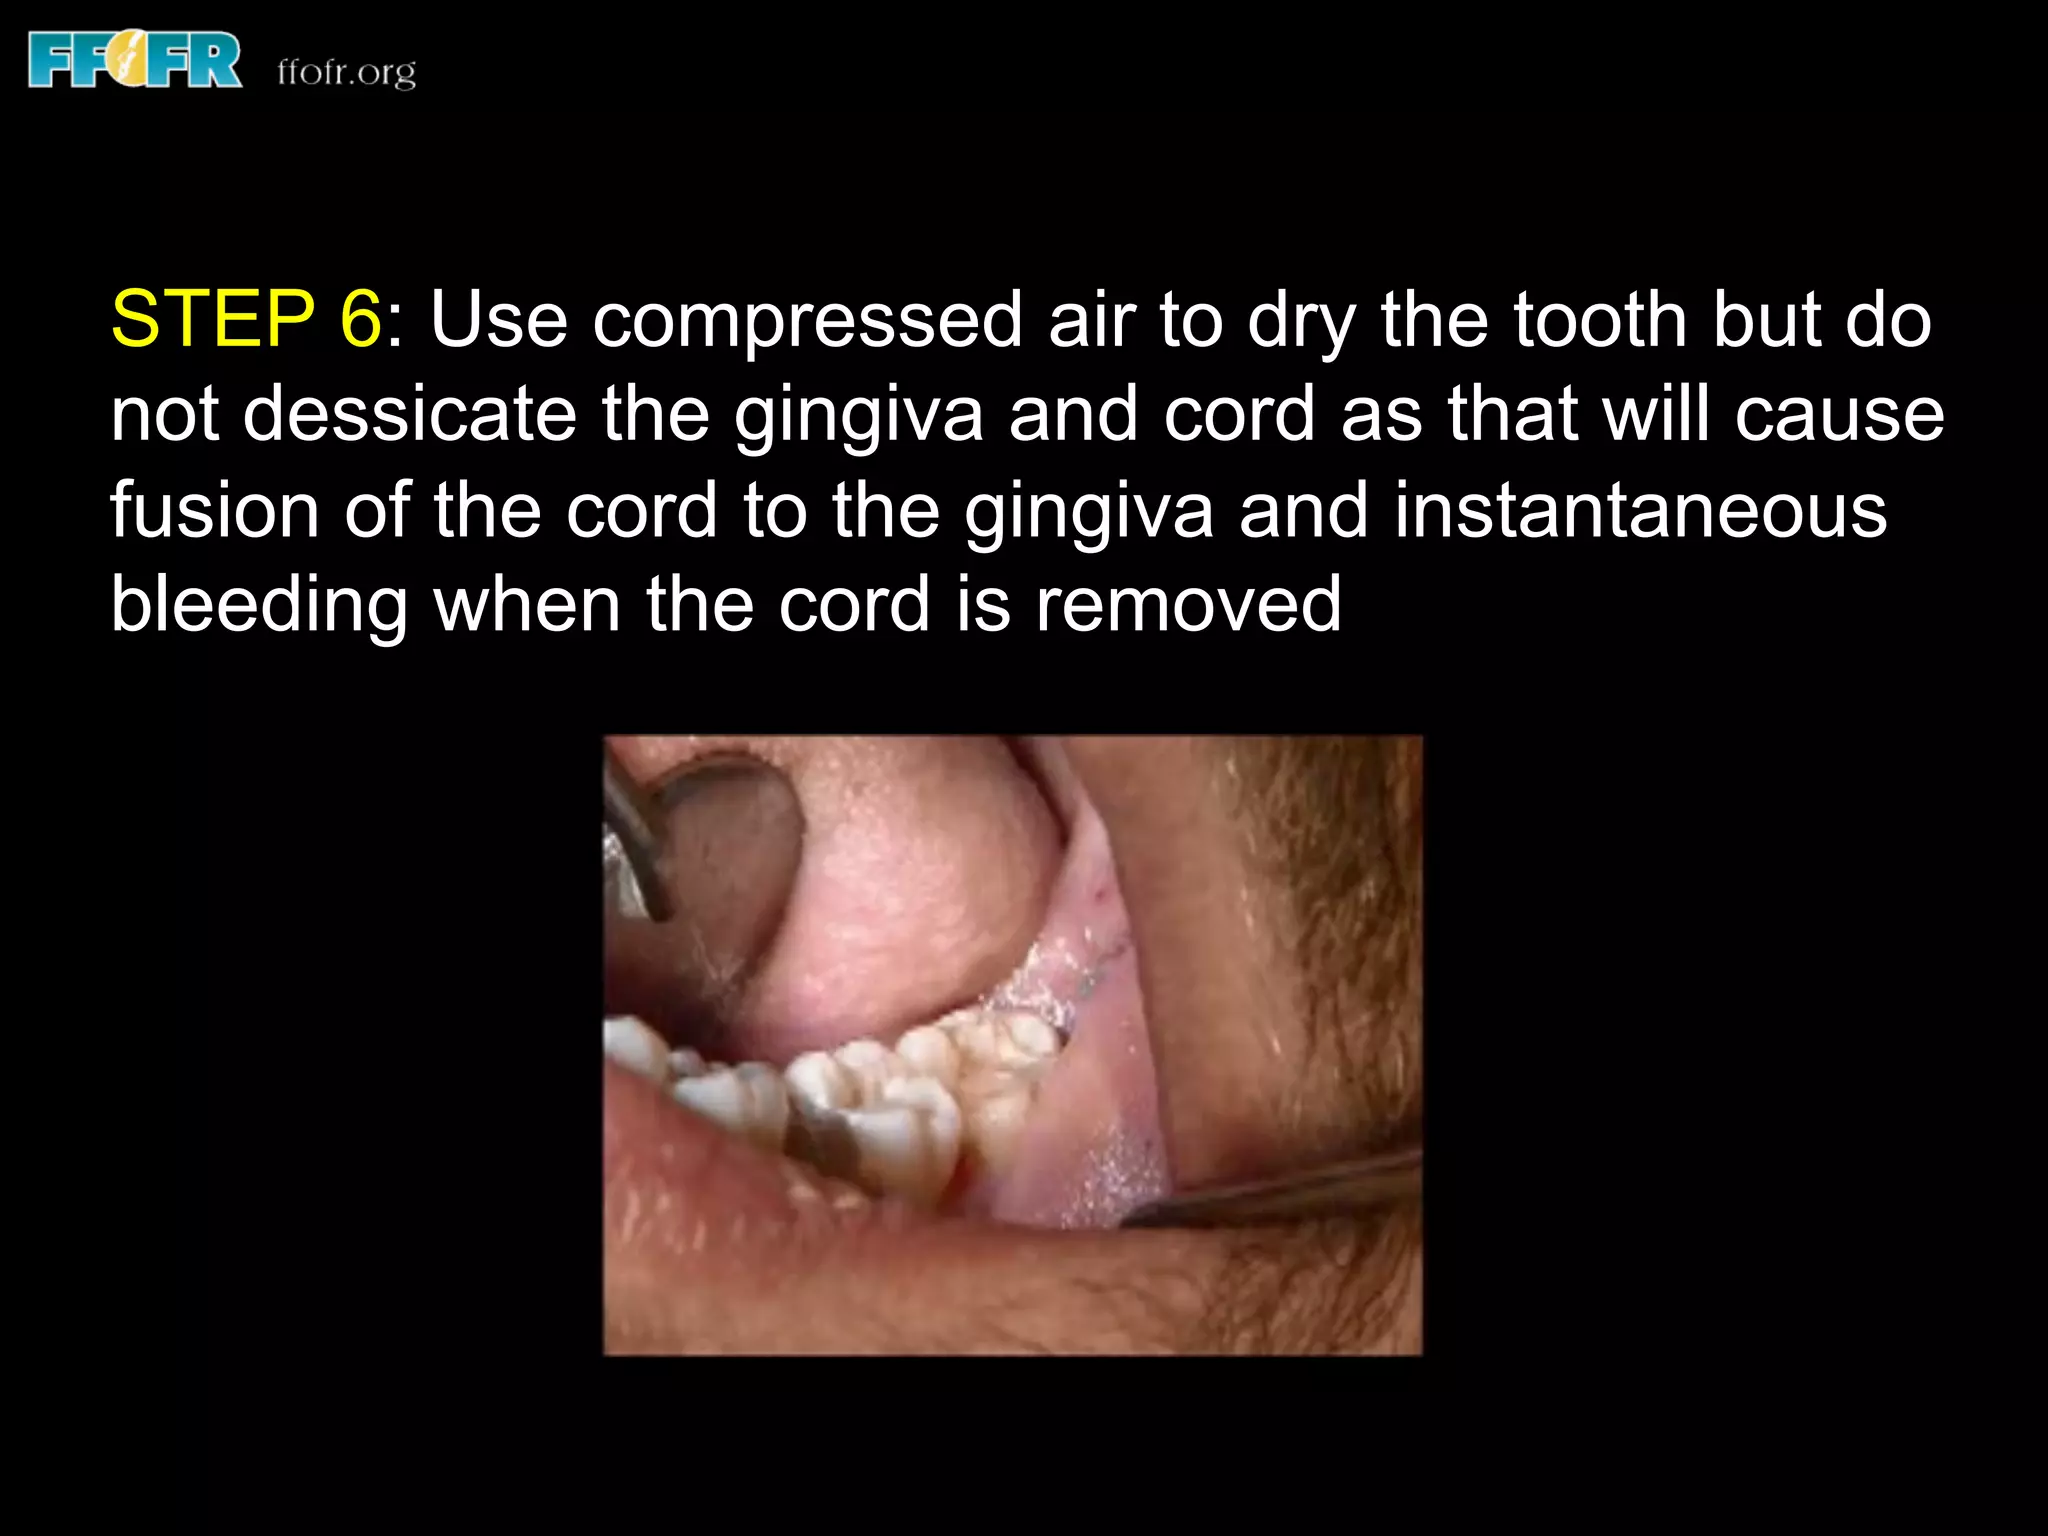

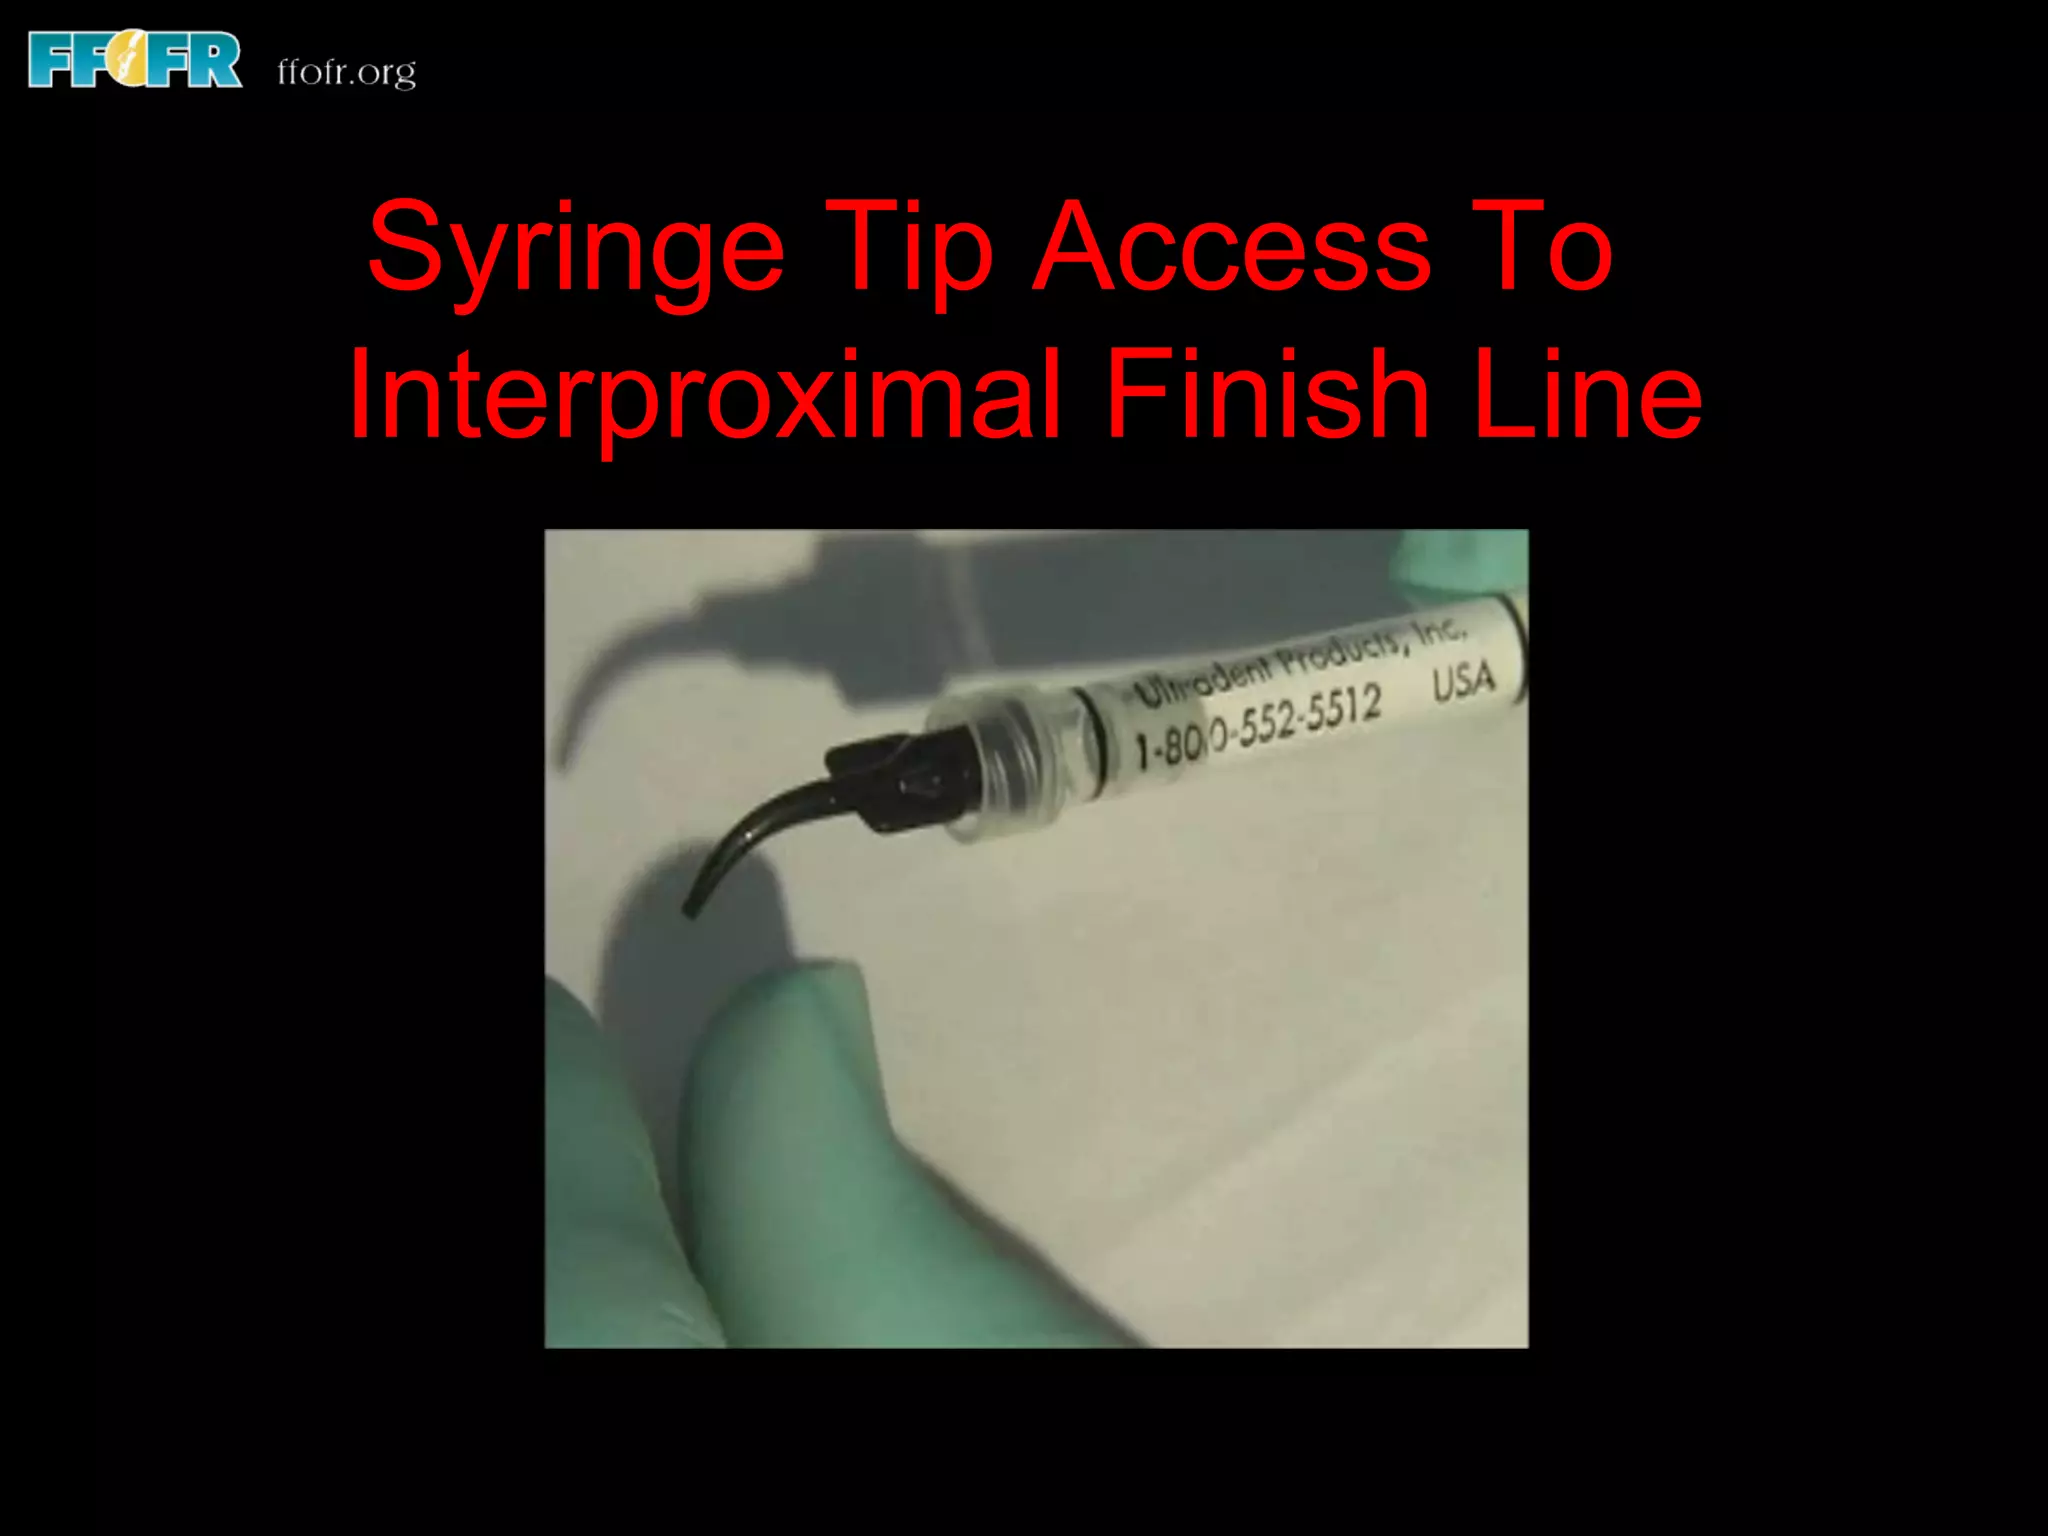


This document discusses techniques for fluid control and tissue management during fixed prosthodontic impressions. It describes the need to displace gingiva to record tooth structure below the finish line. Various methods of fluid control are outlined, including retraction cords, suction, and isolite systems. Retraction cords should be moistened with hemostatic agents before gentle placement to displace tissue. The document recommends a two-cord technique using different diameter cords and additional hemostatic agents if needed to control bleeding and produce accurate impressions. Proper fluid management is essential for high quality fixed prosthodontic impressions.


