Downloaded 427 times

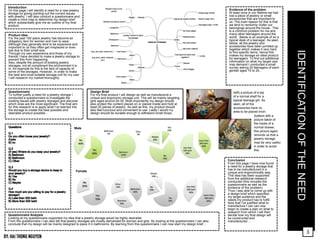
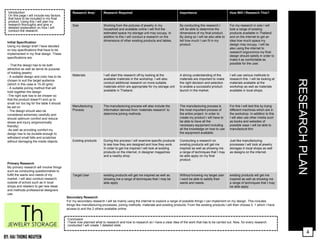

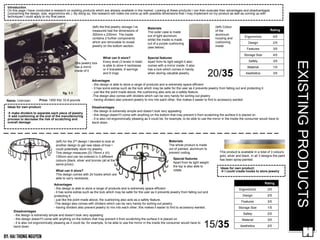
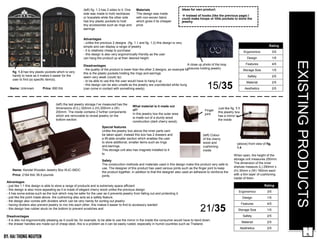
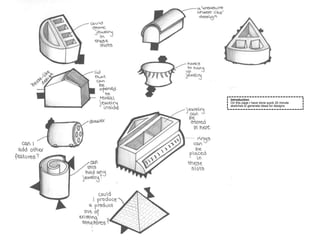


The document outlines a comprehensive research and design plan for a new jewelry storage unit targeting young women aged 20-35. It highlights the need for a unique, ergonomic, and luxurious storage solution due to the common issue of misplaced jewelry among teenagers. The plan includes conducting surveys, exploring materials, and analyzing existing products to develop a suitable, durable, and aesthetically pleasing storage design.


![Gcse Folder Presentation (C Cox V1)[1]](https://cdn.slidesharecdn.com/ss_thumbnails/gcsefolderpresentationccoxv11-090910053125-phpapp01-thumbnail.jpg?width=640&height=640&fit=bounds)
![Gcse Folder Presentation (C Cox V1)[1]](https://cdn.slidesharecdn.com/ss_thumbnails/gcsefolderpresentationccoxv11-090910053927-phpapp01-thumbnail.jpg?width=640&height=640&fit=bounds)


