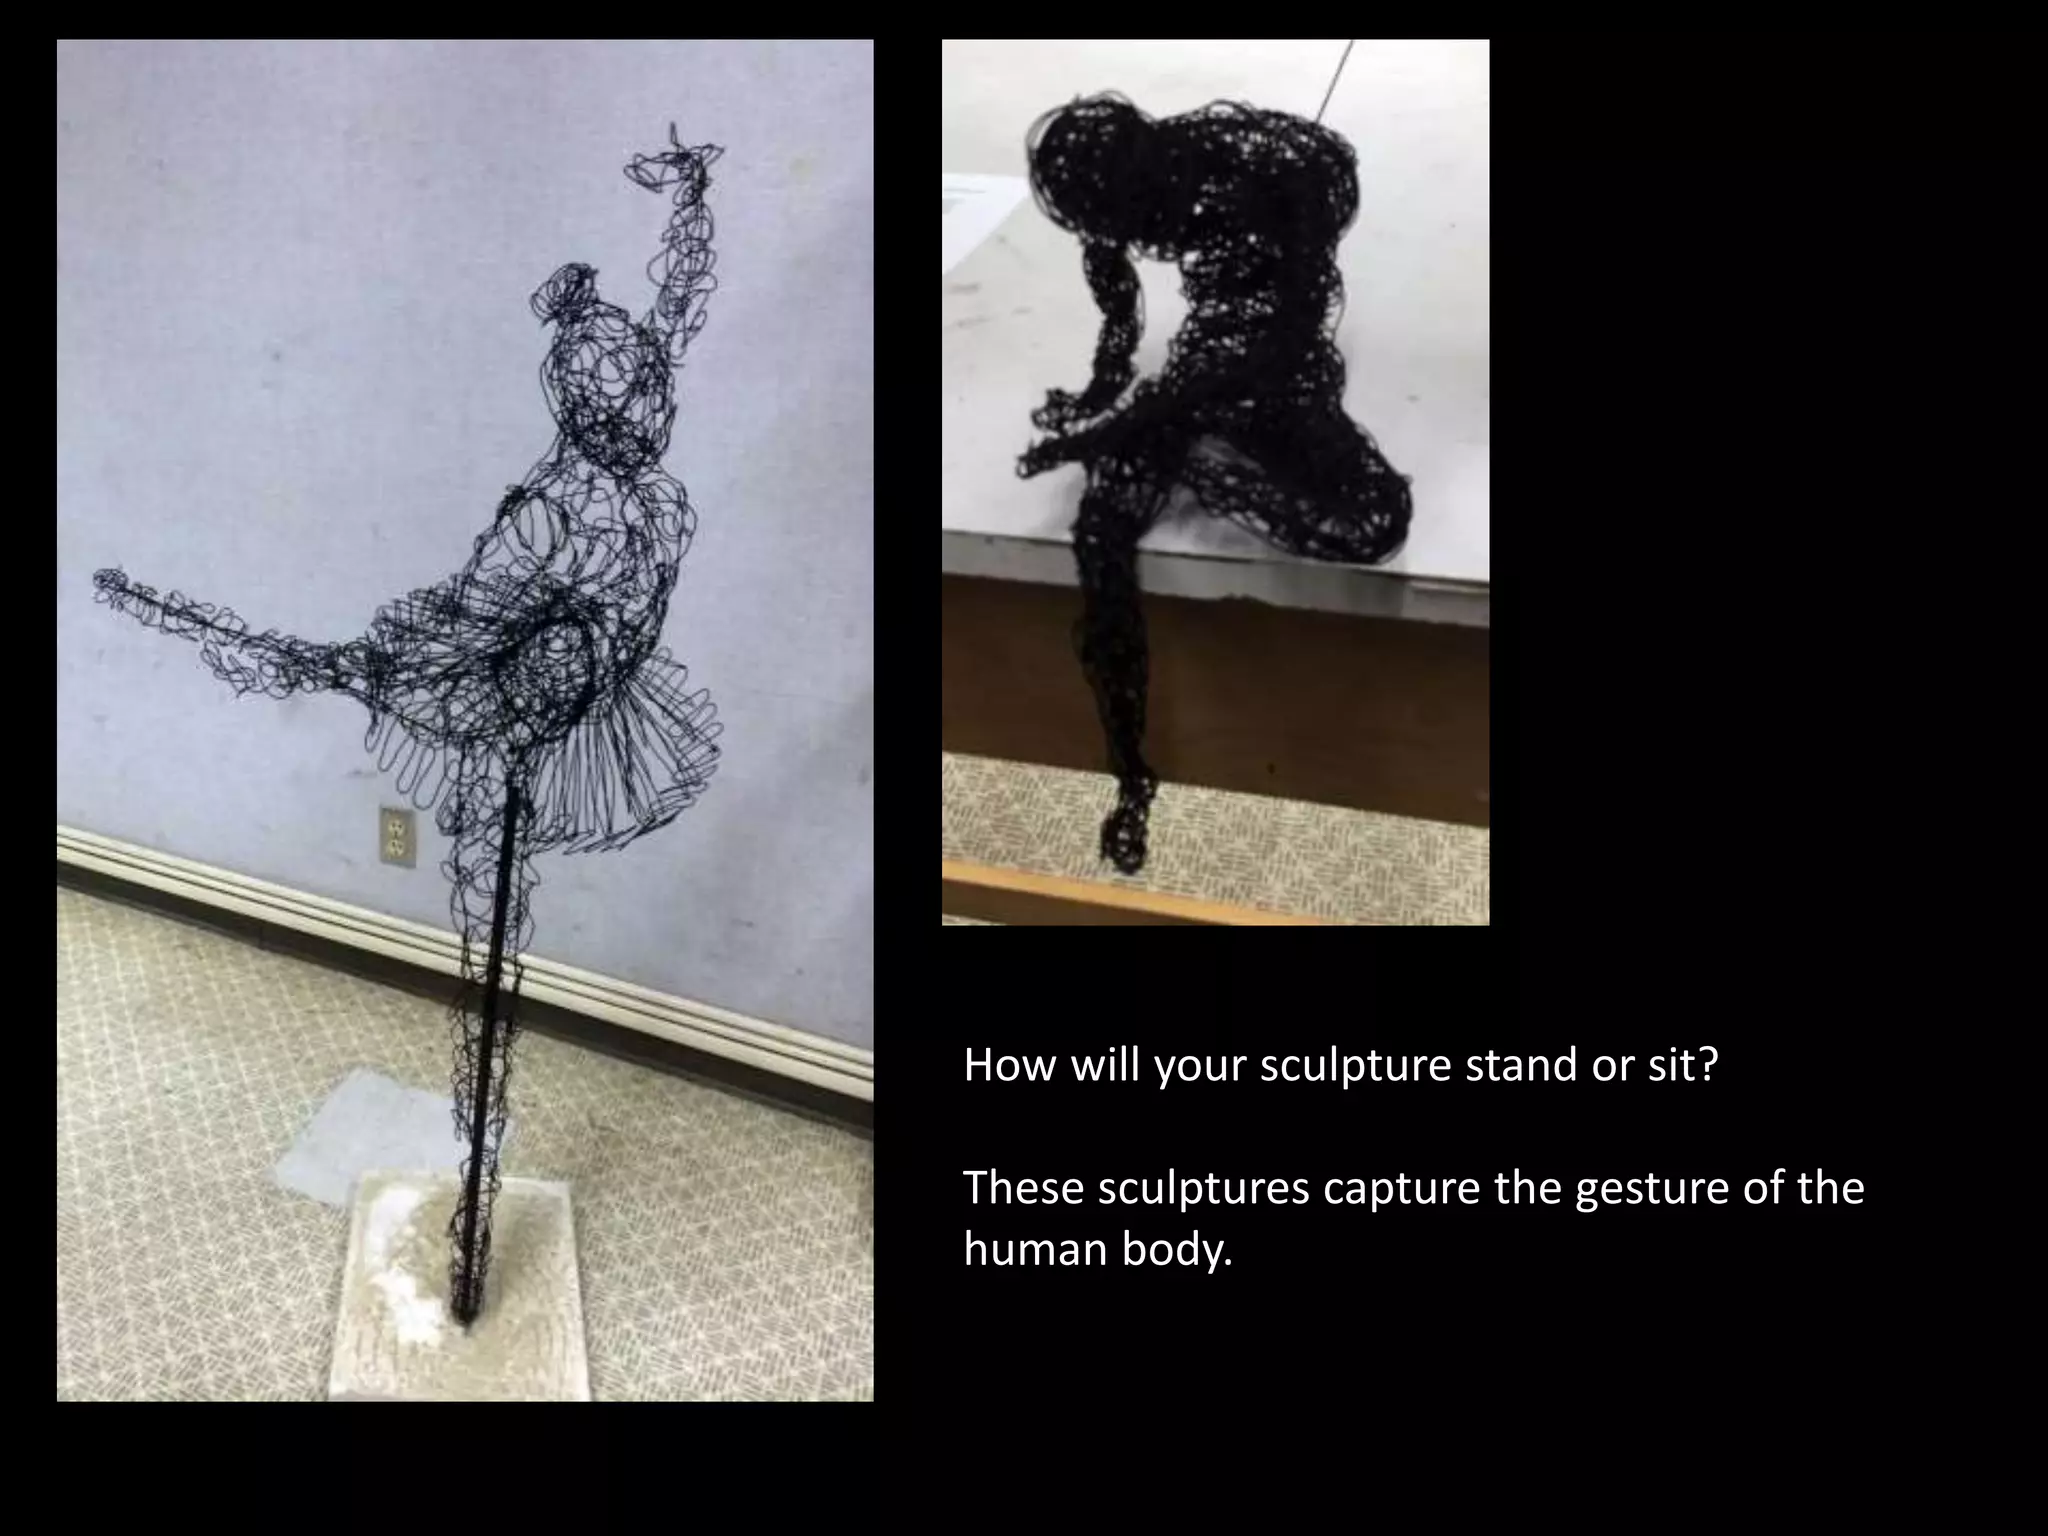
1) The document provides instructions for two wire sculpture projects - a self-portrait bust and a larger 3D sculpture of an object, person, or animal.
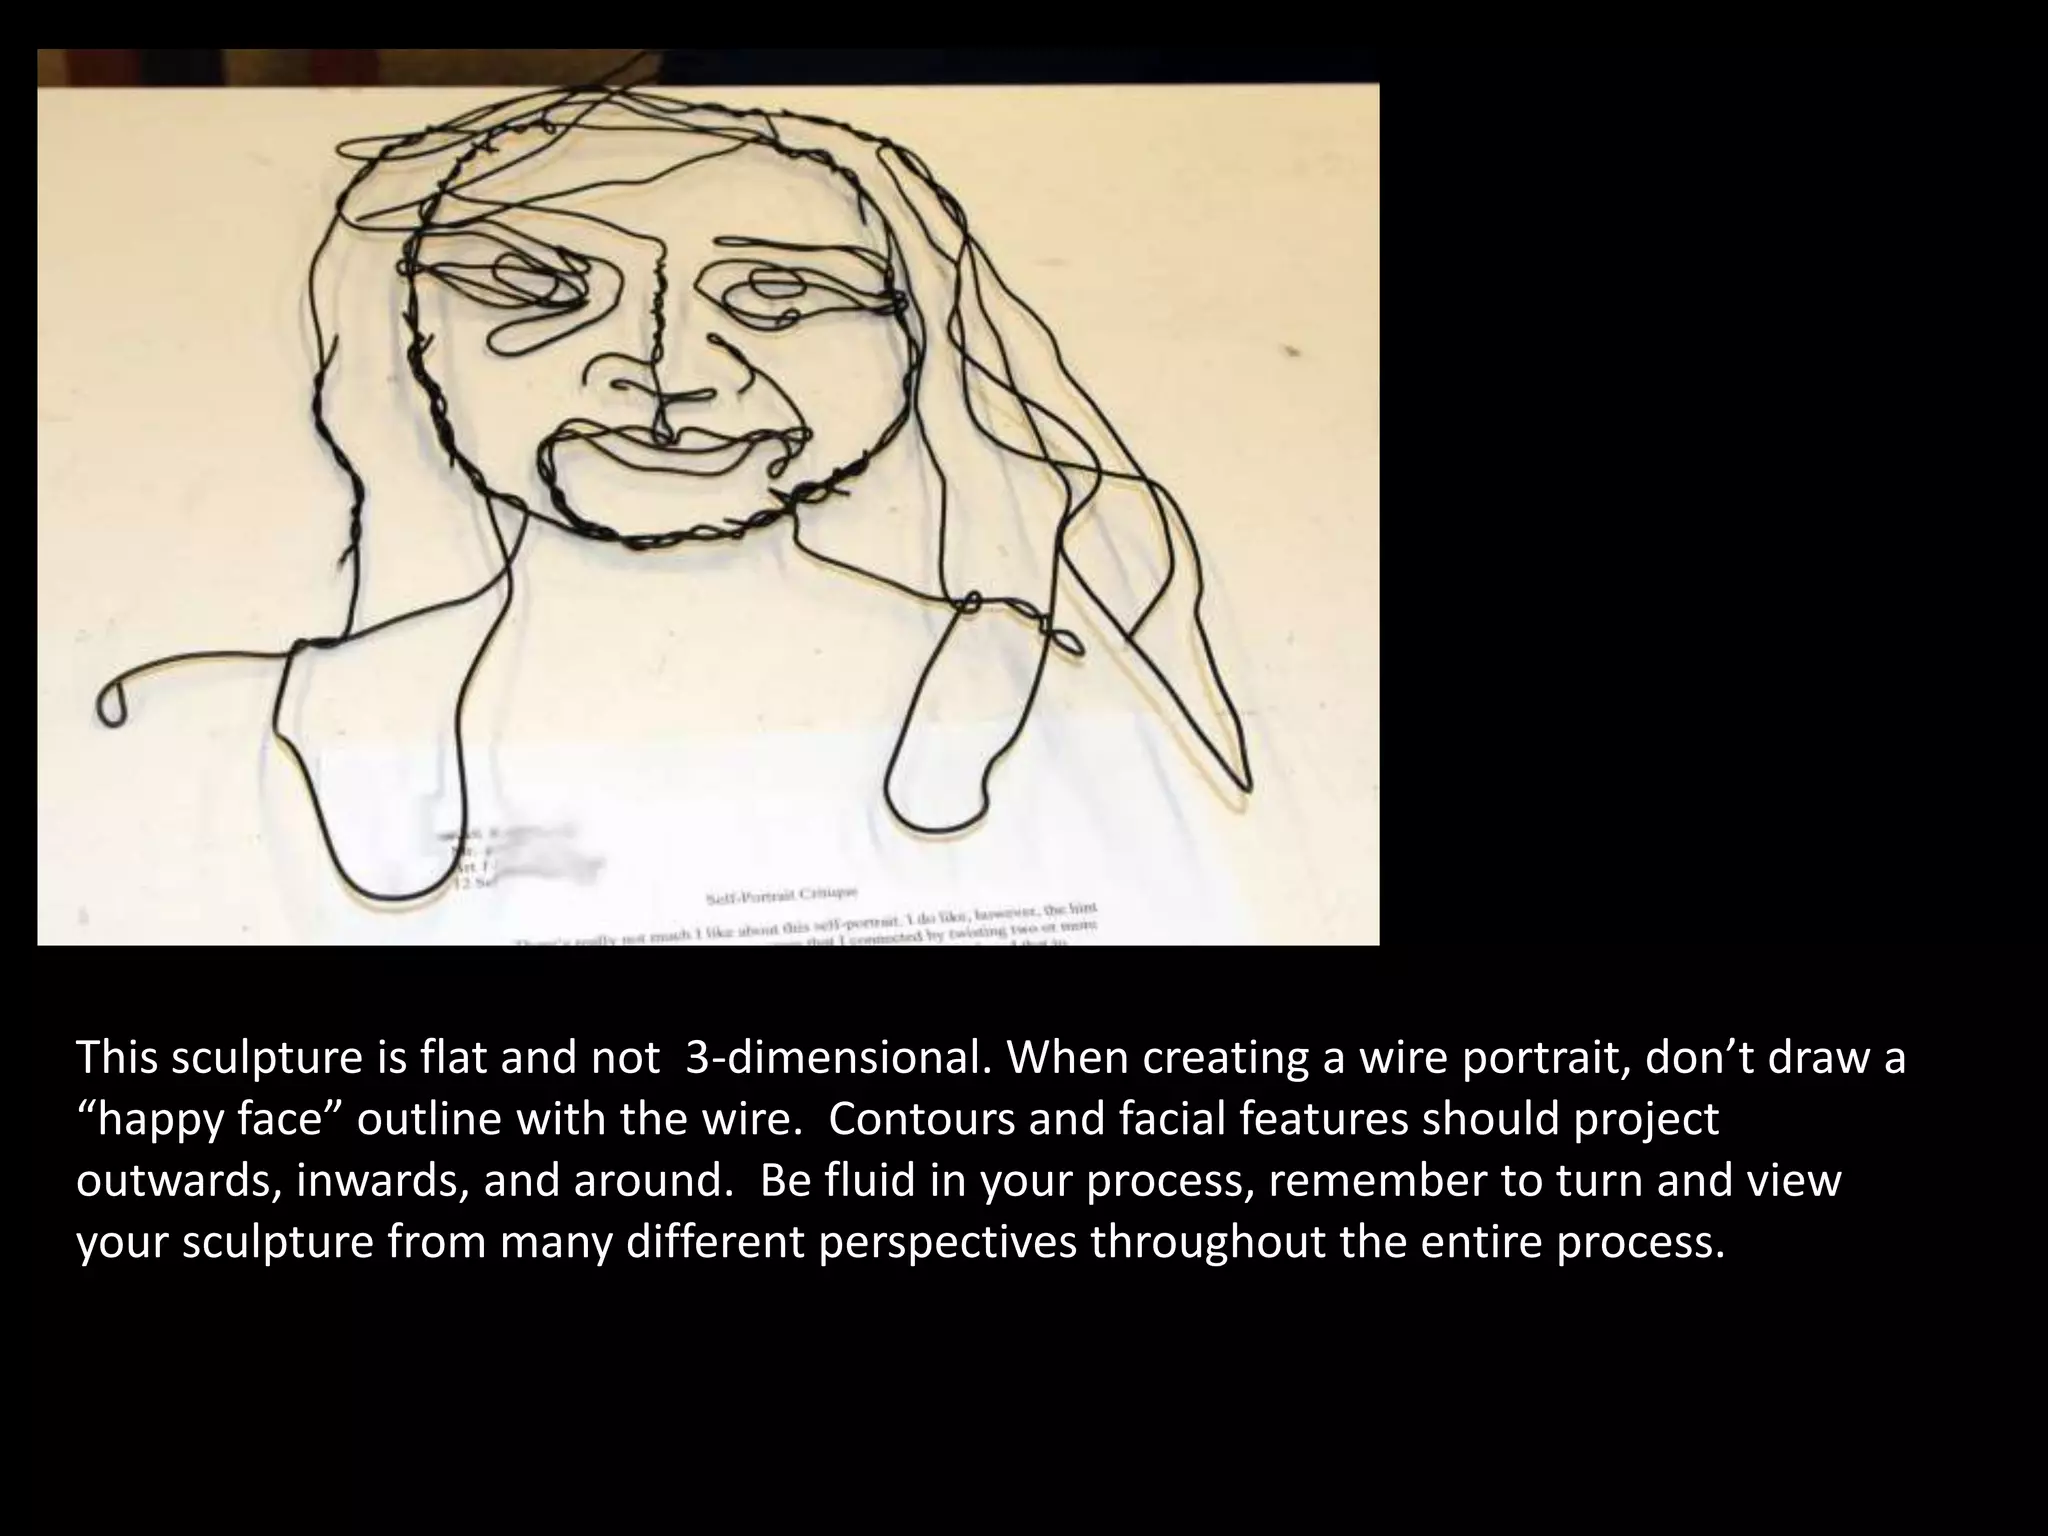
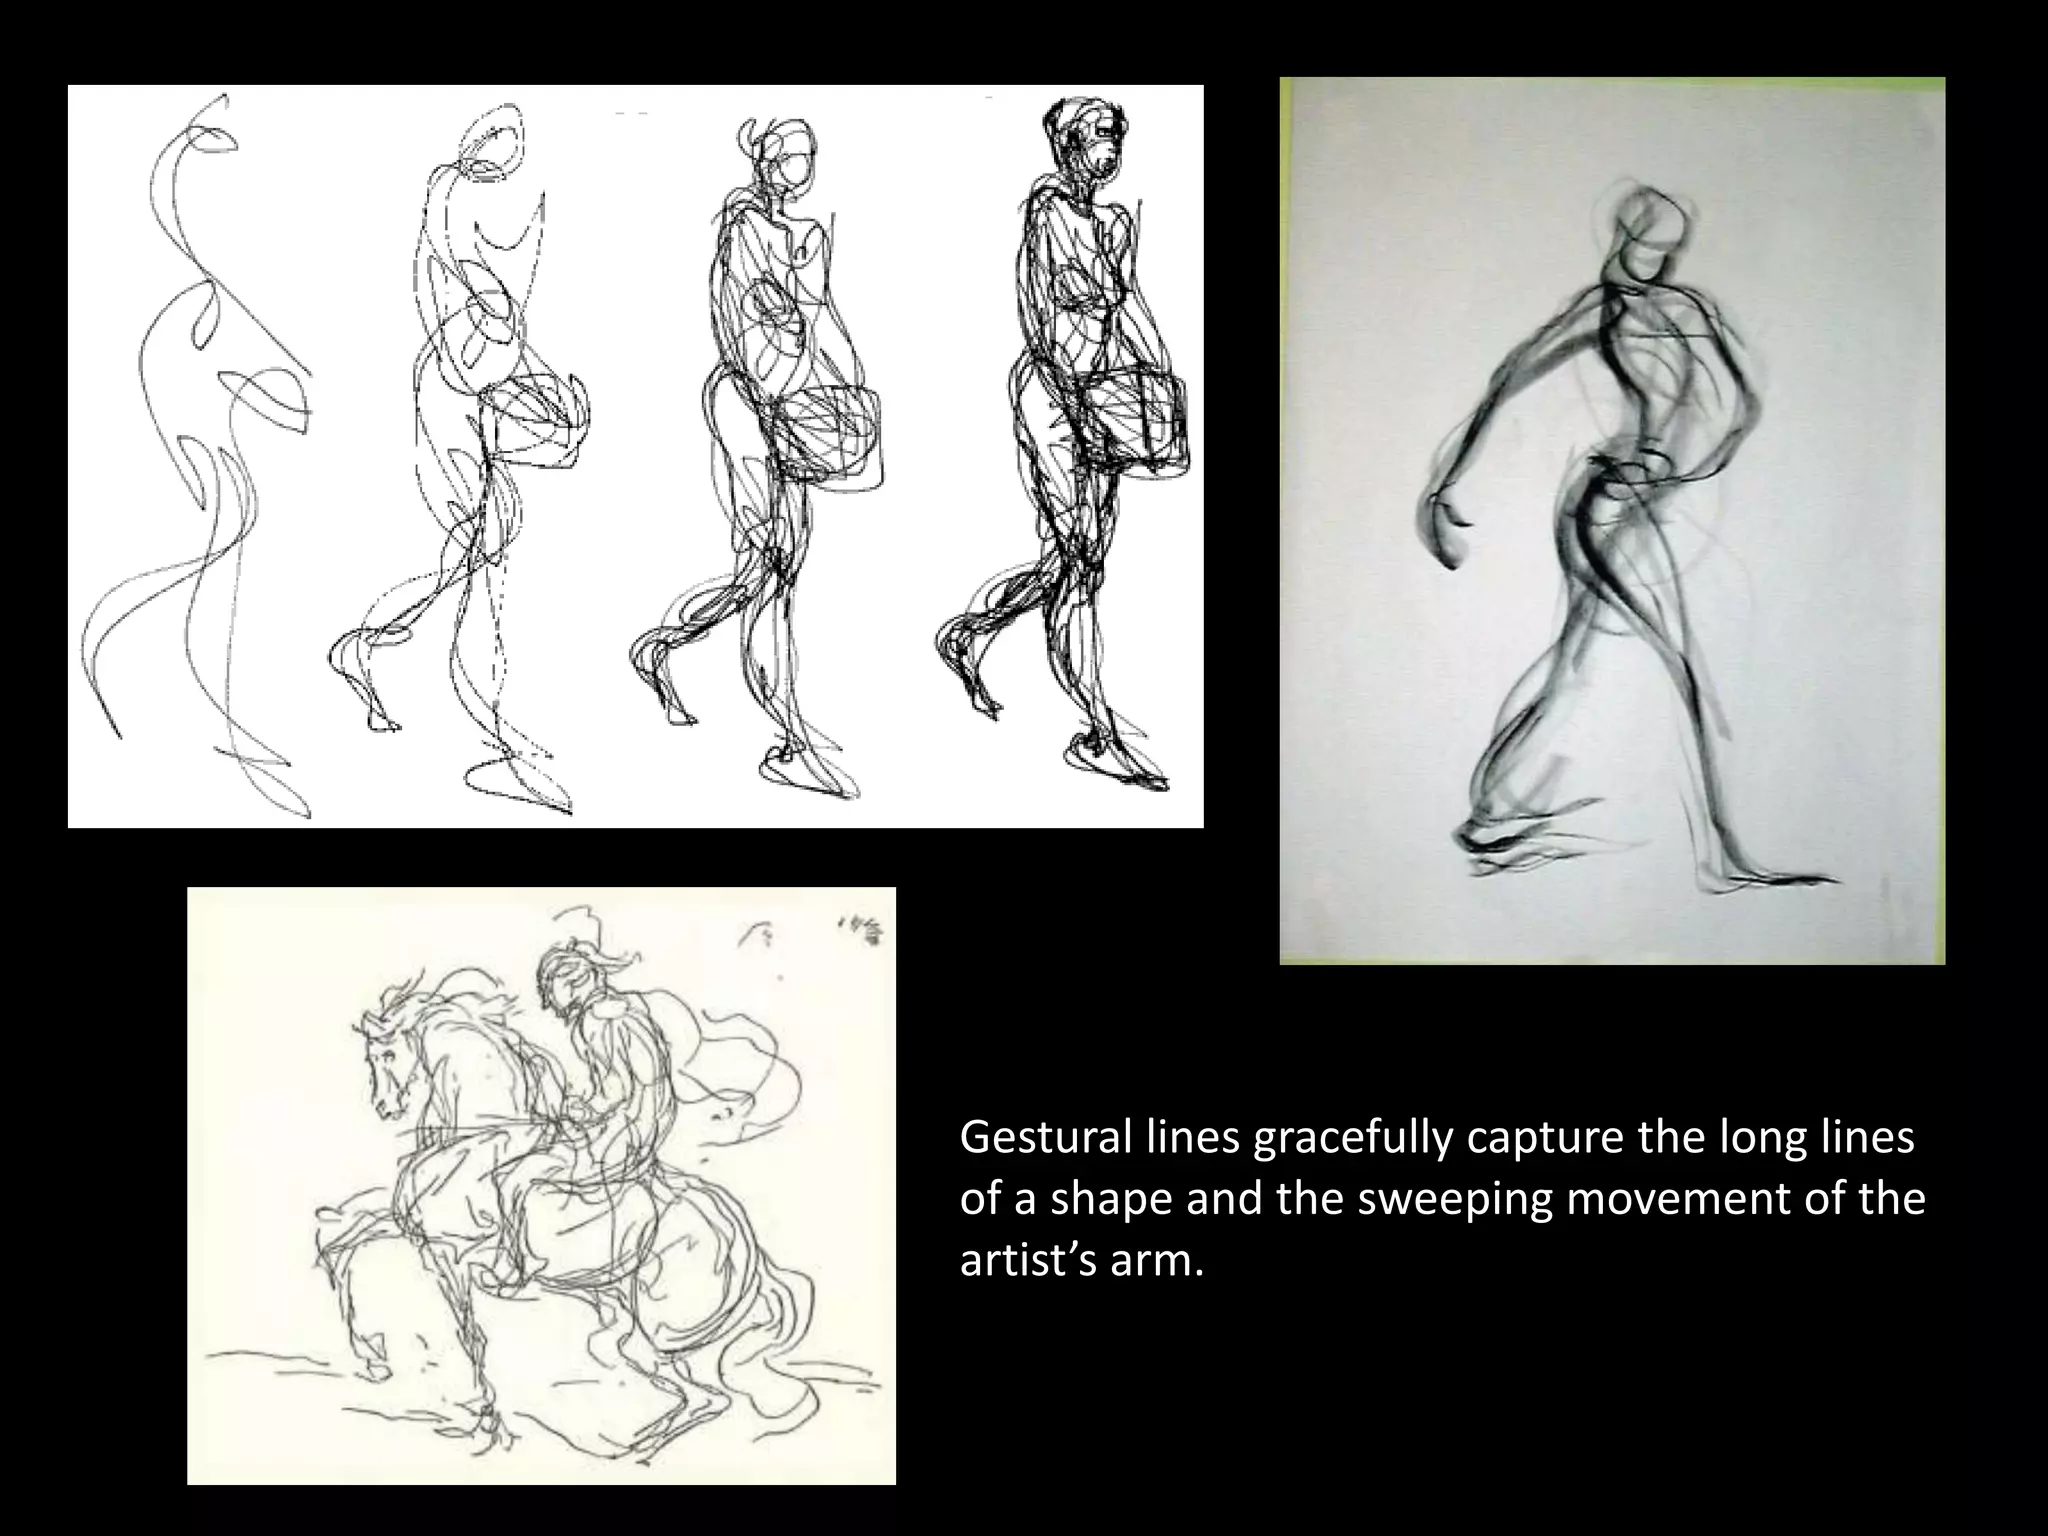
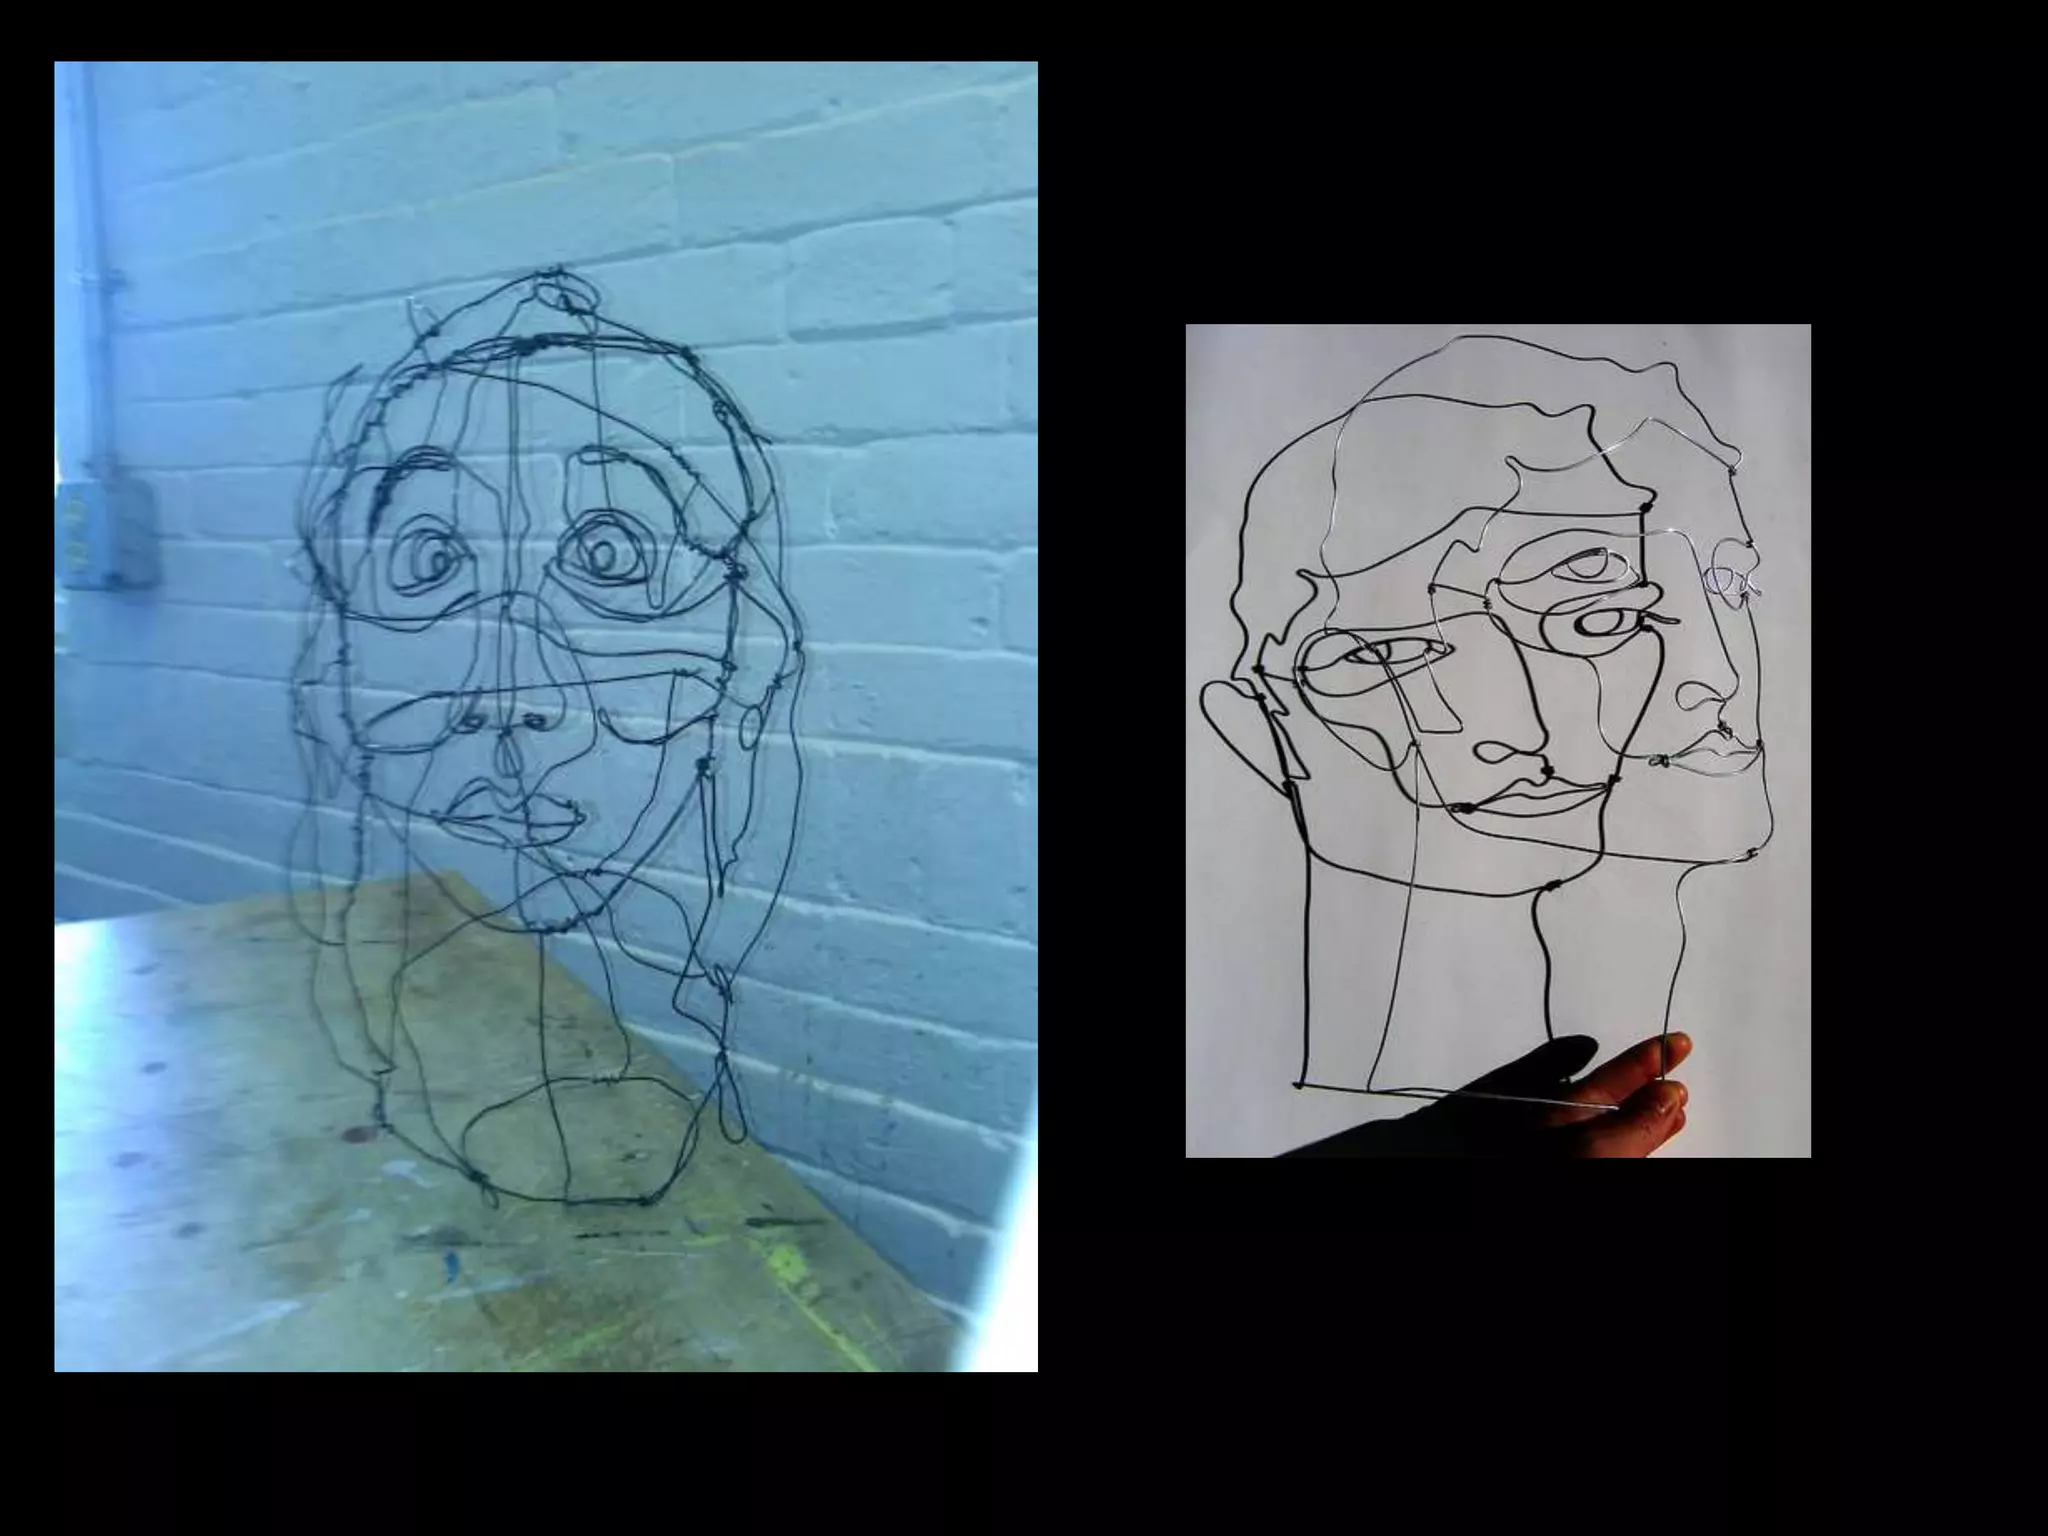
2) It emphasizes contour lines to define shapes, using photographs for reference, and considering how the sculpture will interact with and occupy its space.
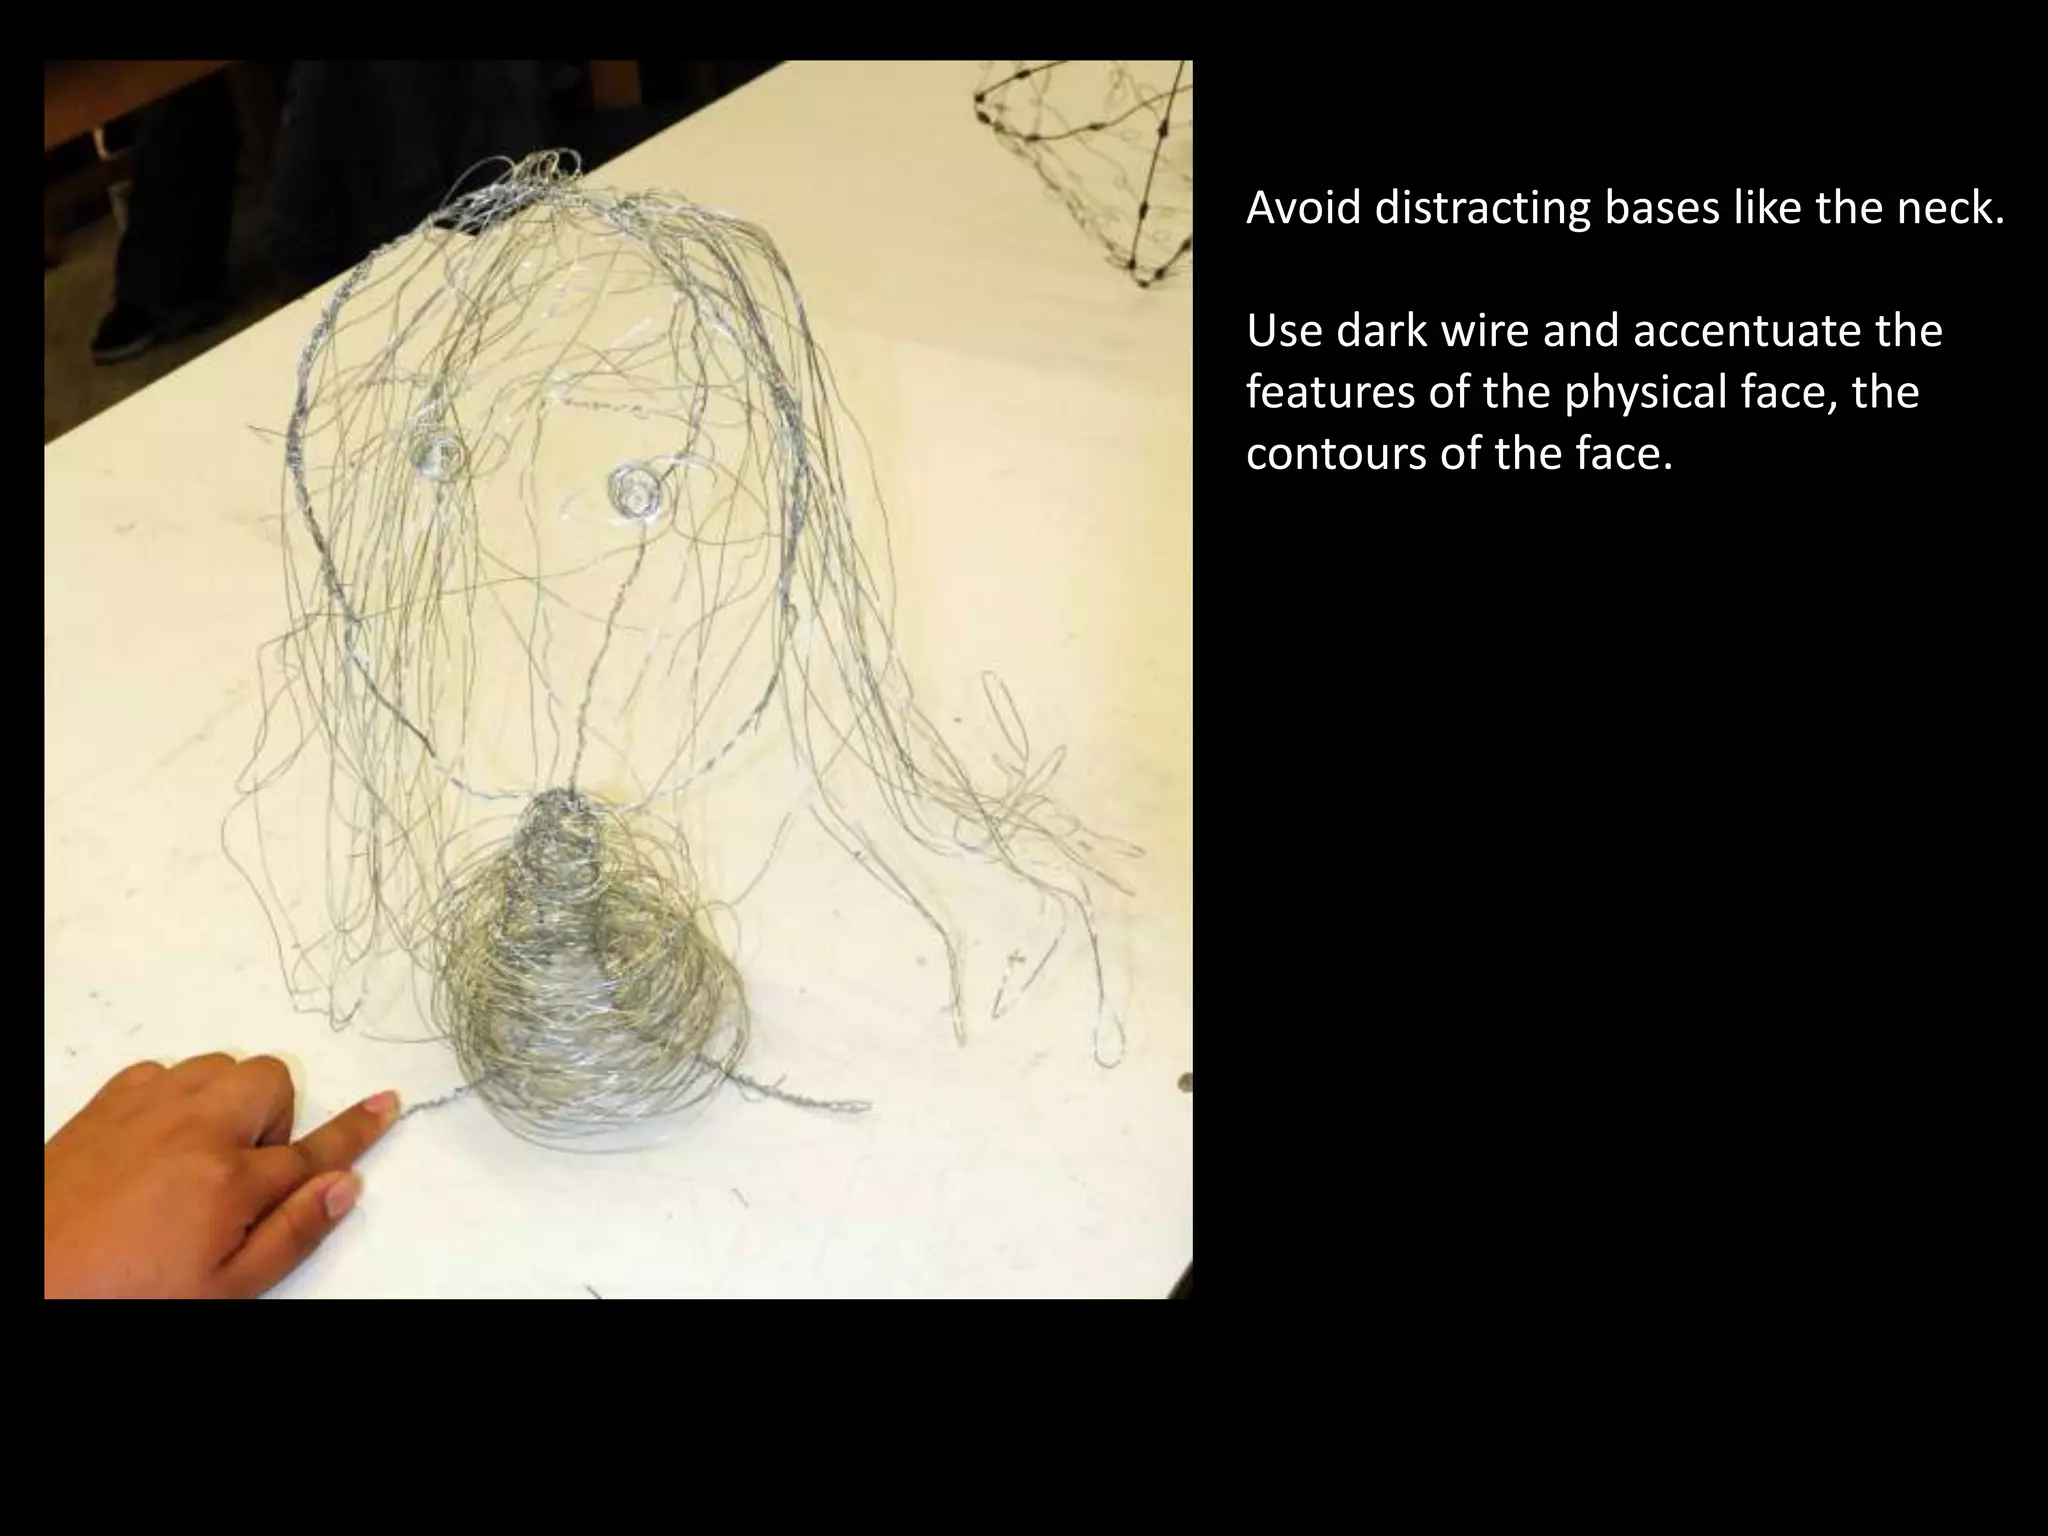
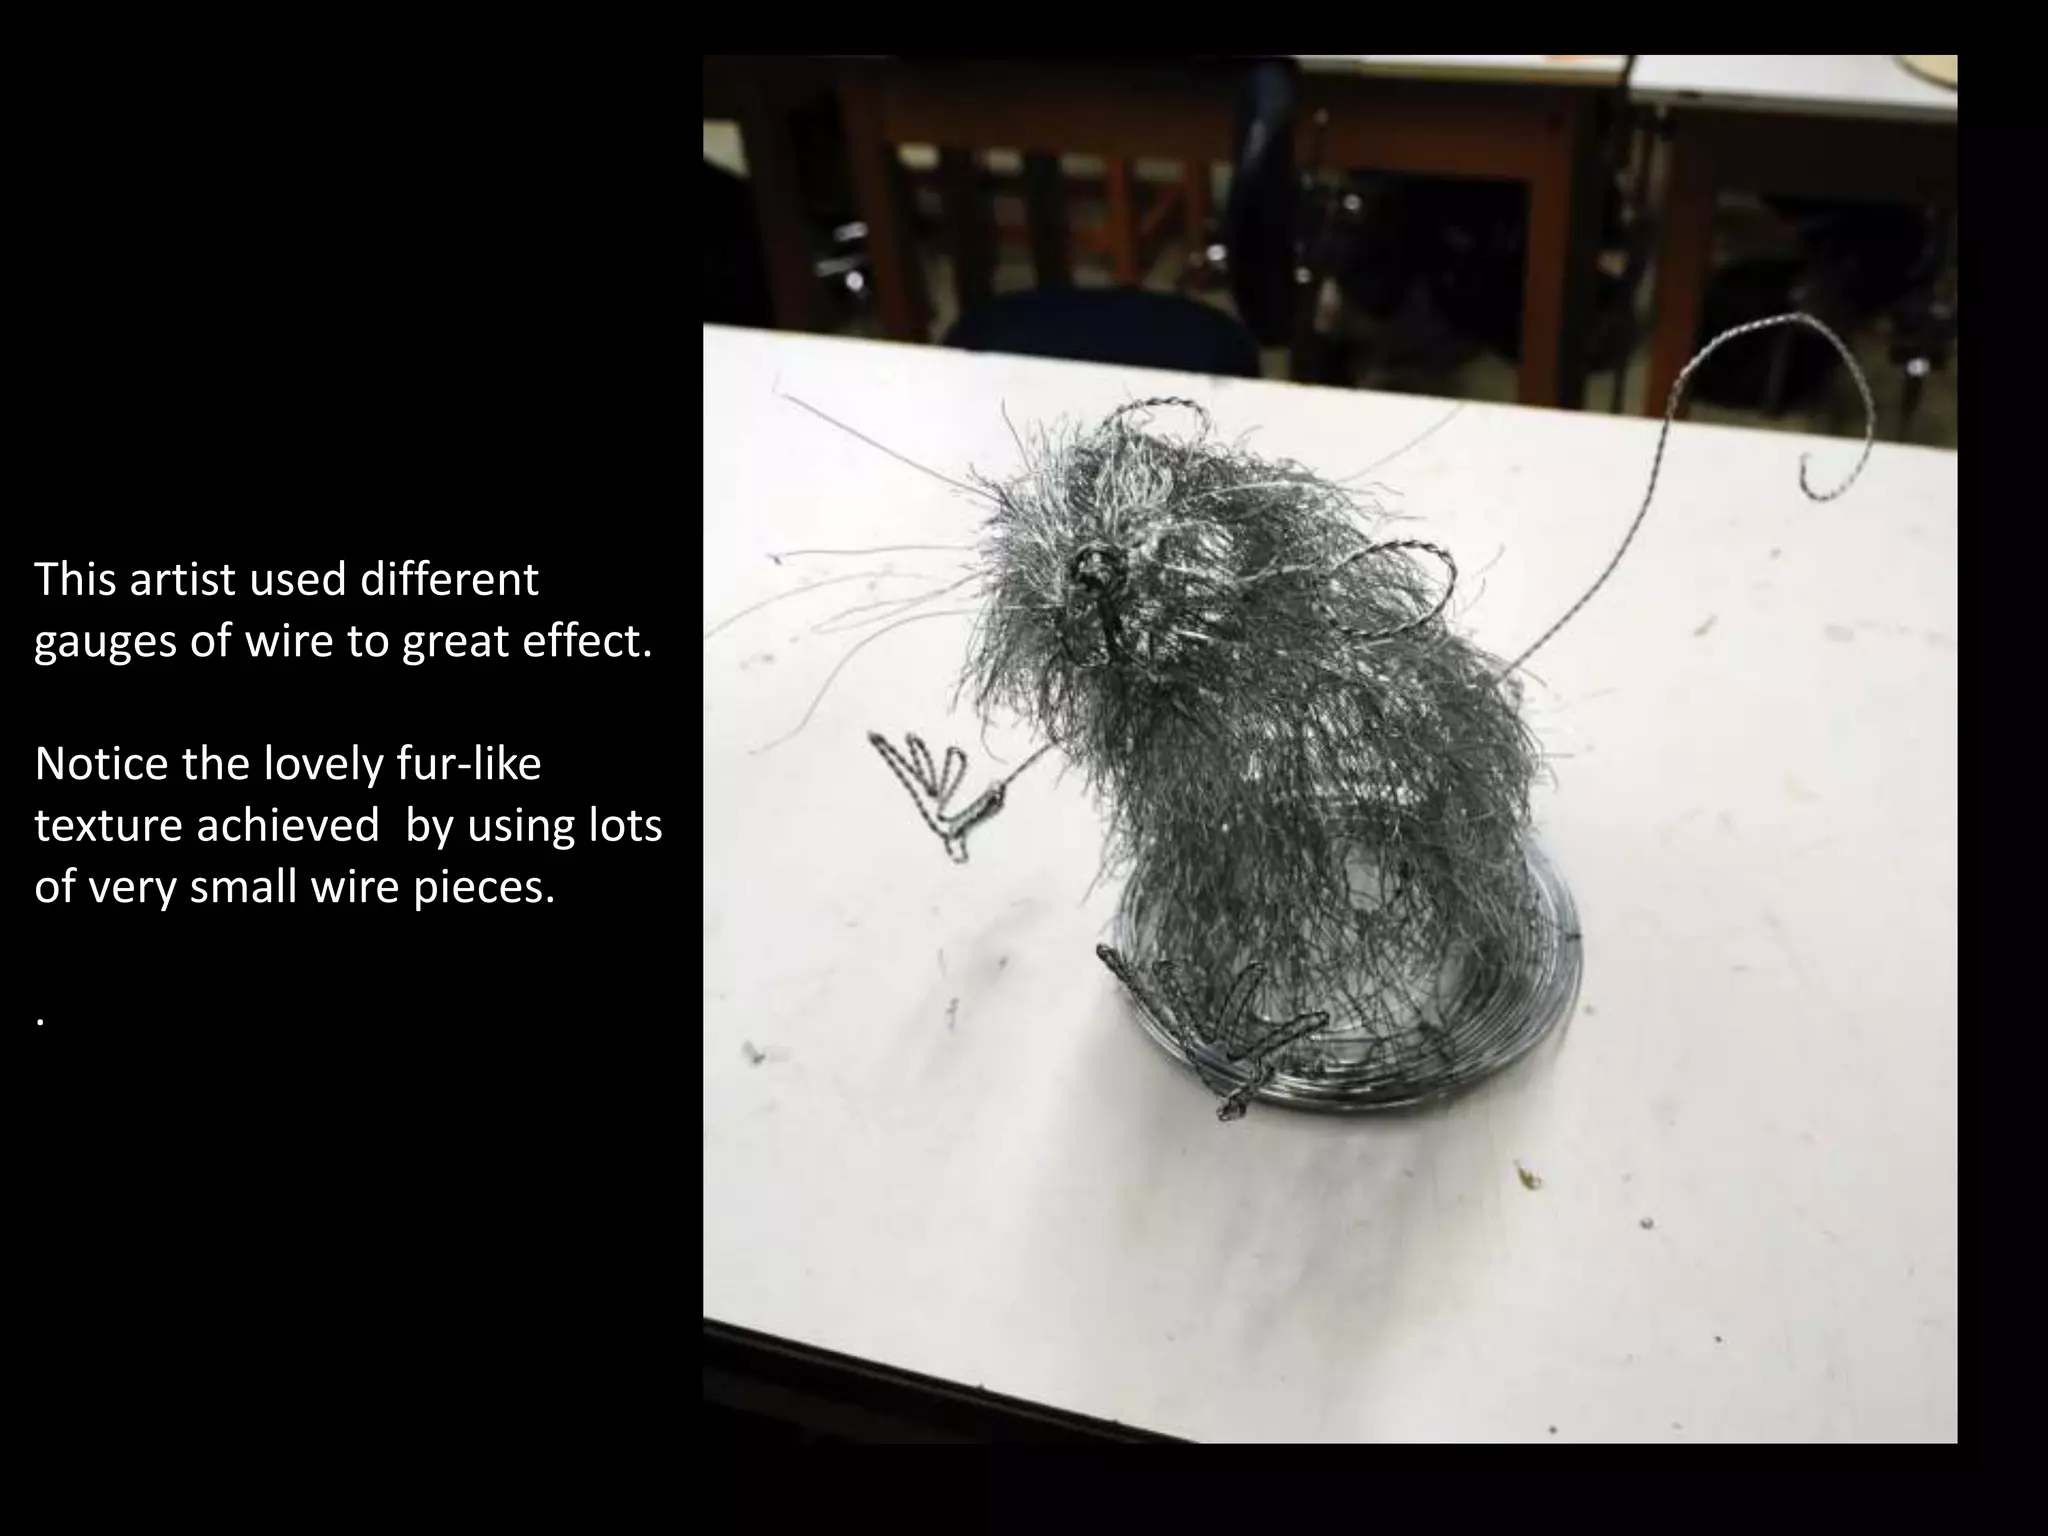
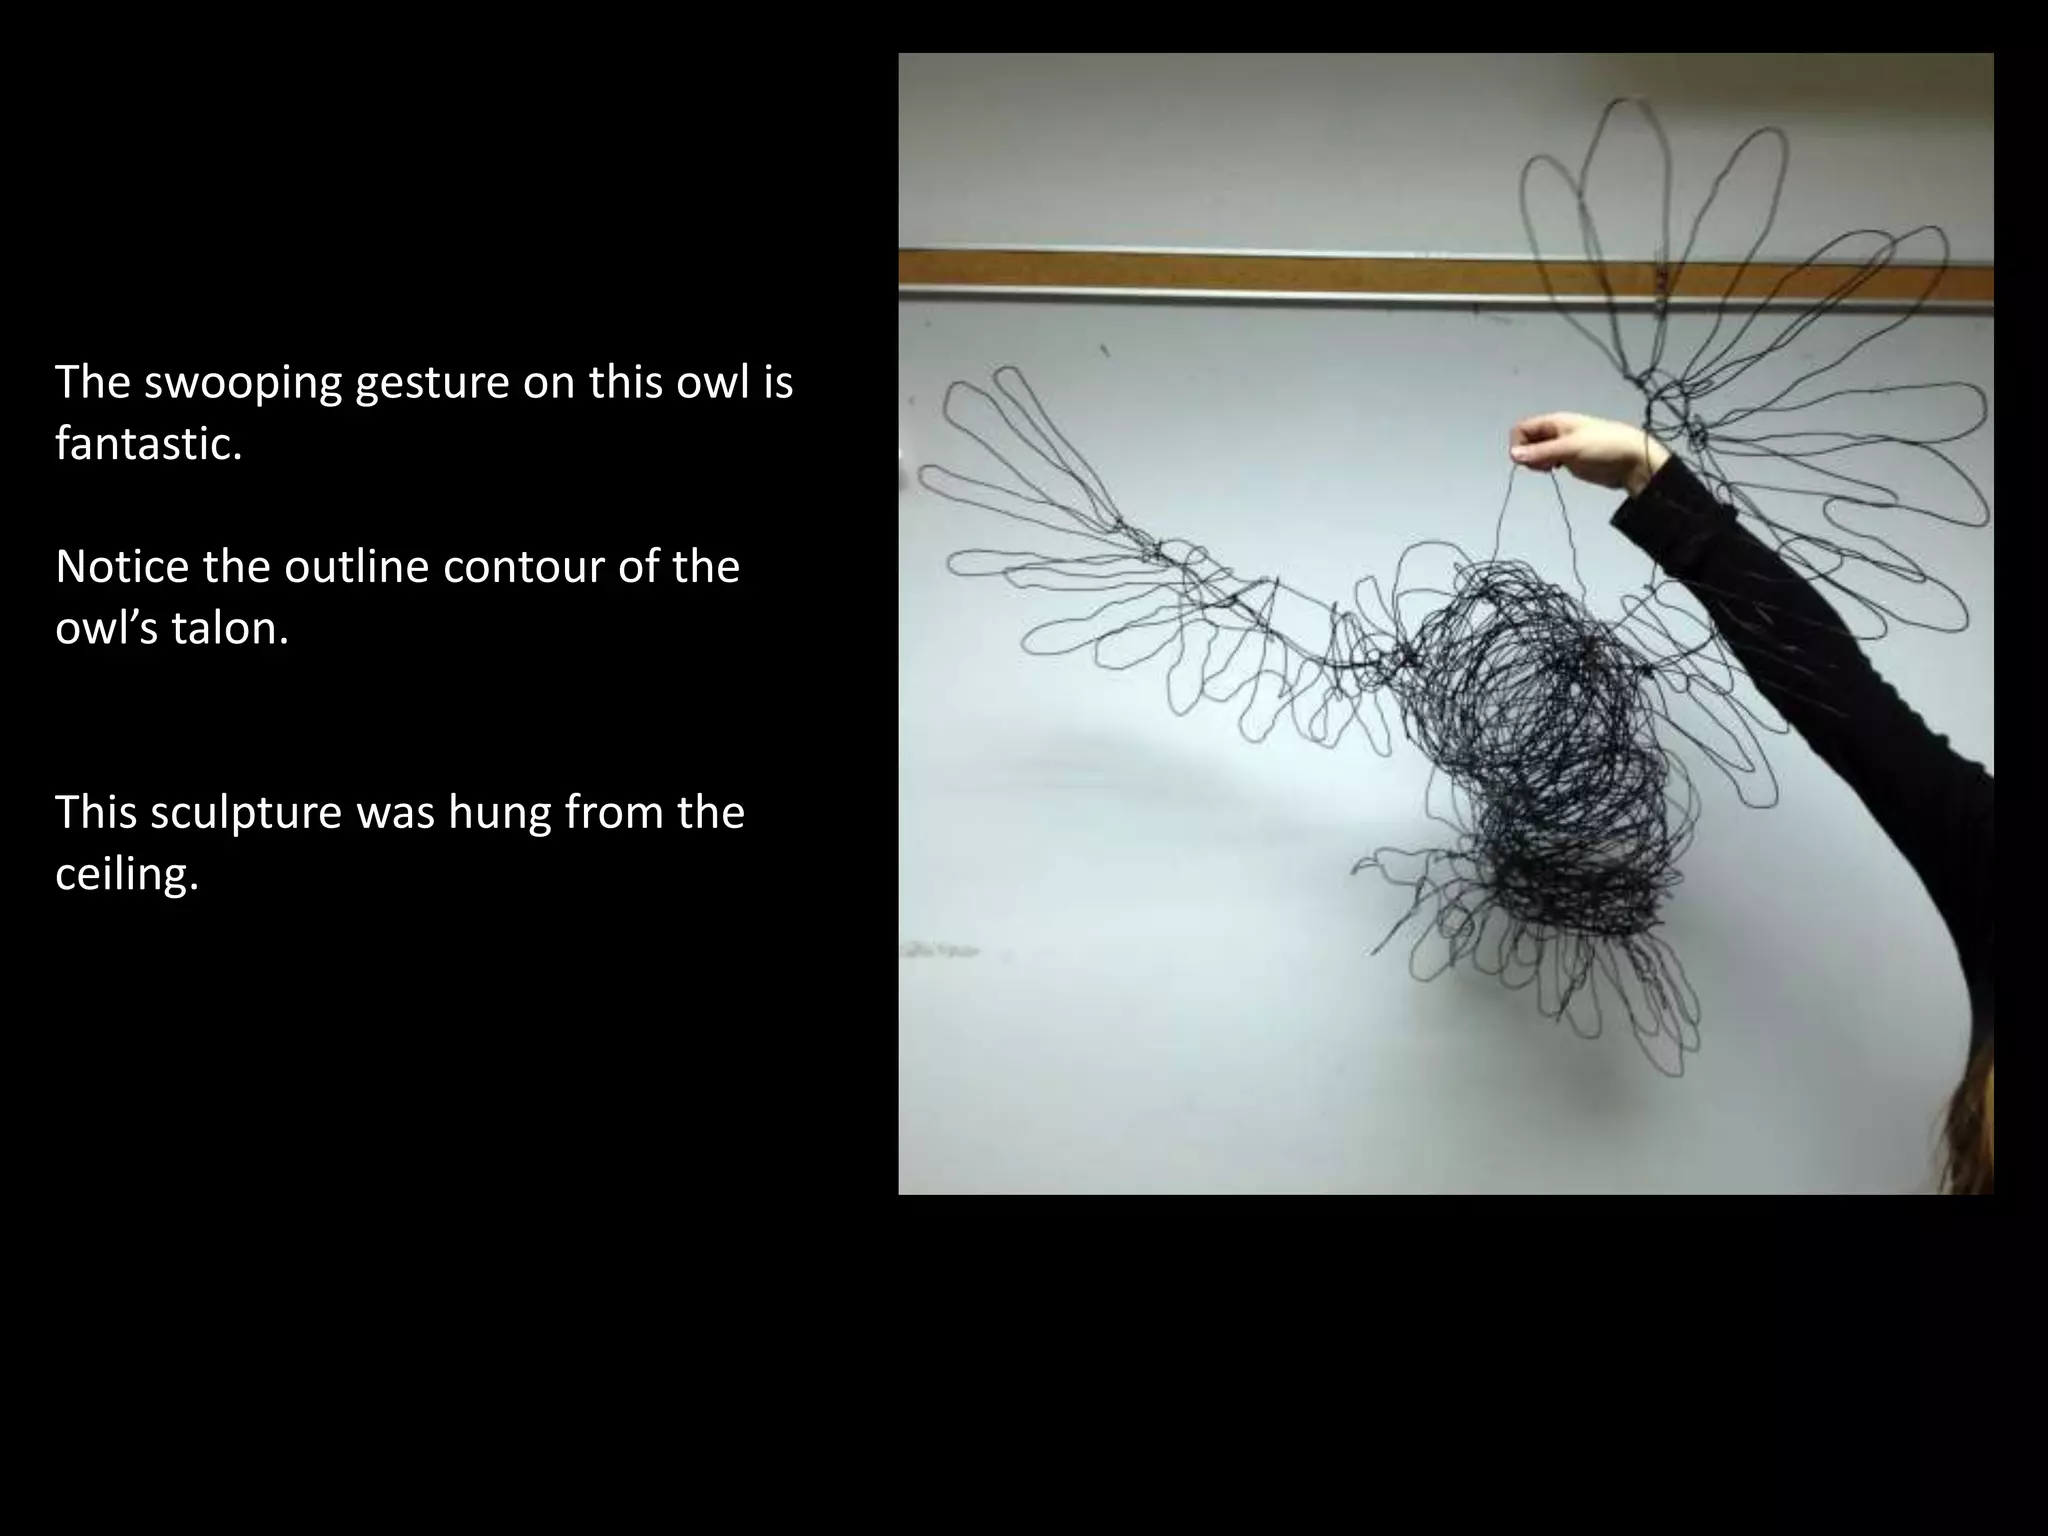
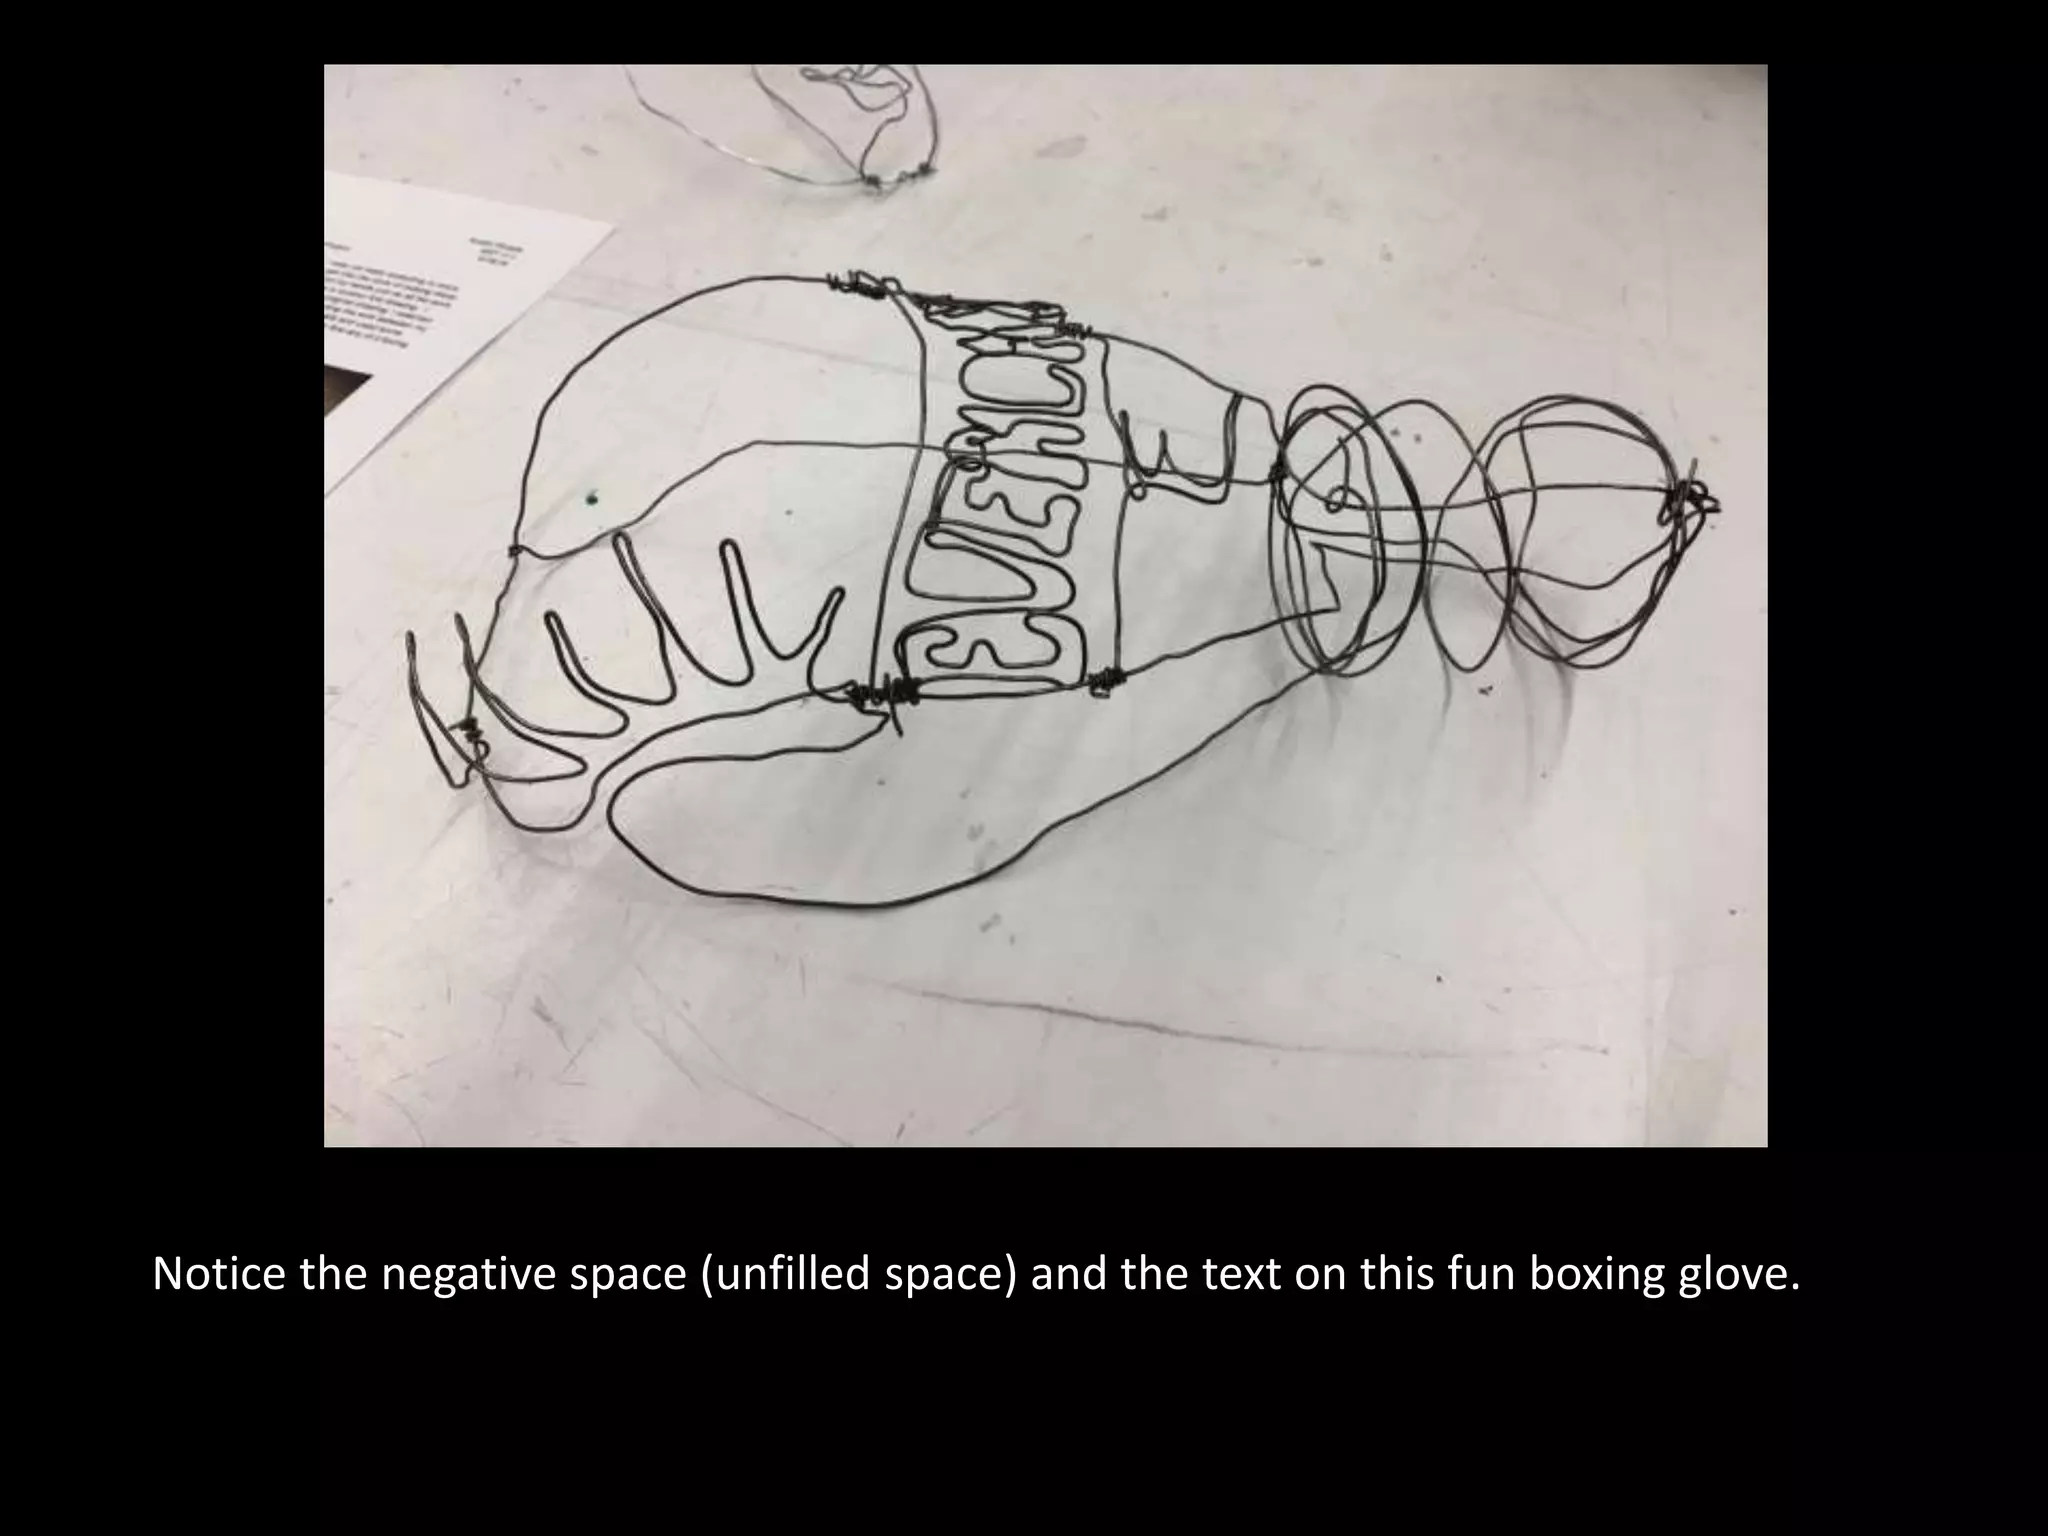
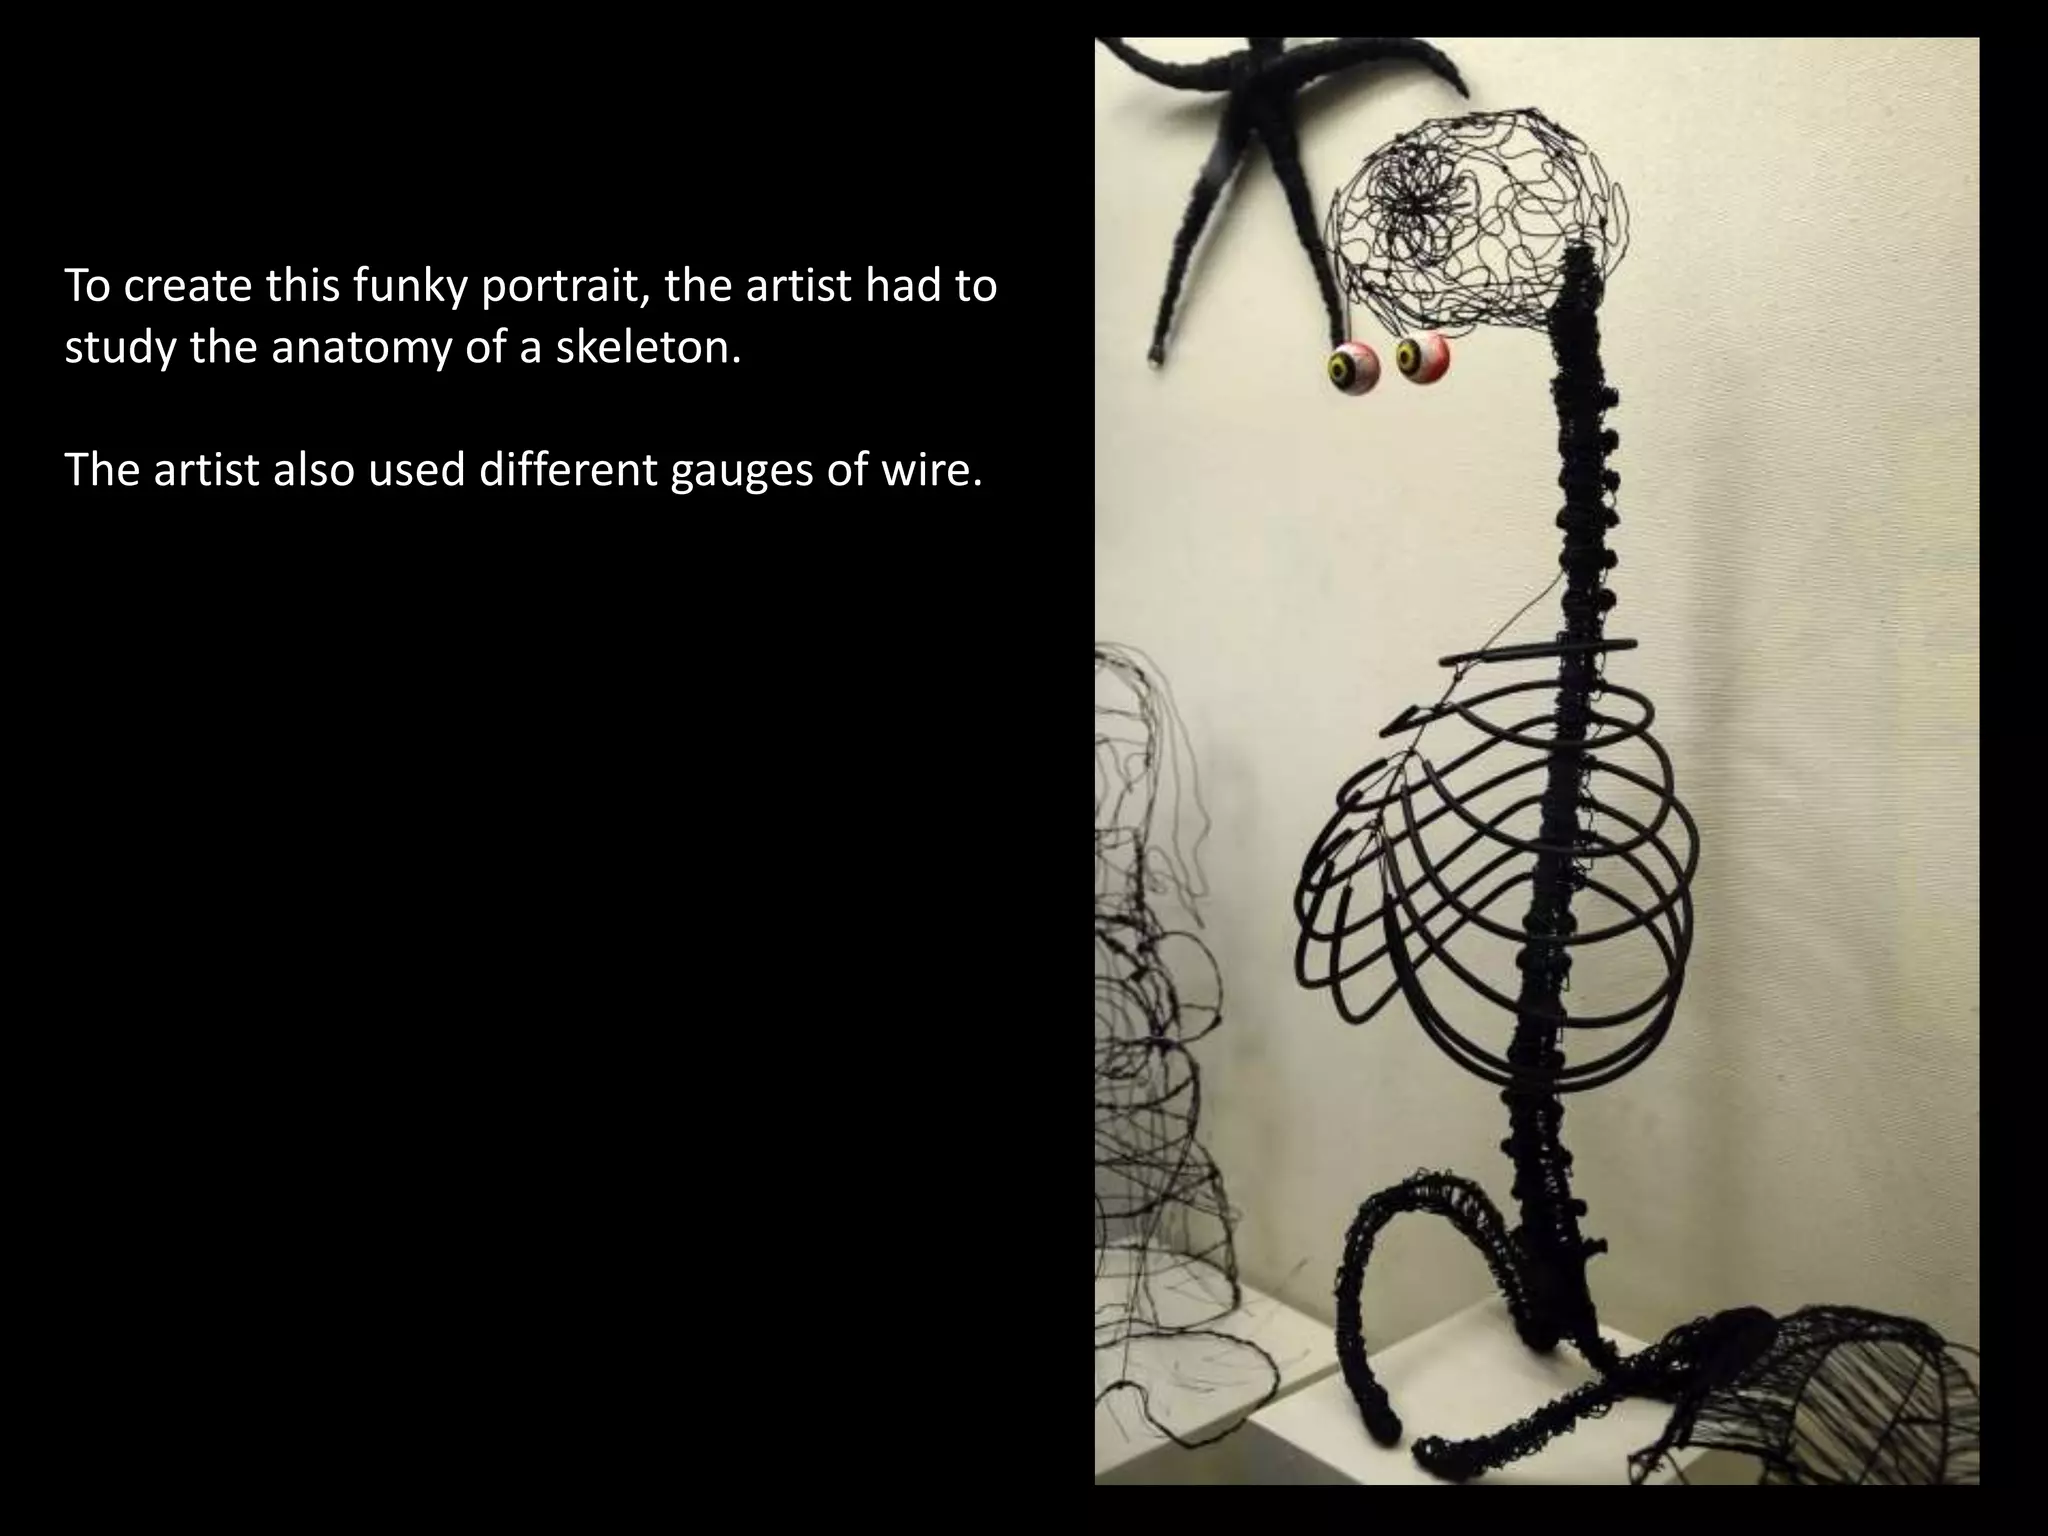
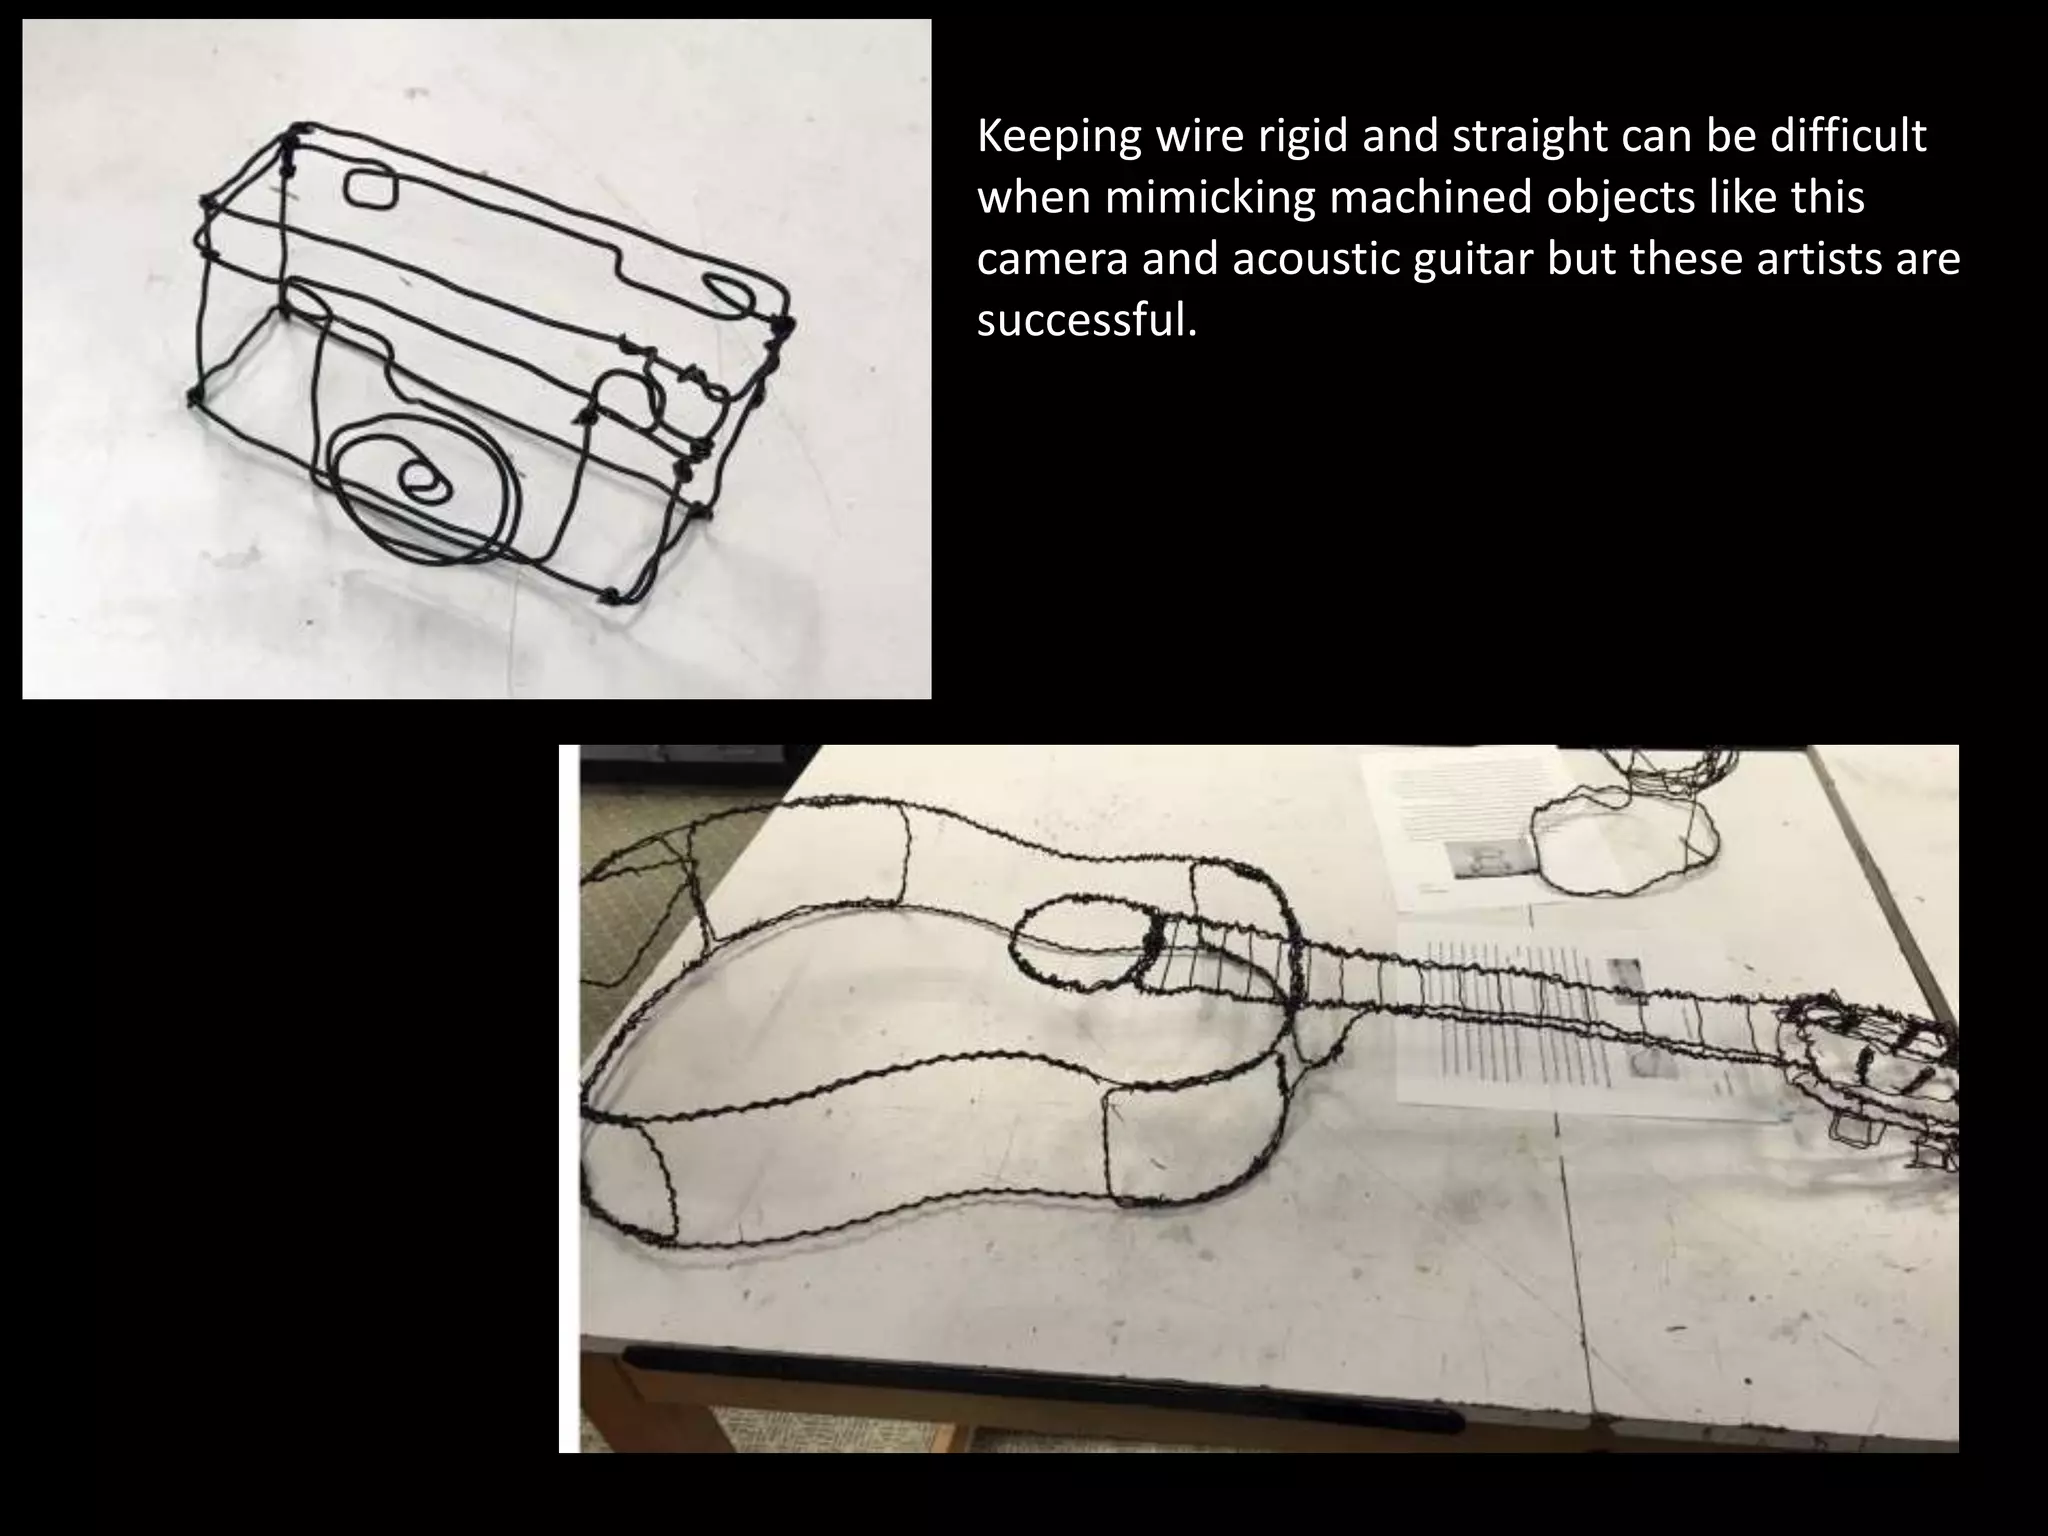
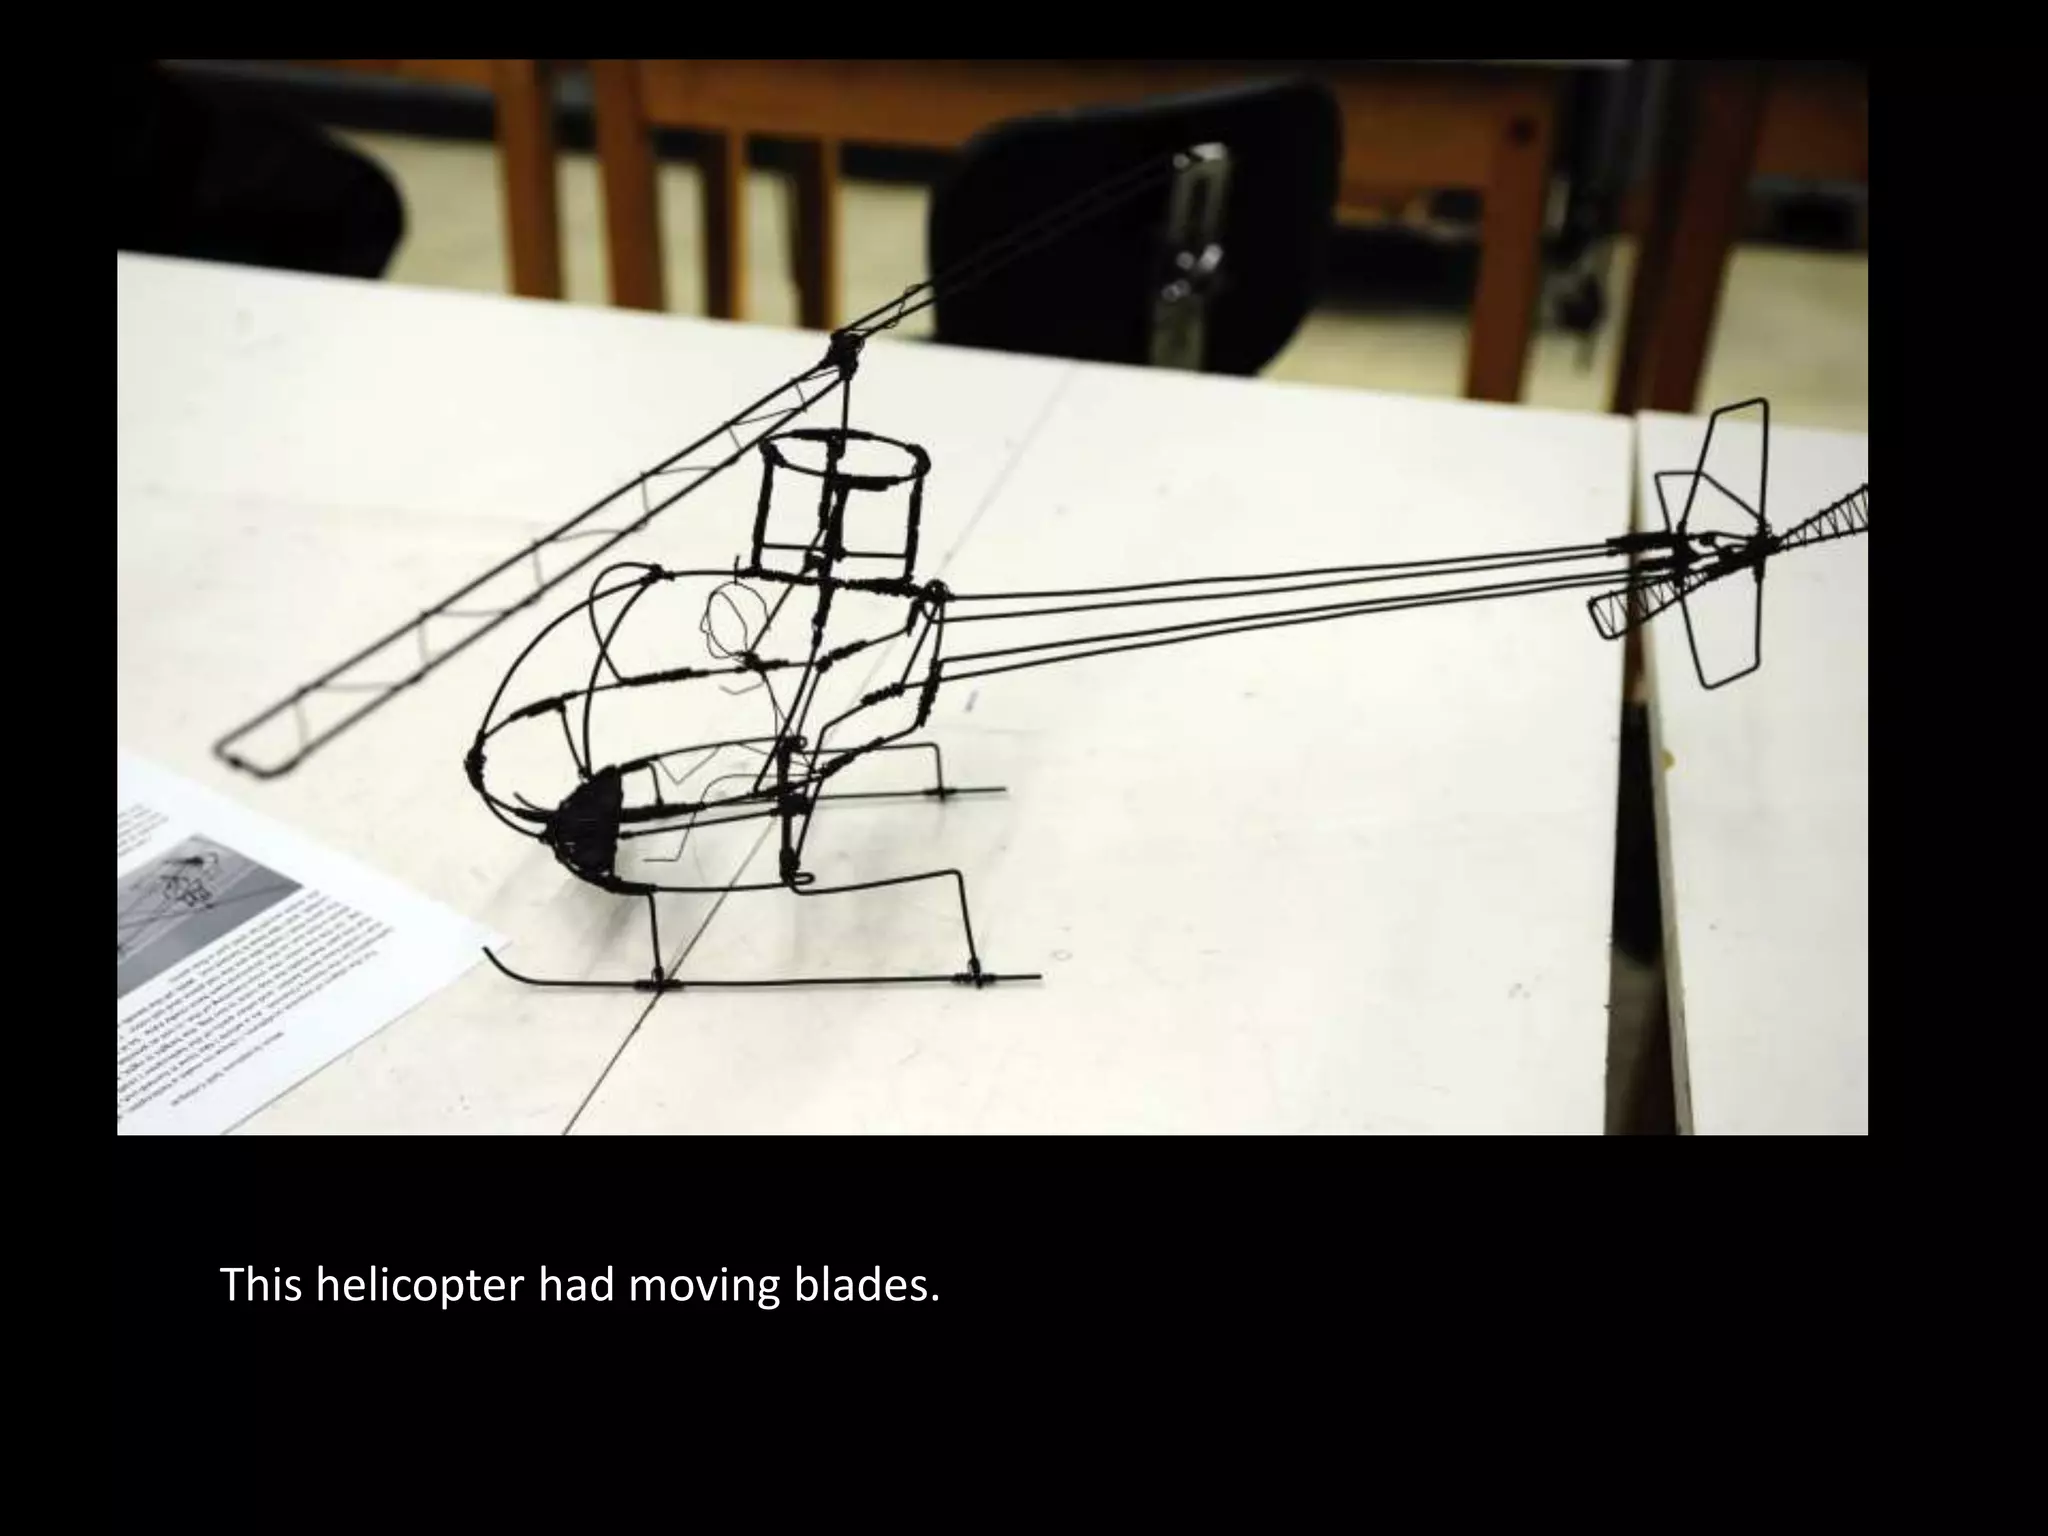
3) Examples show a range of wire sculpture techniques from minimalist portraits to more complex sculptures incorporating different gauges of wire and negative space. Proper use of reference materials and viewing the work from multiple angles is advised.


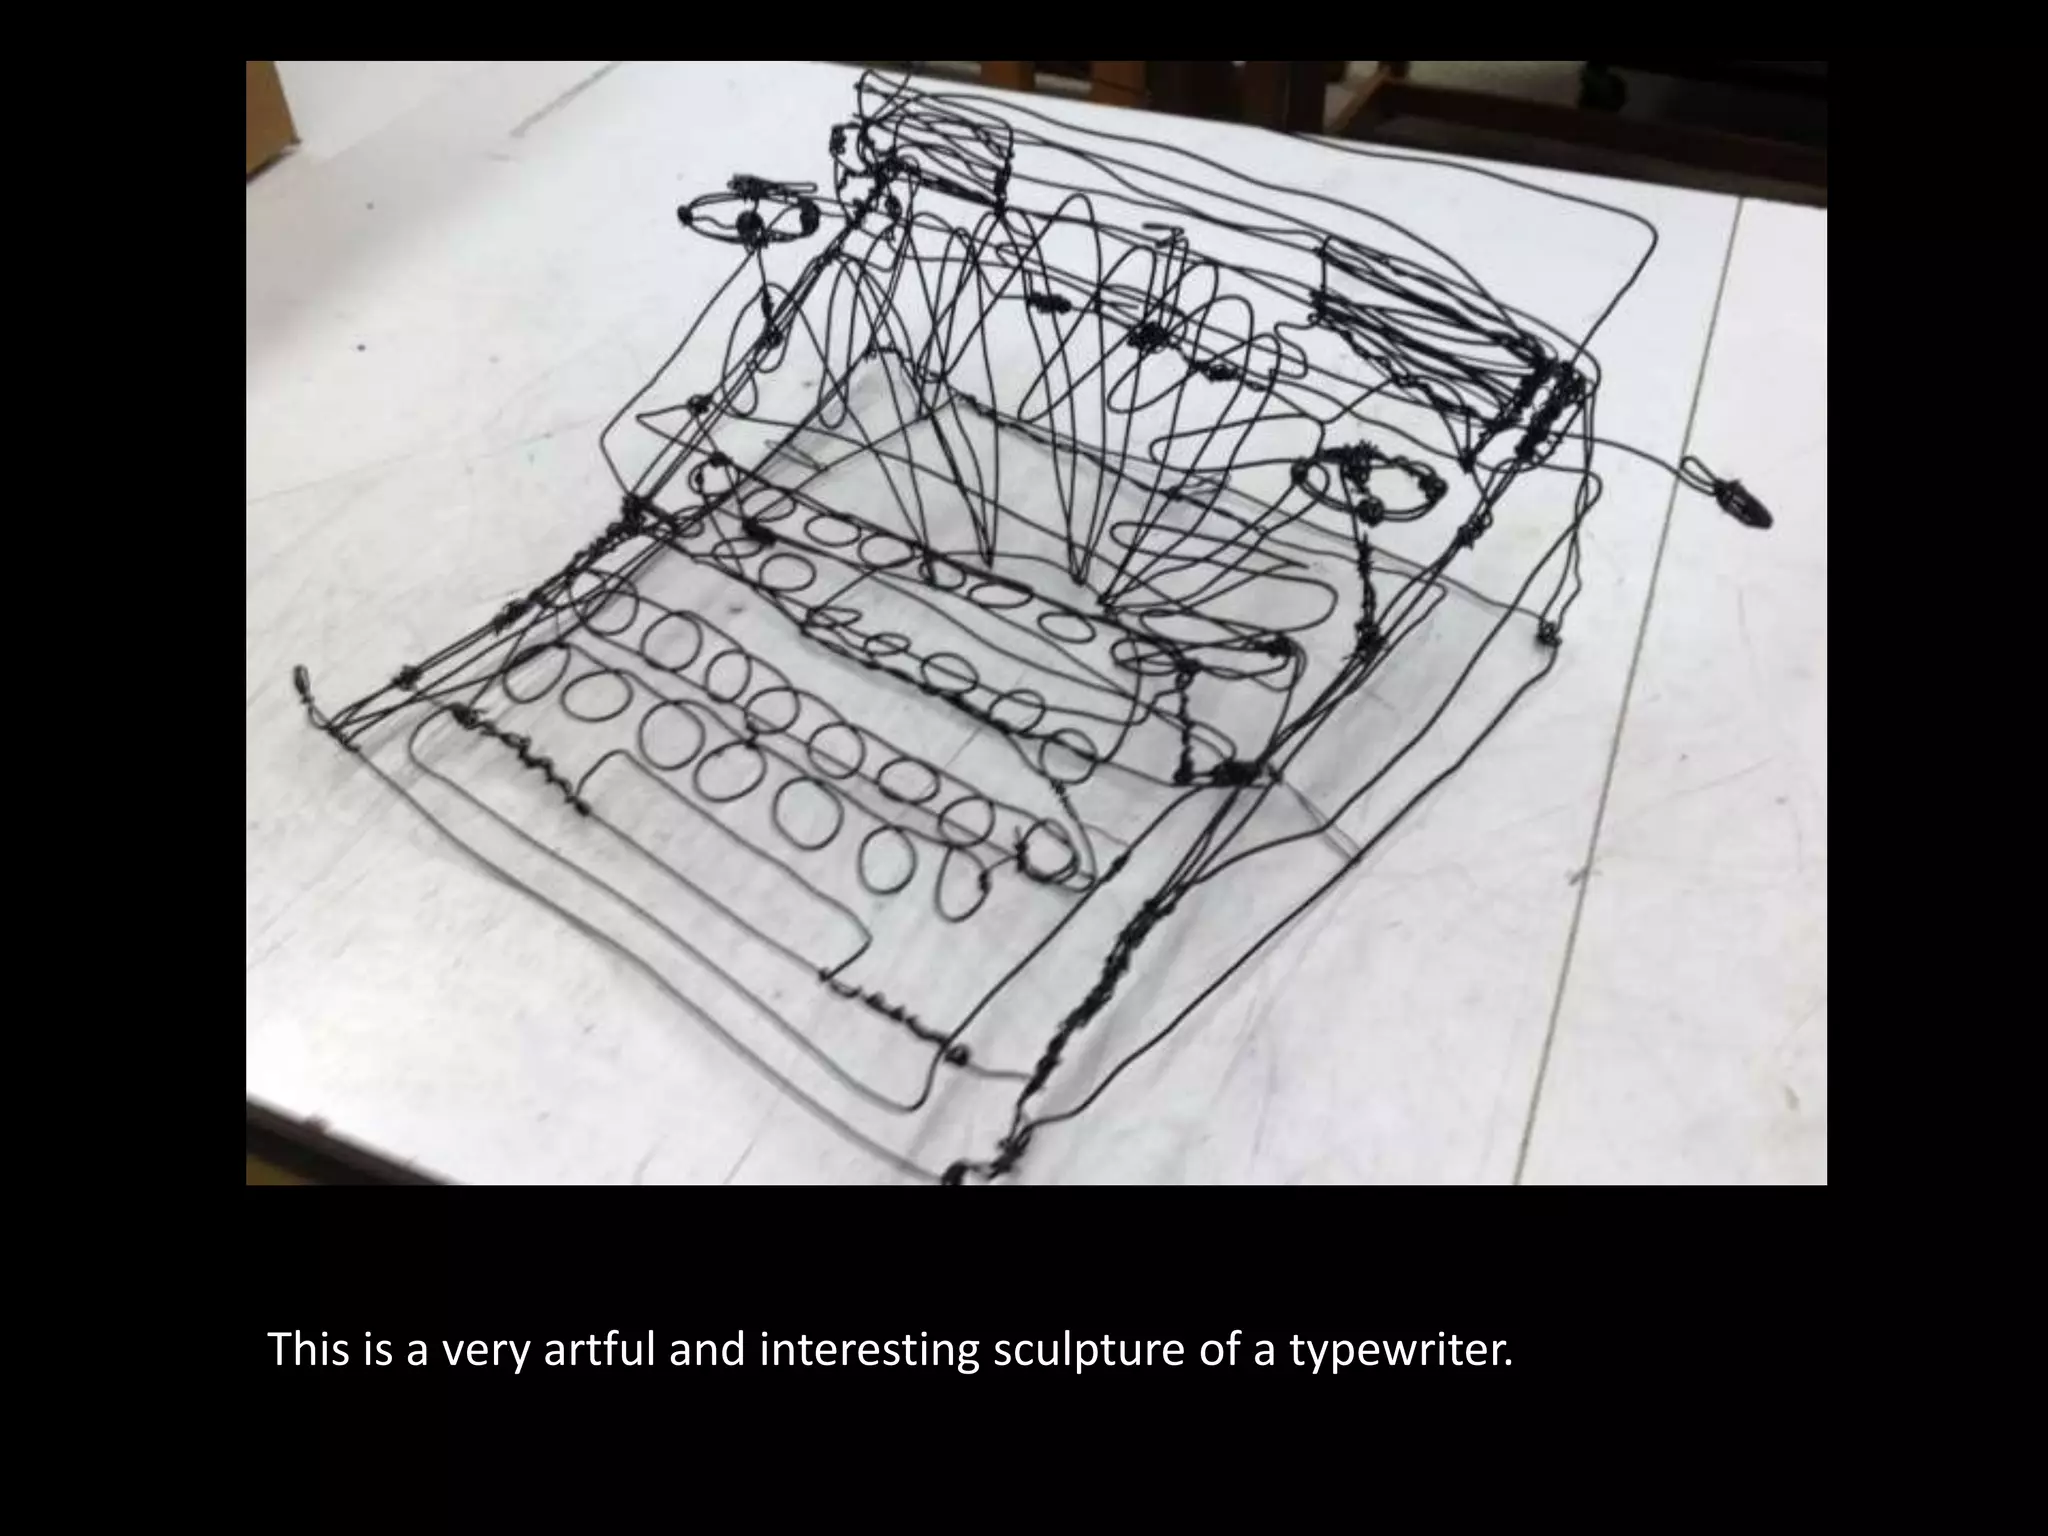


![[BROCHURE] Italy Tour Project | @SlideON](https://cdn.slidesharecdn.com/ss_thumbnails/brochure8-251215152319-2805af68-thumbnail.jpg?width=640&height=640&fit=bounds)
