Downloaded 126 times

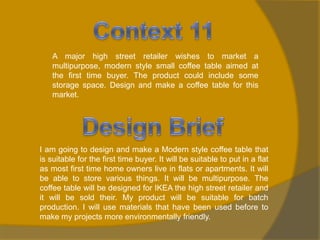

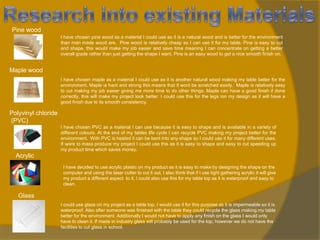
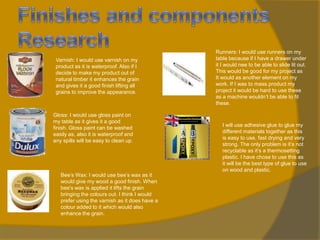


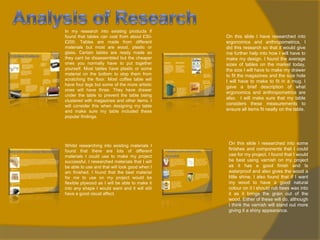
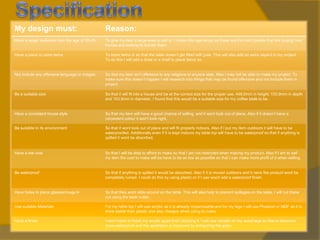


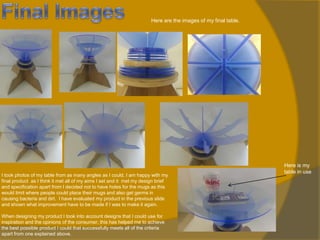


The document outlines the design process for a coffee table, including research, initial designs, development, and planning for manufacture. Research included analyzing existing products, materials, and their properties. Key considerations were providing storage, suitability for first-time home buyers, and the retail environment. Initial designs incorporated feedback on size, color, and functionality. Plans for manufacture using CAD/CAM aimed to ensure the design could be suitable for commercial production. The design process demonstrated thorough research, development, and planning to meet the given design brief.


![Gcse Folder Presentation (C Cox V1)[1]](https://cdn.slidesharecdn.com/ss_thumbnails/gcsefolderpresentationccoxv11-090910053125-phpapp01-thumbnail.jpg?width=640&height=640&fit=bounds)
![Gcse Folder Presentation (C Cox V1)[1]](https://cdn.slidesharecdn.com/ss_thumbnails/gcsefolderpresentationccoxv11-090910053927-phpapp01-thumbnail.jpg?width=640&height=640&fit=bounds)


