Downloaded 1,633 times
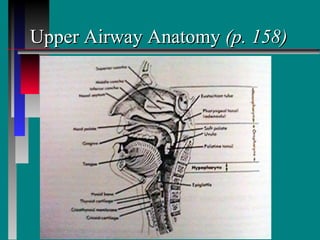
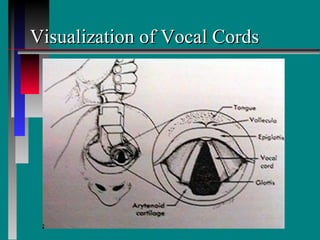
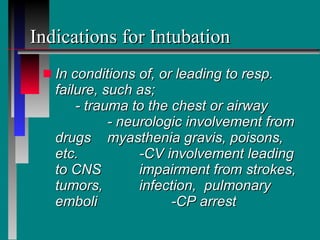
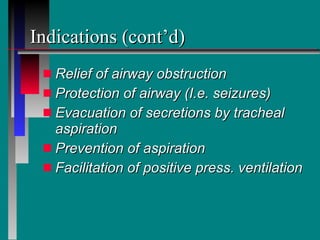
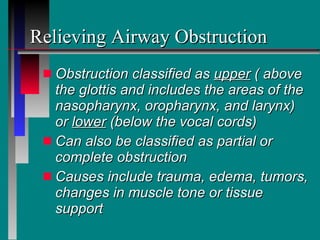

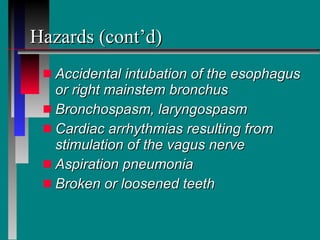
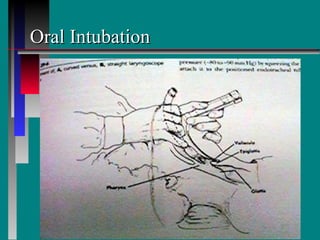

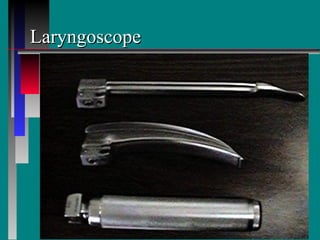

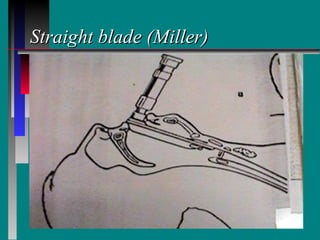
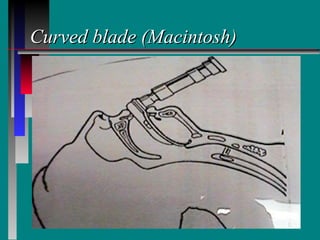
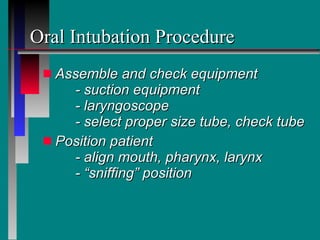
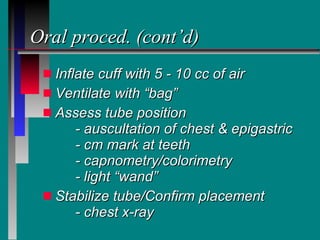
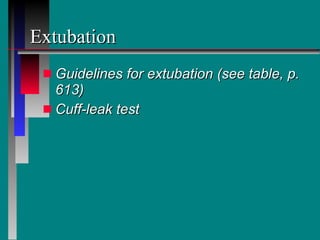
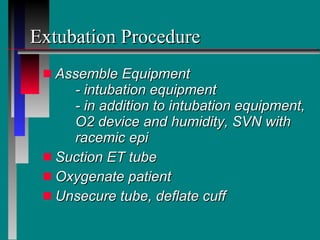
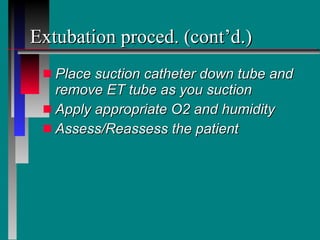

This document summarizes the indications, procedures, equipment, and complications related to endotracheal intubation and extubation. It describes the anatomy of the upper airway and indications for intubation such as respiratory failure, airway obstruction, or the need for positive pressure ventilation. The document outlines the procedures and equipment used for oral and nasal intubation, including laryngoscopes, endotracheal tubes, and positioning. Potential complications of intubation and extubation are also summarized such as infection, trauma, aspiration, and laryngeal injury.


![ONFH[AVN HIP] -TRIPLE REGIME -A NOVAL SURGICAL CONCEPT .pptx](https://cdn.slidesharecdn.com/ss_thumbnails/onfhavnhip2026koaconcalicutdrgokuldevdrmashraf-260210064517-213ec005-thumbnail.jpg?width=640&height=640&fit=bounds)
