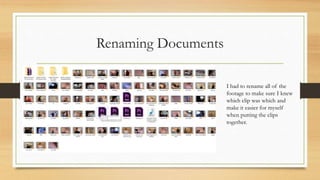
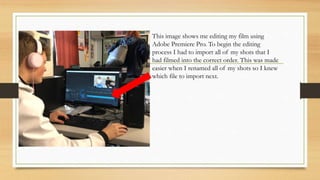
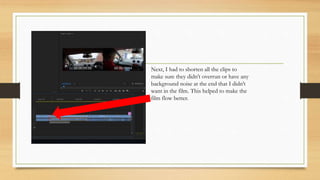
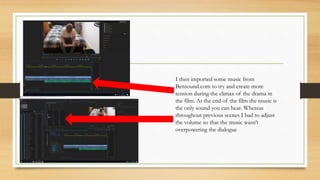
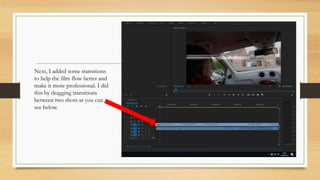
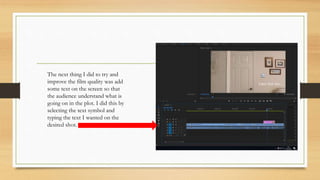
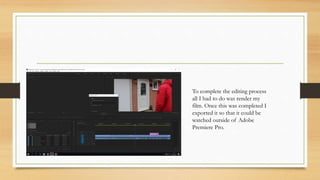
2. Renaming Documents
I had to rename all of the
footage to make sure I knew
which clip was which and
make it easier for myself
when putting the clips
together.
3. This image shows me editing my film using
Adobe Premiere Pro. To begin the editing
process I had to import all of my shots that I
had filmed into the correct order. This was made
easier when I renamed all of my shots so I knew
which file to import next.
4. Next, I had to shorten all the clips to
make sure they didn’t overrun or have any
background noise at the end that I didn’t
want in the film. This helped to make the
film flow better.
5. I then imported some music from
Bensound.com to try and create more
tension during the climax of the drama in
the film. At the end of the film the music is
the only sound you can hear. Whereas
throughout previous scenes I had to adjust
the volume so that the music wasn’t
overpowering the dialogue
6. Next, I added some transitions
to help the film flow better and
make it more professional. I did
this by dragging transitions
between two shots as you can
see below.
7. The next thing I did to try and
improve the film quality was add
some text on the screen so that
the audience understand what is
going on in the plot. I did this by
selecting the text symbol and
typing the text I wanted on the
desired shot.
8. The last thing I did to edit was
adding credits to the beginning
and end of my film to make it
look more professional and add
details of the director and actors
names. I did this by selecting the
graphics section and then
changing the text to fit my film.
9. To complete the editing process
all I had to do was render my
film. Once this was completed I
exported it so that it could be
watched outside of Adobe
Premiere Pro.