The document describes the process of editing a film trailer using Adobe Premiere and After Effects. Key steps included:
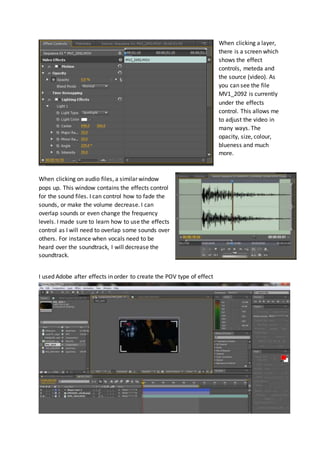
1) Importing footage and audio files into Premiere and organizing them into folders based on scene and component.
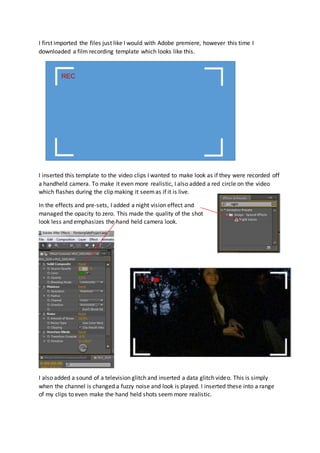
2) Using effects in Premiere like "levels" to adjust lighting and make darker clips clearer.
3) Creating multiple video and audio layers in the timeline and adjusting effects like opacity, size, and volume levels.
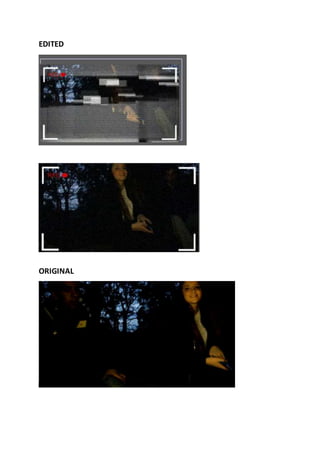
4) Importing files into After Effects and applying templates and effects like night vision and data glitches to shots to make them appear like amateur camera footage.